官方文档地址:
Elasticsearch Clients | Elastic![]() https://www.elastic.co/guide/en/elasticsearch/client/index.html
https://www.elastic.co/guide/en/elasticsearch/client/index.html
RestClient的使用
1)引入es的RestHighLevelClient依赖:
<dependency>
    <groupId>org.elasticsearch.client</groupId>
    <artifactId>elasticsearch-rest-high-level-client</artifactId>
</dependency>2)因为SpringBoot默认的ES版本是7.17.10,所以我们需要覆盖默认的ES版本:
  <properties>
      <maven.compiler.source>11</maven.compiler.source>
      <maven.compiler.target>11</maven.compiler.target>
      <elasticsearch.version>7.12.1</elasticsearch.version>
  </properties>
3)初始化RestHighLevelClient:
RestHighLevelClient client = new RestHighLevelClient(RestClient.builder(
        HttpHost.create("http://192.168.226.103:9200")
));为了单元测试方便,我们创建一个测试类IndexTest,然后将初始化的代码编写在@BeforeEach方法中:(写了连接方法,获取连接结果,用完之后关闭)
public class IndexTest {
private RestHighLevelClient client;
@BeforeEach
void setUp() {
this.client = new RestHighLevelClient(RestClient.builder(
HttpHost.create("http://192.168.226.103:9200")
));
}
@Test
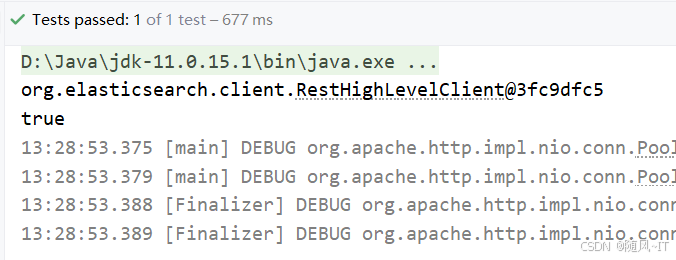
void testConnect() {
System.out.println(client);
System.out.println(client.getClass().desiredAssertionStatus());
}
@AfterEach
void tearDown() throws IOException {
this.client.close();
}
}此时说明我们注入成功
创建索引库
示例:
结合数据库表结构,假设字段对应的mapping映射属性如下:
|---|---|-----------|-------------|-----------------|-----------------|---------|
| 字段名 || 字段类型 | 类型说明 | 是否 参与搜索 | 是否 参与分词 | 分词器 |
| id || long | 长整数 | * | * | ------ |
| name || text | 字符串,参与分词搜索 | * | * | IK |
| price || integer | 以分为单位,所以是整数 | * | * | ------ |
| stock || integer | 字符串,但需要分词 | * | * | ------ |
| image || keyword | 字符串,但是不分词 | * | * | ------ |
| category || keyword | 字符串,但是不分词 | * | * | ------ |
| brand || keyword | 字符串,但是不分词 | * | * | ------ |
| sold || integer | 销量,整数 | * | * | ------ |
| commentCount || integer | 评价,整数 | * | * | ------ |
| isAD || boolean | 布尔类型 | * | * | ------ |
| updateTime || Date | 更新时间 | * | * | ------ |
最终我们的索引库文档结构应该是这样:
PUT /items
{
  "mappings": {
    "properties": {
      "id": {
        "type": "keyword"
      },
      "name":{
        "type": "text",
        "analyzer": "ik_max_word"
      },
      "price":{
        "type": "integer"
      },
      "stock":{
        "type": "integer"
      },
      "image":{
        "type": "keyword",
        "index": false
      },
      "category":{
        "type": "keyword"
      },
      "brand":{
        "type": "keyword"
      },
      "sold":{
        "type": "integer"
      },
      "commentCount":{
        "type": "integer",
        "index": false
      },
      "isAD":{
        "type": "boolean"
      },
      "updateTime":{
        "type": "date"
      }
    }
  }
}
代码分为三步:
1)创建Request对象。
因为是创建索引库的操作,因此Request是CreateIndexRequest。
2)添加请求参数
其实就是Json格式的Mapping映射参数。因为json字符串很长,这里是定义了静态字符串常量MAPPING_TEMPLATE,让代码看起来更加优雅。
3)发送请求
client.``indices``()方法的返回值是IndicesClient类型,封装了所有与索引库操作有关的方法。例如创建索引、删除索引、判断索引是否存在等
创建单元测试类testCreateIndex()测试创建索引库方法(由于索引映射比较长我们采用静态字符串的方式引用,并指定他的格式为json)
@Test
void testCreateIndex() throws IOException {
    // 1.创建Request对象
    CreateIndexRequest request = new CreateIndexRequest("items");
    // 2.准备请求参数
    request.source(MAPPING_TEMPLATE, XContentType.JSON);
    // 3.发送请求
    client.indices().create(request, RequestOptions.DEFAULT);
}

static final String MAPPING_TEMPLATE = "{\n" +
            "  \"mappings\": {\n" +
            "    \"properties\": {\n" +
            "      \"id\": {\n" +
            "        \"type\": \"keyword\"\n" +
            "      },\n" +
            "      \"name\":{\n" +
            "        \"type\": \"text\",\n" +
            "        \"analyzer\": \"ik_max_word\"\n" +
            "      },\n" +
            "      \"price\":{\n" +
            "        \"type\": \"integer\"\n" +
            "      },\n" +
            "      \"stock\":{\n" +
            "        \"type\": \"integer\"\n" +
            "      },\n" +
            "      \"image\":{\n" +
            "        \"type\": \"keyword\",\n" +
            "        \"index\": false\n" +
            "      },\n" +
            "      \"category\":{\n" +
            "        \"type\": \"keyword\"\n" +
            "      },\n" +
            "      \"brand\":{\n" +
            "        \"type\": \"keyword\"\n" +
            "      },\n" +
            "      \"sold\":{\n" +
            "        \"type\": \"integer\"\n" +
            "      },\n" +
            "      \"commentCount\":{\n" +
            "        \"type\": \"integer\"\n" +
            "      },\n" +
            "      \"isAD\":{\n" +
            "        \"type\": \"boolean\"\n" +
            "      },\n" +
            "      \"updateTime\":{\n" +
            "        \"type\": \"date\"\n" +
            "      }\n" +
            "    }\n" +
            "  }\n" +
            "}";
可以看到我们创建成功了
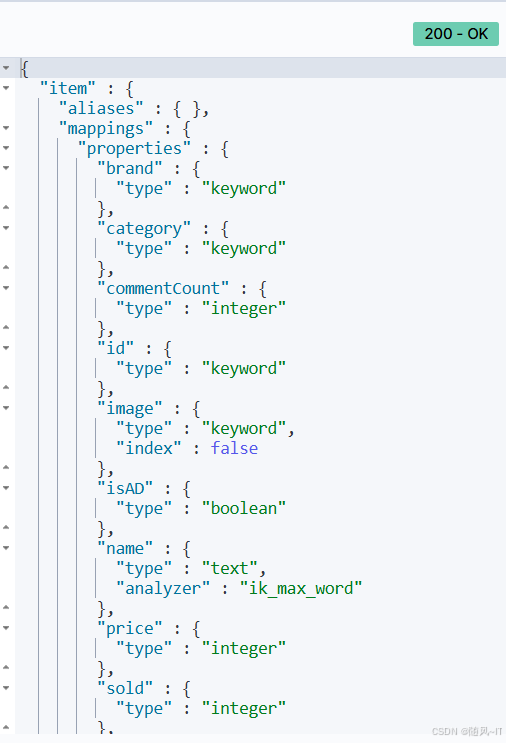
 我们可以去网页查看
GET /item可以看到创建成功
删除索引库
编写单元测试testDeleteIndex()方法,由于是删除就不需要准备请求参数
@Test
void testDeleteIndex() throws IOException {
//创建请求
DeleteIndexRequest request = new DeleteIndexRequest("item");
//发送请求
client.indices().delete(request, RequestOptions.DEFAULT);
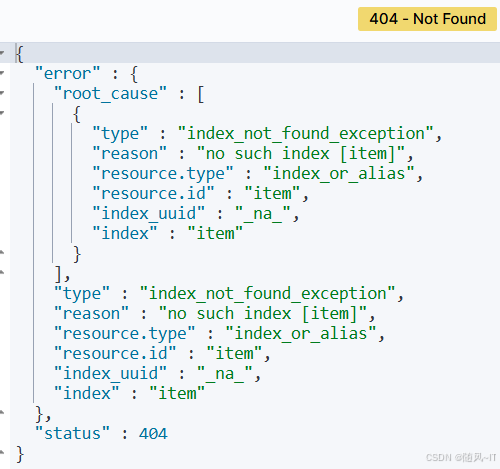
}可以看到删除成功了

我们去网页验证(可以看到404结果)
判断索引库是否存在
之前都是用的网页判断索引库是否创建成功,现在我们用java代码来判断索引库是否存在
创建单元测试testExistsIndex()方法
@Test
void testExistsIndex() throws IOException {
//创建请求
GetIndexRequest request = new GetIndexRequest("item");
//发送请求,并接收结果
boolean exists = client.indices().exists(request, RequestOptions.DEFAULT);
//控制台输出
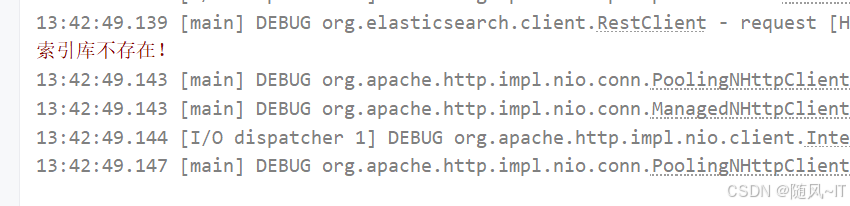
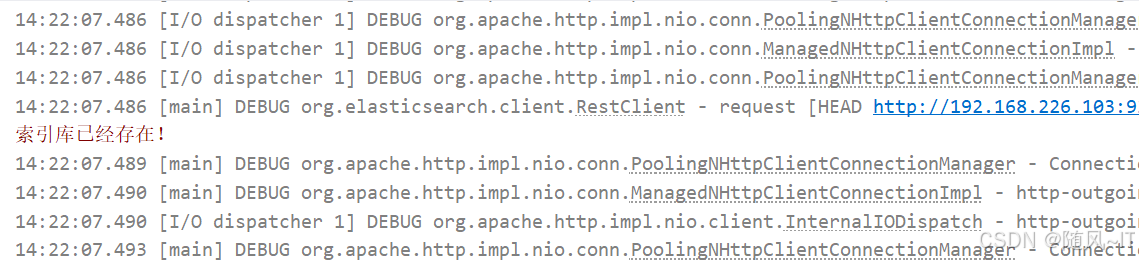
System.err.println(exists ? "索引库已经存在!" : "索引库不存在!");
}由于之前删除了索引库,显示不存在
现在我们执行上面创建索引库的单元测试方法,再次查看是否存在
总结
JavaRestClient操作elasticsearch的流程基本类似。核心是client.indices()方法来获取索引库的操作对象。
索引库操作的基本步骤:
-
初始化
RestHighLevelClient -
创建XxxIndexRequest。XXX是
Create、Get、Delete -
准备请求参数(
Create时需要,其它是无参,可以省略) -
发送请求。调用
RestHighLevelClient#indices().xxx()方法,xxx是create、exists、delete
RestClient操作文档
新增文档
新增文档我们必须先创建实体接收要添加的文档数据
@Data
@ApiModel(description = "索引库实体")
public class ItemDoc{
    @ApiModelProperty("商品id")
    private String id;
    @ApiModelProperty("商品名称")
    private String name;
    @ApiModelProperty("价格(分)")
    private Integer price;
    @ApiModelProperty("库存数量")
    private Integer stock;
    @ApiModelProperty("商品图片")
    private String image;
    @ApiModelProperty("类目名称")
    private String category;
    @ApiModelProperty("品牌名称")
    private String brand;
    @ApiModelProperty("销量")
    private Integer sold;
    @ApiModelProperty("评论数")
    private Integer commentCount;
    @ApiModelProperty("是否是推广广告,true/false")
    private Boolean isAD;
    @ApiModelProperty("更新时间")
    private LocalDateTime updateTime;
}
索引库操作的API非常类似,同样是三步走:
-
1)创建Request对象,这里是
IndexRequest,因为添加文档就是创建倒排索引的过程 -
2)准备请求参数,本例中就是Json文档
-
3)发送请求
变化的地方在于,这里直接使用client.xxx()的API,不再需要client.indices()了。
创建单元测试方法testAddDocument()
@Test
    void testAddDocument() throws IOException {
        //从数据库中查询数据
        Item item = itemService.getById(317578);
        if (item == null) {
            return;
        }
        //封装成itemdoc对象
        ItemDoc itemDoc = BeanUtil.copyProperties(item, ItemDoc.class);
        //创建请求
        IndexRequest request = new IndexRequest("item").id(itemDoc.getId());
        //给请求添加参数
        request.source(JSONUtil.toJsonPrettyStr(itemDoc), XContentType.JSON);
        //发送请求
        client.index(request, RequestOptions.DEFAULT);
    }
查询文档
其它代码与之前类似,流程如下:
1)准备Request对象。这次是查询,所以是GetRequest
2)发送请求,得到结果。因为是查询,这里调用client.get()方法
3)解析结果,就是对JSON做反序列化
编写单元测试testGetDocumentById()方法
    @Test
    void testGetDocumentById() throws IOException {
        //创建请求
        GetRequest request = new GetRequest("item", "317578");
        //发送请求
        GetResponse response = client.get(request, RequestOptions.DEFAULT);
        //解析请求
        String json = response.getSourceAsString();
        //转化成itemdoc对象
        ItemDoc itemDoc = JSONUtil.toBean(json, ItemDoc.class);
        //输出
        System.out.println(itemDoc);
    }
可以看到查询成功了

删除文档
2步走:
-
1)准备Request对象,因为是删除,这次是
DeleteRequest对象。要指定索引库名和id -
2)准备参数,无参,直接省略
-
3)发送请求。因为是删除,所以是
client.delete()方法
创建单元测试testDeleteDocument()
   @Test
    void testDeleteDocument() throws IOException {
        //创建请求
        DeleteRequest request = new DeleteRequest("item", "317578");
        //发送请求
        client.delete(request, RequestOptions.DEFAULT);
    }
我们再次通过网页查看
GET /item/_doc/317578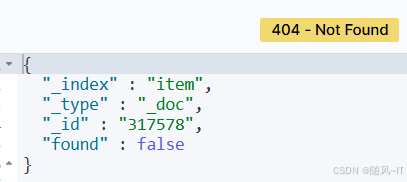
可以看到删除成功
修改文档
修改我们讲过两种方式:
-
全量修改:本质是先根据id删除,再新增
-
局部修改:修改文档中的指定字段值
在RestClient的API中,全量修改与新增的API完全一致,判断依据是ID:
-
如果新增时,ID已经存在,则修改
-
如果新增时,ID不存在,则新增
三步走:
-
1)准备
Request对象。这次是修改,所以是UpdateRequest -
2)准备参数。也就是JSON文档,里面包含要修改的字段
-
3)更新文档。这里调用
client.update()方法
编写单元测试方法testUpdateDocument()
 @Test
    void testUpdateDocument() throws IOException {
        //创建请求
        UpdateRequest request = new UpdateRequest("item", "317578");
        //添加参数
        request.doc(
                "price", 58800,
                "commentCount", 1
        );
        //发送请求
        client.update(request, RequestOptions.DEFAULT);
    }
通过数据库查看该价格为28900
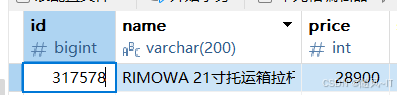
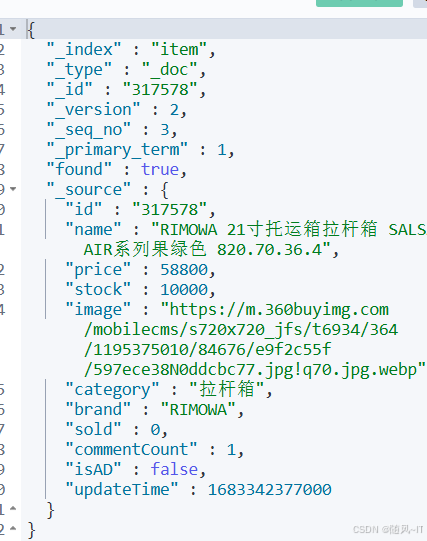
此时我们执修改操作,修改完后再次通过网页查看(可以看到价格与评论数量都有了更改)
批量导入文档
常见的方案有:
-
利用Logstash批量导入
-
需要安装Logstash
-
对数据的再加工能力较弱
-
无需编码,但要学习编写Logstash导入配置
-
-
利用JavaAPI批量导入
-
需要编码,但基于JavaAPI,学习成本低
-
更加灵活,可以任意对数据做再加工处理后写入索引库
-
批处理与前面讲的文档的CRUD步骤基本一致:
-
创建Request,但这次用的是
BulkRequest -
准备请求参数
-
发送请求,这次要用到
client.bulk()方法
编写单元测试方法testLoadItemDocs()
当我们要导入商品数据时,由于商品数量达到数十万,因此不可能一次性全部导入。建议采用循环遍历方式,每次导入1000条左右的数据。
@Test
void testLoadItemDocs() throws IOException {
// 分页查询商品数据
int pageNo = 1;
int size = 1000;
while (true) {
Page<Item> page = itemService.lambdaQuery().eq(Item::getStatus, 1).page(new Page<Item>(pageNo, size));
// 非空校验
List<Item> items = page.getRecords();
if (CollUtils.isEmpty(items)) {
return;
}
log.info("加载第{}页数据,共{}条", pageNo, items.size());
// 1.创建Request
BulkRequest request = new BulkRequest("items");
// 2.准备参数,添加多个新增的Request
for (Item item : items) {
// 2.1.转换为文档类型ItemDTO
ItemDoc itemDoc = BeanUtil.copyProperties(item, ItemDoc.class);
// 2.2.创建新增文档的Request对象
request.add(new IndexRequest()
.id(itemDoc.getId())
.source(JSONUtil.toJsonStr(itemDoc), XContentType.JSON));
}
// 3.发送请求
client.bulk(request, RequestOptions.DEFAULT);
// 翻页
pageNo++;
}
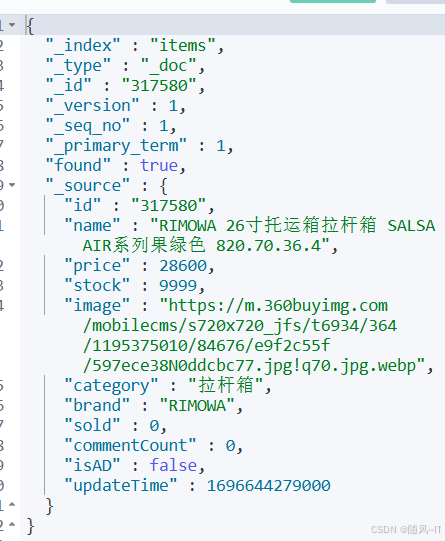
}再次通过网页查看另一个商品id(可以发现添加成功)
小结
文档操作的基本步骤:
-
初始化
RestHighLevelClient -
创建XxxRequest。
- XXX是
Index、Get、Update、Delete、Bulk
- XXX是
-
准备参数(
Index、Update、Bulk时需要) -
发送请求。
- 调用
RestHighLevelClient#.xxx()方法,xxx是index、get、update、delete、bulk
- 调用
-
解析结果(
Get时需要)