1. 前言
在本文中,我们将通过WPF应用程序调用Python脚本进行图像灰度处理。我们将使用Python的OpenCV库来处理图像,并将其转换为灰度图像,然后通过WPF界面来启动Python进程并展示结果。

2. 准备工作
在开始之前,请确保系统已经安装了Python和.NET SDK,并且已经安装了Python的OpenCV库。
可以通过以下命令安装OpenCV库:
bash
pip install opencv-python3. 编写Python脚本
在项目目录下创建一个新的Python脚本文件image_processing.py,并编写以下代码:
python
import cv2
import sys

def convert_to_grayscale(image_path, output_path):
    # 读取图像
    image = cv2.imread(image_path)
    # 将图像转换为灰度
    gray_image = cv2.cvtColor(image, cv2.COLOR_BGR2GRAY)
    # 保存灰度图像
    cv2.imwrite(output_path, gray_image)

if __name__ == "__main__":
    if len(sys.argv) != 3:
        print("Usage: python image_processing.py <input_image_path> <output_image_path>")
    else:
        input_image_path = sys.argv[1]
        output_image_path = sys.argv[2]
        convert_to_grayscale(input_image_path, output_path)
这个脚本将读取输入图像,将其转换为灰度图像,并将结果保存到指定的输出路径。
测试输入指令
csharp
python image_processing.py "C:\Users\Lenovo\Desktop\Snipaste_2024-06-21_23-20-30.png" "C:\Users\Lenovo\Desktop\output.jpg"可以正常运行。
4. 创建WPF项目
首先,创建一个新的WPF应用程序:使用dotnet cli命令
bash
dotnet new wpf -n WpfImageProcessingApp
cd WpfImageProcessingApp
4.1 设计WPF界面
打开MainWindow.xaml文件,设计一个简单的界面,包括两个按钮和一个图像展示控件:
xml
<Window x:Class="WpfImageProcessingApp.MainWindow"
        xmlns="http://schemas.microsoft.com/winfx/2006/xaml/presentation"
        xmlns:x="http://schemas.microsoft.com/winfx/2006/xaml"
        xmlns:d="http://schemas.microsoft.com/expression/blend/2008"
        xmlns:mc="http://schemas.openxmlformats.org/markup-compatibility/2006"
        xmlns:local="clr-namespace:WpfImageProcessingApp"
        mc:Ignorable="d"
        Title="MainWindow" Height="450" Width="800">
    <Grid>
<Button x:Name="SelectImageButton" Content="Select Image" HorizontalAlignment="Left" VerticalAlignment="Top" Width="100" Margin="10" Click="SelectImageButton_Click"/>
        <Button x:Name="ProcessImageButton" Content="Process Image" HorizontalAlignment="Left" VerticalAlignment="Top" Width="100" Margin="120,10,0,0" Click="ProcessImageButton_Click"/>
        <Image x:Name="ImageDisplay" HorizontalAlignment="Left" VerticalAlignment="Top" Width="500" Height="250" Margin="10,50,0,0"/>
    </Grid>
</Window>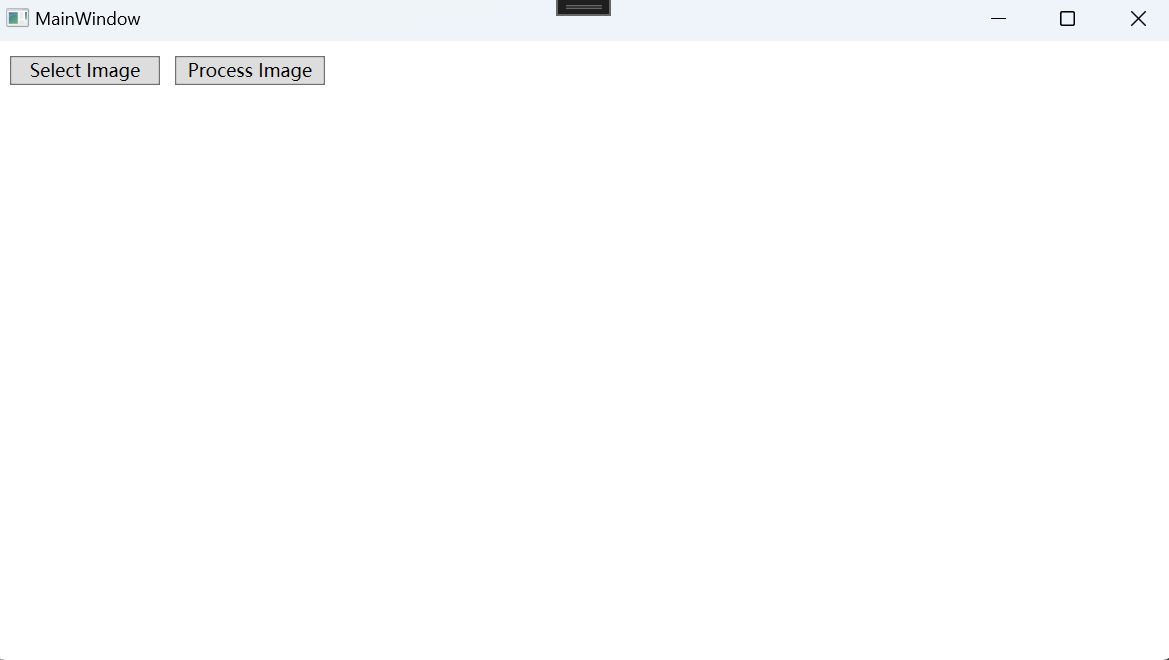
4.2 编写WPF代码
在MainWindow.xaml.cs文件中,编写以下代码:
csharp
using System;
using System.Diagnostics;
using System.Windows;
using Microsoft.Win32;
using System.IO;
using System.Windows.Media.Imaging;

namespace WpfImageProcessingApp
{
    public partial class MainWindow : Window
    {
        private string selectedImagePath;
        private string outputImagePath;

        public MainWindow()
        {
            InitializeComponent();
        }

        private void SelectImageButton_Click(object sender, RoutedEventArgs e)
        {
            OpenFileDialog openFileDialog = new OpenFileDialog();
            openFileDialog.Filter = "Image files (*.jpg, *.jpeg, *.png) | *.jpg; *.jpeg; *.png";

            if (openFileDialog.ShowDialog() == true)
            {
                selectedImagePath = openFileDialog.FileName;
                ImageDisplay.Source = new BitmapImage(new Uri(selectedImagePath));
            }
        }

        private void ProcessImageButton_Click(object sender, RoutedEventArgs e)
        {
            if (string.IsNullOrEmpty(selectedImagePath))
            {
                MessageBox.Show("Please select an image first.");
                return;
            }

            outputImagePath = Path.Combine(Path.GetDirectoryName(selectedImagePath), "output.jpg");

            var startInfo = new ProcessStartInfo
            {
                FileName = "python",
                Arguments = $"image_processing.py \"{selectedImagePath}\" \"{outputImagePath}\"",
                RedirectStandardOutput = true,
                UseShellExecute = false,
                CreateNoWindow = true
            };

            try
            {
                using (var process = Process.Start(startInfo))
                {
                    process.WaitForExit();

                    if (process.ExitCode == 0)
                    {
                        ImageDisplay.Source = new BitmapImage(new Uri(outputImagePath));
                    }
                    else
                    {
                        MessageBox.Show("An error occurred during image processing.");
                    }
                }
            }
            catch (Exception ex)
            {
                MessageBox.Show($"An error occurred: {ex.Message}");
            }
        }
    }
}
4.3 运行应用程序
运行WPF应用程序。点击"Select Image"按钮选择一张图像,

然后点击"Process Image"按钮进行灰度处理,处理后的图像将显示在界面上。

5. 总结
在本文中,我们展示了如何通过WPF应用程序调用Python脚本进行图像灰度处理。通过使用Python的OpenCV库进行图像处理,并通过启动Python进程来执行Python脚本和展示结果,我们实现了一个跨语言的图像处理应用。这一技术可以应用于各种需要结合C#和Python优势的图像处理项目中。