首页:

用户管理界面:

到这一步以后来看一下后端代码的表结构是如何设计的:
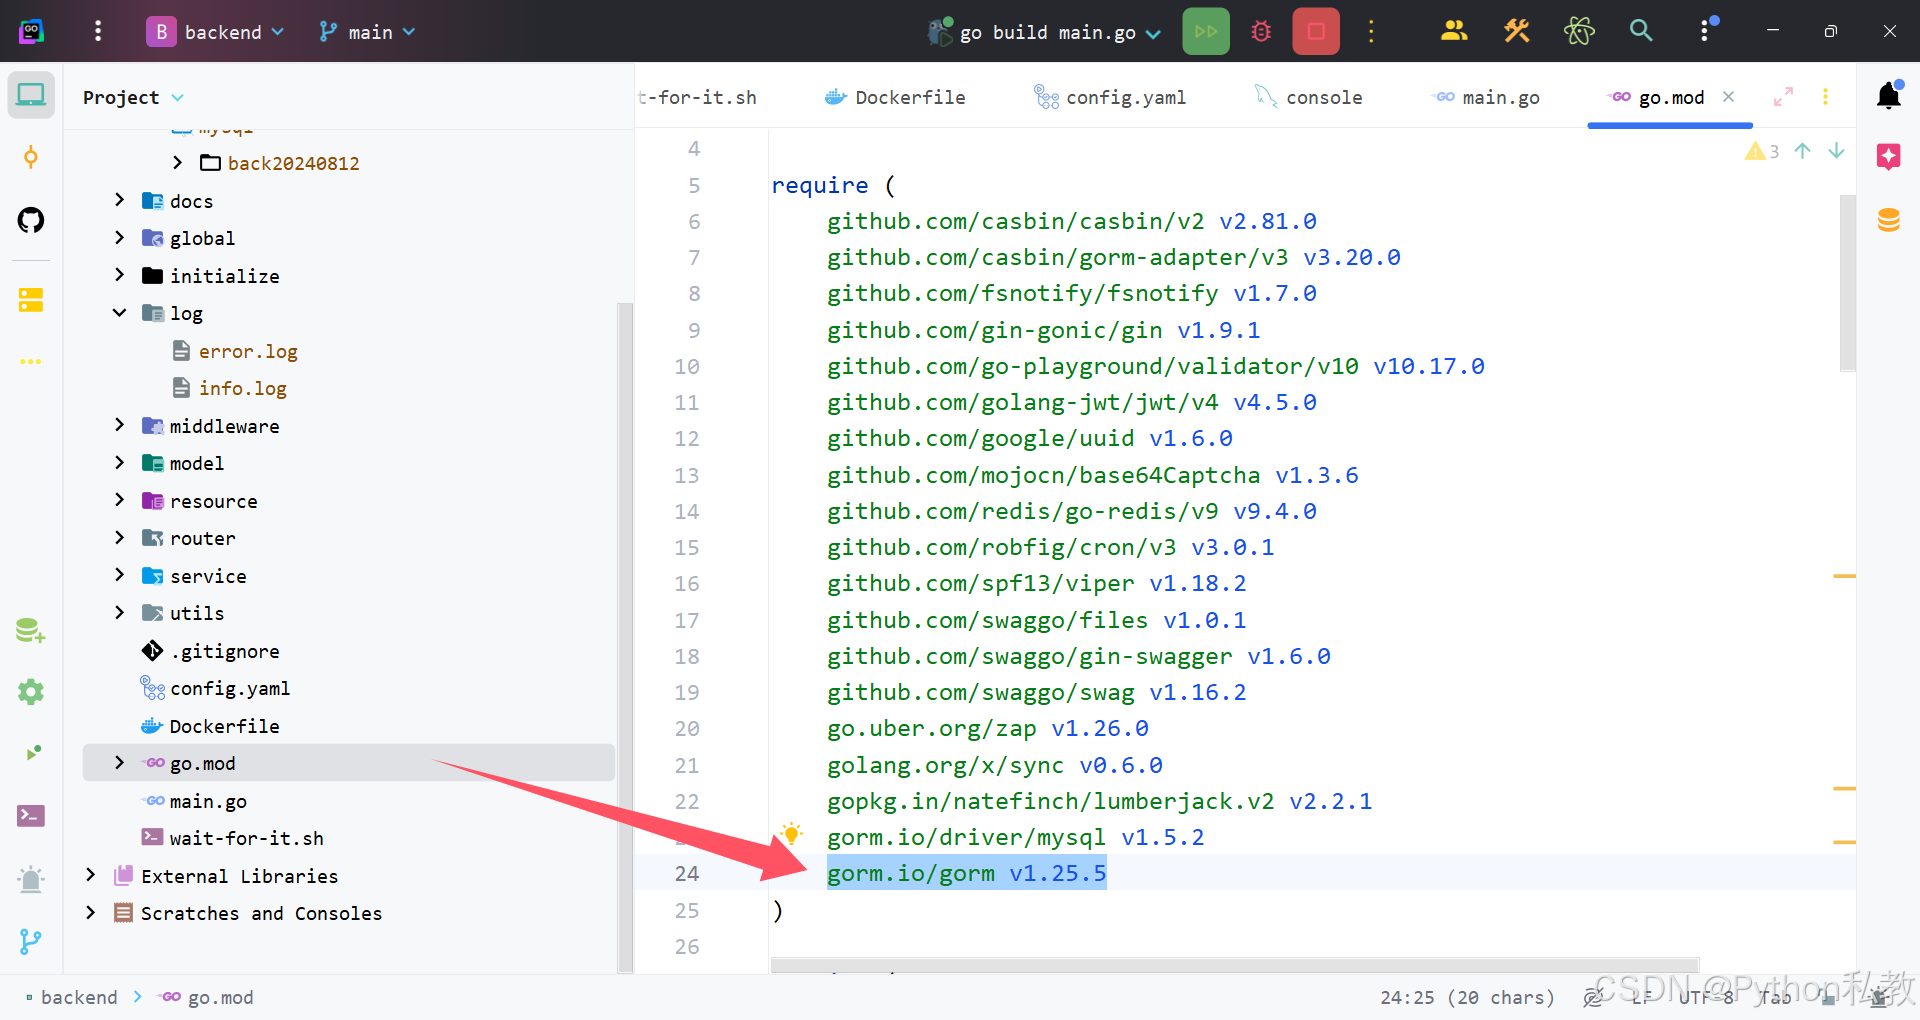
后端代码中,使用的操作MySQL的技术是gorm:
bash
gorm.io/gorm v1.25.5
其中,用户表的定义位置如下:

此时的完整代码如下:
go
package authority

import (
	"server/global"
)

// UserModel 用户表对应的gorm模型
type UserModel struct {
	global.BaseModel
	Username    string `json:"username" gorm:"index;unique;comment:用户名" binding:"required"` // 用户名
	Password    string `json:"-"  gorm:"not null;comment:密码"`
	Phone       string `json:"phone"  gorm:"comment:手机号"`                          // 手机号
	Email       string `json:"email"  gorm:"comment:邮箱" binding:"omitempty,email"` // 邮箱
	Active      bool   `json:"active"`                                             // 是否活跃
	RoleModelID uint   `json:"roleId" gorm:"not null" binding:"required"`          // 角色ID
}

// TableName gorm 实现自定义表名的方式
func (UserModel) TableName() string {
	return "authority_user"
}
这里用到了一个全局通用的基础模型,代码如下:
go
// BaseModel gorm 通用基础模型
type BaseModel struct {
	ID        uint           `json:"id" gorm:"primarykey"` // 主键ID
	CreatedAt time.Time      `json:"createdAt"`            // 创建时间
	UpdatedAt time.Time      `json:"updatedAt"`            // 更新时间
	DeletedAt gorm.DeletedAt `json:"-" gorm:"index"`       // 删除时间
}
在数据库中,用户表的数据结构如下:

主要包括:
- username,用户名
- password,密码
- phone,手机号
- email,邮箱
- active,是否激活
- role_model_id,角色ID,用于给用户绑定角色
我们再来看看用户管理功能在前端界面是如何显示的:

界面上哟孤儿新增按钮,通过这个按钮,可以实现新增用户的功能,点击按钮弹出界面如下:

表单结构如下:

点击编辑按钮时,会弹出一个表单,表单如下:

点击修改密码时会弹出一个表单,表单结构如下:

不过很明显,我们并不能直接一上来就做用户管理相关的功能,因为在新增用户的时候有一个表单,这个表单里面关于角色是通过下拉框选择的,必须要先有角色,才能有用户。所以我们需要先把角色管理的功能做好。
下个文章我们分析角色管理是如何实现的。
如果您要本套管理系统的完整代码或者视频课程,可以留言哦。