什么是 Teleport ?
Teleport作为一个开源访问控制系统,设计用于增强现代基础设施的安全性,同时提供易用性和灵活性。Teleport能够提供安全的远程访问和会话管理,并且支持多因素身份验证。
Teleport 具有以下主要特性:
- 堡垒机:通过
Teleport,用户可以安全地远程访问服务器和集群。 SSH代理:Teleport提供了一个SSH代理,可以将用户隔离到独立的会话中,并且支持会话录制和审计。- 多因素身份验证:
Teleport支持多种身份验证方式,包括TOTP、U2F和LDAP等。 Web界面:Teleport提供了一个易于使用的Web界面,方便用户管理和监控远程访问。- 多协议支持:
Teleport不仅支持SSH,还理解HTTPS、RDP、Kubernetes API、MySQL、MongoDB和PostgreSQL等多种协议。 - 统一访问控制:
Teleport提供了一个统一的访问控制系统,可以集中管理各种资源的访问权限。
安装
在群晖上以 Docker 方式安装。
docker镜像地址:https://gallery.ecr.aws/gravitational
采用命令行安装方式,首先需要用 SSH 客户端登录到群晖主机
创建目录
用于挂载到容器
bash
# 新建文件夹 teleport 和 子目录
mkdir -p /volume1/docker/teleport/{config,data}

# 进入 teleport 目录
cd /volume1/docker/teleport
生成配置文件
将容器的名称设置为
localhost,以便浏览器可以信任代理服务的自签名TLS证书
bash
# 生成配置文件
docker run --rm \
  --hostname localhost \
  --entrypoint=/usr/local/bin/teleport \
  public.ecr.aws/gravitational/teleport:14.3.19 configure --roles=proxy,auth > ./config/teleport.yaml
打开文件 teleport.yaml
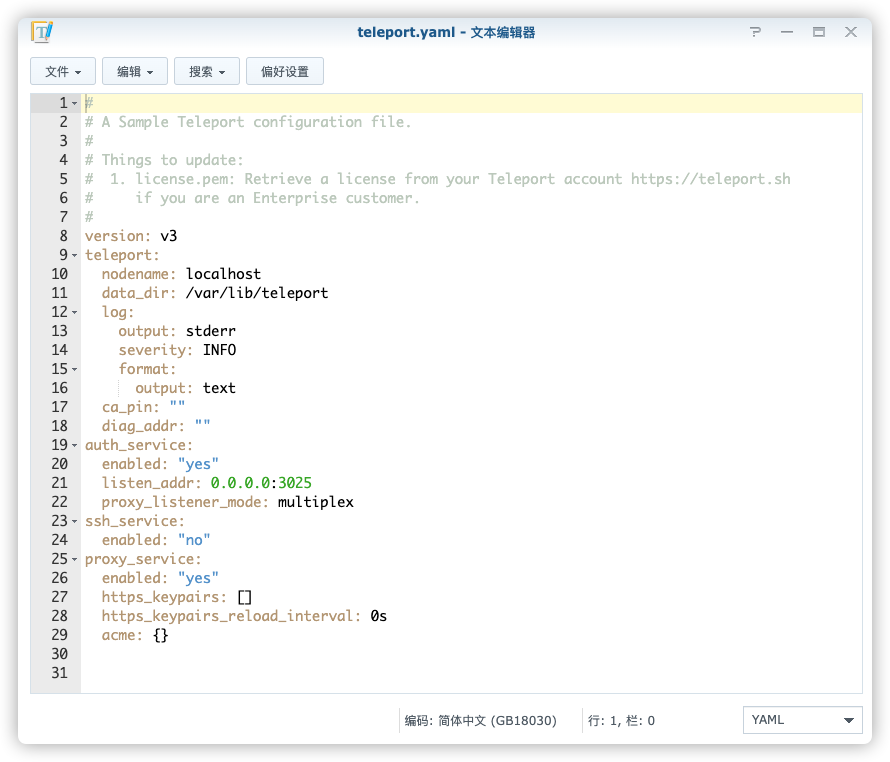
需要手动添加对 web 的侦听,否则访问网页会打不开
老苏在局域网使用,所以用的局域网
IP
yaml
proxy_service:
  web_listen_addr: 0.0.0.0:3080
  public_addr: <您的服务器公网IP>:3080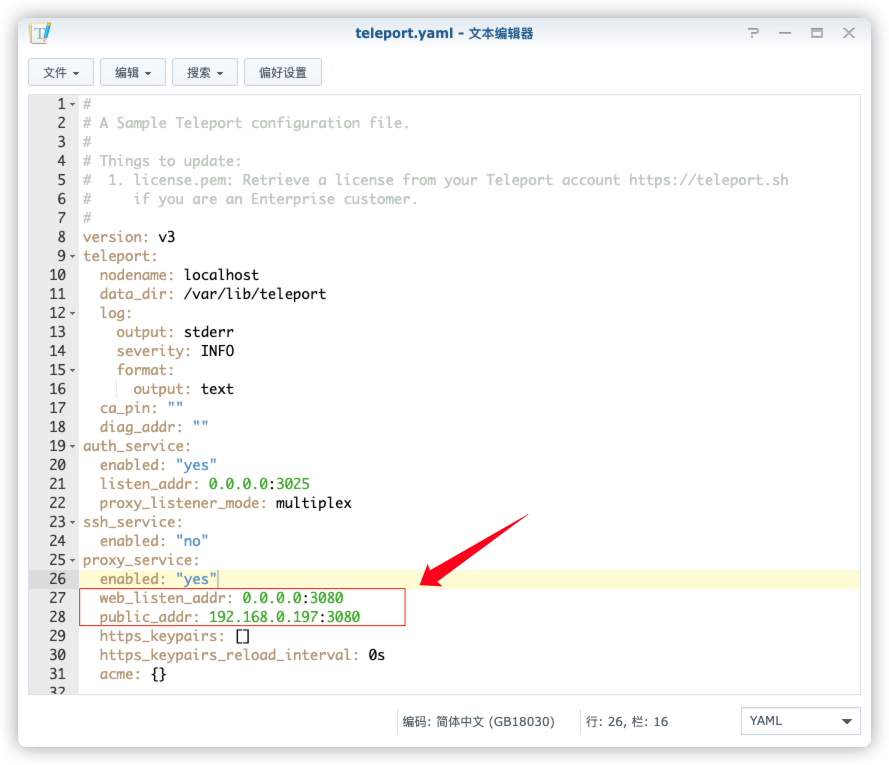
启动 Teleport
bash
# 运行容器
docker run -d \
  --hostname localhost \
  --name teleport \
  -p 3023:3023 \
  -p 3024:3024 \
  -p 3025:3025 \
  -p 3080:3080 \
  -v $(pwd)/config/teleport.yaml:/etc/teleport/teleport.yaml \
  -v $(pwd)/data:/var/lib/teleport \
public.ecr.aws/gravitational/teleport:14.3.19一般来说,Teleport 在 Docker 中主要使用以下端口:
3023:用于SSH代理3024:用于反向隧道(如果需要)3025:用于Auth服务3080:用于Web UI和HTTPS代理
更多的端口请参考官方文档:https://goteleport.com/docs/reference/networking/#ports
运行
在浏览器中输入 https://群晖IP:3080
⚠️ 注意:是
https而不是http
点 高级

选择 继续前往
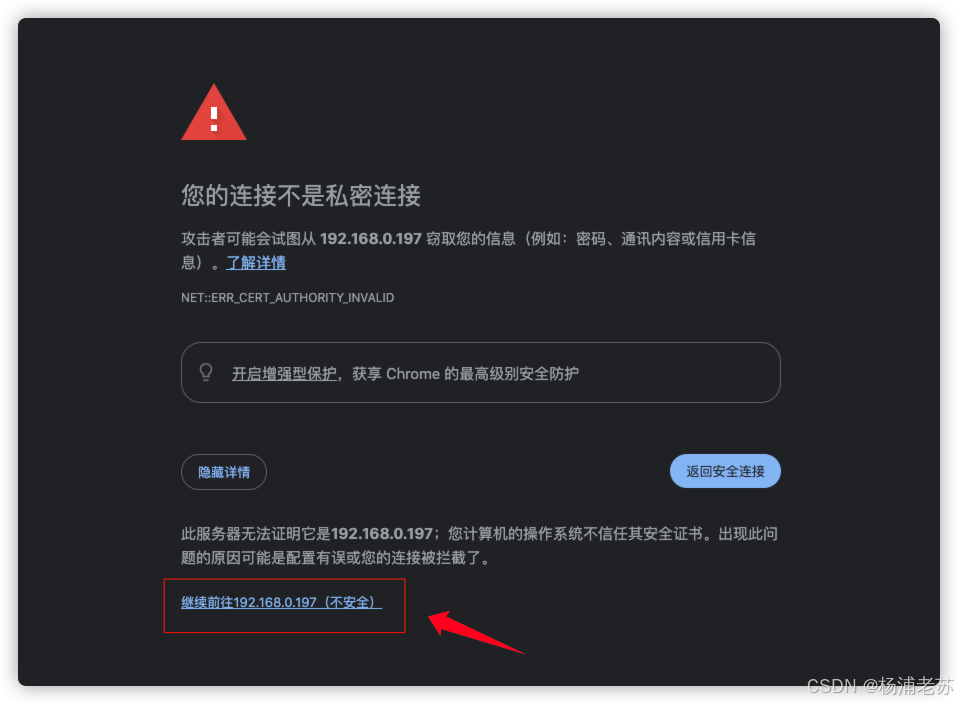
然后就会看到登录界面了
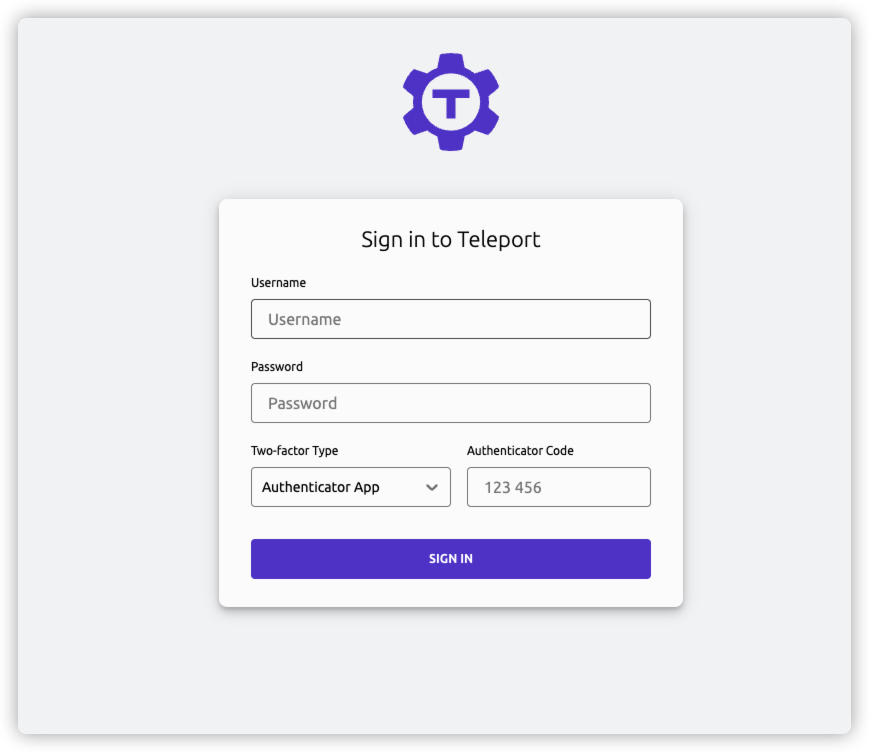
但是现在我们还没有账号,所以还需要创建账号
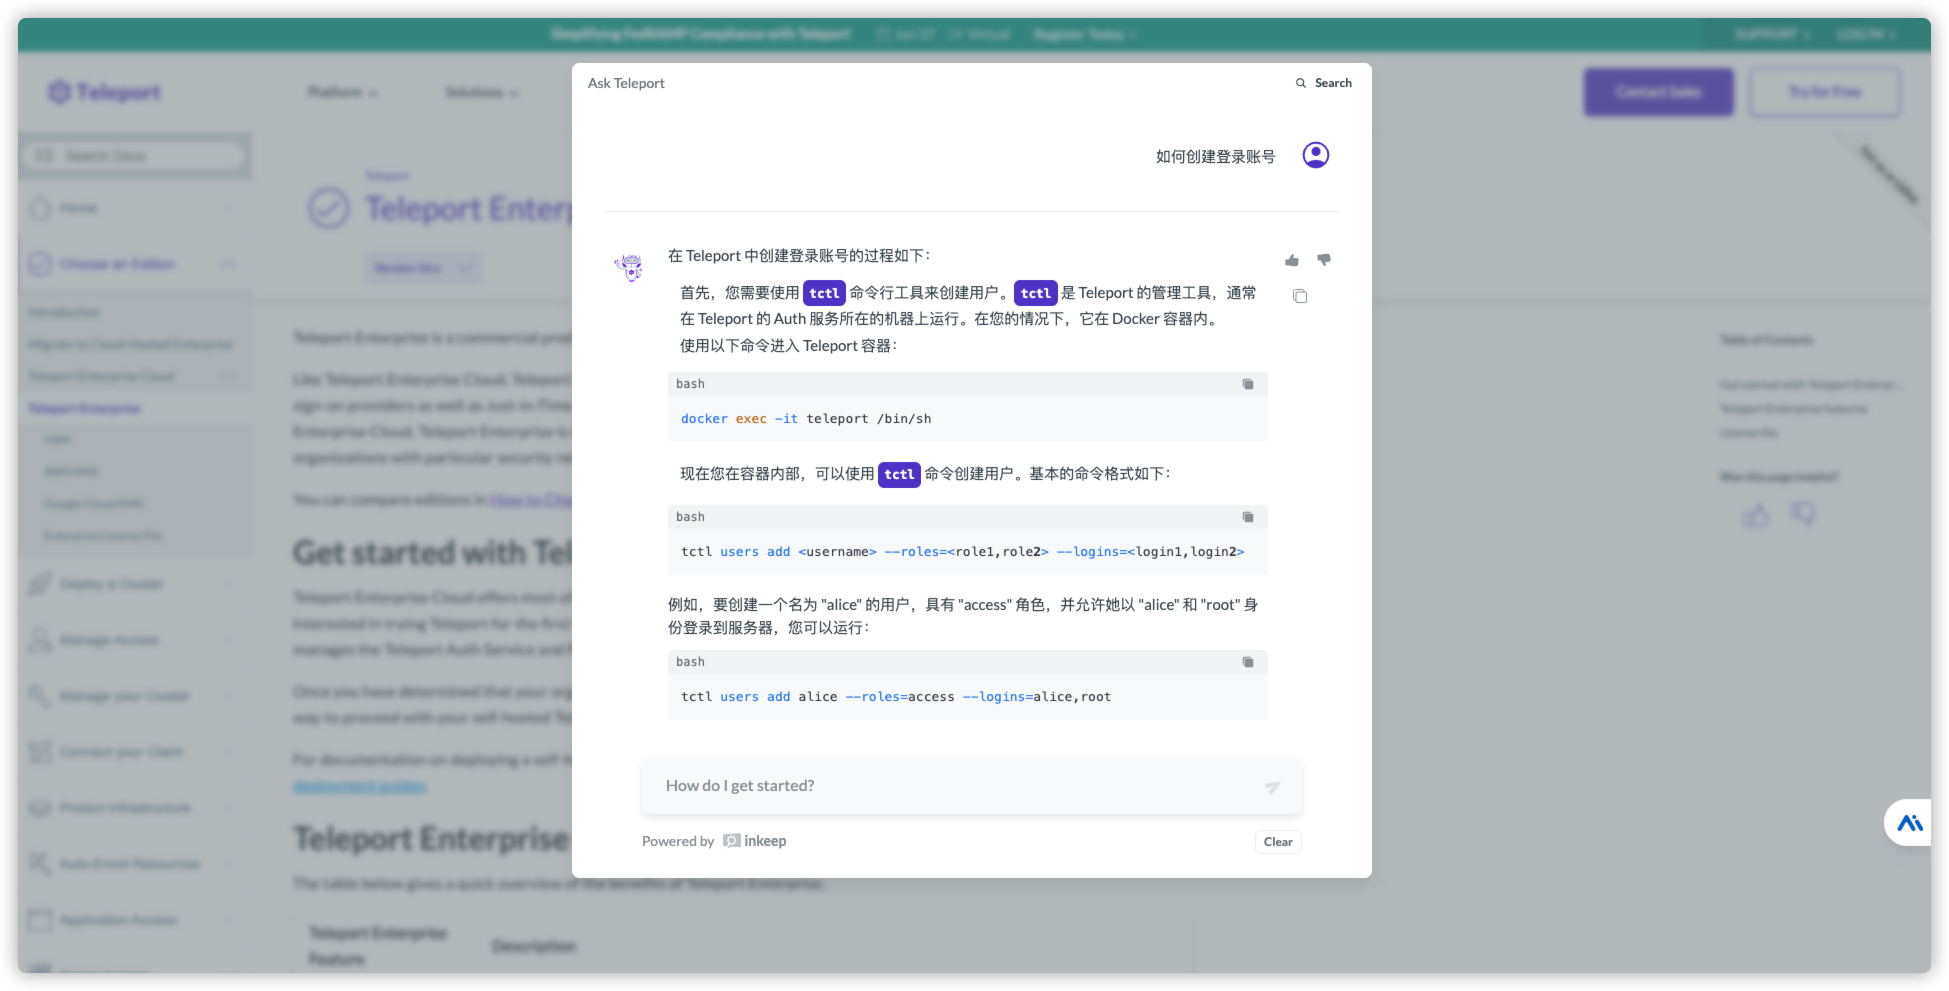
创建用户
执行下面的命令进入容器
bash
# 进入容器
docker exec -it teleport /bin/sh
现在已经在容器内部,可以使用 tctl 命令创建用户。基本的命令格式如下
bash
# 基本命令
tctl users add <username> --roles=<role1,role2> --logins=<login1,login2>

# 示例
tctl users add laosu --roles=access,auditor,editor --logins=laosu,root
示例创建了一个名为
laosu的用户,具有access、auditor、editor三个角色,并允许他以laosu和root身份登录到服务器
执行此命令后,Teleport 将生成一个注册链接。该链接将允许用户设置他们的密码和二次认证方式。
log
User "laosu" has been created but requires a password. Share this URL with the user to complete user setup, link is valid for 1h:
https://<proxy-address>:3080/web/invite/<token>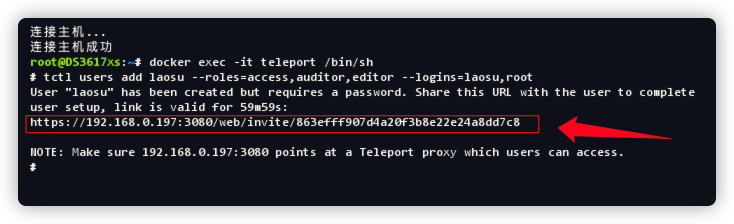
将此链接发送给用户。用户需要在链接过期之前(默认为1小时)访问此链接来完成账户设置。
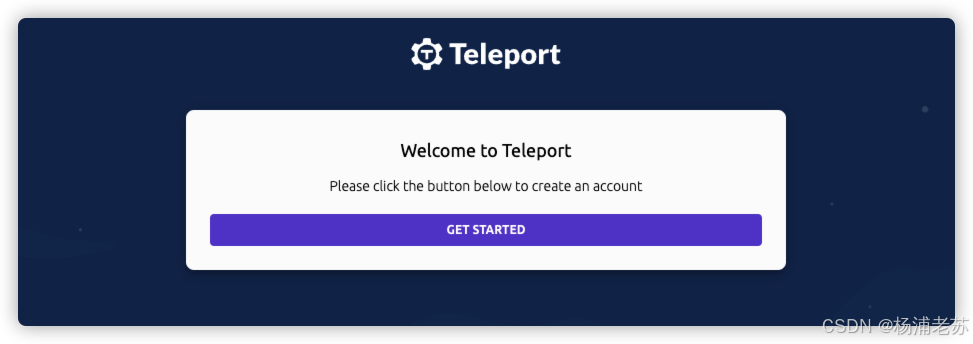
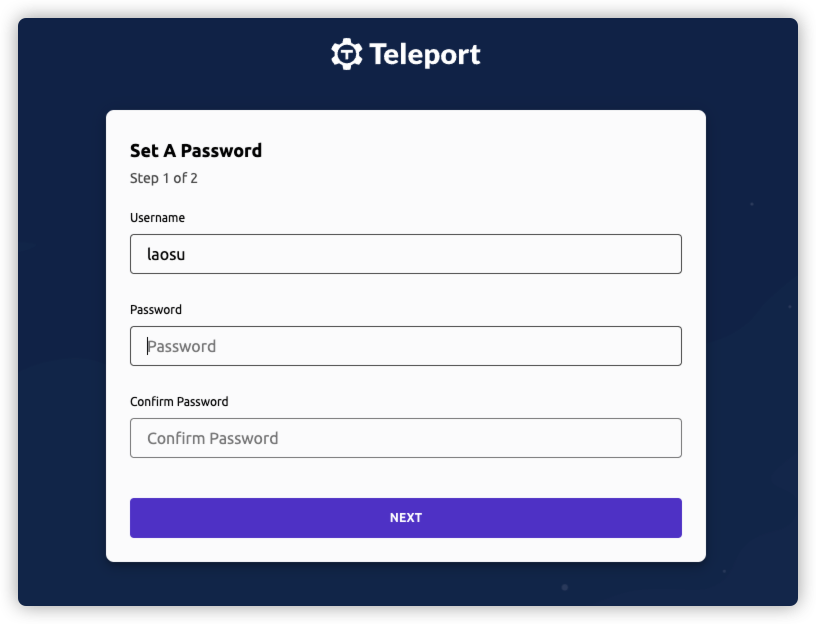
点 GET STARTED 开始填写密码
需要用 Authy 作为 opt 设备扫描二维码
Authy是一款跨平台的、支持多个设备同时使用的两步验证(2FA)管理工具,基于TOTP协议,旨在提高账户的安全性。主要功能是生成时间敏感的一次性密码(OTP),这些密码可以在每次登录时使用,作为双重验证的一部分,能够显著提升用户账户的安全性。

扫描完成后,输入在 Authy 上生成的 6 位数字
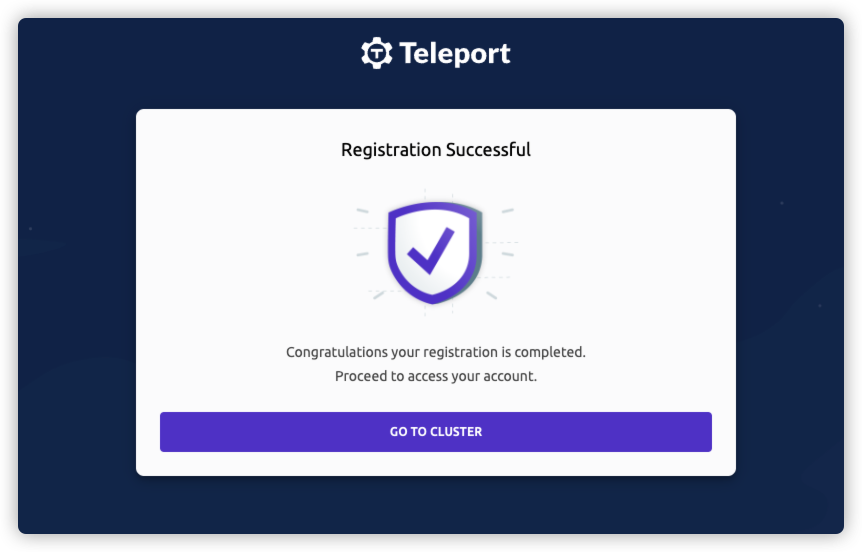
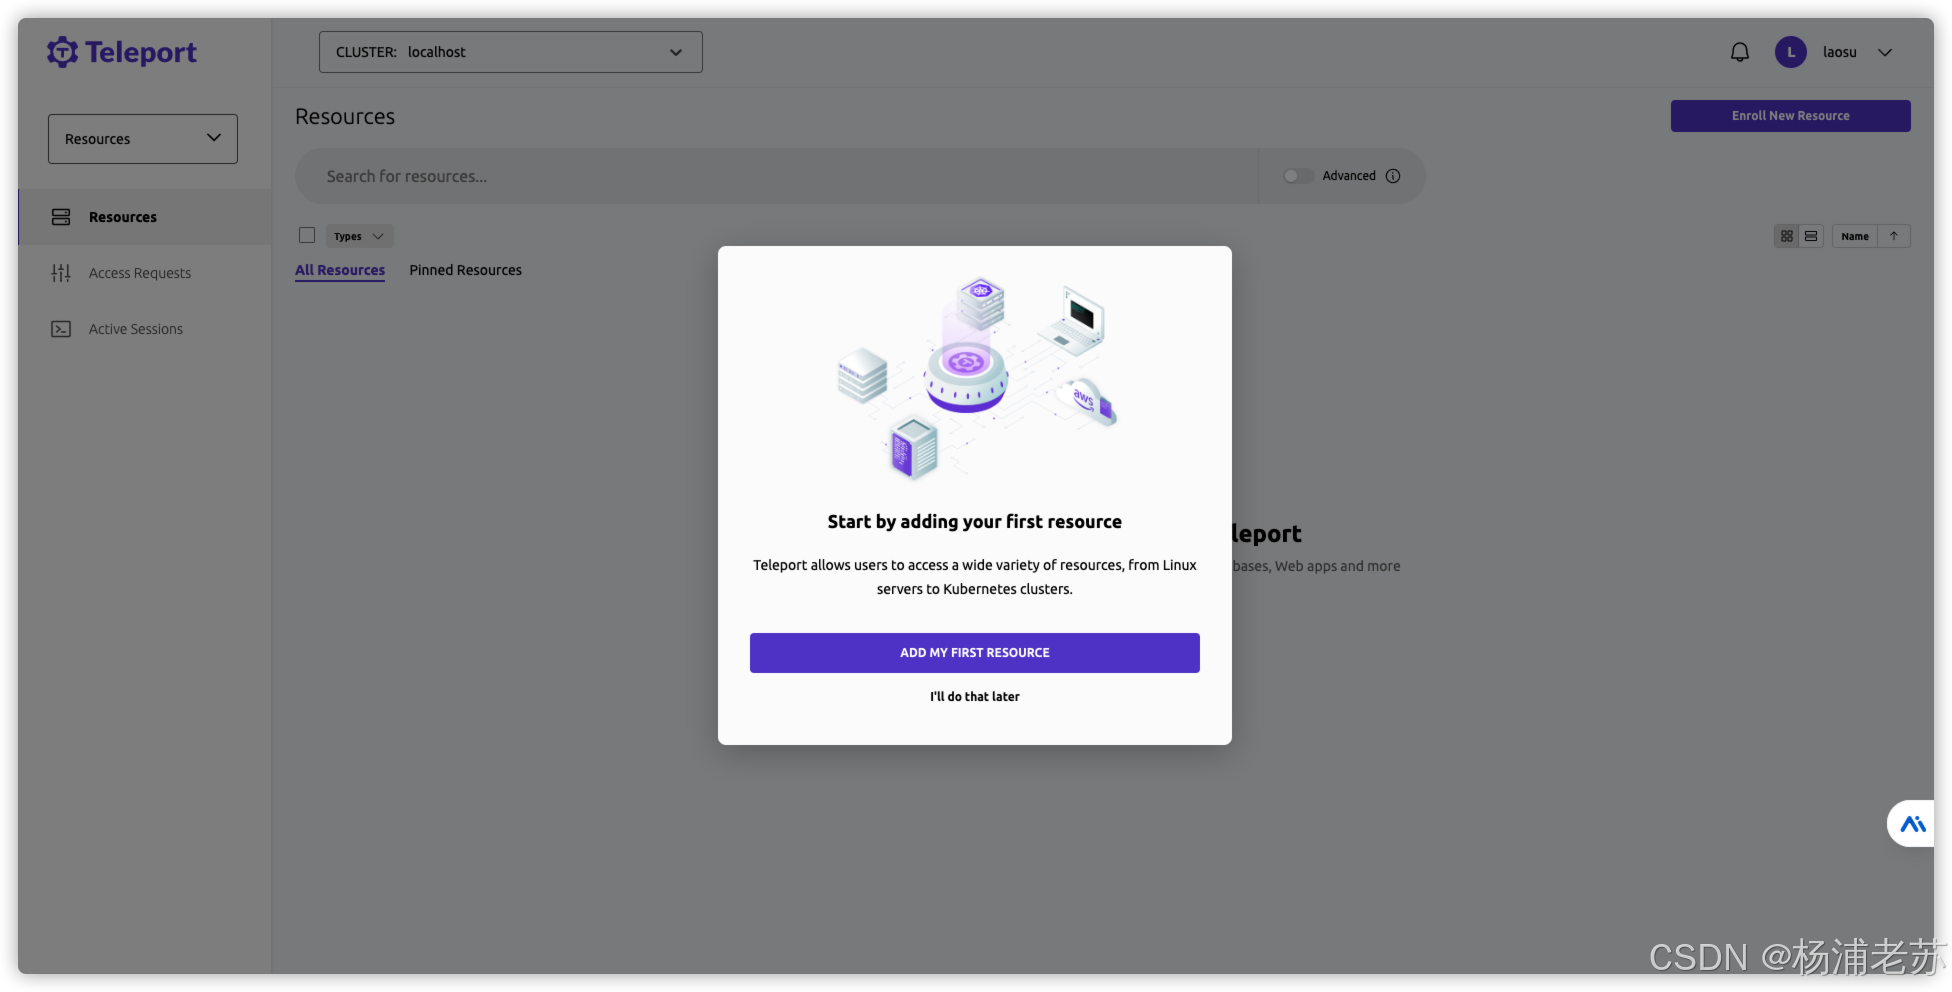
验证通过后,就注册成功了。会自动进入首界面,可以点 ADD MY FIRST RESOURCE 添加资源了
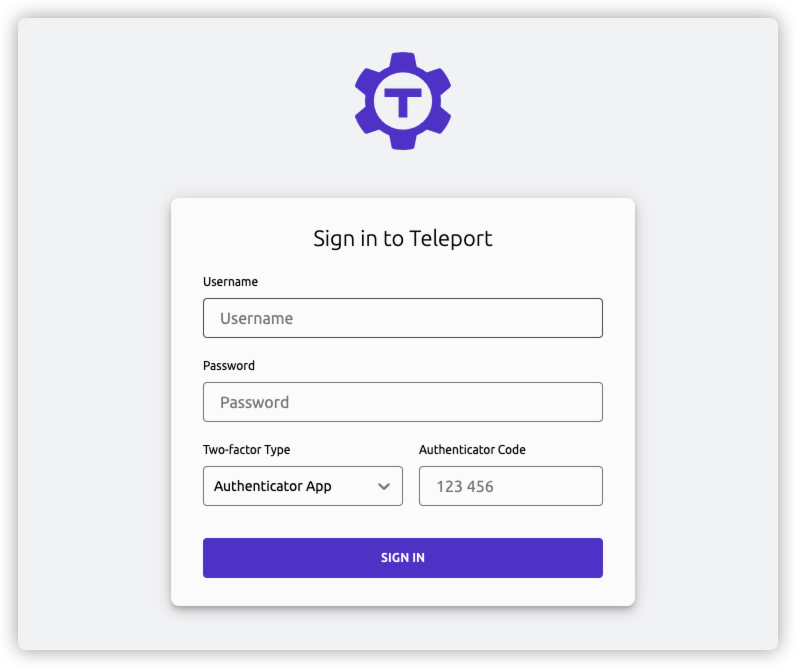
之后的登录,除了账号、密码外,还需要 Authy 上生成的身份验证码
添加资源
可以从左上角切换到 Management 界面
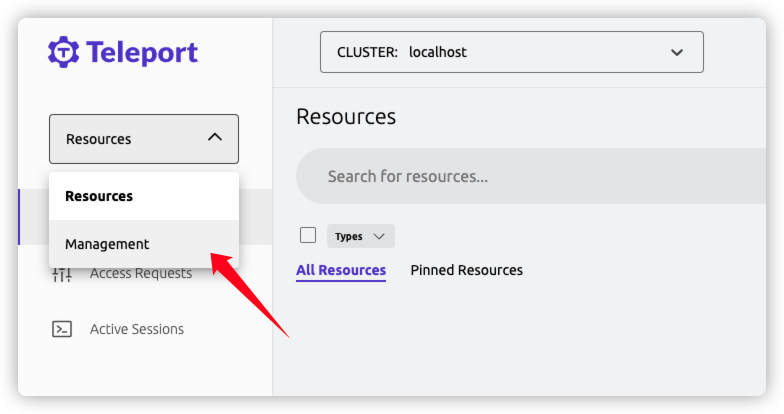
现在你要新增的资源(Resource)
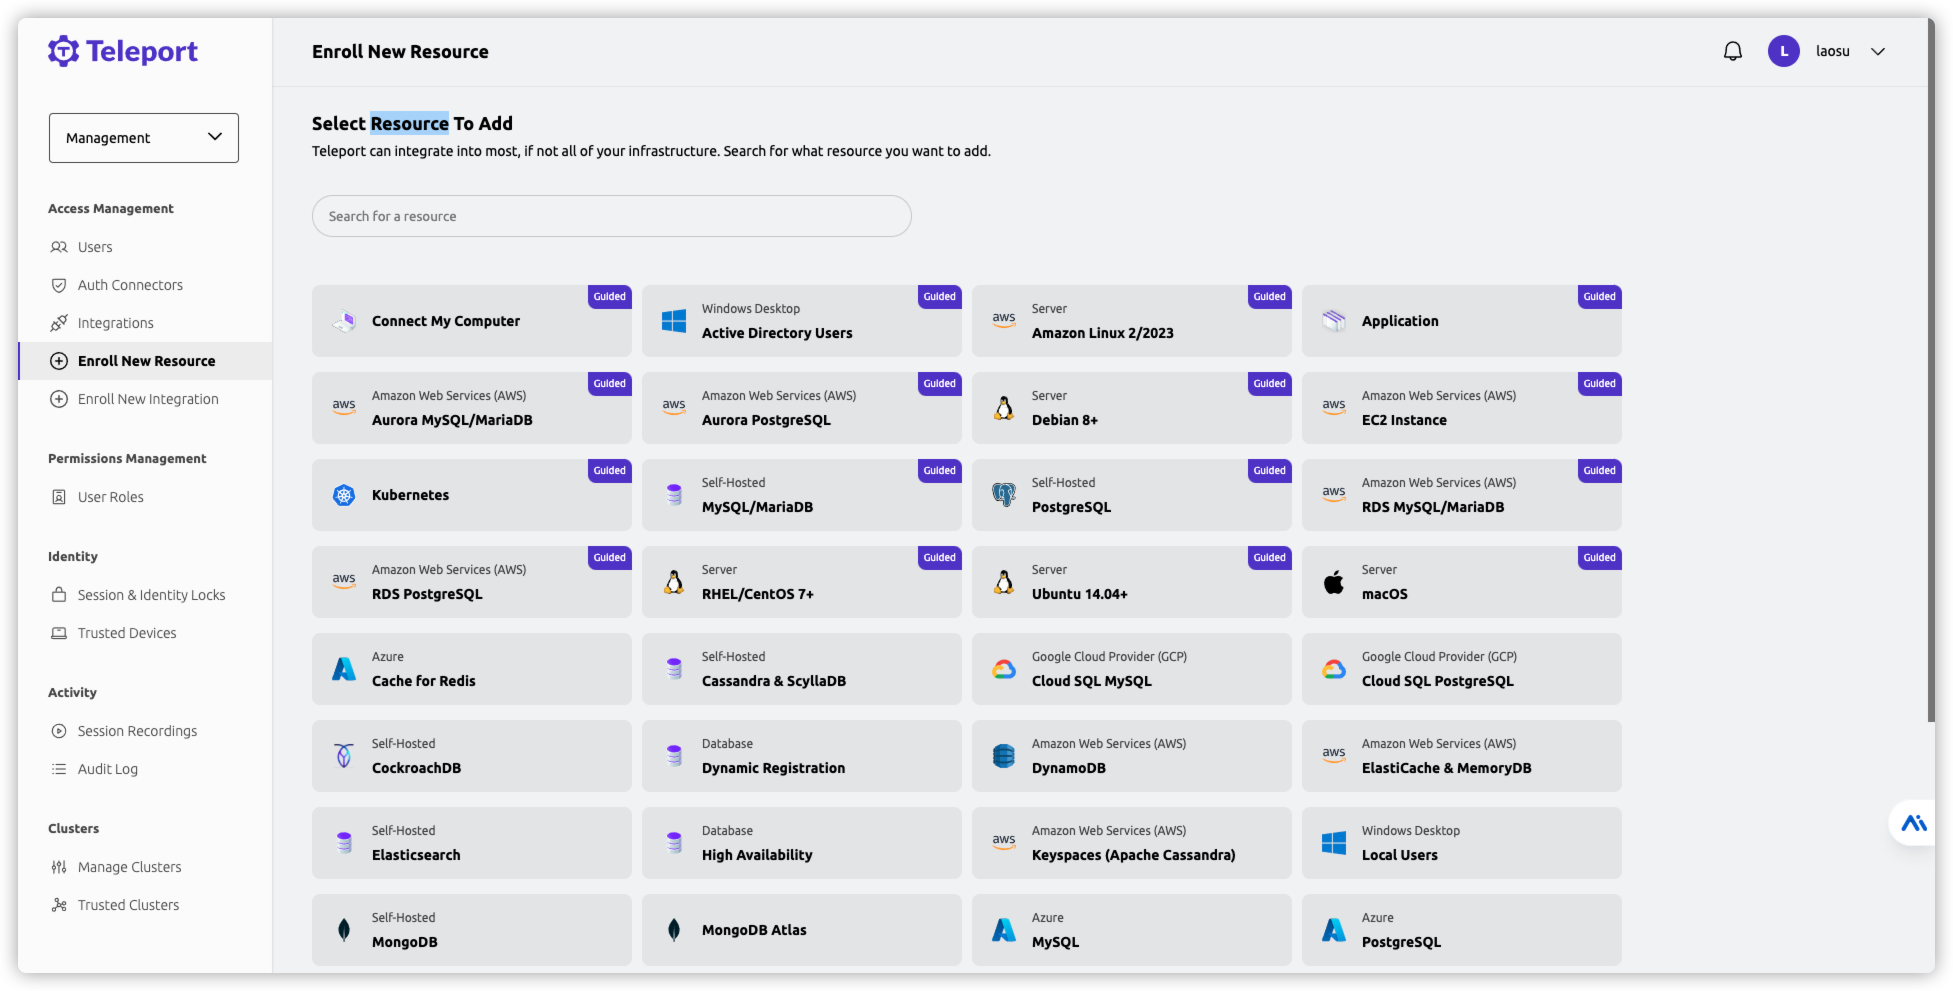
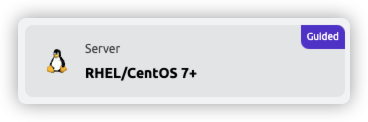
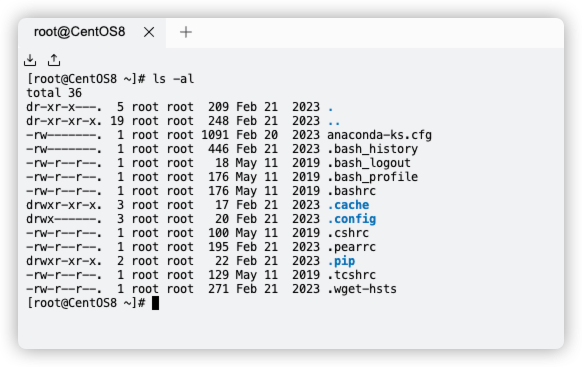
以老苏的编译镜像的虚拟机 CentOS 8 为例,选择了 RHEL/CentOS 7+
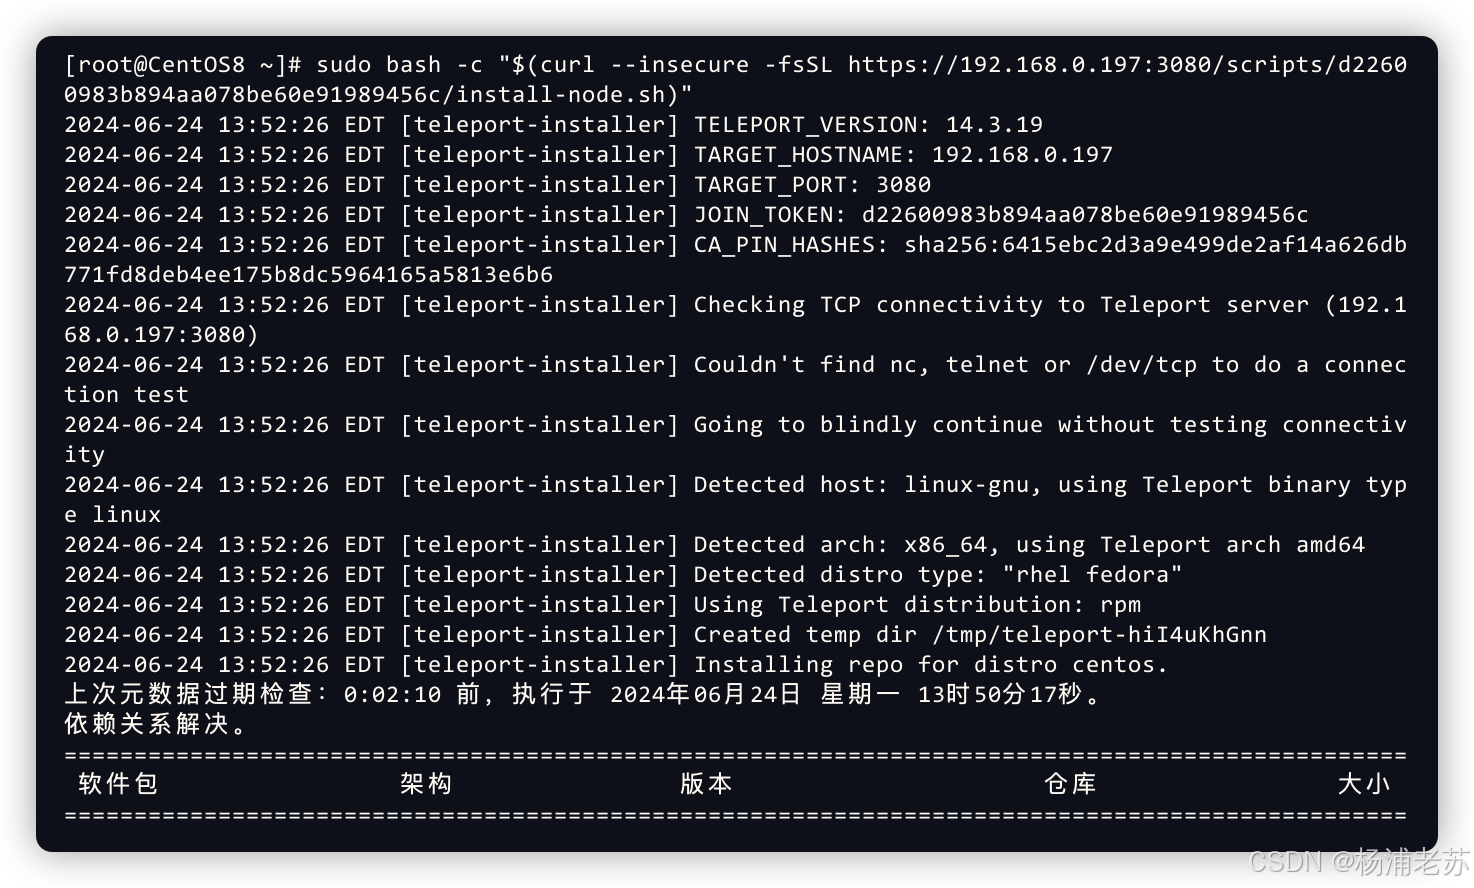
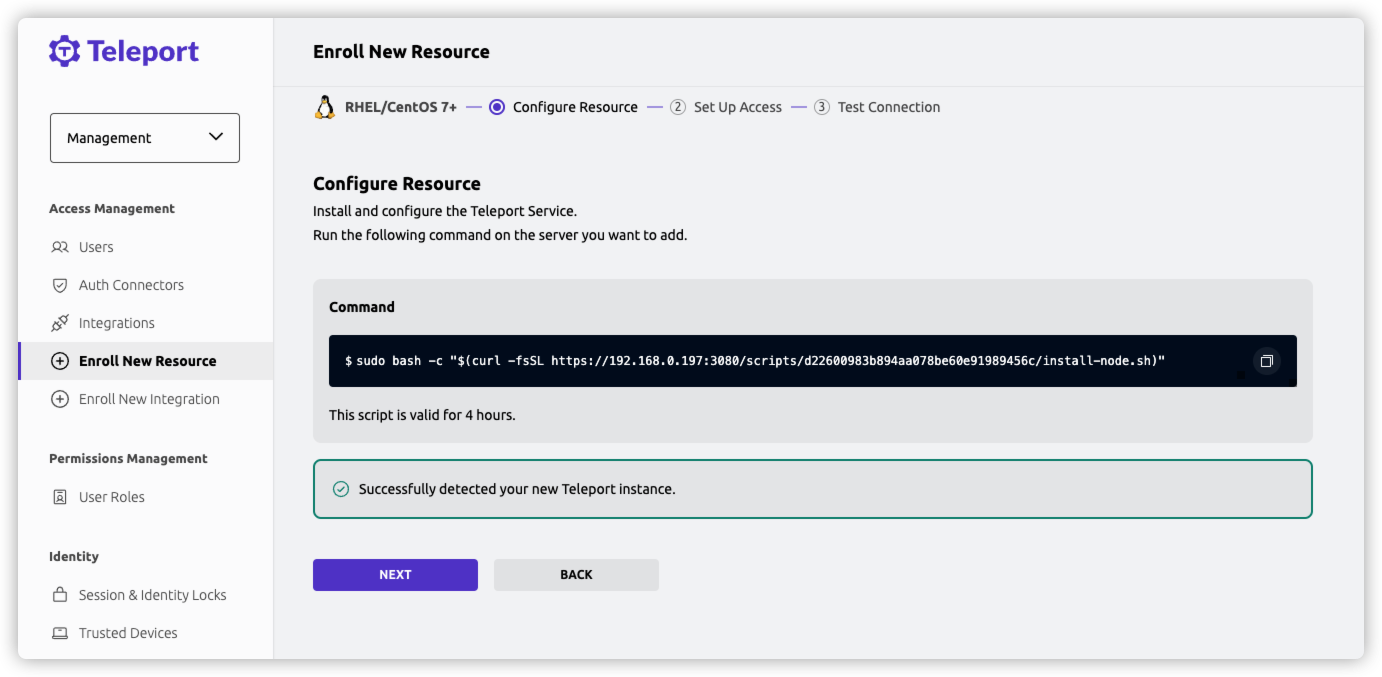
需要在 CentOS 上执行下面的命令
脚本是有时限的,默认是
4小时
bash
sudo bash -c "$(curl --insecure -fsSL https://192.168.0.197:3080/scripts/ada9610f30751d3f2be8f6059a78e836/install-node.sh)"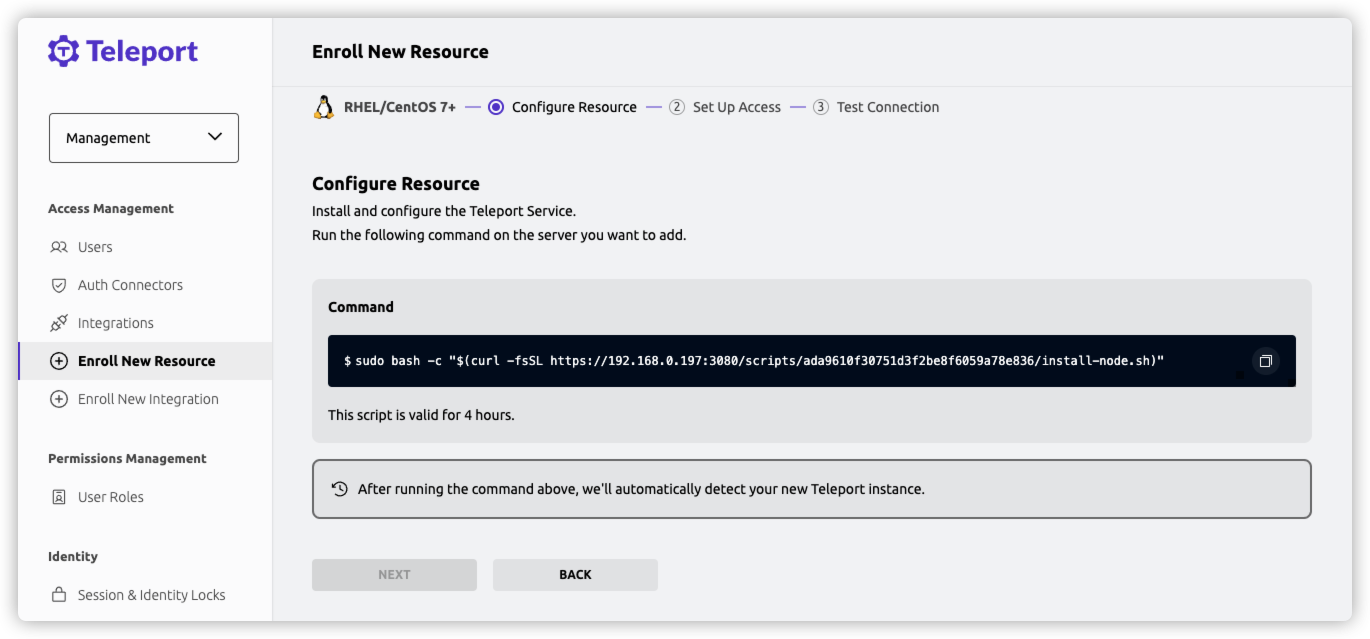
老苏新增了使用
--insecure标志来信任Teleport的自签名证书。在生产中,您需要从受信任的CA(例如Let's Encrypt)向代理服务提供TLS凭据。
这里我们假设你的网络访问相关资源是没问题,否则你会看到👇这样的内容
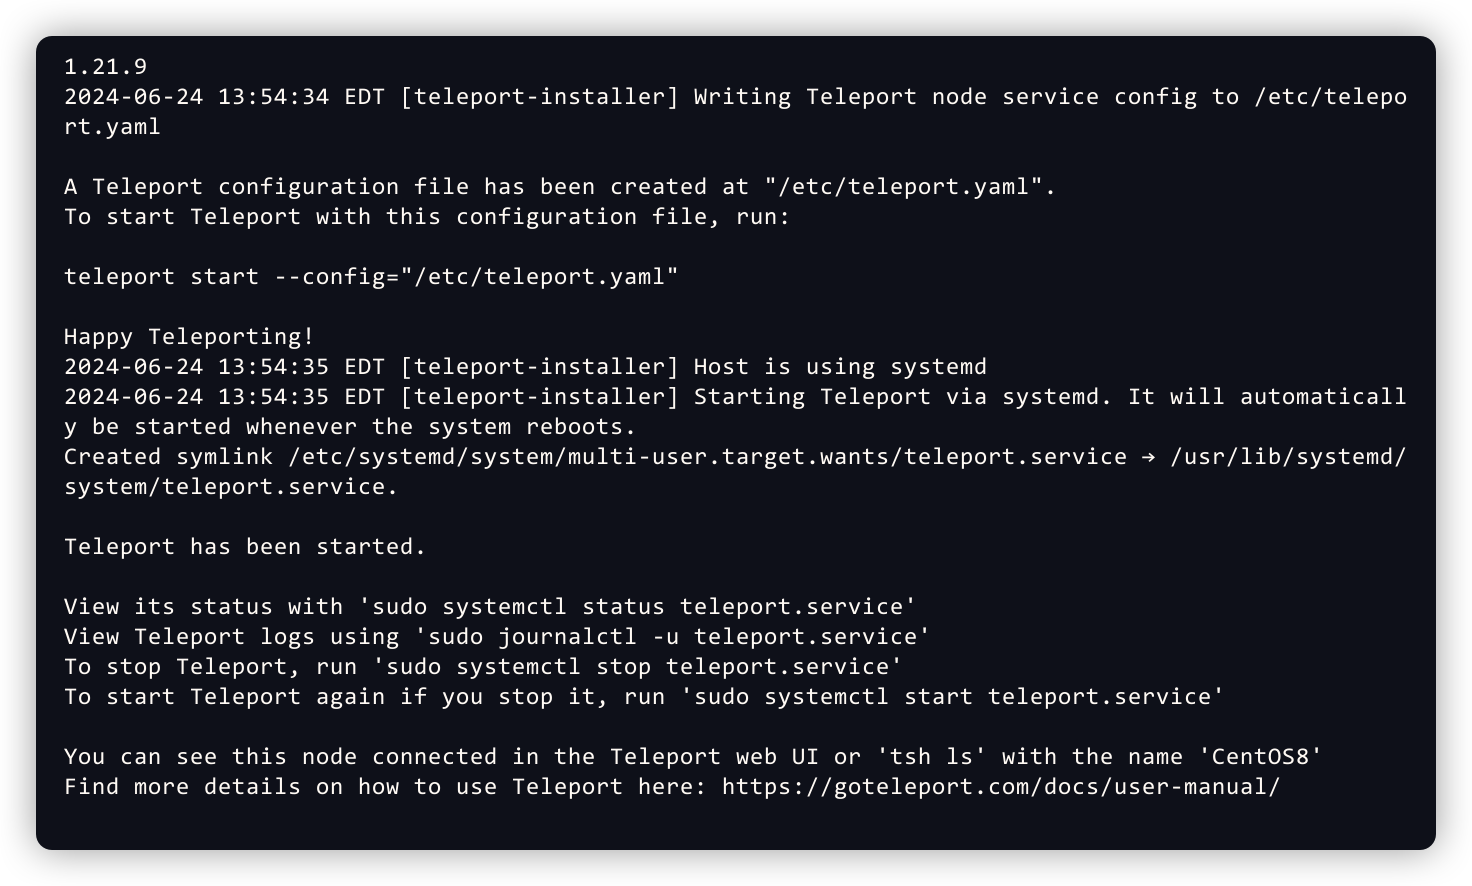
安装完成后
正常情况下应该会自动检测到 Teleport 实例,但实际上可能会一直处于等待中 We're still looking for your server
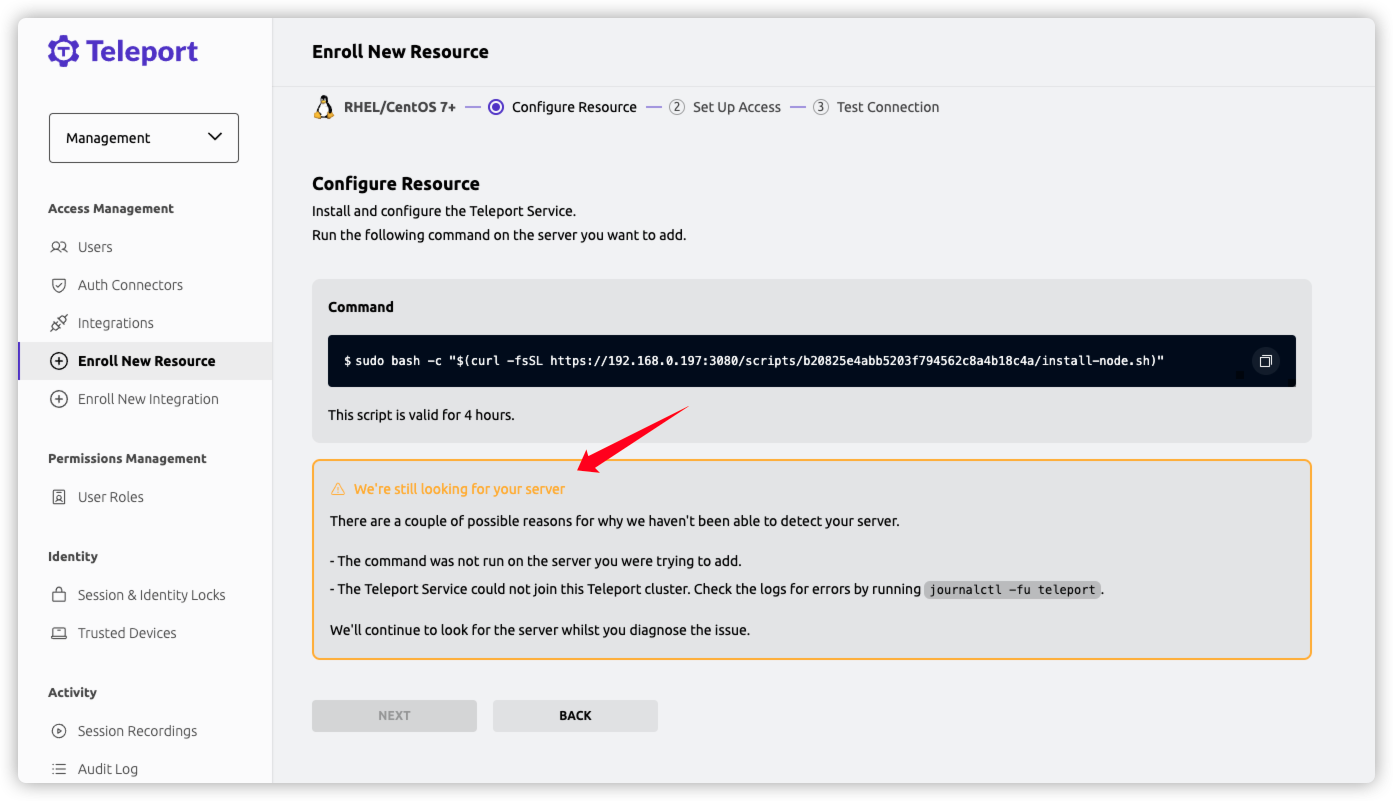
因为我们的证书是自签的,而不是受信任的,所以需要禁用证书验证,这可能会带来安全风险。所以下面的步骤应该只作为临时的故障排除措施使用,不建议在生产环境中长期使用。
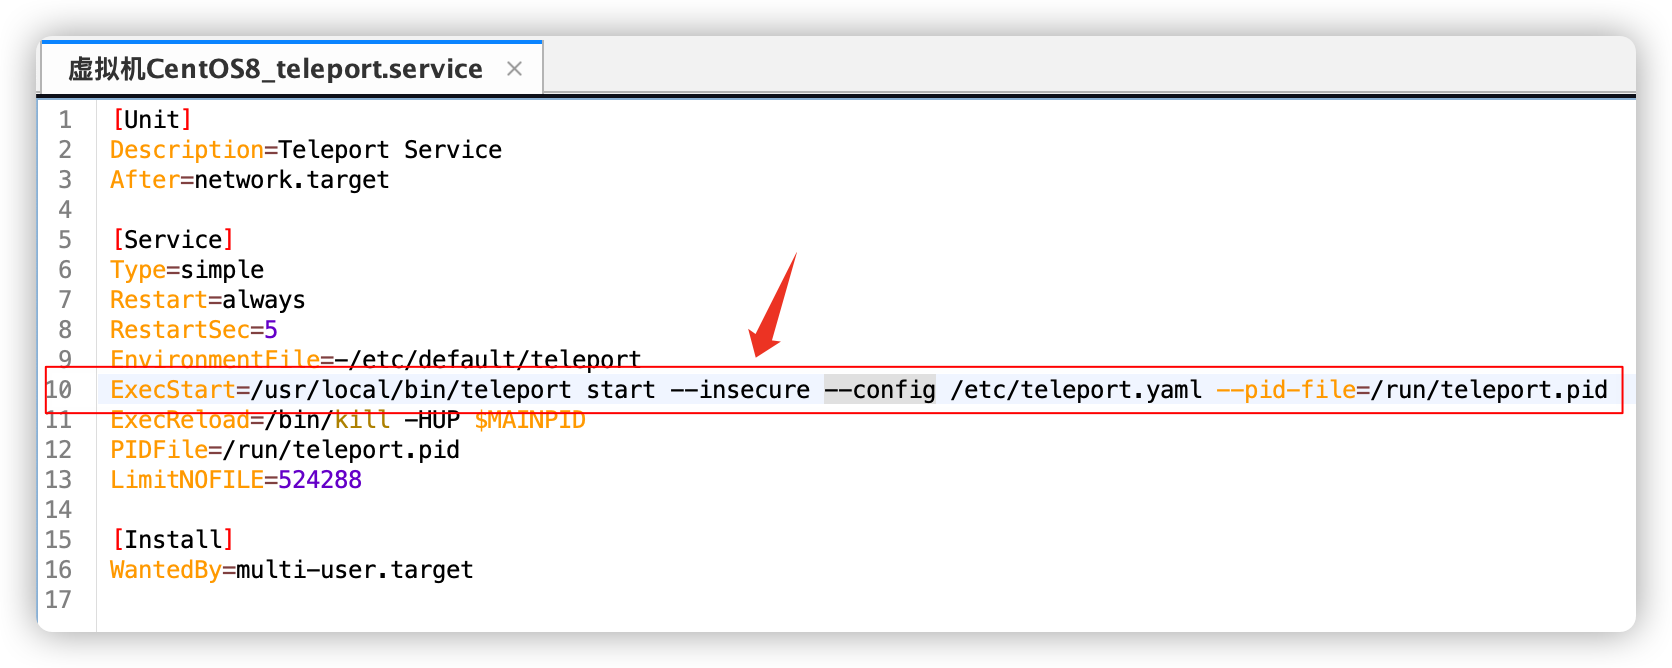
找到 /etc/systemd/system/multi-user.target.wants/teleport.service 文件,在 ExecStart 中增加 --insecure 参数
从 ExecStart=/usr/local/bin/teleport start --config /etc/teleport.yaml --pid-file=/run/teleport.pid
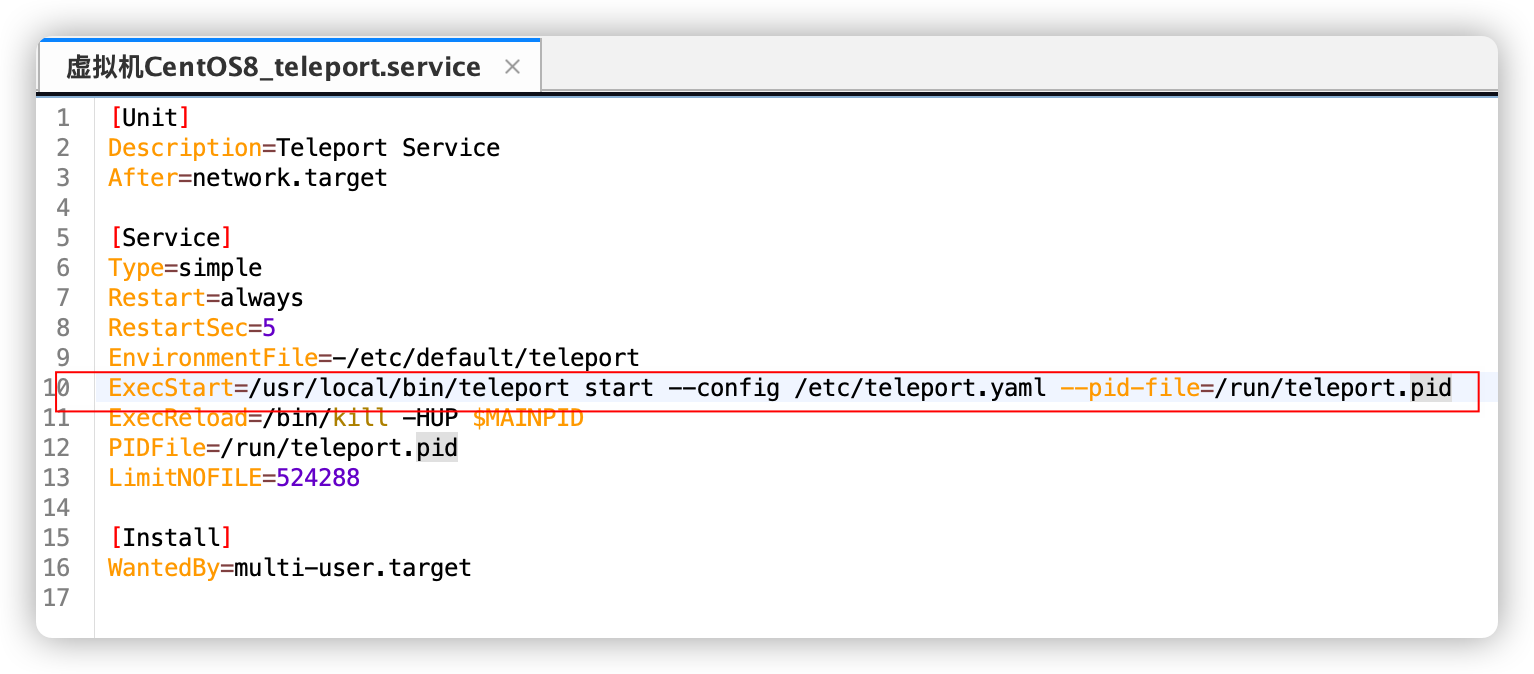
改为 ExecStart=/usr/local/bin/teleport start --insecure --config /etc/teleport.yaml --pid-file=/run/teleport.pid
保存之后,再需要执行下面👇的命令
bash
# 重新加载 systemd 配置
sudo systemctl daemon-reload

# 重启 Teleport 服务
sudo systemctl restart teleport

# 检查 Teleport 服务状态
sudo systemctl status teleport

# 检测日志
sudo journalctl -fu teleport
如果没问题的话,应该很快就会看到新实例连接成功的信息
点 Next
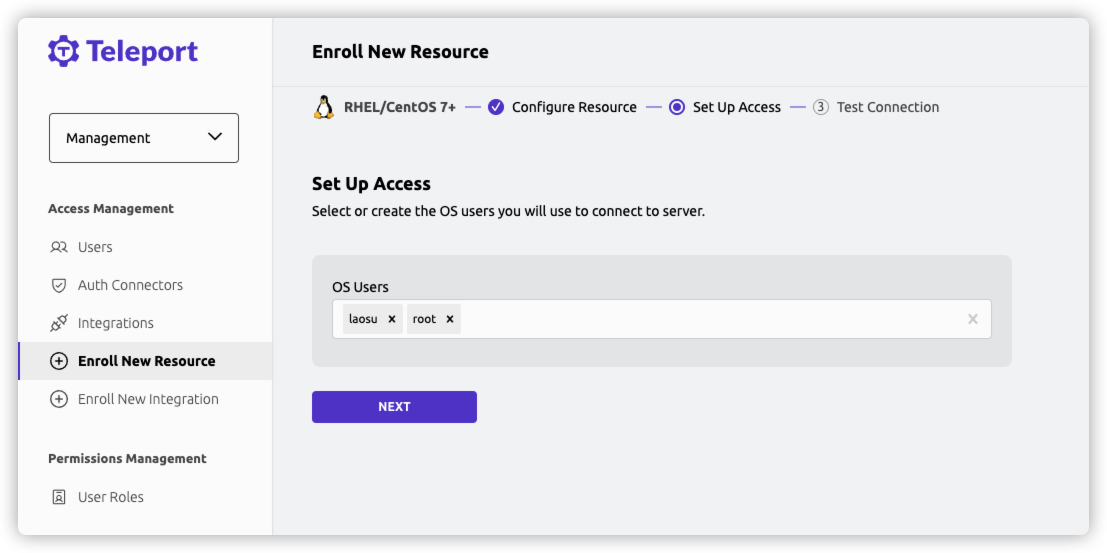
选择用户
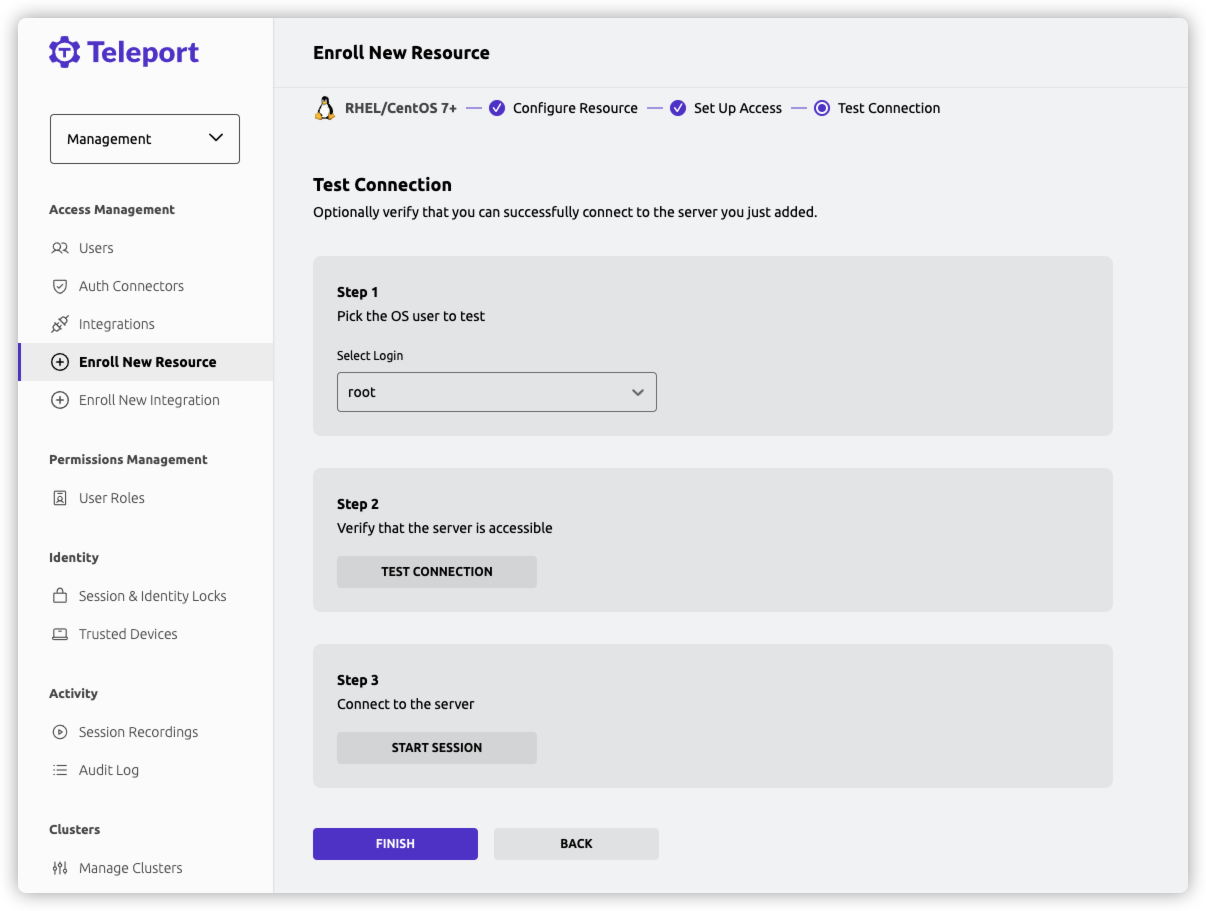
可以测试连接
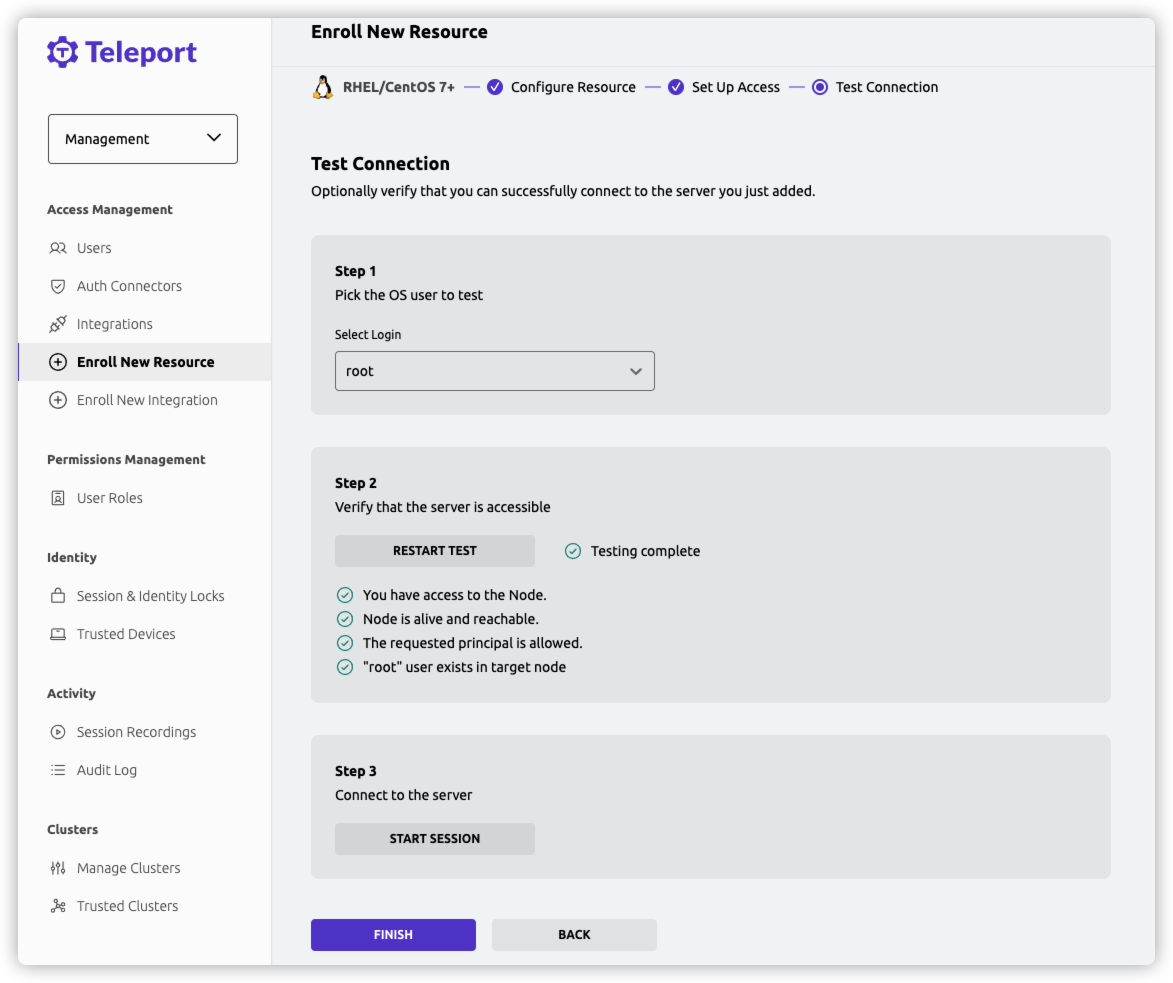
完成后
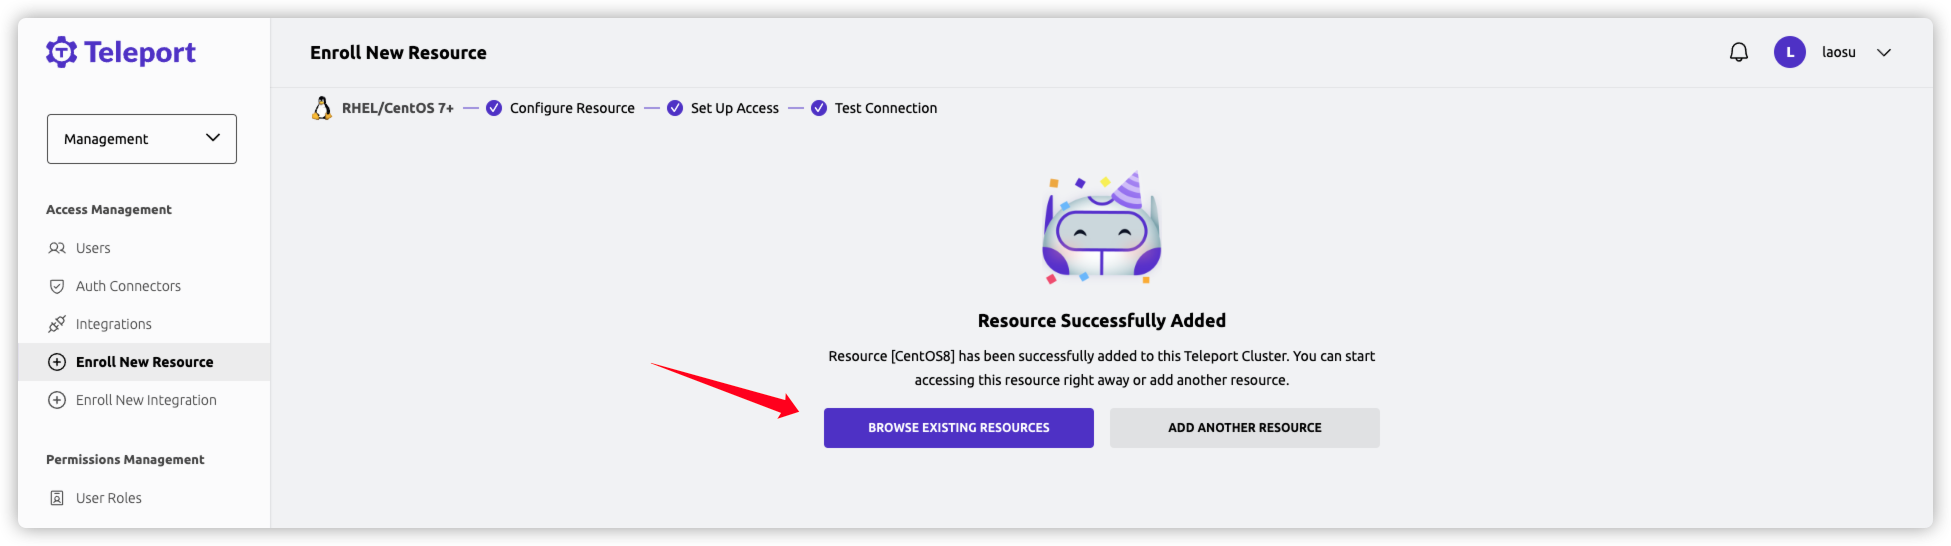
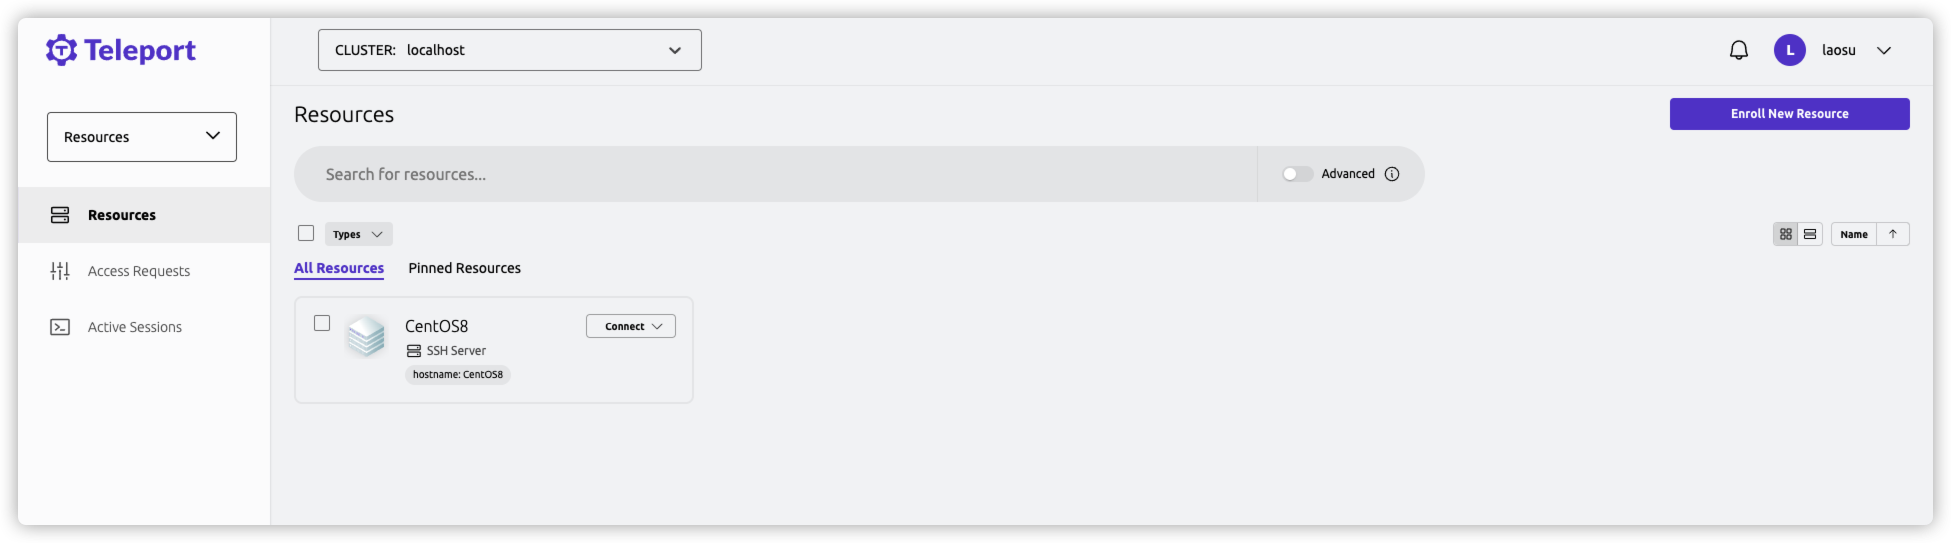
可以查看添加成功的资源
可以选择不同的身份连接
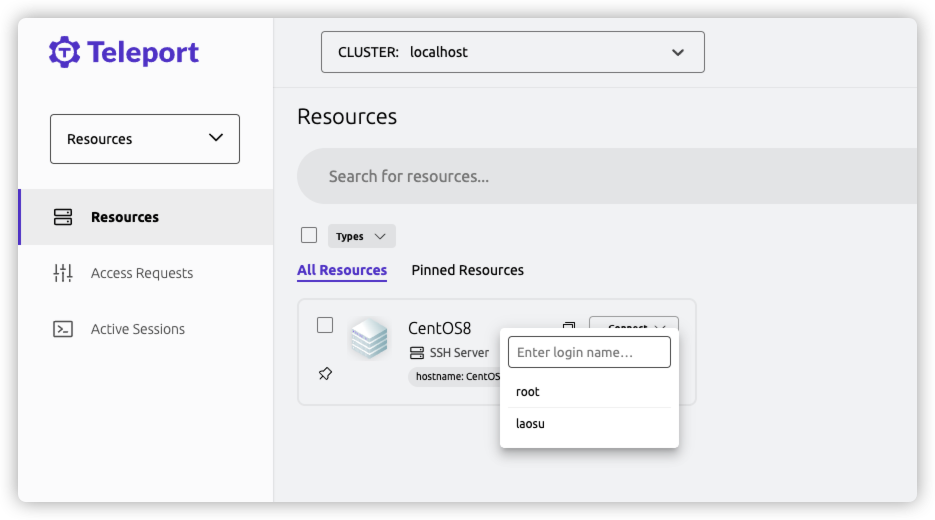
连接成功后
问题处理
在安装过程中遇到任何问题,都可以在官方文档:https://goteleport.com/docs/

点 Switvh to Ask AI 切换到 AI模式提问
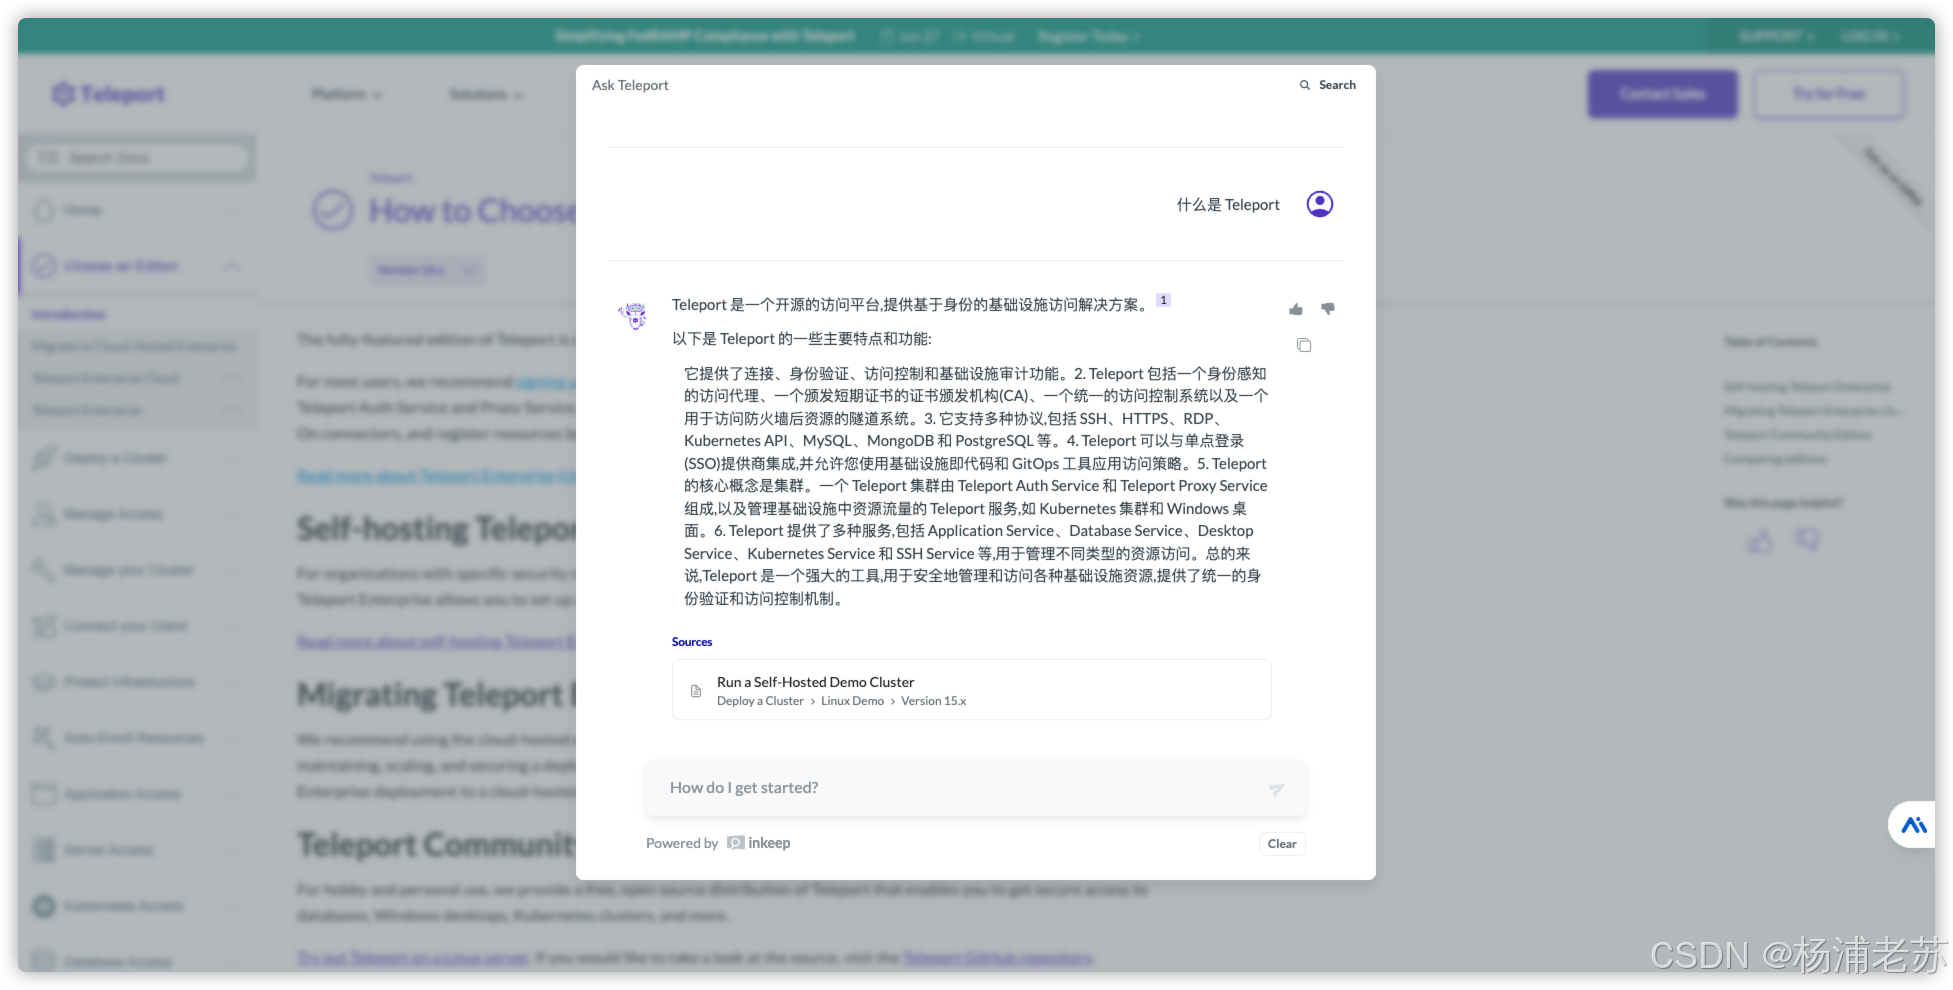
例如如何创建账号
或者亚要不要暴露端口,AI 都能给你满意的答案

参考文档
gravitational/teleport: Certificate authority and access plane for SSH, Kubernetes, web apps, databases and desktops
地址:https://github.com/gravitational/teleport/
Teleport: Easiest, most secure way to access infrastructure | Teleport地址:https://goteleport.com/
Installing Teleport | Teleport Docs地址:https://goteleport.com/docs/installation/#docker
Introduce support for Synology NAS · Issue #4754 · gravitational/teleport