1、安装QtSide6
开始菜单cmd

创建虚拟环境
python -m venv env2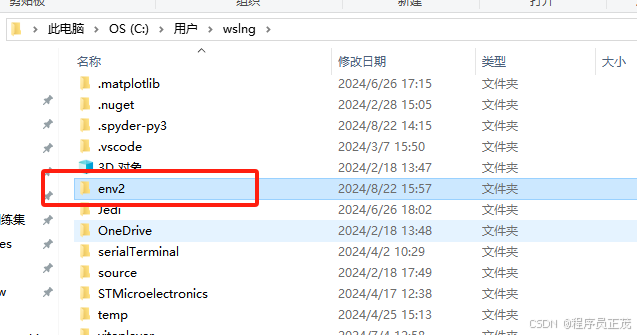
进入虚拟环境
call env2/scripts/activate安装Pyside6
pip install Pyside6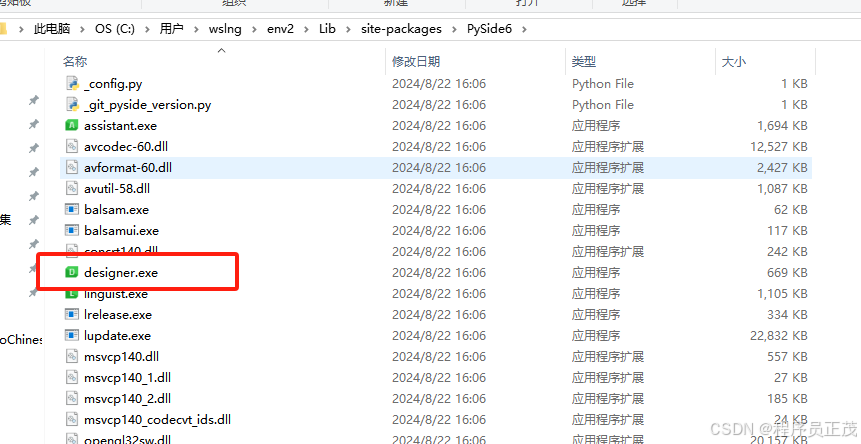
2、设计Qt界面
打开designer.exe,设计界面
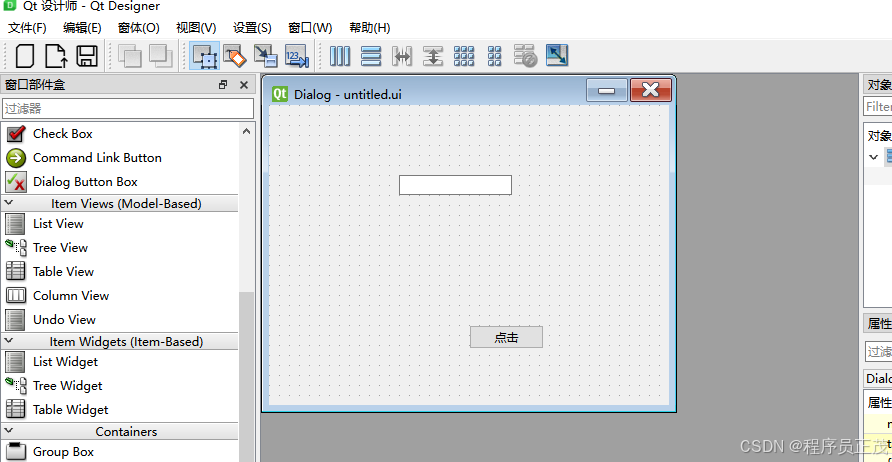
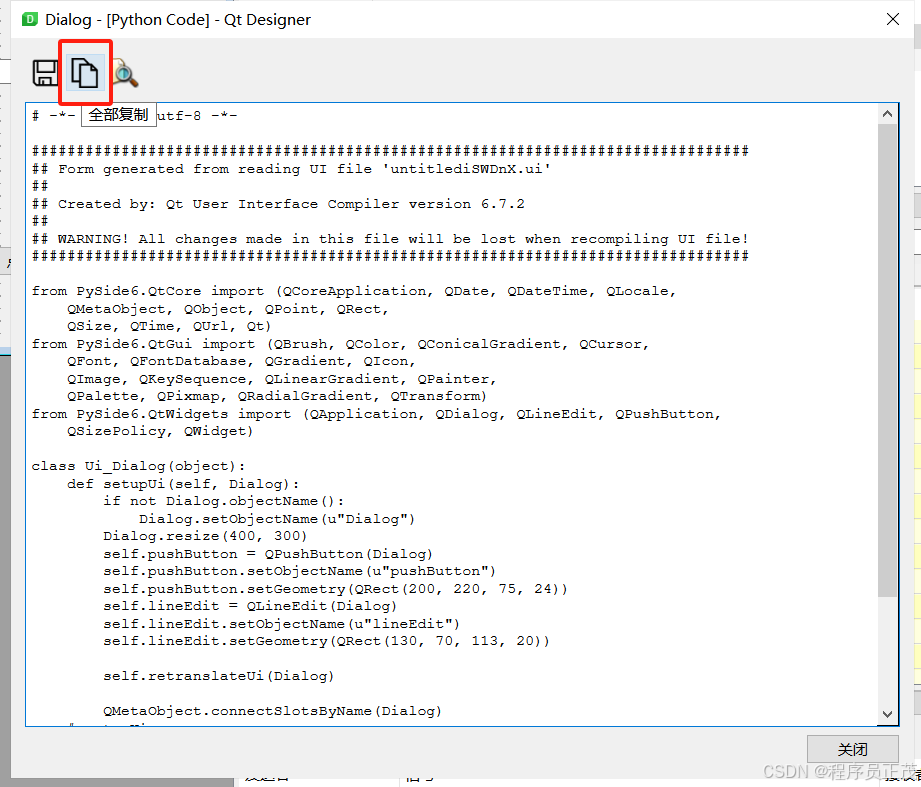
点击菜单【窗体】【View Python Code...】,点击【全部复制】按钮进行复制
3、使用Qt界面
打开PyCharm,新建工程,选择虚拟环境的python.exe

新建ui.py,将designer中的Python代码粘贴过去
python
# -*- coding: utf-8 -*-

################################################################################
## Form generated from reading UI file 'untitledugPqGJ.ui'
##
## Created by: Qt User Interface Compiler version 6.7.2
##
## WARNING! All changes made in this file will be lost when recompiling UI file!
################################################################################

from PySide6.QtCore import (QCoreApplication, QDate, QDateTime, QLocale,
    QMetaObject, QObject, QPoint, QRect,
    QSize, QTime, QUrl, Qt)
from PySide6.QtGui import (QBrush, QColor, QConicalGradient, QCursor,
    QFont, QFontDatabase, QGradient, QIcon,
    QImage, QKeySequence, QLinearGradient, QPainter,
    QPalette, QPixmap, QRadialGradient, QTransform)
from PySide6.QtWidgets import (QApplication, QDialog, QLineEdit, QPushButton,
    QSizePolicy, QWidget)

class Ui_Dialog(object):
    def setupUi(self, Dialog):
        if not Dialog.objectName():
            Dialog.setObjectName(u"Dialog")
        Dialog.resize(400, 300)
        self.pushButton = QPushButton(Dialog)
        self.pushButton.setObjectName(u"pushButton")
        self.pushButton.setGeometry(QRect(200, 220, 75, 24))
        self.lineEdit = QLineEdit(Dialog)
        self.lineEdit.setObjectName(u"lineEdit")
        self.lineEdit.setGeometry(QRect(130, 70, 113, 20))

        self.retranslateUi(Dialog)
        QMetaObject.connectSlotsByName(Dialog)
    # setupUi

    def retranslateUi(self, Dialog):
        Dialog.setWindowTitle(QCoreApplication.translate("Dialog", u"Dialog", None))
        self.pushButton.setText(QCoreApplication.translate("Dialog", u"\u70b9\u51fb", None))
    # retranslateUi
python
from symtable import Class

from ui import Ui_Dialog
import sys
from PySide6.QtWidgets import QApplication, QMainWindow, QPushButton
from PySide6 import QtCore, QtGui

class Main(QMainWindow):
    def __init__(self):
        QMainWindow.__init__(self)

    def on_clicked2(self):
        auto_ui_window.lineEdit.setText("clicked2")
        print("Button click2")

def on_clicked1():
    auto_ui_window.lineEdit.setText("clicked1")
    print("button click")

if __name__ == "__main__":
    app = QApplication(sys.argv)
    main_window = Main()
    auto_ui_window = Ui_Dialog()
    auto_ui_window.setupUi(main_window)

    #事件处理方法1
    #auto_ui_window.pushButton.clicked.connect(on_clicked1)

    # 事件处理方法2
    QtCore.QObject.connect(auto_ui_window.pushButton, QtCore.SIGNAL("clicked()"), main_window,QtCore.SLOT('on_clicked2()'))

    main_window.show()
    app.exec()
    sys.exit(app.exec())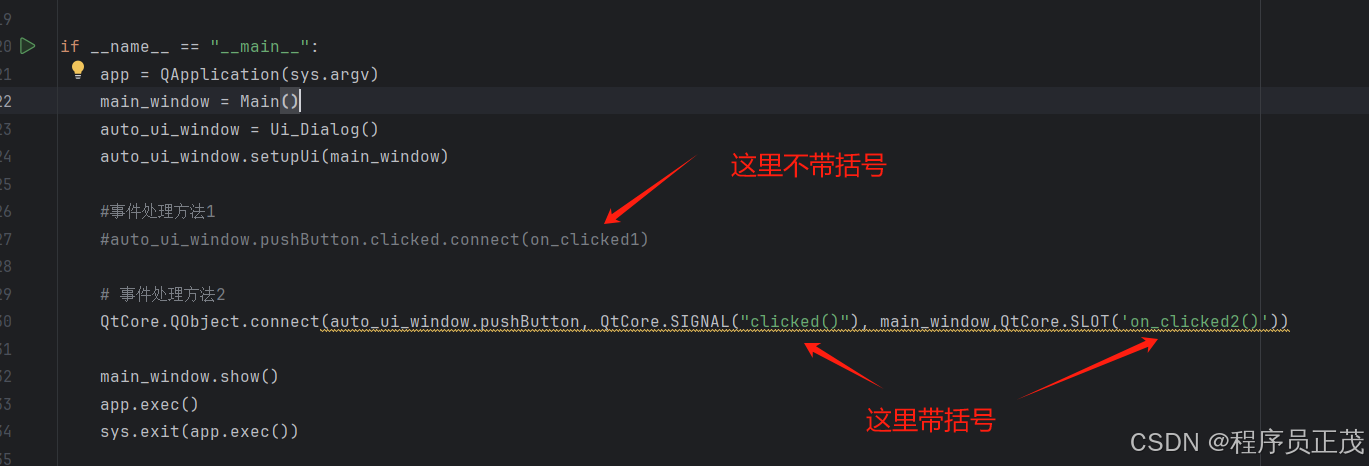
运行效果