Python制作的桌面宠物
随机从64种宠物里生成,从一款是你喜欢的,赶紧来认养吧
#完整源代码可在下方图片免费获取

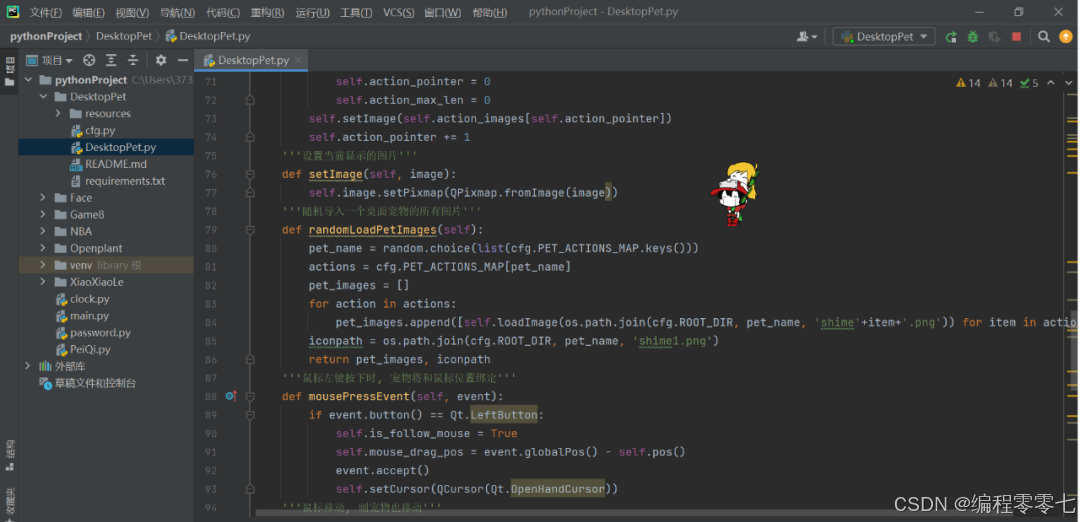
运行程序前请先安装PyQt5。程序入口DesktopPet.py。程序运行截图:

python
'''
Function:
  实现一款桌面宠物
'''
import os
import cfg
import sys
import random
from PyQt5.QtGui import *
from PyQt5.QtCore import *
from PyQt5.QtWidgets import *
from PyQt5 import QtWidgets, QtGui


'''桌面宠物'''
class DesktopPet(QWidget):
  def __init__(self, parent=None, **kwargs):
    super(DesktopPet, self).__init__(parent)
    # 初始化
    self.setWindowFlags(Qt.FramelessWindowHint|Qt.WindowStaysOnTopHint|Qt.SubWindow)
    self.setAutoFillBackground(False)
    self.setAttribute(Qt.WA_TranslucentBackground, True)
    self.repaint()
    # 随机导入一个宠物
    self.pet_images, iconpath = self.randomLoadPetImages()
    # 设置退出选项
    quit_action = QAction('退出', self, triggered=self.quit)
    quit_action.setIcon(QIcon(iconpath))
    self.tray_icon_menu = QMenu(self)
    self.tray_icon_menu.addAction(quit_action)
    self.tray_icon = QSystemTrayIcon(self)
    self.tray_icon.setIcon(QIcon(iconpath))
    self.tray_icon.setContextMenu(self.tray_icon_menu)
    self.tray_icon.show()
    # 当前显示的图片
    self.image = QLabel(self)
    self.setImage(self.pet_images[0][0])
    # 是否跟随鼠标
    self.is_follow_mouse = False
    # 宠物拖拽时避免鼠标直接跳到左上角
    self.mouse_drag_pos = self.pos()
    # 显示
    self.resize(128, 128)
    self.randomPosition()
    self.show()
    # 宠物动画动作执行所需的一些变量
    self.is_running_action = False
    self.action_images = []
    self.action_pointer = 0
    self.action_max_len = 0
    # 每隔一段时间做个动作
    self.timer = QTimer()
    self.timer.timeout.connect(self.randomAct)
    self.timer.start(500)
  '''随机做一个动作'''
  def randomAct(self):
    if not self.is_running_action:
      self.is_running_action = True
      self.action_images = random.choice(self.pet_images)
      self.action_max_len = len(self.action_images)
      self.action_pointer = 0
    self.runFrame()
  '''完成动作的每一帧'''
  def runFrame(self):
    if self.action_pointer == self.action_max_len:
      self.is_running_action = False
      self.action_pointer = 0
      self.action_max_len = 0
    self.setImage(self.action_images[self.action_pointer])
    self.action_pointer += 1
  '''设置当前显示的图片'''
  def setImage(self, image):
    self.image.setPixmap(QPixmap.fromImage(image))
  '''随机导入一个桌面宠物的所有图片'''
  def randomLoadPetImages(self):
    pet_name = random.choice(list(cfg.PET_ACTIONS_MAP.keys()))
    actions = cfg.PET_ACTIONS_MAP[pet_name]
    pet_images = []
    for action in actions:
      pet_images.append([self.loadImage(os.path.join(cfg.ROOT_DIR, pet_name, 'shime'+item+'.png')) for item in action])
    iconpath = os.path.join(cfg.ROOT_DIR, pet_name, 'shime1.png')
    return pet_images, iconpath
  '''鼠标左键按下时, 宠物将和鼠标位置绑定'''
  def mousePressEvent(self, event):
    if event.button() == Qt.LeftButton:
      self.is_follow_mouse = True
      self.mouse_drag_pos = event.globalPos() - self.pos()
      event.accept()
      self.setCursor(QCursor(Qt.OpenHandCursor))
  '''鼠标移动, 则宠物也移动'''
  def mouseMoveEvent(self, event):
    if Qt.LeftButton and self.is_follow_mouse:
      self.move(event.globalPos() - self.mouse_drag_pos)
      event.accept()
  '''鼠标释放时, 取消绑定'''
  def mouseReleaseEvent(self, event):
    self.is_follow_mouse = False
    self.setCursor(QCursor(Qt.ArrowCursor))
  '''导入图像'''
  def loadImage(self, imagepath):
    image = QImage()
    image.load(imagepath)
    return image
  '''随机到一个屏幕上的某个位置'''
  def randomPosition(self):
    screen_geo = QDesktopWidget().screenGeometry()
    pet_geo = self.geometry()
    width = (screen_geo.width() - pet_geo.width()) * random.random()
    height = (screen_geo.height() - pet_geo.height()) * random.random()
    self.move(width, height)
  '''退出程序'''
  def quit(self):
    self.close()
    sys.exit()


'''run'''
if __name__ == '__main__':
  app = QApplication(sys.argv)
  pet = DesktopPet()
  sys.exit(app.exec_())
python
'''配置文件'''


ROOT_DIR = 'resources'
ACTION_DISTRIBUTION = [['1', '2', '3'],
             ['4', '5', '6', '7', '8', '9', '10', '11'],
             ['12', '13', '14'],
             ['15', '16', '17'],
             ['18', '19'],
             ['20', '21'],
             ['22'],
             ['23', '24', '25'],
             ['26',  '27', '28', '29'],
             ['30', '31', '32', '33'],
             ['34', '35', '36', '37'],
             ['38', '39', '40', '41'],
             ['42', '43', '44', '45', '46']]
PET_ACTIONS_MAP = {'pet_1': ACTION_DISTRIBUTION}
for i in range(2, 65): PET_ACTIONS_MAP.update({'pet_%s' % i: ACTION_DISTRIBUTION})
完整源代码请下方获取👇↓↓↓
