Python机器学习------利用Keras和基础神经网络进行手写数字识别(MNIST数据集)
- 配置环境
- 编程
-
- [1. 导入功能包](#1. 导入功能包)
- [2. 加载数据集](#2. 加载数据集)
- [3. 数据预处理](#3. 数据预处理)
- [4. 构建神经网络](#4. 构建神经网络)
- [5. 神经网络训练](#5. 神经网络训练)
- [6. 测试模型训练效果](#6. 测试模型训练效果)
配置环境
首先安装Anaconda,随便找个视频或者教程按照下
创建虚拟环境
conda env list 查看虚拟环境 (*代表在哪个环境下)
conda create -n 环境名字 python=版本
conda activate yixuepytorch 进入我们创建好的虚拟环境
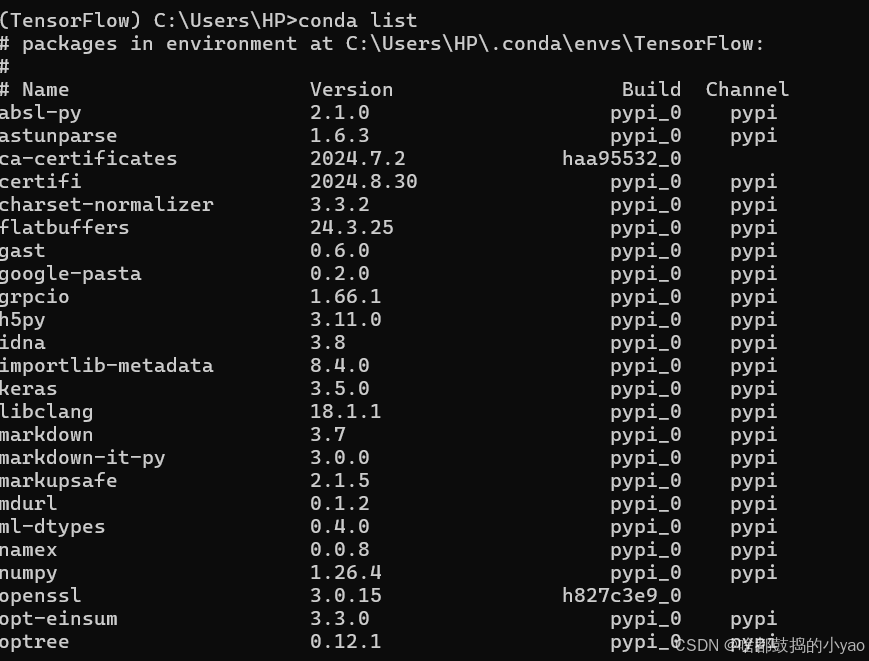
conda list 查看当下环境下,有哪些功能包
conda remove -n 虚拟环境名字 --all 删除所选环境


安装功能包并进环境
通过pip install xxx按照下我们需要的功能包
pip install numpy
pip install pandas
pip install keras
pip install tensorflow

输入jupyter notebook进入notebook并创建新Notebook进行编程


编程
1. 导入功能包
python
# 导入功能包
import numpy as np # 数学工具箱
import pandas as pd # 数据处理工具箱
from keras.datasets import mnist # 从 Keras中导入 mnist数据集
2. 加载数据集
python
# 查看数据集
mnist.load_data()
python
(train_images, train_labels), (test_images, test_labels) = mnist.load_data()
print('训练集图片: ', train_images.shape)
print('训练集标签: ', train_labels.shape)
print('测试集图片: ', test_images.shape)
print('测试集标签: ', test_labels.shape)
用 keras 中自带的mnist模块,加载数据集load_data进来,分别赋值给四个变量。
其中:train_images保存用来训练的图像,train_labels是与之对应的标签。如果图像中的数字是1,那么标签就是1。test_images和test_labels分别为用来验证的图像和标签,也就是验证集。训练完神经网络后,可以使用验证集中的数据进行验证。
3. 数据预处理
python
# 用keras.utils工具箱的类别转换工具,作用是将样本标签转为one-hot编码
from keras.utils import to_categorical
# 给标签增加维度,使其满足模型的需要
# 原始标签,比如训练集标签的维度信息是[60000, 28, 28, 1]
train_images = train_images.reshape((60000, 28*28)).astype('float') # 60000张训练图像,每张图像的长宽均为28个像素
test_images = test_images.reshape((10000, 28*28)).astype('float') # 10000张验证图像,每张图像的长宽均为28个像素
# 特征转换为one-hot编码
train_labels = to_categorical(train_labels, 10)
test_labels = to_categorical(test_labels, 10)
one-hot 编码:
对于输出 0-9 这10个标签而言,每个标签的地位应该是相等的,并不存在标签数字2大于数字1的情况。因此,在大部分情况下,都需要将标签转换为 one-hot 编码,也就独热编码,这样标签之间便没有任何大小而言。
这个例子中,数字 0-9 转换为的独热编码为:
array([[1., 0., 0., 0., 0., 0., 0., 0., 0., 0.],
0., 1., 0., 0., 0., 0., 0., 0., 0., 0.\], \[0., 0., 1., 0., 0., 0., 0., 0., 0., 0.\], \[0., 0., 0., 1., 0., 0., 0., 0., 0., 0.\], \[0., 0., 0., 0., 1., 0., 0., 0., 0., 0.\], \[0., 0., 0., 0., 0., 1., 0., 0., 0., 0.\], \[0., 0., 0., 0., 0., 0., 1., 0., 0., 0.\], \[0., 0., 0., 0., 0., 0., 0., 1., 0., 0.\], \[0., 0., 0., 0., 0., 0., 0., 0., 1., 0.\], \[0., 0., 0., 0., 0., 0., 0., 0., 0., 1.\]
每一行的向量代表一个标签。
4. 构建神经网络
python
# 从keras中导入模型,神经元等操作
from keras import models, layers, regularizers
# 构建一个最基础的连续的模型,所谓连续,就是一层接着一层(也就是指的神经网络一层一层穿起来)
network = models.Sequential()
# 隐藏层, 设置128个神经元,使用relu作为激活函数,输入尺寸是784,进行l1正则化进行泛化处理
network.add(layers.Dense(units=128, activation='relu', input_shape=(28*28, ), kernel_regularizer=regularizers.l1(0.0001)))
# 隐藏层, 设置32个神经元,使用relu作为激活函数,进行l1正则化进行泛化处理
network.add(layers.Dense(units=32, activation='relu', kernel_regularizer=regularizers.l1(0.0001)))
# 输出层是10个神经元,用softmax进行多分类
network.add(layers.Dense(units=10, activation='softmax'))
5. 神经网络训练
python
from keras.optimizers import RMSprop
# 设置编译,optimizer优化器为RMSprop自适应学习率,损失函数使用的是交叉熵,模型评估标准是获取模型准确率
network.compile(optimizer=RMSprop(0.001), loss='categorical_crossentropy', metrics=['accuracy'])
# 训练网络,用fit函数, epochs表示训练多少个回合, batch_size表示每次训练给多大的数据,verbose=2是指输出更详细的训练信息,包括每一轮迭代的损失值
network.fit(train_images, train_labels, epochs=20, batch_size=128, verbose=2)
6. 测试模型训练效果
python
# 测试集上测试效果
test_loss, test_accuracy = network.evaluate(test_images, test_labels)
print("test_loss:", test_loss, "test_accuracy:", test_accuracy)
输出: