文章目录
前言
提示:这里可以添加本文要记录的大概内容:
课程需要:实用matlab 图像处理,设计GUI 最后于STM32通信,实现图像处理STM32控制电机等功能
提示:以下是本篇文章正文内容,下面案例可供参考
一、MATLAB GUI 是什么?
MATLAB GUI是**图形用户界面(Graphical User Interface,简称GUI)**的一种,特指在MATLAB环境中构建的图形化用户操作界面。它是MATLAB用户可视化交互式的工具,通过图形和交互方式,与用户进行直观的交互,使用户能够更方便地使用MATLAB进行数据处理、分析和可视化等操作。
具体来说,MATLAB GUI的作用包括但不限于以下几个方面:
-
数据输入和输出:用户可以通过GUI的界面进行数据的输入和输出,而不需要直接编写代码。这使得非专业编程人员也能够使用MATLAB进行数据处理。
-
图形绘制和可视化:通过GUI,用户可以生成各种图表、图像和动画,以直观地展示数据的特征和趋势。
-
交互式操作:用户可以通过GUI界面选择不同的操作模式、参数设置和算法调整,以实时观察数据处理结果的变化,并根据需要进行调整和优化。
-
应用程序开发:通过GUI,用户可以创建自定义的应用程序,以满足特定的数据处理需求。这些应用程序可以包含多个界面和相互关联的功能模块。
-
教学和演示:通过GUI,用户可以开发教学示例和演示程序,以便更直观地向其他人介绍和展示MATLAB的功能和应用。
在MATLAB中创建GUI应用程序的步骤通常包括选择"新建">"图形用户界面">"应用程序",然后从左侧面板中选择控件(如按钮、文本框和滑块)拖放到面板上,并使用属性检查器配置其属性。用户还需要编写回调函数来响应控件事件,如单击按钮或更改滑块值。最后,通过单击"运行"按钮启动GUI应用程序,并使用调试器查找和修复可能存在的错误。
综上所述,MATLAB GUI为MATLAB用户提供了一个直观、交互式的操作界面,极大地提高了MATLAB在数据处理、分析和可视化等方面的易用性和效率。
准备 :
matlab

二、guide 的使用
1.进入GUI界面

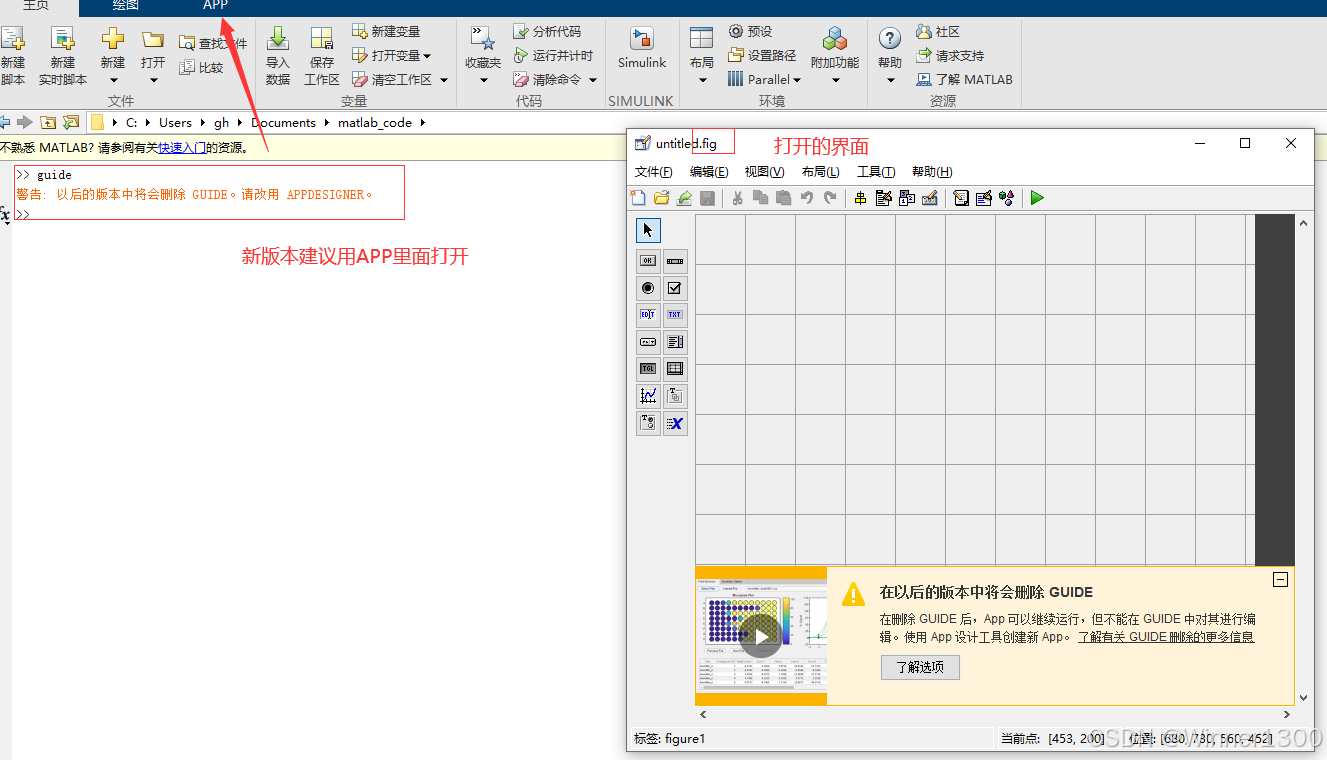
2. 布置绘图
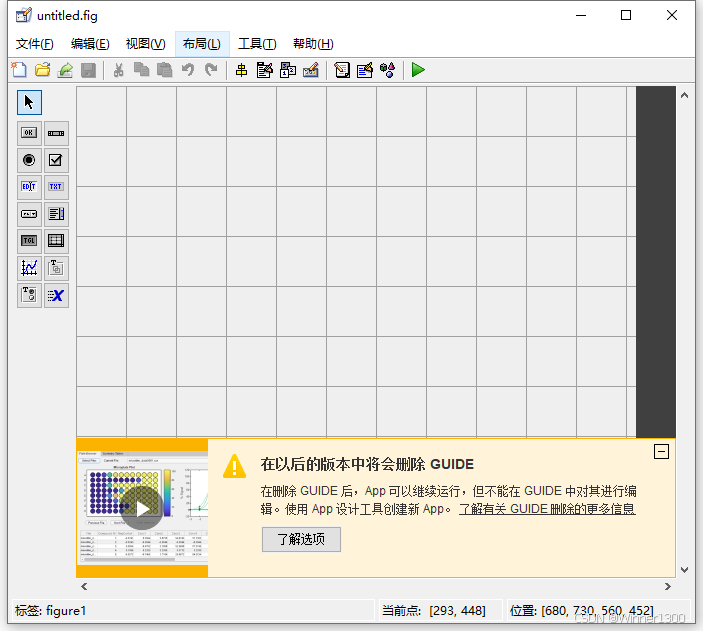
布局如下:

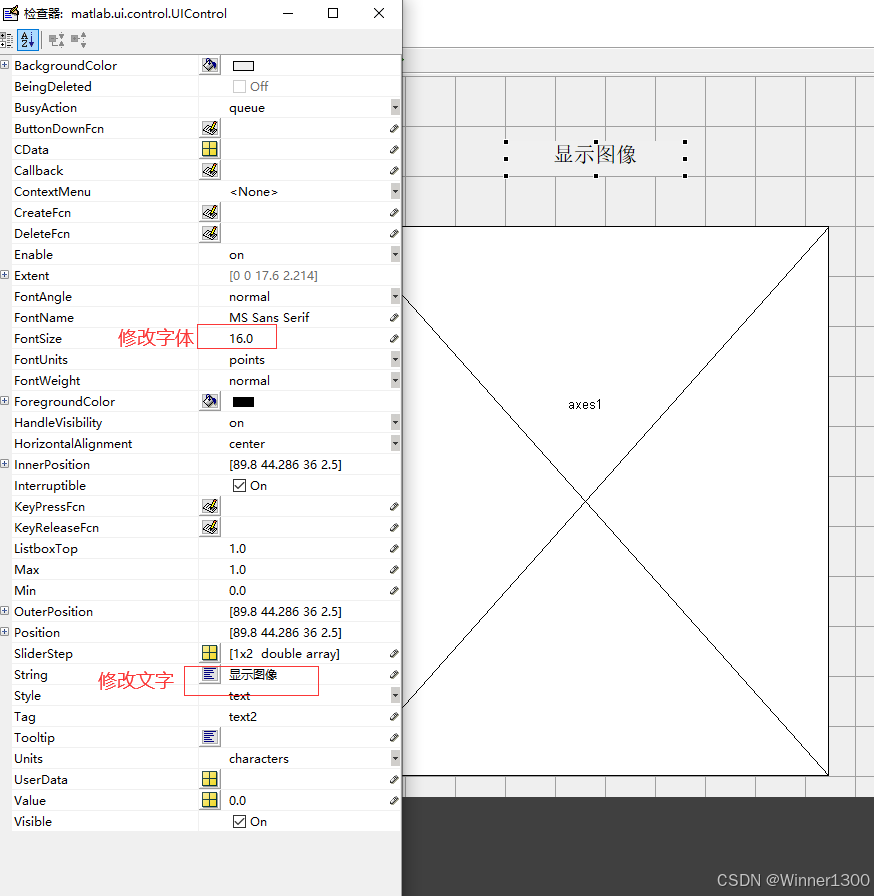
双击每个组建可以修改组建的属性

3.修改字体
4. 回调函数,完成功能


5. 整个函数和回调函数
回调函数
matlab
% --- Executes on button press in pushbutton1.
function pushbutton1_Callback(hObject, eventdata, handles)
% hObject    handle to pushbutton1 (see GCBO)
% eventdata  reserved - to be defined in a future version of MATLAB
% handles    structure with handles and user data (see GUIDATA)
在这里添加代码
整个函数
matlab
function varargout = GUI1(varargin)
% GUI1 MATLAB code for GUI1.fig
%      GUI1, by itself, creates a new GUI1 or raises the existing
%      singleton*.
%
%      H = GUI1 returns the handle to a new GUI1 or the handle to
%      the existing singleton*.
%
%      GUI1('CALLBACK',hObject,eventData,handles,...) calls the local
%      function named CALLBACK in GUI1.M with the given input arguments.
%
%      GUI1('Property','Value',...) creates a new GUI1 or raises the
%      existing singleton*.  Starting from the left, property value pairs are
%      applied to the GUI before GUI1_OpeningFcn gets called.  An
%      unrecognized property name or invalid value makes property application
%      stop.  All inputs are passed to GUI1_OpeningFcn via varargin.
%
%      *See GUI Options on GUIDE's Tools menu.  Choose "GUI allows only one
%      instance to run (singleton)".
%
% See also: GUIDE, GUIDATA, GUIHANDLES

% Edit the above text to modify the response to help GUI1

% Last Modified by GUIDE v2.5 13-Sep-2024 10:40:24

% Begin initialization code - DO NOT EDIT
gui_Singleton = 1;
gui_State = struct('gui_Name',       mfilename, ...
                   'gui_Singleton',  gui_Singleton, ...
                   'gui_OpeningFcn', @GUI1_OpeningFcn, ...
                   'gui_OutputFcn',  @GUI1_OutputFcn, ...
                   'gui_LayoutFcn',  [] , ...
                   'gui_Callback',   []);
if nargin && ischar(varargin{1})
    gui_State.gui_Callback = str2func(varargin{1});
end

if nargout
    [varargout{1:nargout}] = gui_mainfcn(gui_State, varargin{:});
else
    gui_mainfcn(gui_State, varargin{:});
end
% End initialization code - DO NOT EDIT


% --- Executes just before GUI1 is made visible.
function GUI1_OpeningFcn(hObject, eventdata, handles, varargin)
% This function has no output args, see OutputFcn.
% hObject    handle to figure
% eventdata  reserved - to be defined in a future version of MATLAB
% handles    structure with handles and user data (see GUIDATA)
% varargin   command line arguments to GUI1 (see VARARGIN)

% Choose default command line output for GUI1
handles.output = hObject;

% Update handles structure
guidata(hObject, handles);

% UIWAIT makes GUI1 wait for user response (see UIRESUME)
% uiwait(handles.figure1);


% --- Outputs from this function are returned to the command line.
function varargout = GUI1_OutputFcn(hObject, eventdata, handles)
% varargout  cell array for returning output args (see VARARGOUT);
% hObject    handle to figure
% eventdata  reserved - to be defined in a future version of MATLAB
% handles    structure with handles and user data (see GUIDATA)

% Get default command line output from handles structure
varargout{1} = handles.output;


% --- Executes on button press in pushbutton1.
function pushbutton1_Callback(hObject, eventdata, handles)
% hObject    handle to pushbutton1 (see GCBO)
% eventdata  reserved - to be defined in a future version of MATLAB
% handles    structure with handles and user data (see GUIDATA)
6.修改回调函数
matlab
% --- Executes on button press in pushbutton1.
function pushbutton1_Callback(hObject, eventdata, handles)
% hObject    handle to pushbutton1 (see GCBO)
% eventdata  reserved - to be defined in a future version of MATLAB
% handles    structure with handles and user data (see GUIDATA)
axes(handles.axes1);
cla;
i=imread('1.jpg');
imshow(i);
函数解释
在MATLAB中,这两行代码通常用于图形用户界面(GUI)编程中,特别是在使用MATLAB的App Designer或传统的GUIDE(图形用户界面开发环境)时。这两行代码的作用分别如下:
axes(handles.axes1);
这行代码的作用是将当前绘图目标(或称为当前轴)设置为handles.axes1。在MATLAB的GUI中,handles是一个结构体,它包含了GUI中所有组件(如按钮、文本框、坐标轴等)的句柄(handles)。handles.axes1就是指向GUI中某个坐标轴(axes)的句柄。通过这行代码,你可以确保接下来的绘图命令(如plot、imshow等)都在这个特定的坐标轴上执行,而不是在MATLAB的默认坐标轴上。
cla;
cla是"Clear Axes"的缩写,它的作用是清除当前坐标轴上的所有图形对象,但不删除坐标轴本身。这意味着,如果你之前在这个坐标轴上绘制了图形(如线条、图像等),执行cla后,这些图形会被清除,但坐标轴(包括其标签、刻度等)仍然保留。这通常用于在重新绘制图形之前清理坐标轴,以确保新的图形是在一个干净的环境中绘制的。
综上所述,这两行代码通常一起使用,在MATLAB GUI中更新或重新绘制某个坐标轴上的图形时,首先通过axes(handles.axes1);将绘图目标设置为特定的坐标轴,然后通过cla;清除该坐标轴上的旧图形,为绘制新图形做准备。
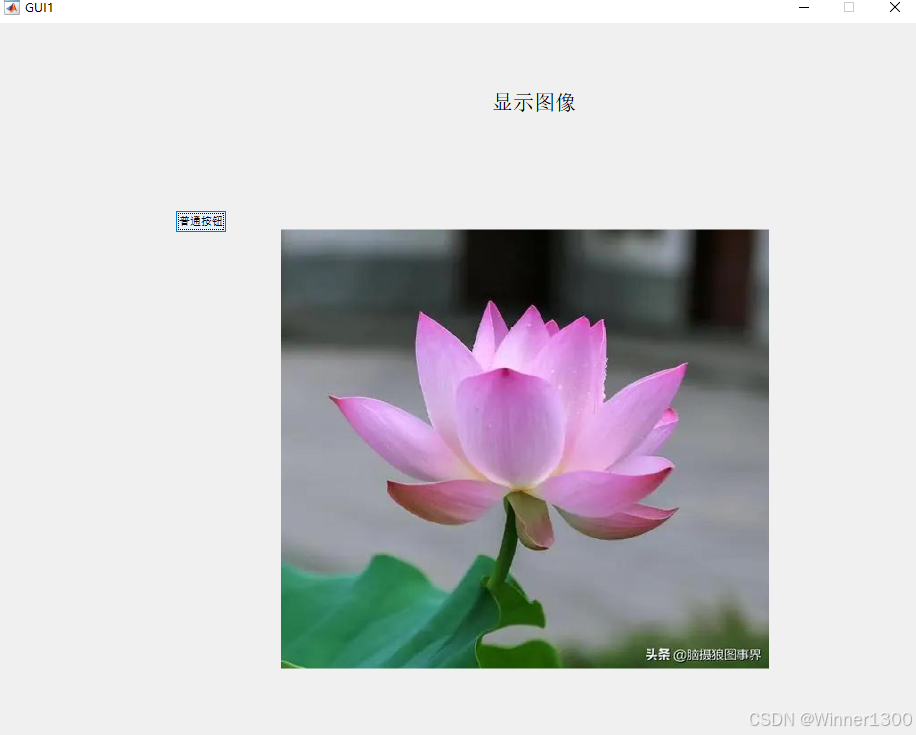
7. 显示效果
8. 补充
错误提示

高级玩法,提示用户出错,容错机制

三、 APP 的使用
1.进入APP界面

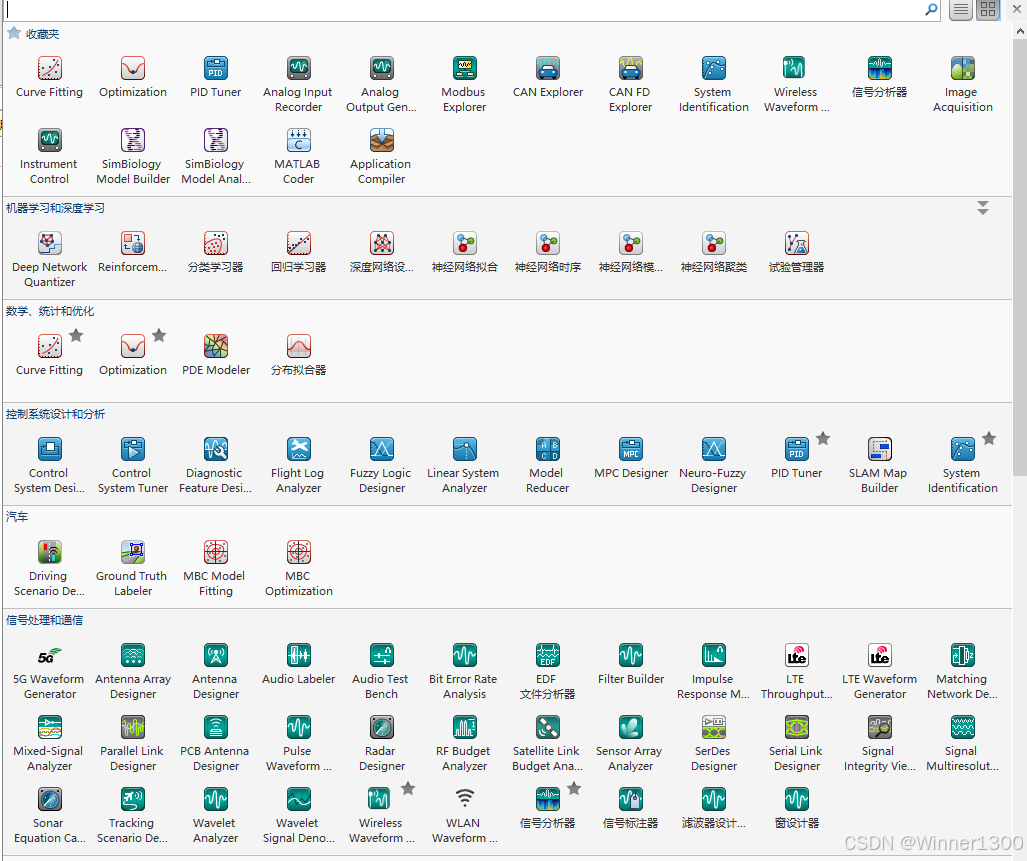
2.在 APP 菜单下 新建空白APP
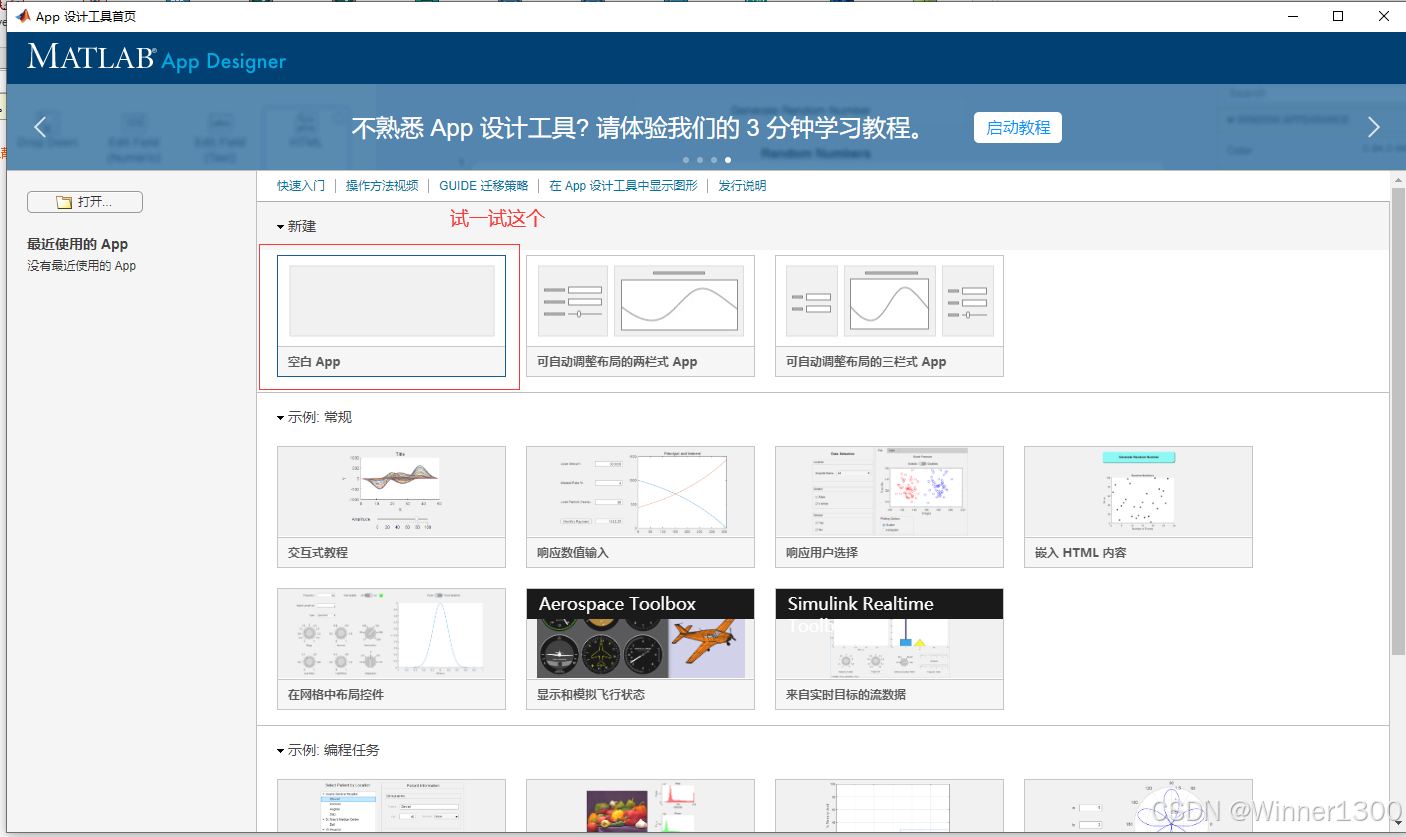


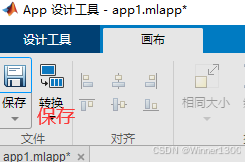


3.创建回调函数


4.显示图片代码
c
        function show_image(app, event)
            i=imread('1.jpg');
            app.Image.ImageSource=i;

        end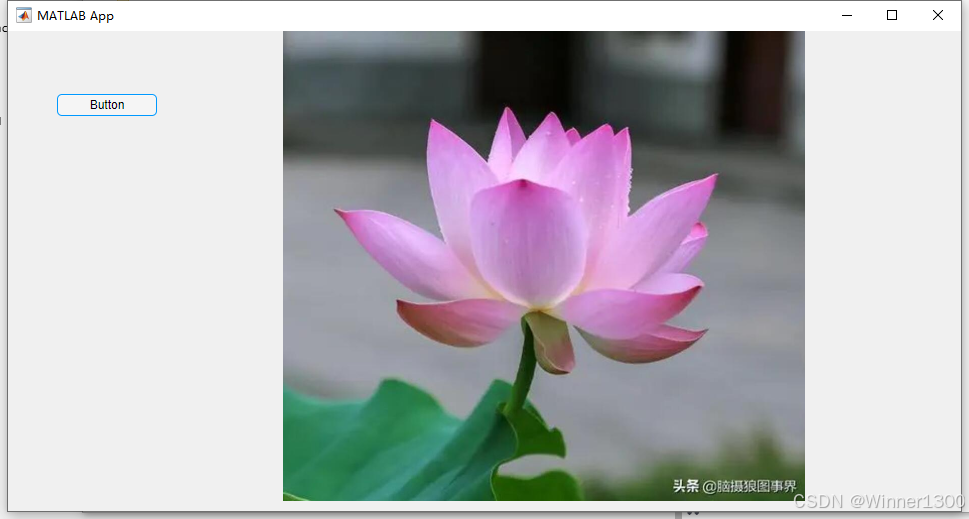
总结
介绍了 matlab gui的设计,使用了两种方法,可以根据喜欢进行深入研究。