Copilot 副驾驶
Software Copilot 是嵌入到您的应用/产品中的一种新型助手。它们旨在通过提供情境指导并代表用户采取行动来帮助用户充分利用您的应用。
支持的功能
| 信息 | 流媒体 | 元素 | 声音的 | 询问用户 | 聊天记录 | 聊天资料 | 反馈 |
|---|---|---|---|---|---|---|---|
| ✅ | ✅ | ✅ | ✅ | ✅ | ❌ | ✅ | ✅ |
嵌入 Copilot
首先,确保您的 Chainlit 服务器正在运行。然后,在网站标签末尾添加以下脚本<body>:
- 此示例假设您的
Chainlit服务器正在运行http://localhost:8000
html
<head>
  <meta charset="utf-8" />
</head>
<body>
  <!-- ... -->
  <script src="http://localhost:8000/copilot/index.js"></script>
  <script>
    window.mountChainlitWidget({
      chainlitServer: "http://localhost:8000",
    });
  </script>
</body>- 请记住,
HTML文件必须由服务器提供,直接在浏览器中打开它是行不通的。您可以使用简单的HTTP服务器进行测试。
就是这样!现在您应该会在网站的右下角看到一个浮动按钮。点击它将打开 Copilot。
小部件配置
该mountChainlitWidget函数接受以下选项:
javascript
export interface IWidgetConfig {
  // URL of the Chainlit server
  chainlitServer: string;
  // Required if authentication is enabled on the server
  accessToken?: string;
  // Theme of the copilot
  theme?: "light" | "dark";
  // Font family to use. It is up to the website to load the font
  fontFamily?: string;
  // Custom styling to apply to the widget button
  button?: {
    // ID of the container element to mount the button to
    containerId?: string;
    // URL of the image to use as the button icon
    imageUrl?: string;
    style?: {
      size?: string;
      bgcolor?: string;
      color?: string;
      bgcolorHover?: string;
      borderColor?: string;
      borderWidth?: string;
      borderStyle?: string;
      borderRadius?: string;
      boxShadow?: string;
    };
  };
}
函数调用
Copilot 可以调用您网站上的函数。这对于代表用户采取行动非常有用。例如,您可以调用函数来创建新文档或打开模式。
首先,CopilotFunction在您的 Chainlit 服务器中创建一个:
python
import chainlit as cl


@cl.on_message
async def on_message(msg: cl.Message):
    if cl.context.session.client_type == "copilot":
        fn = cl.CopilotFunction(name="test", args={"msg": msg.content})
        res = await fn.acall()
        await cl.Message(content=res).send()
然后,在您的应用/网站中添加以下事件监听器:
javascript
window.addEventListener("chainlit-call-fn", (e) => {
  const { name, args, callback } = e.detail;
  if (name === "test") {
    console.log(name, args);
    callback("You sent: " + args.msg);
  }
});
如您所见,事件监听器接收函数名称、参数和回调函数。回调函数应使用函数调用的结果进行调用。
发送消息
Copilot 还可以直接向 Chainlit 服务器发送消息。这对于向Chainlit服务器发送上下文信息或用户操作(例如用户在表格中从单元格 A1 到 B1 中选择)非常有用。
首先,将@cl.on_message装饰函数更新到您的 Chainlit 服务器:
python
import chainlit as cl


@cl.on_message
async def on_message(msg: cl.Message):
    if cl.context.session.client_type == "copilot":

        if msg.type == "system_message":
          # do something with the message
          return

        fn = cl.CopilotFunction(name="test", args={"msg": msg.content})
        res = await fn.acall()
        await cl.Message(content=res).send()
然后,在您的应用/网站中,您可以发出如下事件:
javascript
window.sendChainlitMessage({
type: "system_message",
output: "Hello World!",
});
安全
跨源资源共享 (CORS)
默认情况下,Chainlit 服务器接受来自任何来源的请求。这对于开发很有用,但不建议用于生产。
为了限制可以访问服务器的来源(从而嵌入副驾驶),请将 allow_origins配置字段设置为允许的来源列表。
bash
[project]
# Whether to enable telemetry (default: true). No personal data is collected.
enable_telemetry = true

# List of environment variables to be provided by each user to use the app.
user_env = []

# Duration (in seconds) during which the session is saved when the connection is lost
session_timeout = 3600

# Enable third parties caching (e.g LangChain cache)
cache = false

# Follow symlink for asset mount (see https://github.com/Chainlit/chainlit/issues/317)
# follow_symlink = false
验证
如果您想限制每个用户对 Copilot 的访问,您可以在 Chainlit 服务器上启用身份验证。
虽然独立的 Chainlit 应用程序会处理身份验证过程,但 Copilot 需要配置访问令牌。此令牌用于向 Chainlit 服务器验证用户身份。
主机应用/网站负责生成令牌并将其传递给 Copilot。以下是如何以不同语言生成令牌的示例:
您将需要配置身份验证CHAINLIT_AUTH_SECRET时生成的。
python
import jwt
from datetime import datetime, timedelta

CHAINLIT_AUTH_SECRET = "your-secret"

def create_jwt(identifier: str, metadata: dict) -> str:
    to_encode = {
      "identifier": identifier,
      "metadata": metadata,
      "exp": datetime.utcnow() + timedelta(minutes=60 * 24 * 15),  # 15 days
      }

    encoded_jwt = jwt.encode(to_encode, CHAINLIT_AUTH_SECRET, algorithm="HS256")
    return encoded_jwt

access_token = create_jwt("user-1", {"name": "John Doe"})
jwt.ts
javascript
import jwt from "jsonwebtoken";

const CHAINLIT_AUTH_SECRET = "your-secret";

interface Metadata {
  [key: string]: any;
}

function createJwt(identifier: string, metadata: Metadata): string {
  const toEncode = {
    identifier: identifier,
    metadata: metadata,
    exp: Math.floor(Date.now() / 1000) + 60 * 60 * 24 * 15, // 15 days
  };
  const encodedJwt = jwt.sign(toEncode, CHAINLIT_AUTH_SECRET, {
    algorithm: "HS256",
  });
  return encodedJwt;
}

const accessToken = createJwt("user-1", { name: "John Doe" });
示例
运行应用程序
要启动 ·Chainlit· 应用程序,请打开终端并导航到包含的目录·app.py·。然后运行以下命令:
bash
chainlit run app.py -w - 该
-w标志告知Chainlit启用自动重新加载,因此您无需在每次更改应用程序时重新启动服务器。您的聊天机器人 UI 现在应该可以通过http://localhost:8000访问。 - 自定义端口可以追加
--port 80
网站html嵌入
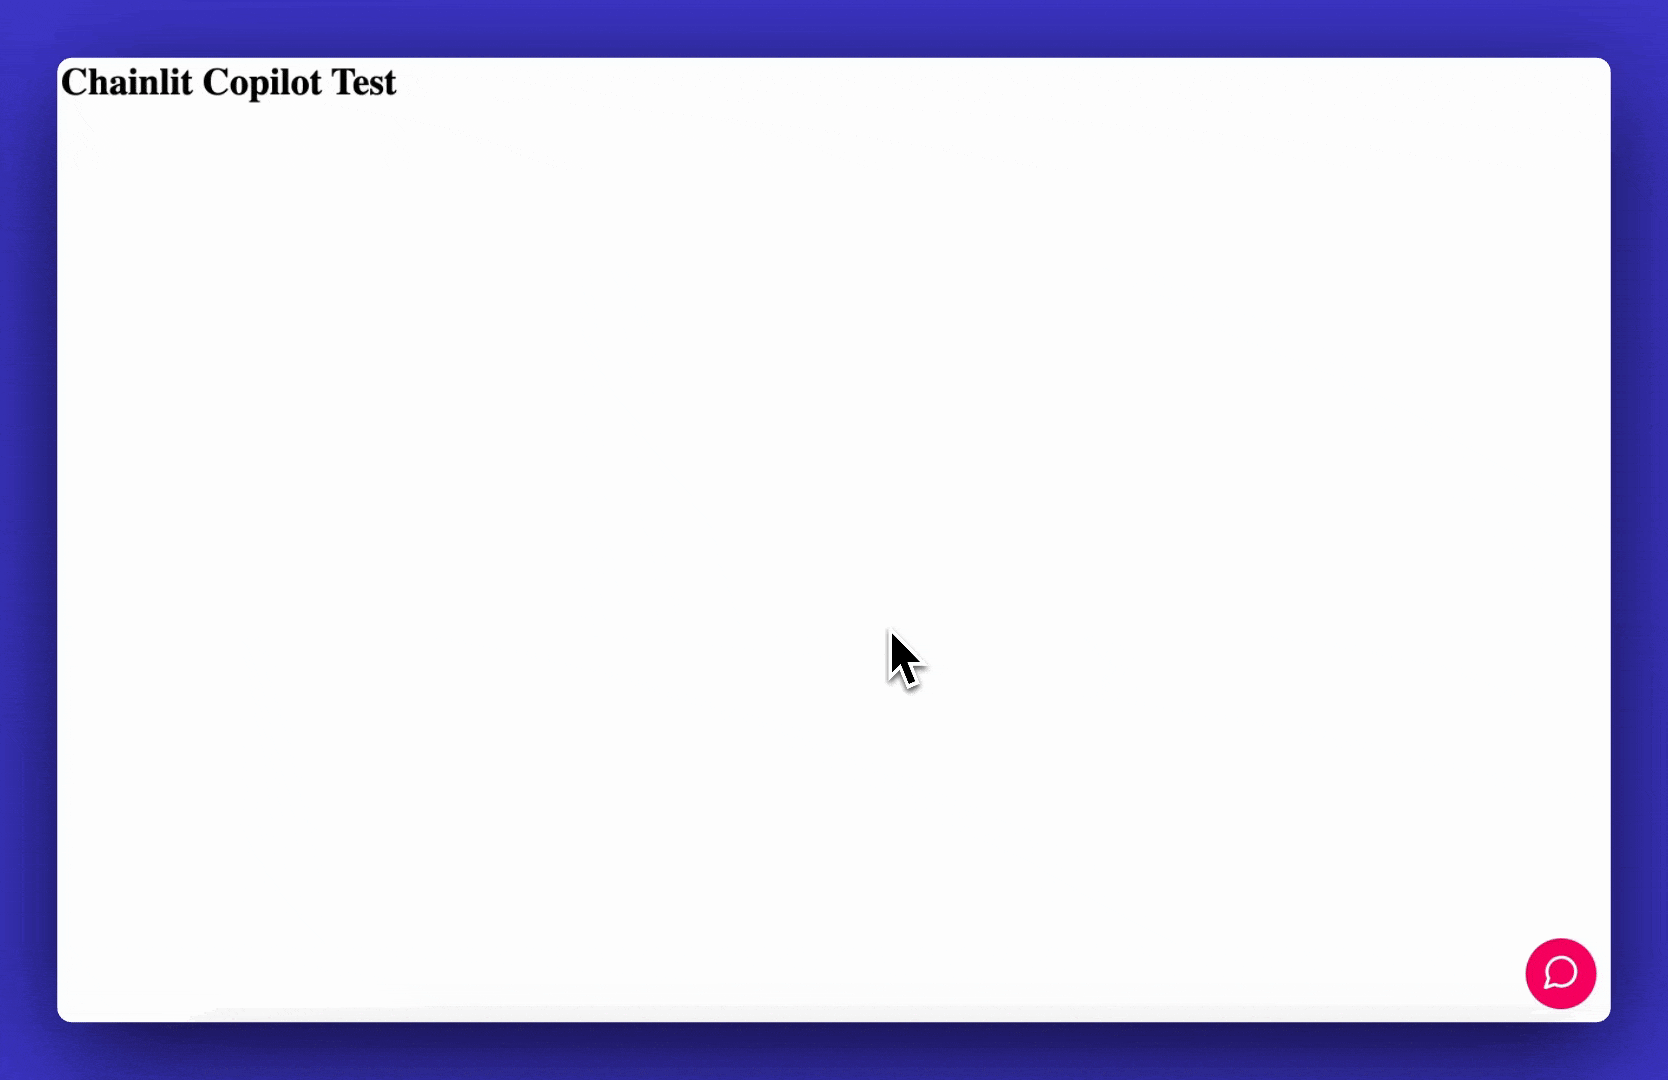
以index.html为例,代码如下:
html
<!DOCTYPE html>
<html>

<head>
  <meta charset="UTF-8" />
</head>

<body>
  <h1>Chainlit Copilot Test</h1>
  <script src="http://localhost:8000/copilot/index.js"></script>
  <script>
    window.mountChainlitWidget({
      chainlitServer: "http://localhost:8000",
    });
    window.addEventListener("chainlit-call-fn", (e) => {
      const { name, args, callback } = e.detail;
      if (name === "test") {
        callback("You sent: " + args.msg);
      }
    });
  </script>
</body>

</html>