本文使用的 PyCharm 2024.2.1 版本,如果使用低版本 PyCharm,那么在调试 Xinference v0.15.1 源码时可能会报错 Connection to Python debugger failed Socket closed。
一.PyCharm 调试 Xinference 源码
由于 Xinference 中的一些依赖包仅支持 Linux,所以在 PyCharm 调试 Xinference 源码时,最好使用 PyCharm+WSL2 环境,或者直接使用 PyCharm+Ubuntu 22.04 环境,以此实现 PyCharm 对 Xinference 源码调试。
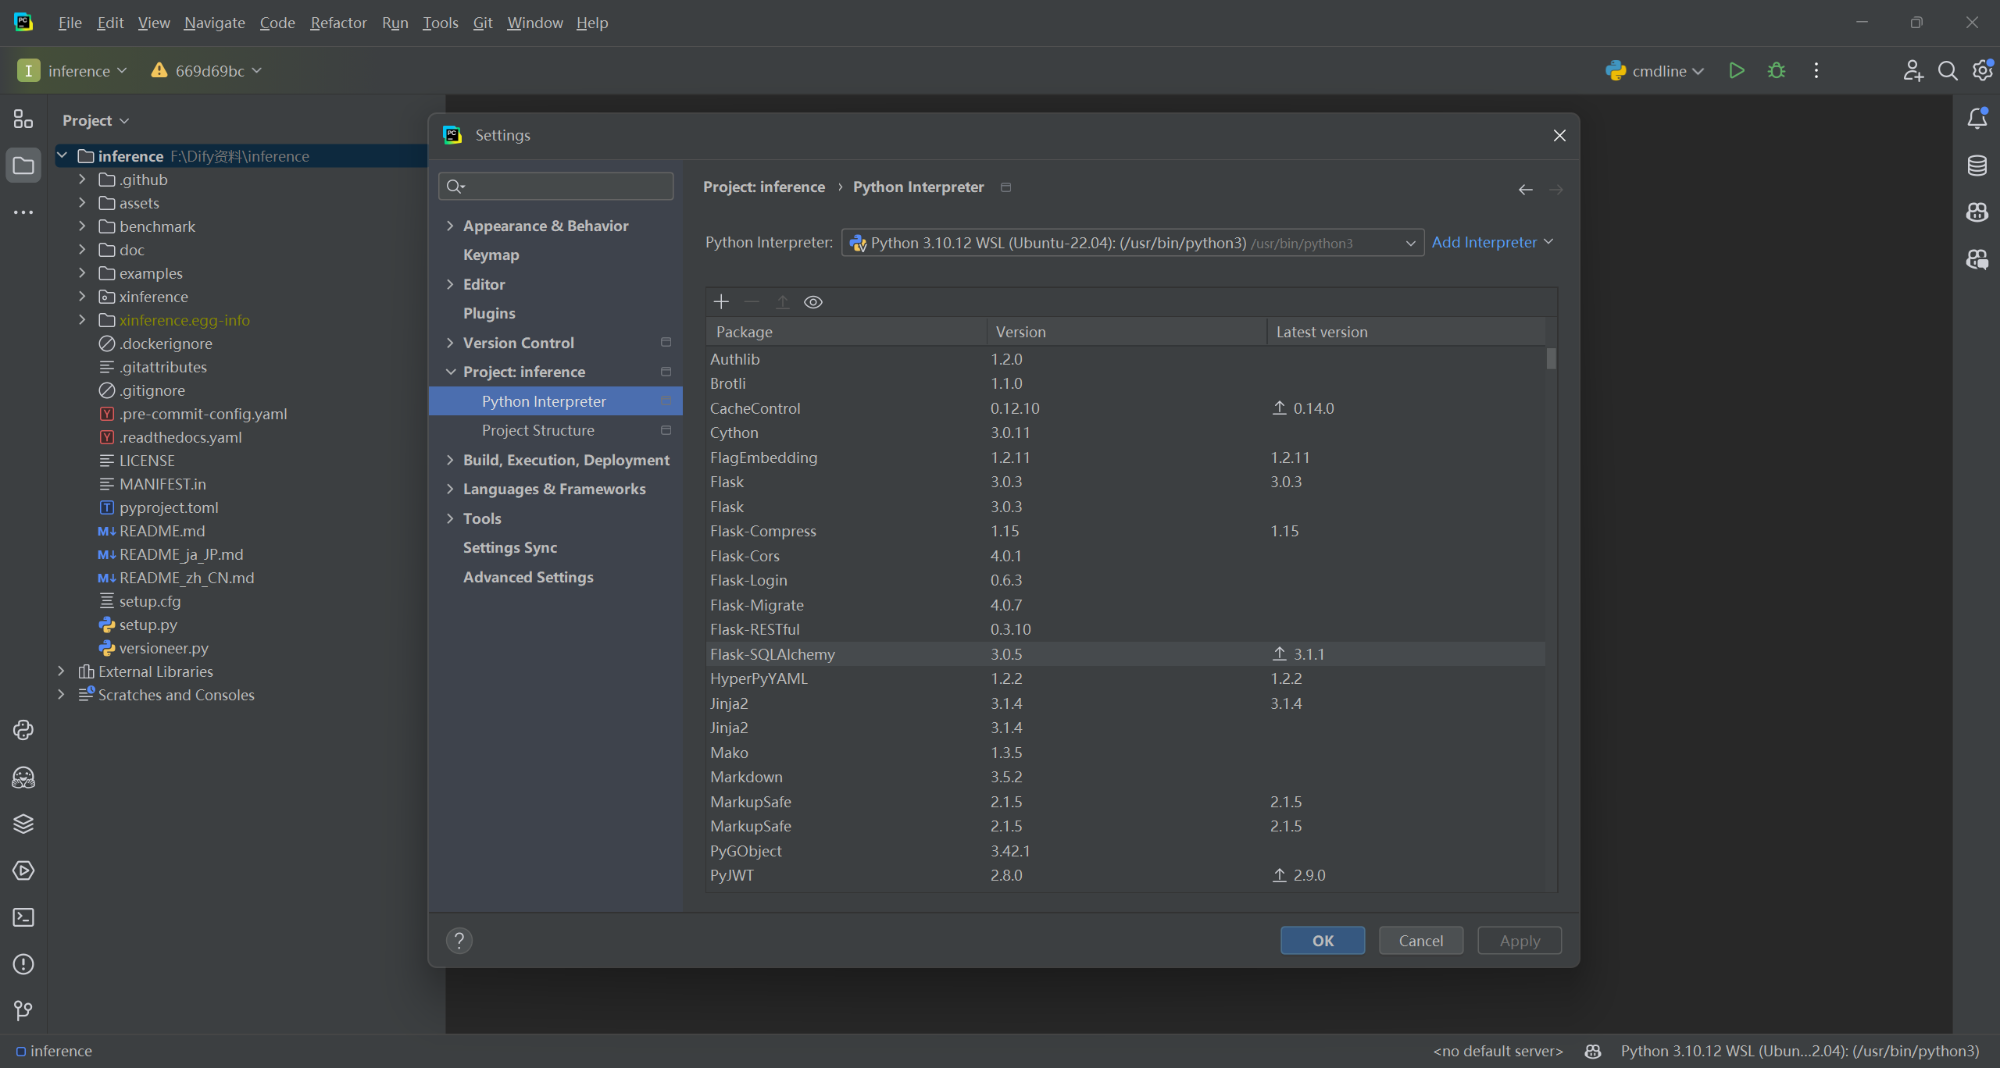
1.环境配置
环境为 Python 3.10.12 版本,WSL2,如下所示:
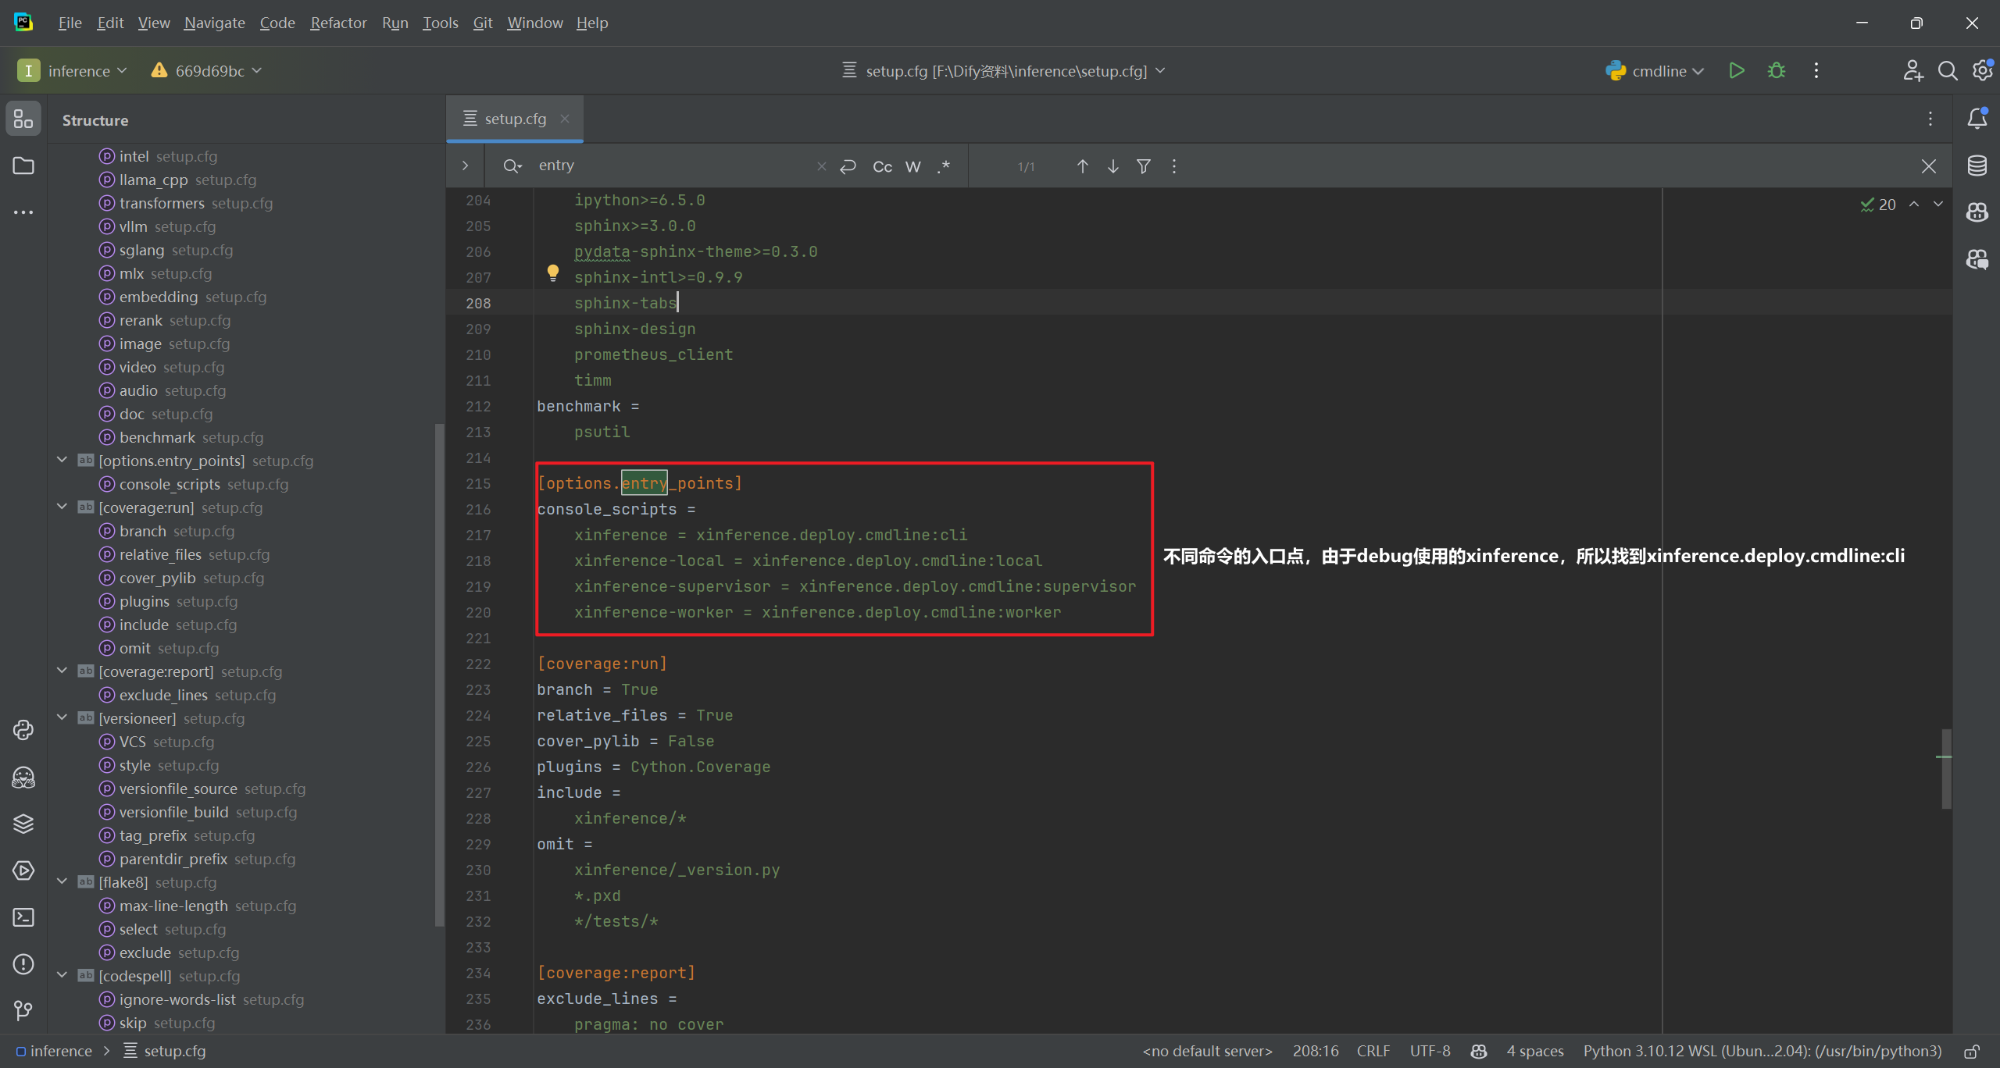
根据配置文件 inference\setup.cfg 可知,debug 入口点为 inference/xinference/deploy/cmdline.py。如下所示:
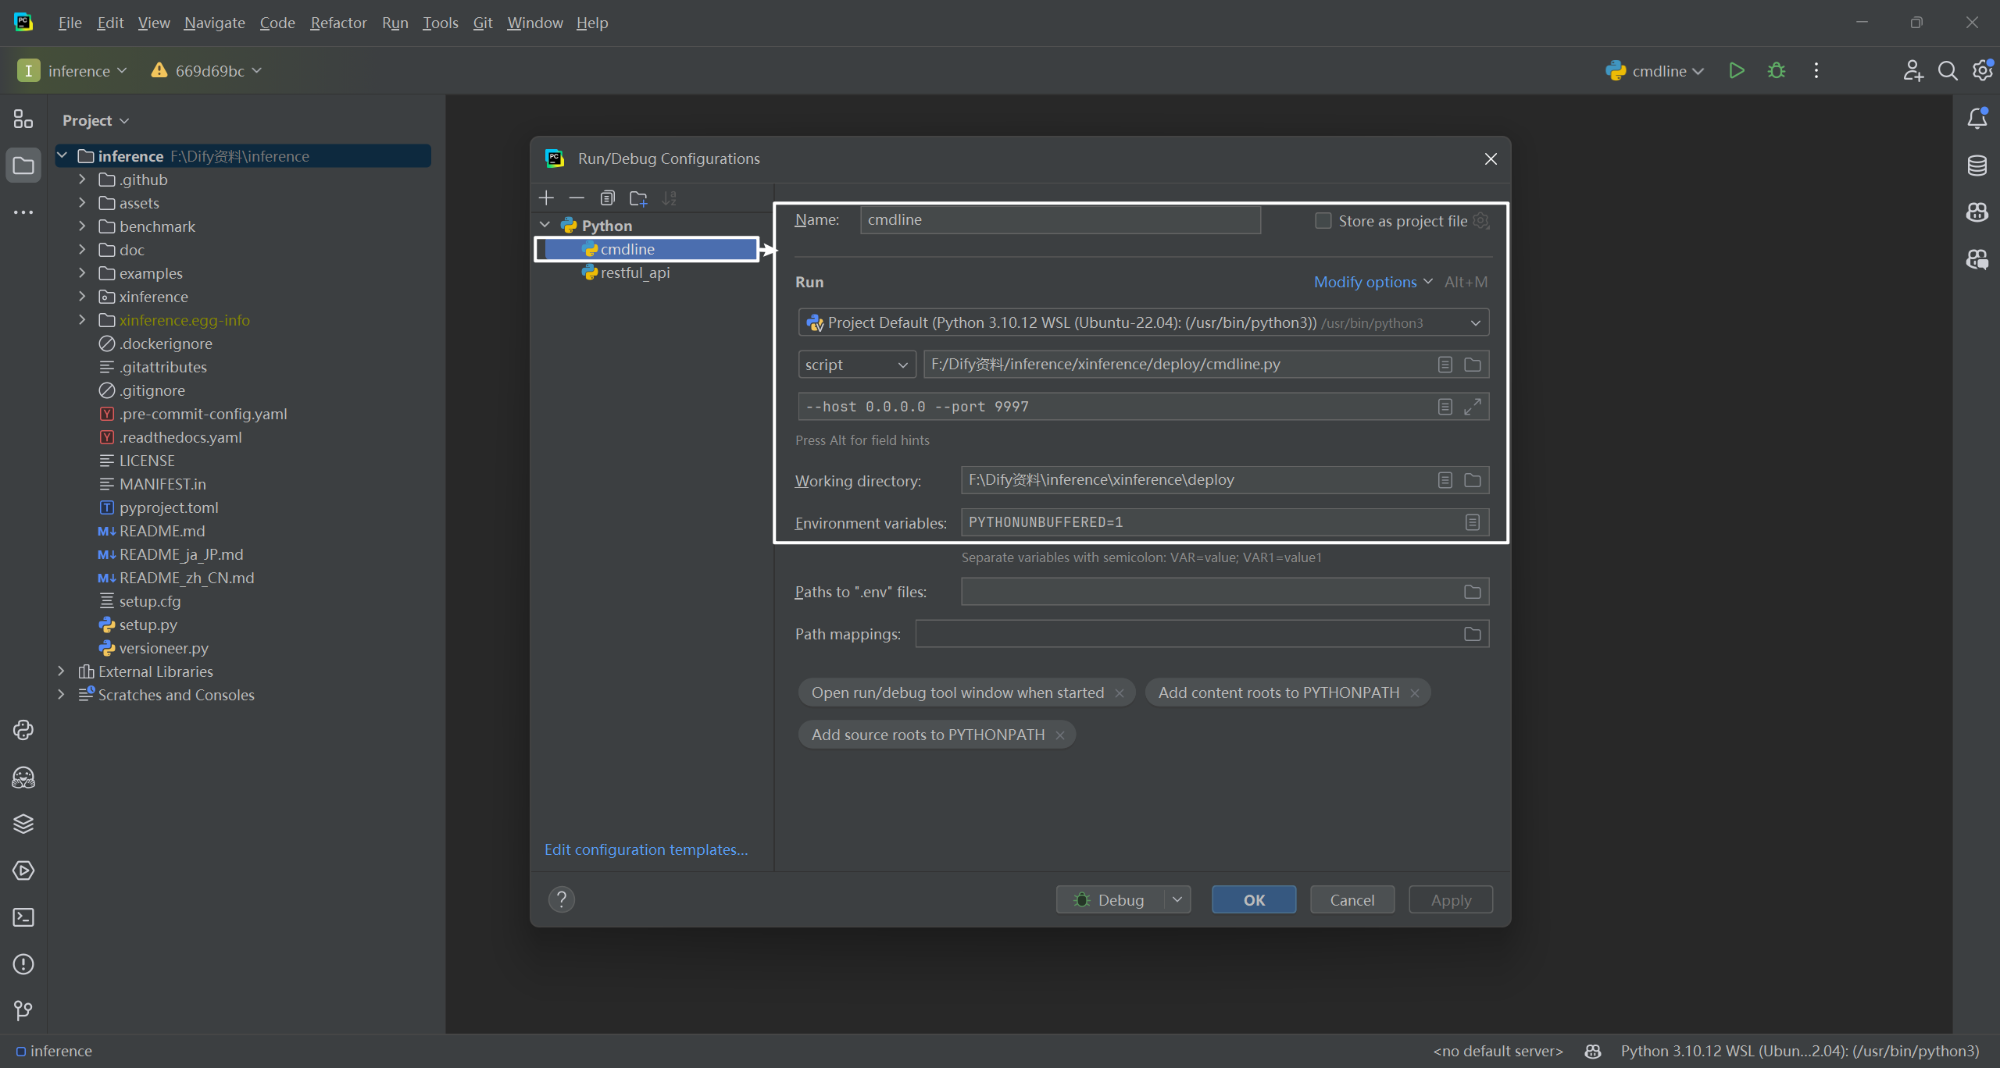
Run/Debug Configuration 参数及配置,如下所示:
2.运行前端代码
bash
npm install  # 安装依赖包
npm run start  # 实际执行react-scripts start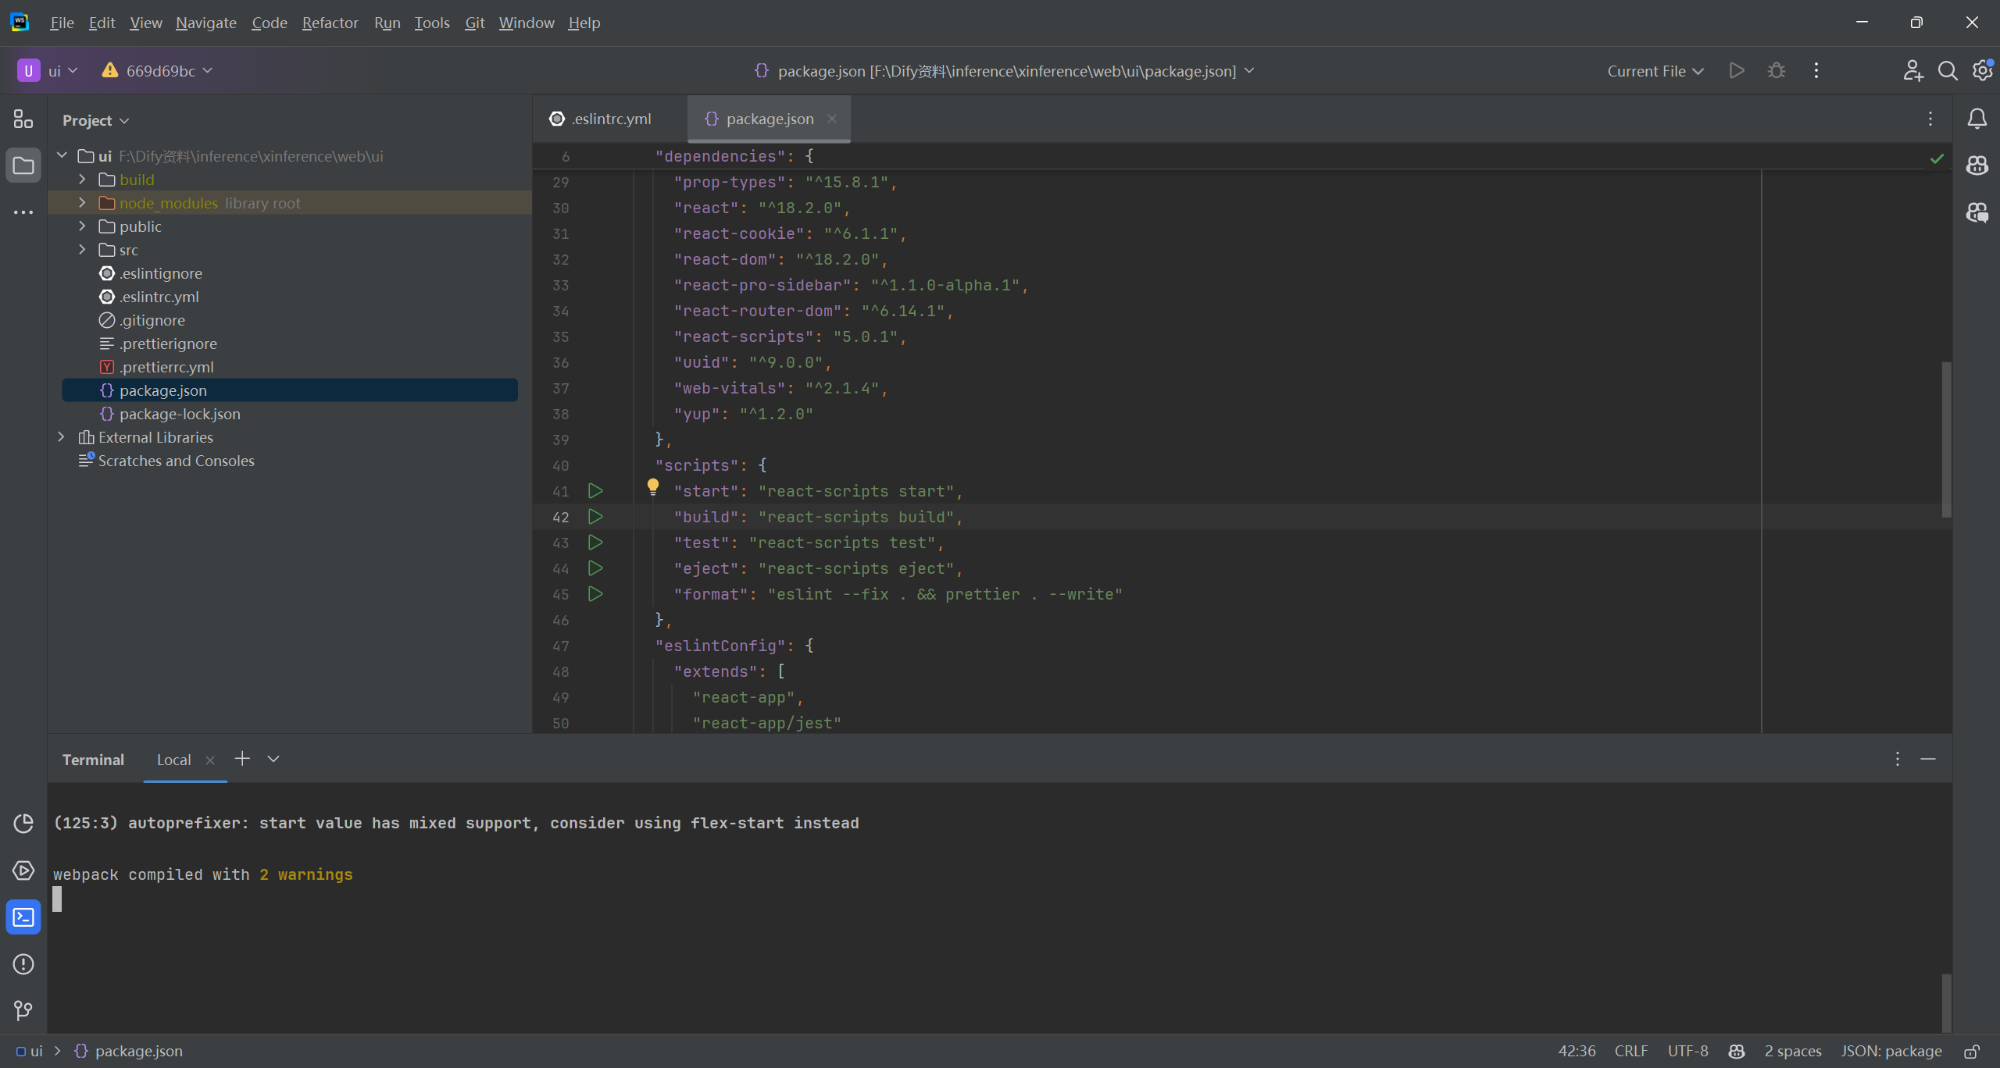
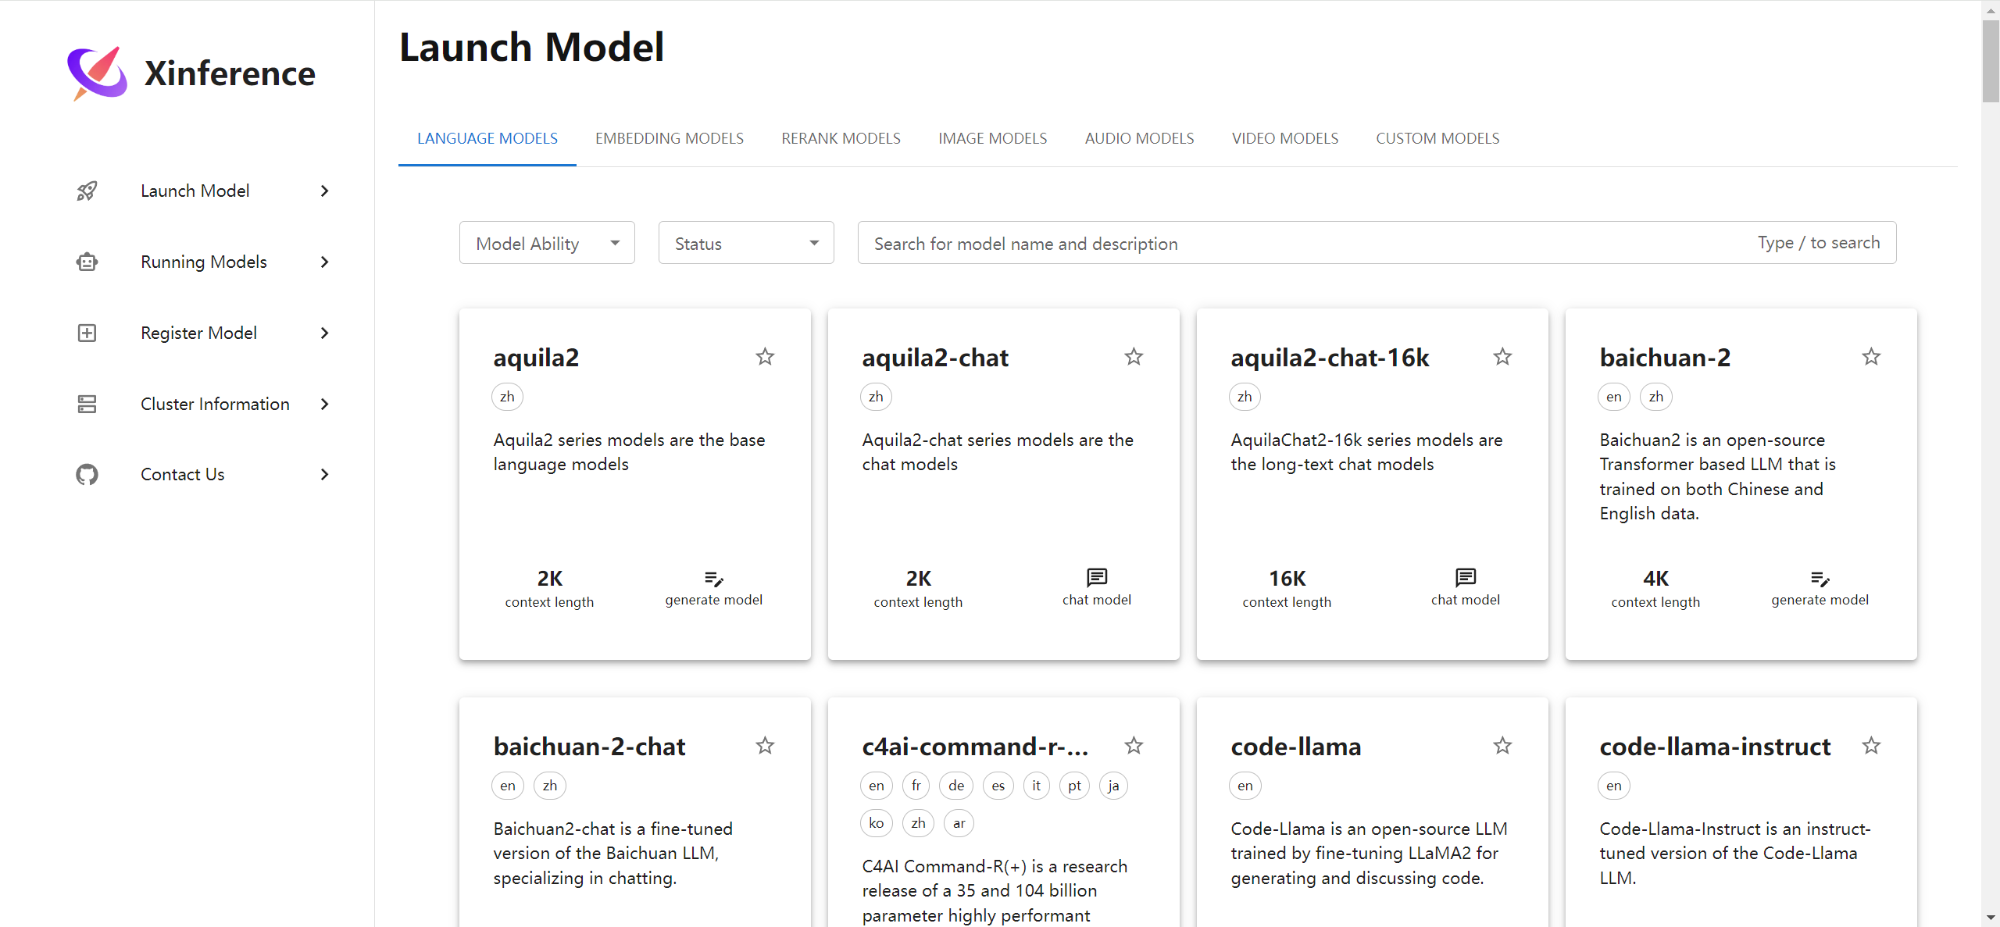
自动打开链接 http://localhost:3000/#/launch_model/llm,如下所示:
3.运行后端代码
点击 Debug 调试 Xinference 源码,如下所示:

如果调试后端代码时遇到相对路径相关问题,那么修改为完整路径即可。如下所示:
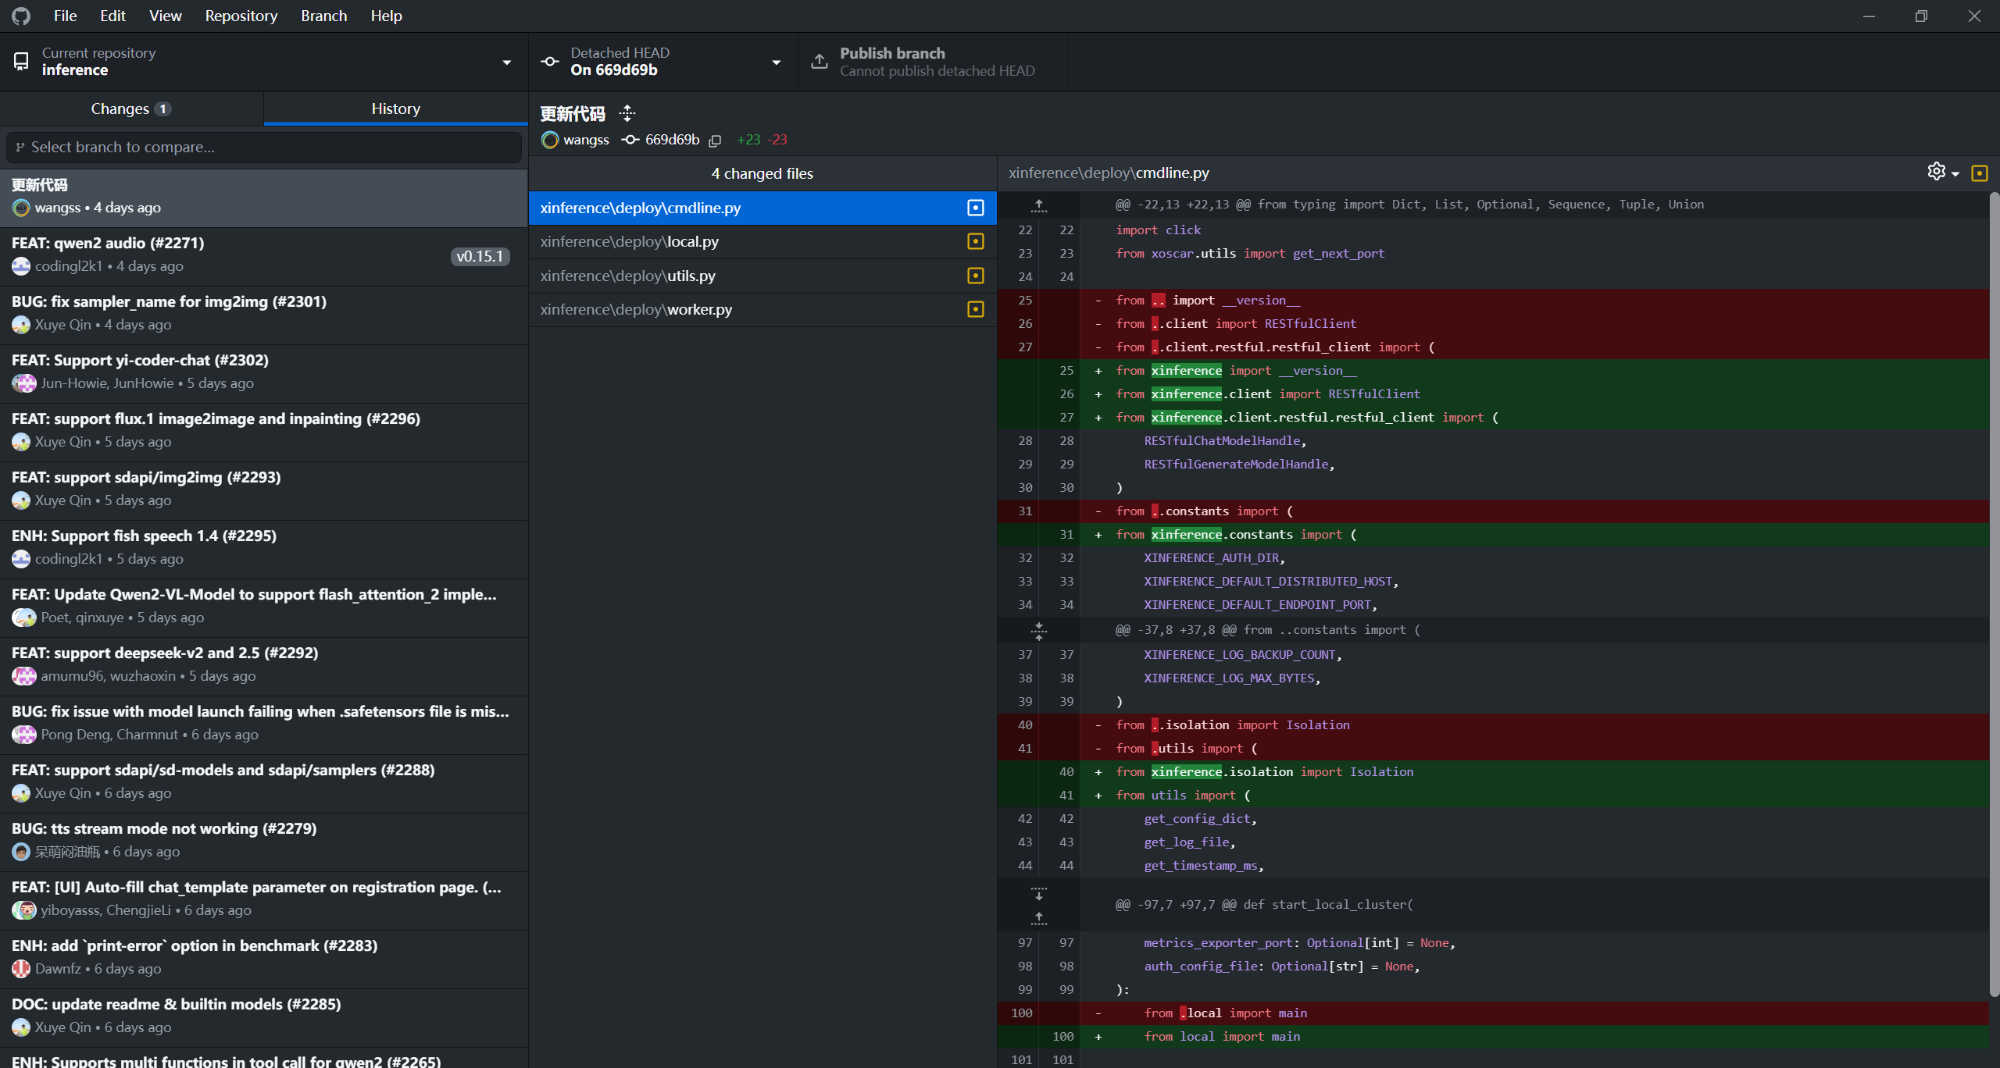
(1)inference\xinference\deploy\cmdline.py
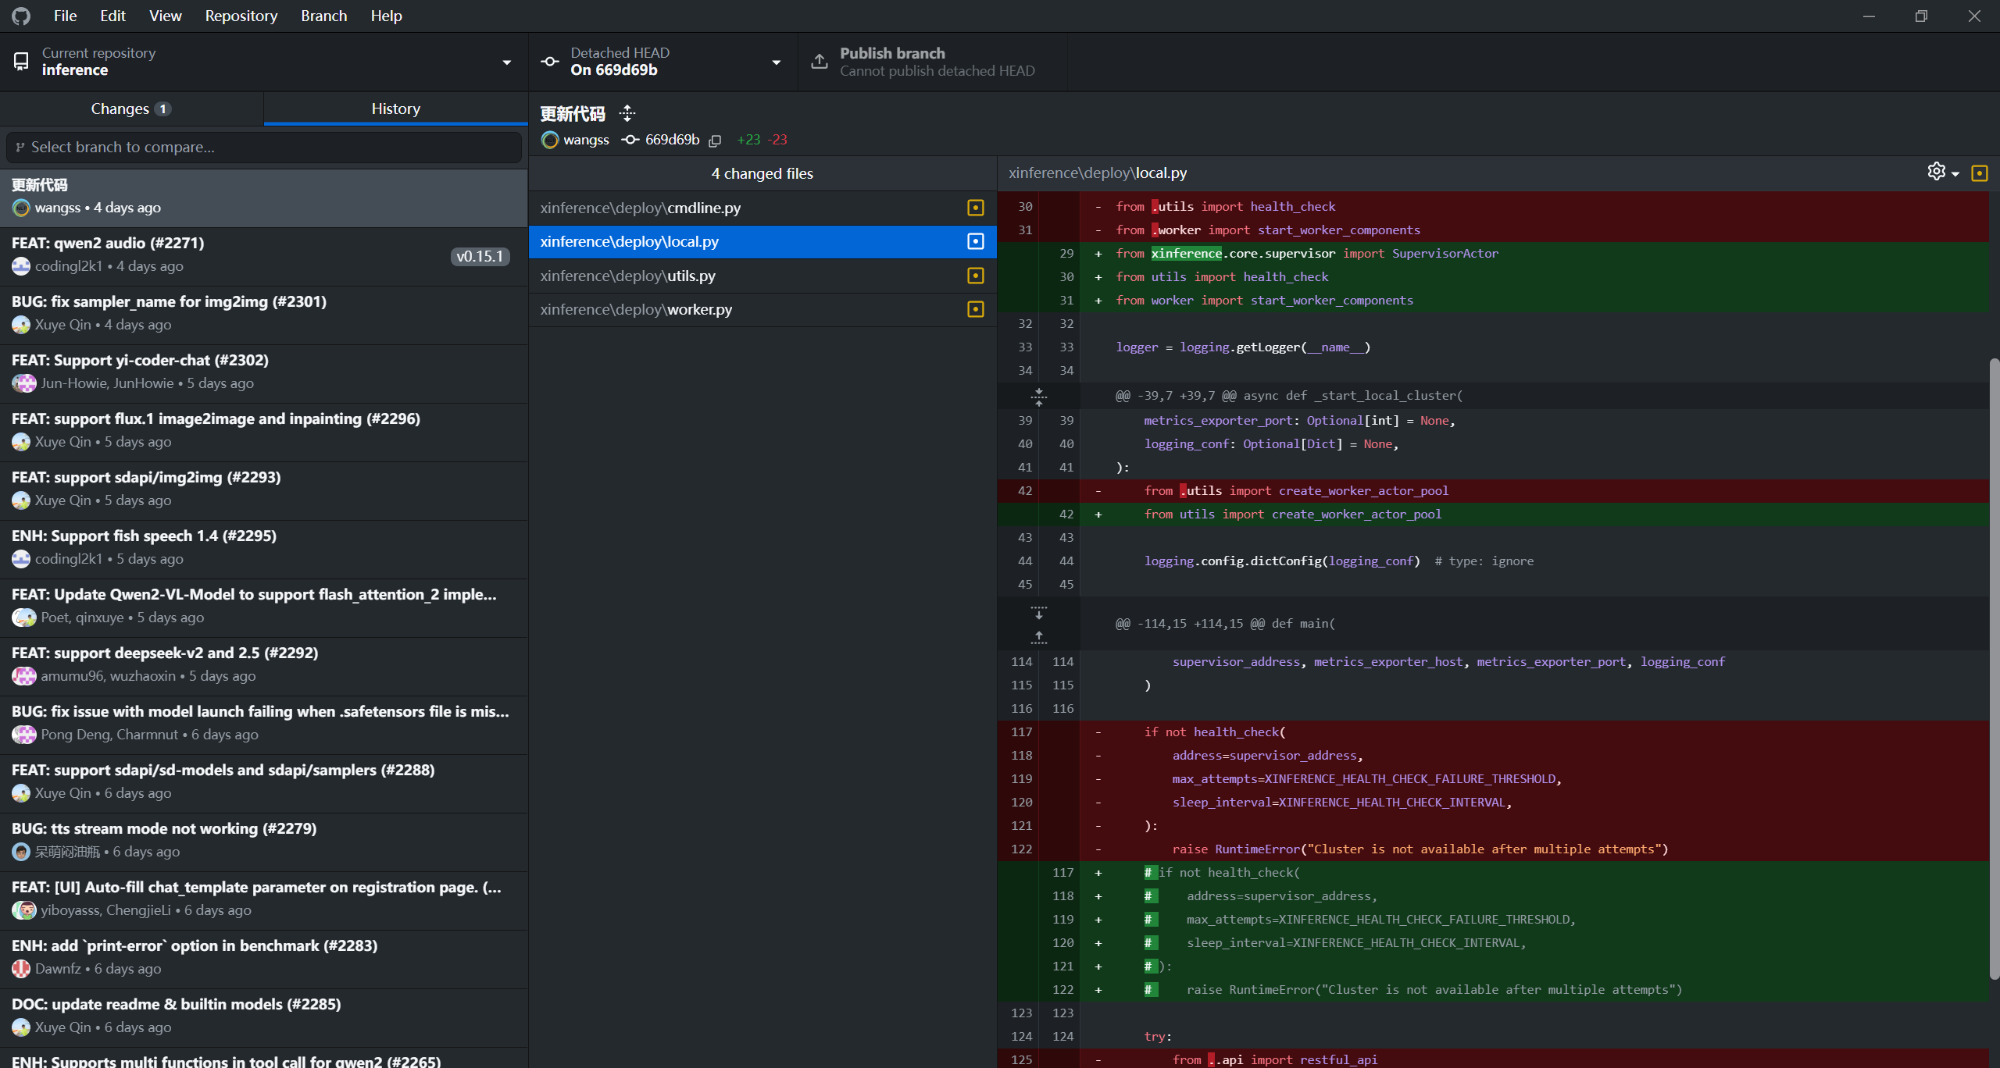
(2)inference\xinference\deploy\local.py
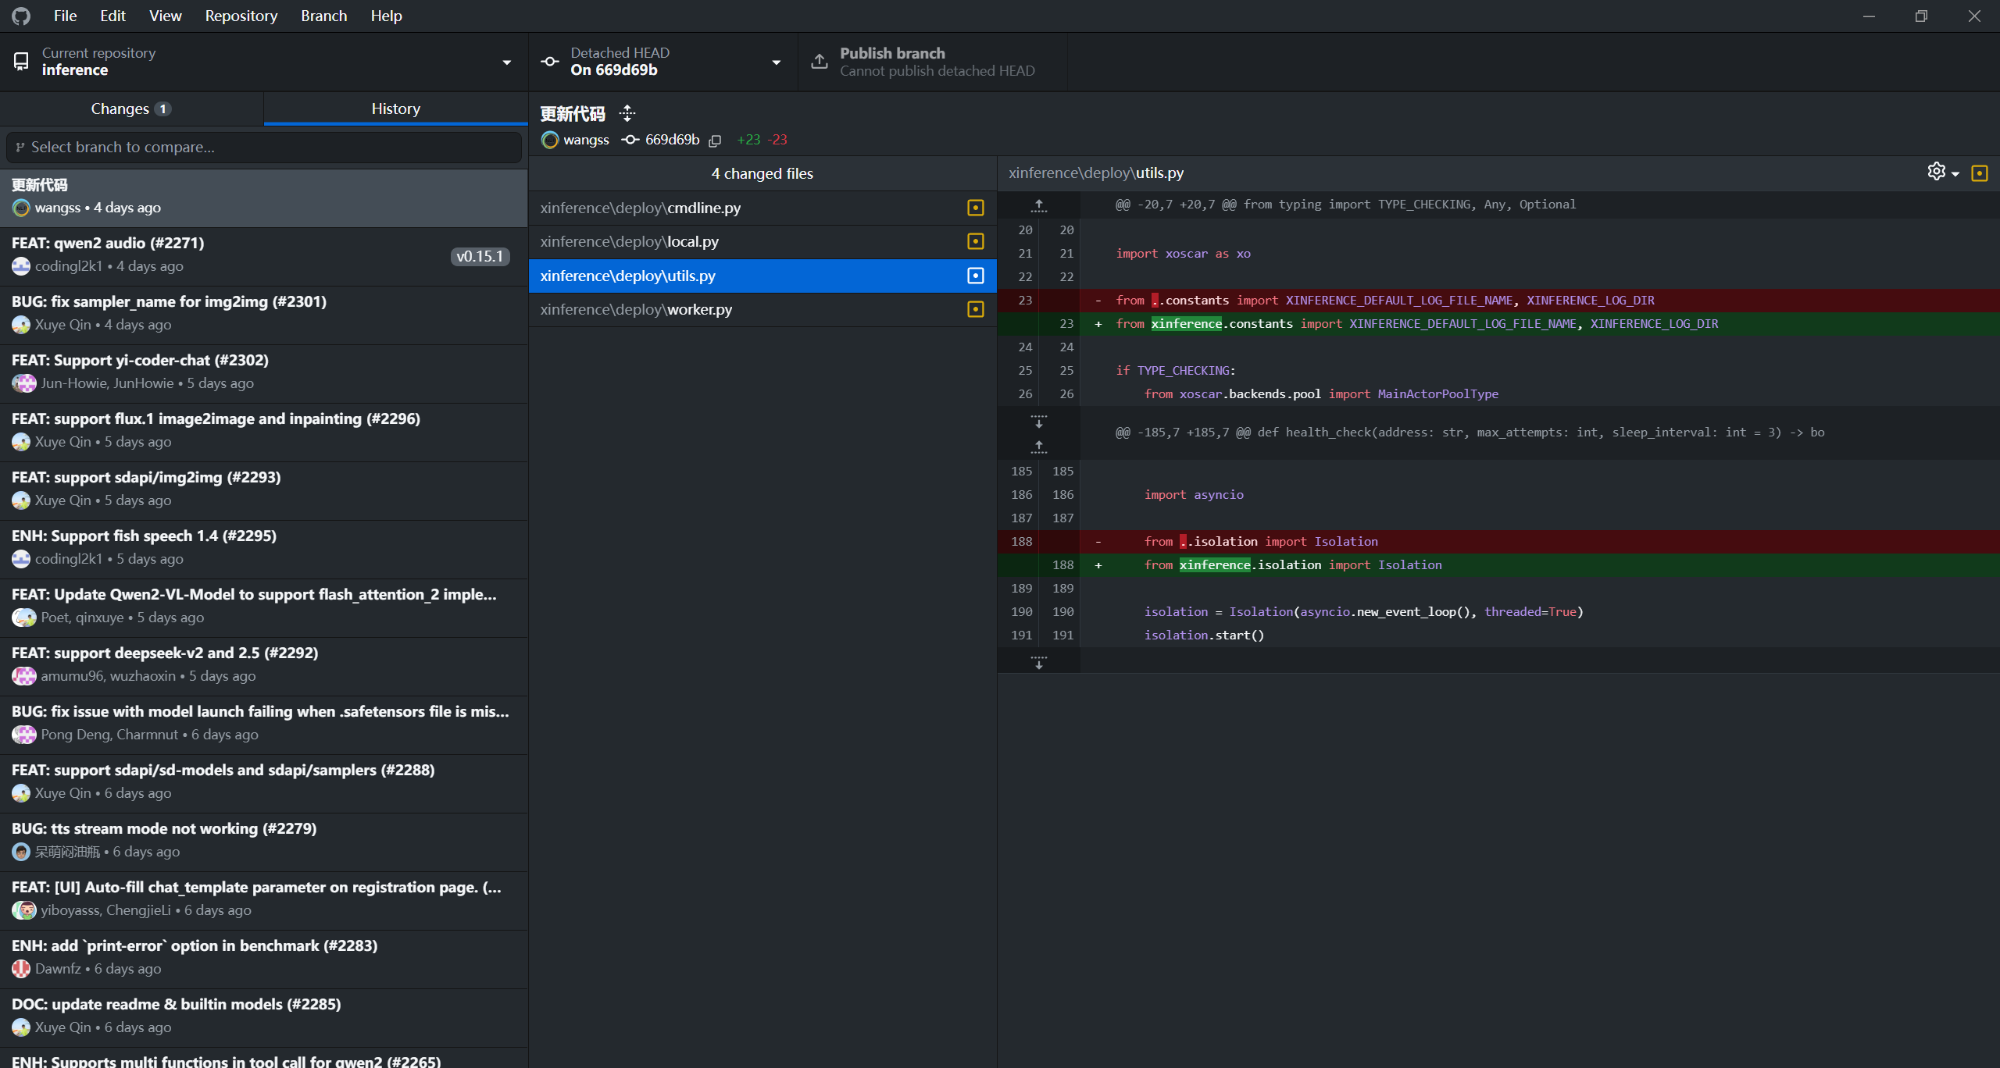
(3)inference\xinference\deploy\utils.py
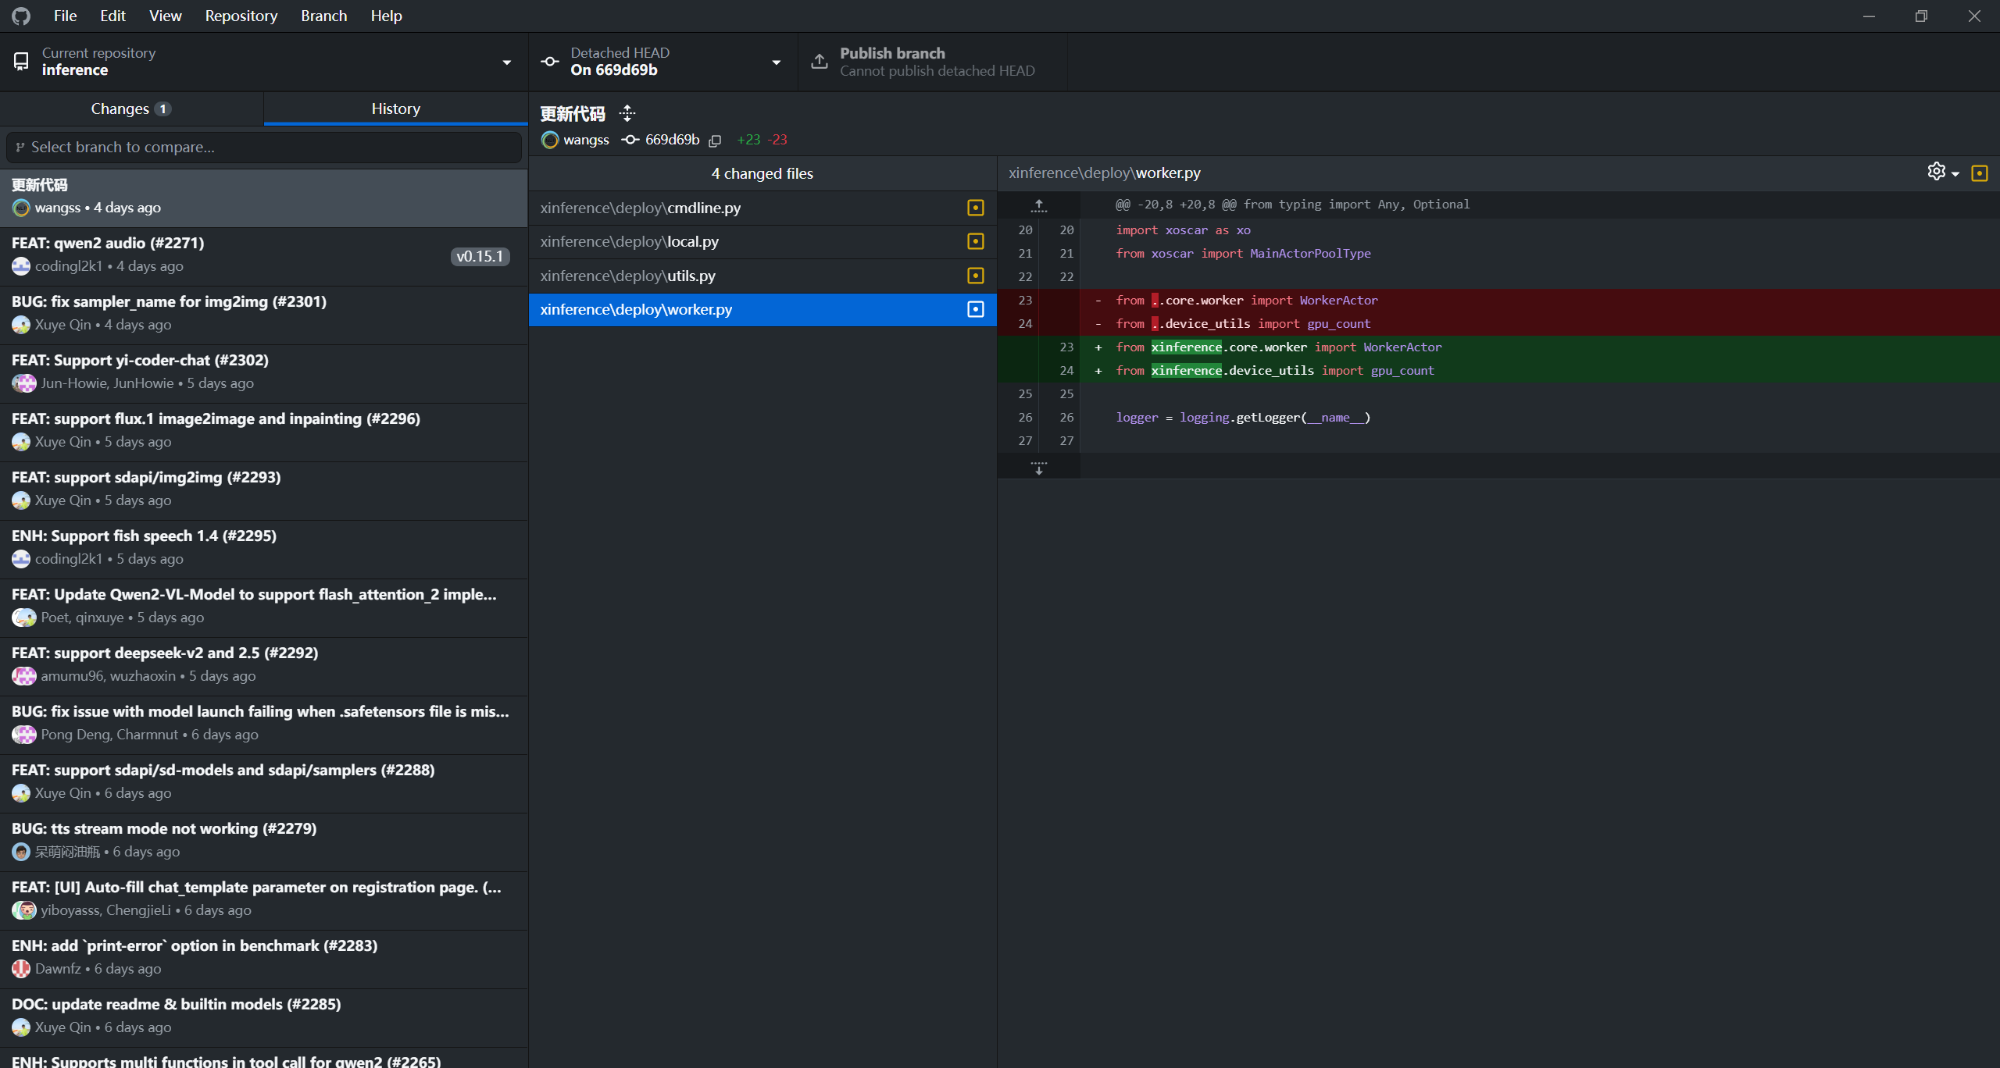
(4)inference\xinference\deploy\worker.py
4.源码修改
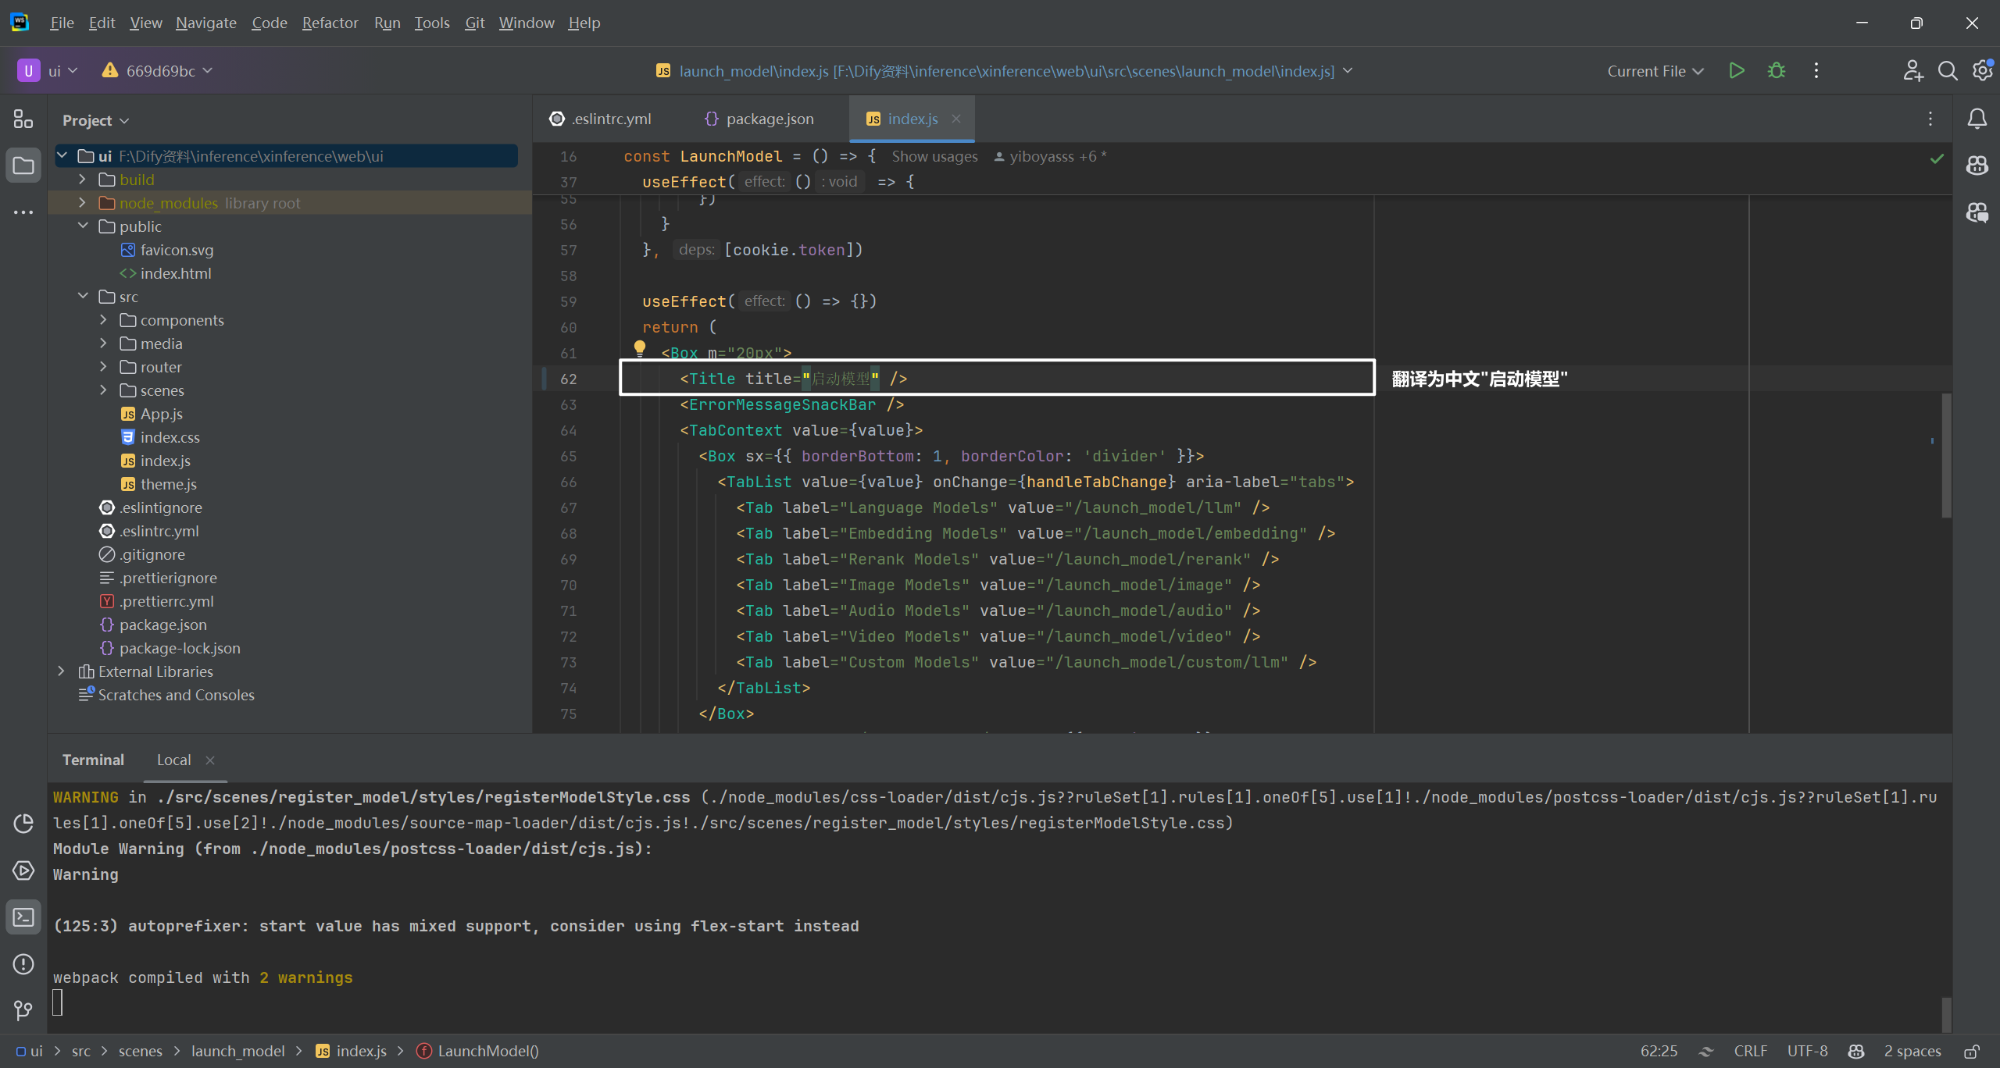
比如,修改"Launch Model"为"启动模型",如下所示:
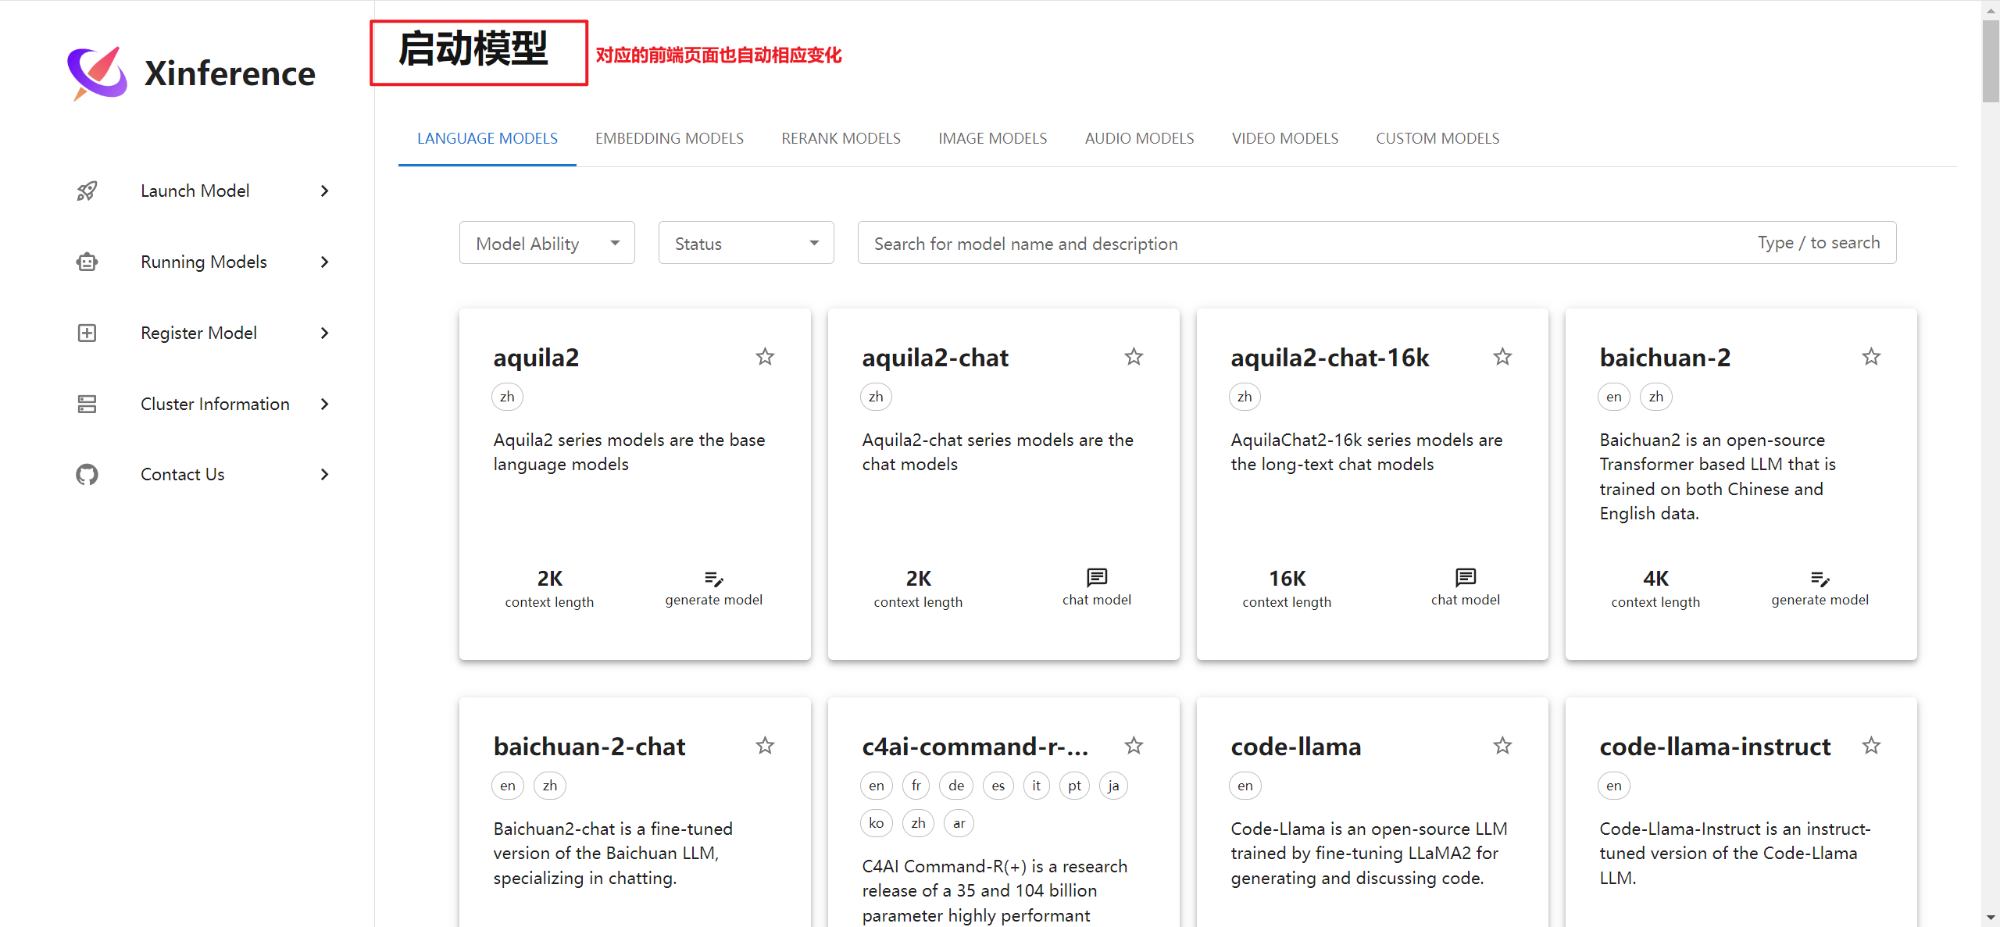
Web 前端页面也会跟随着相应变化,如下所示:
二.PyCharm+WSL2 调试遇到的问题
如果使用 PyCharm 版本过低,比如 PyCharm 2023.3.2。直接 Run 是可以的,但是 Debug 报错,如下所示:
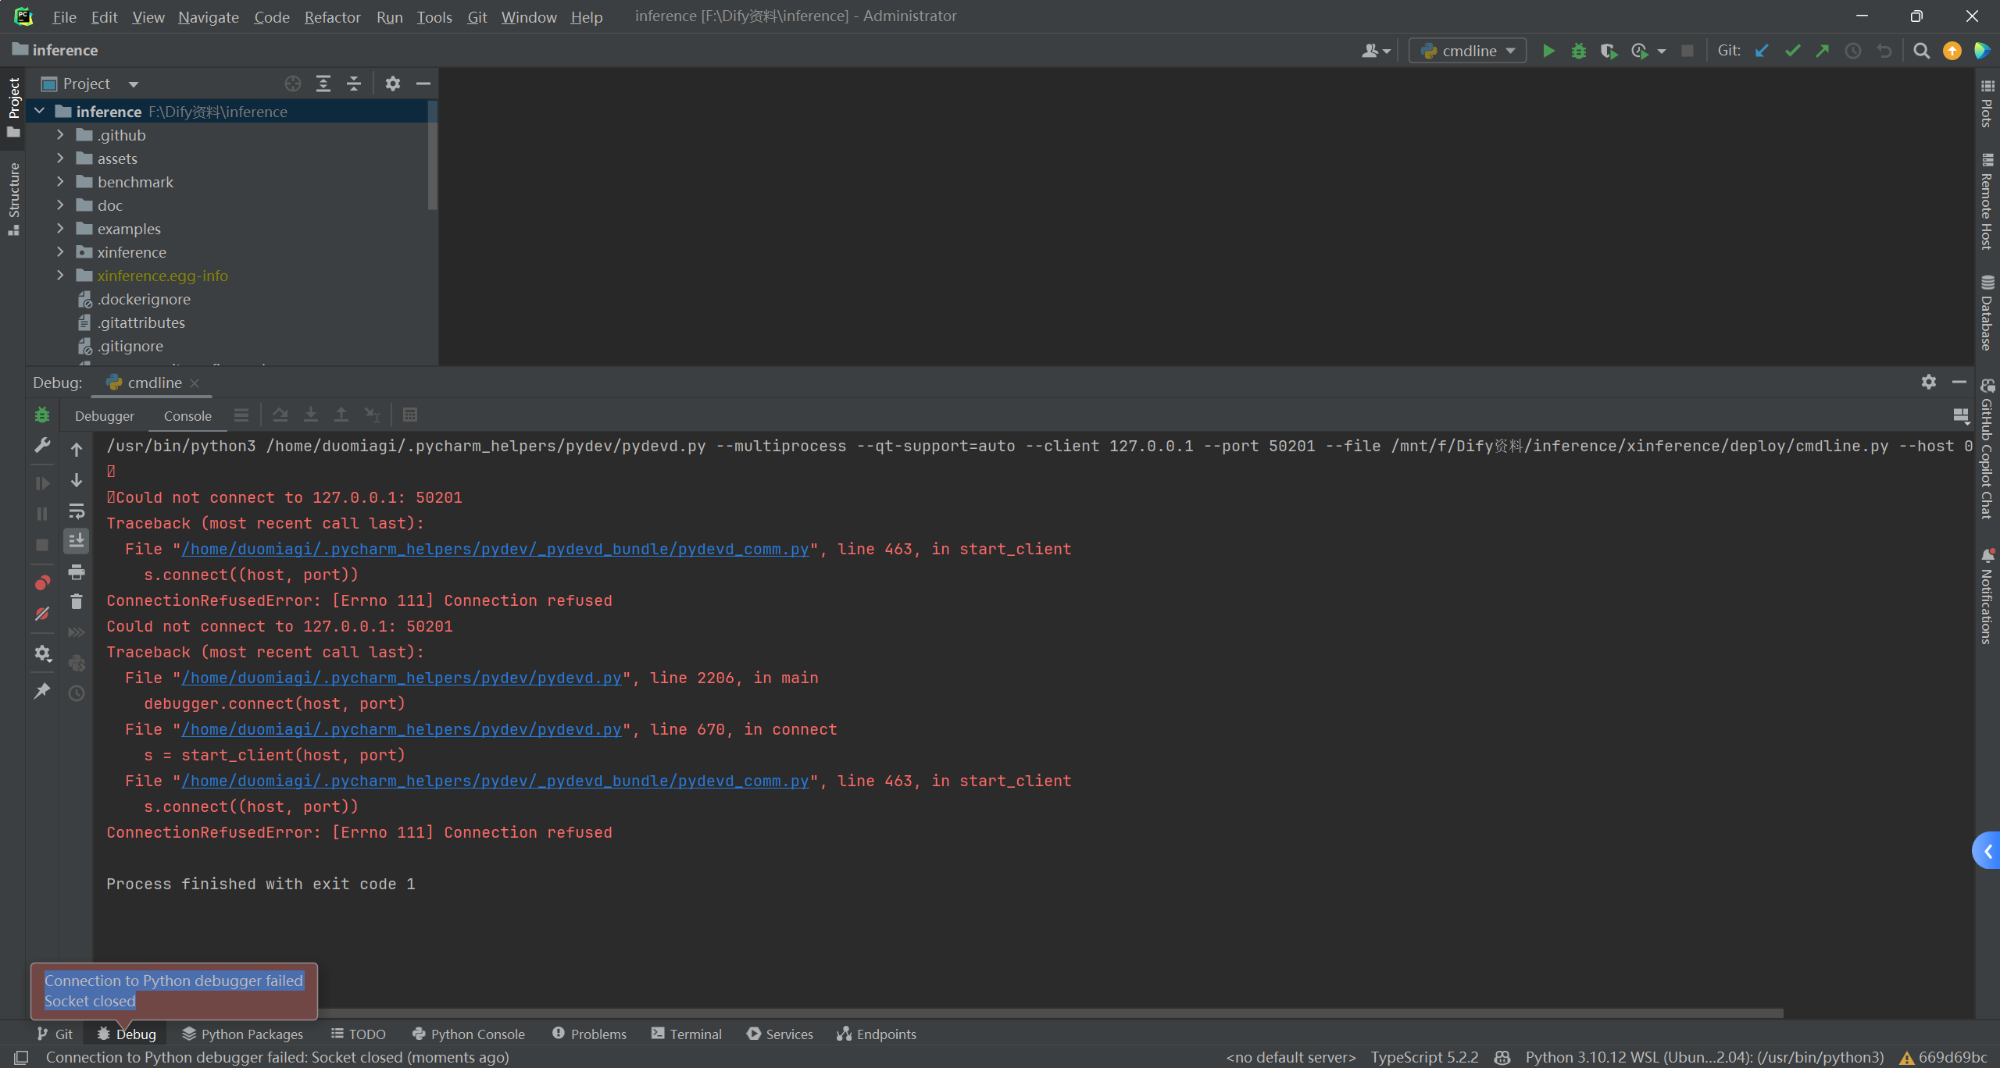
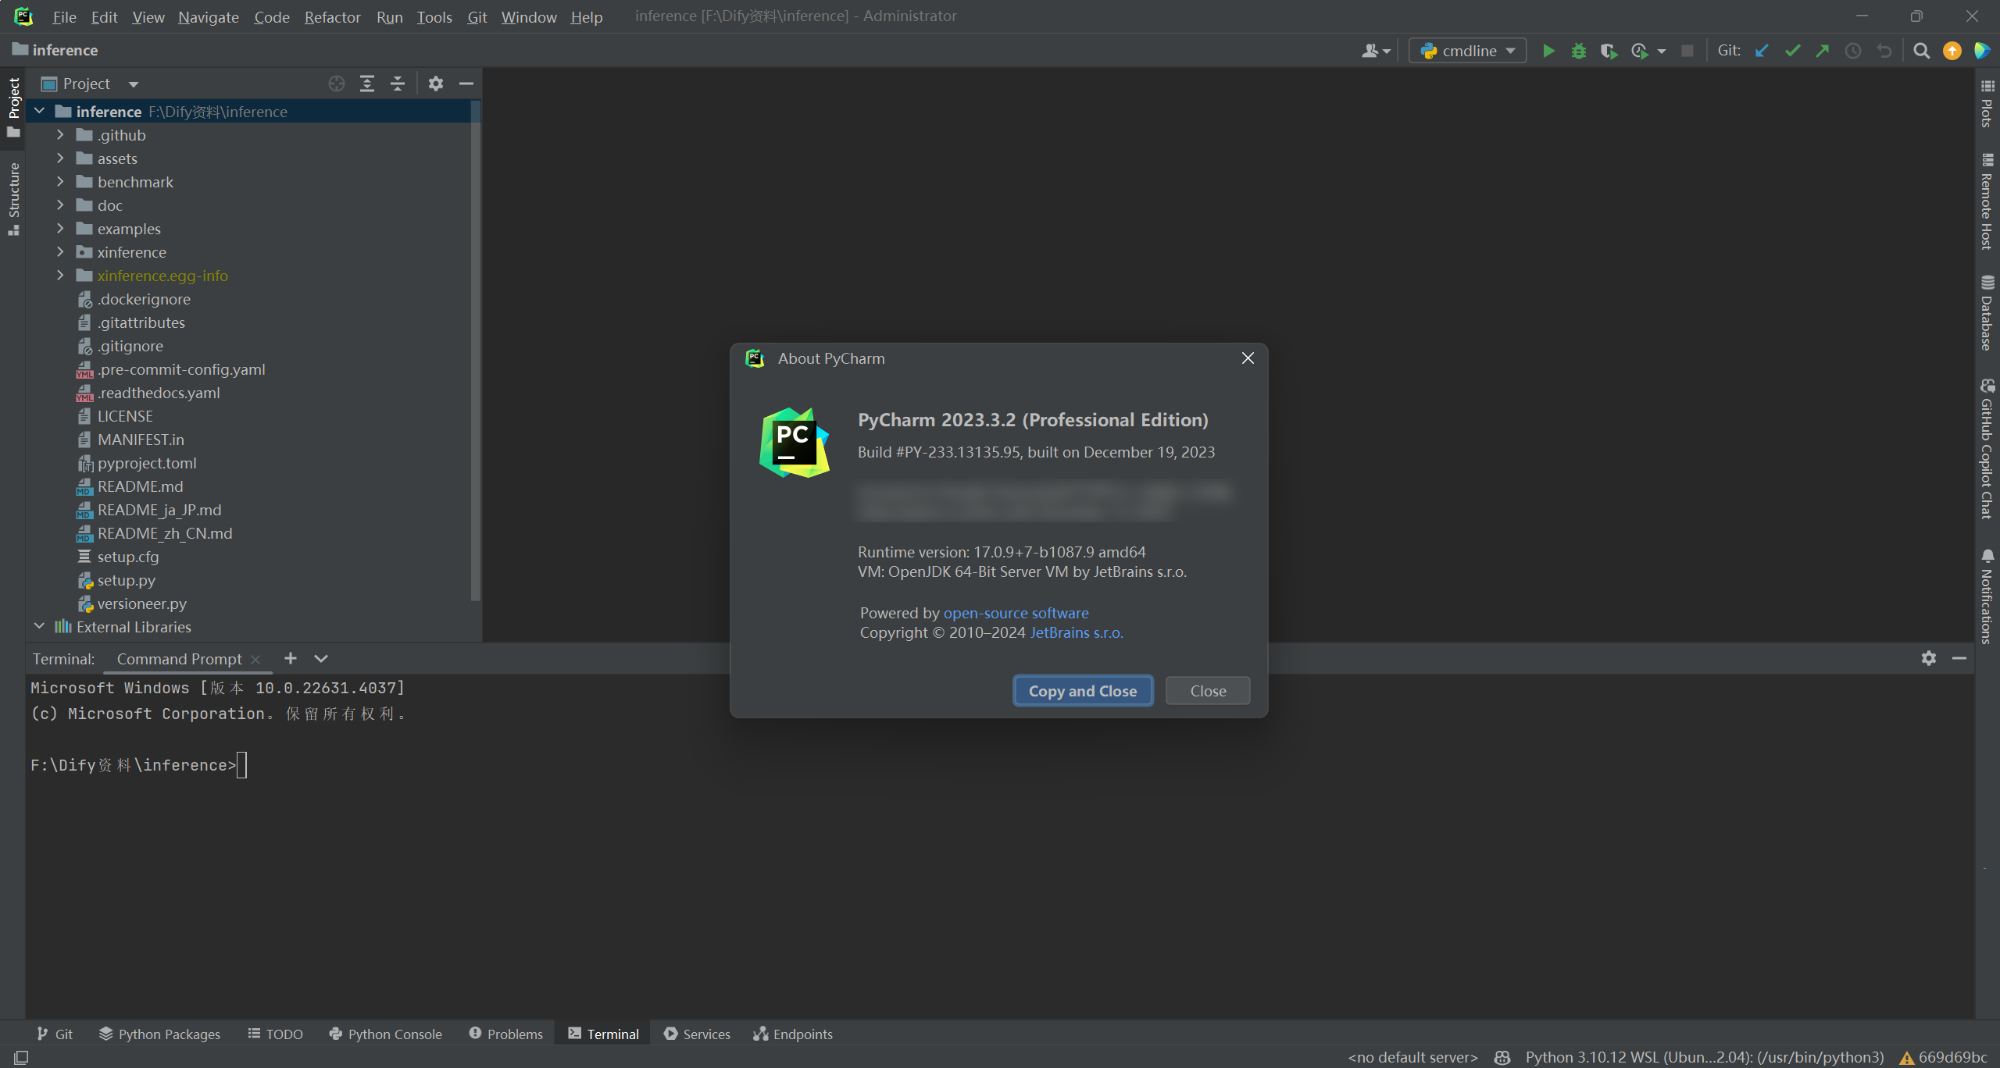
Connection to Python debugger failed Socket closed使用版本为 PyCharm 2023.3.2,如下所示:
报该错误可能是 PyCharm 本身的问题,解决方案是升级为最新的 PyCharm 2024.2.1 版本。
三.PyCharm+WSL2 安装和运行
源码编译安装,如下所示:
https://github.com/xorbitsai/inference
python setup.py install
xinference-local --host 0.0.0.0 --port 9997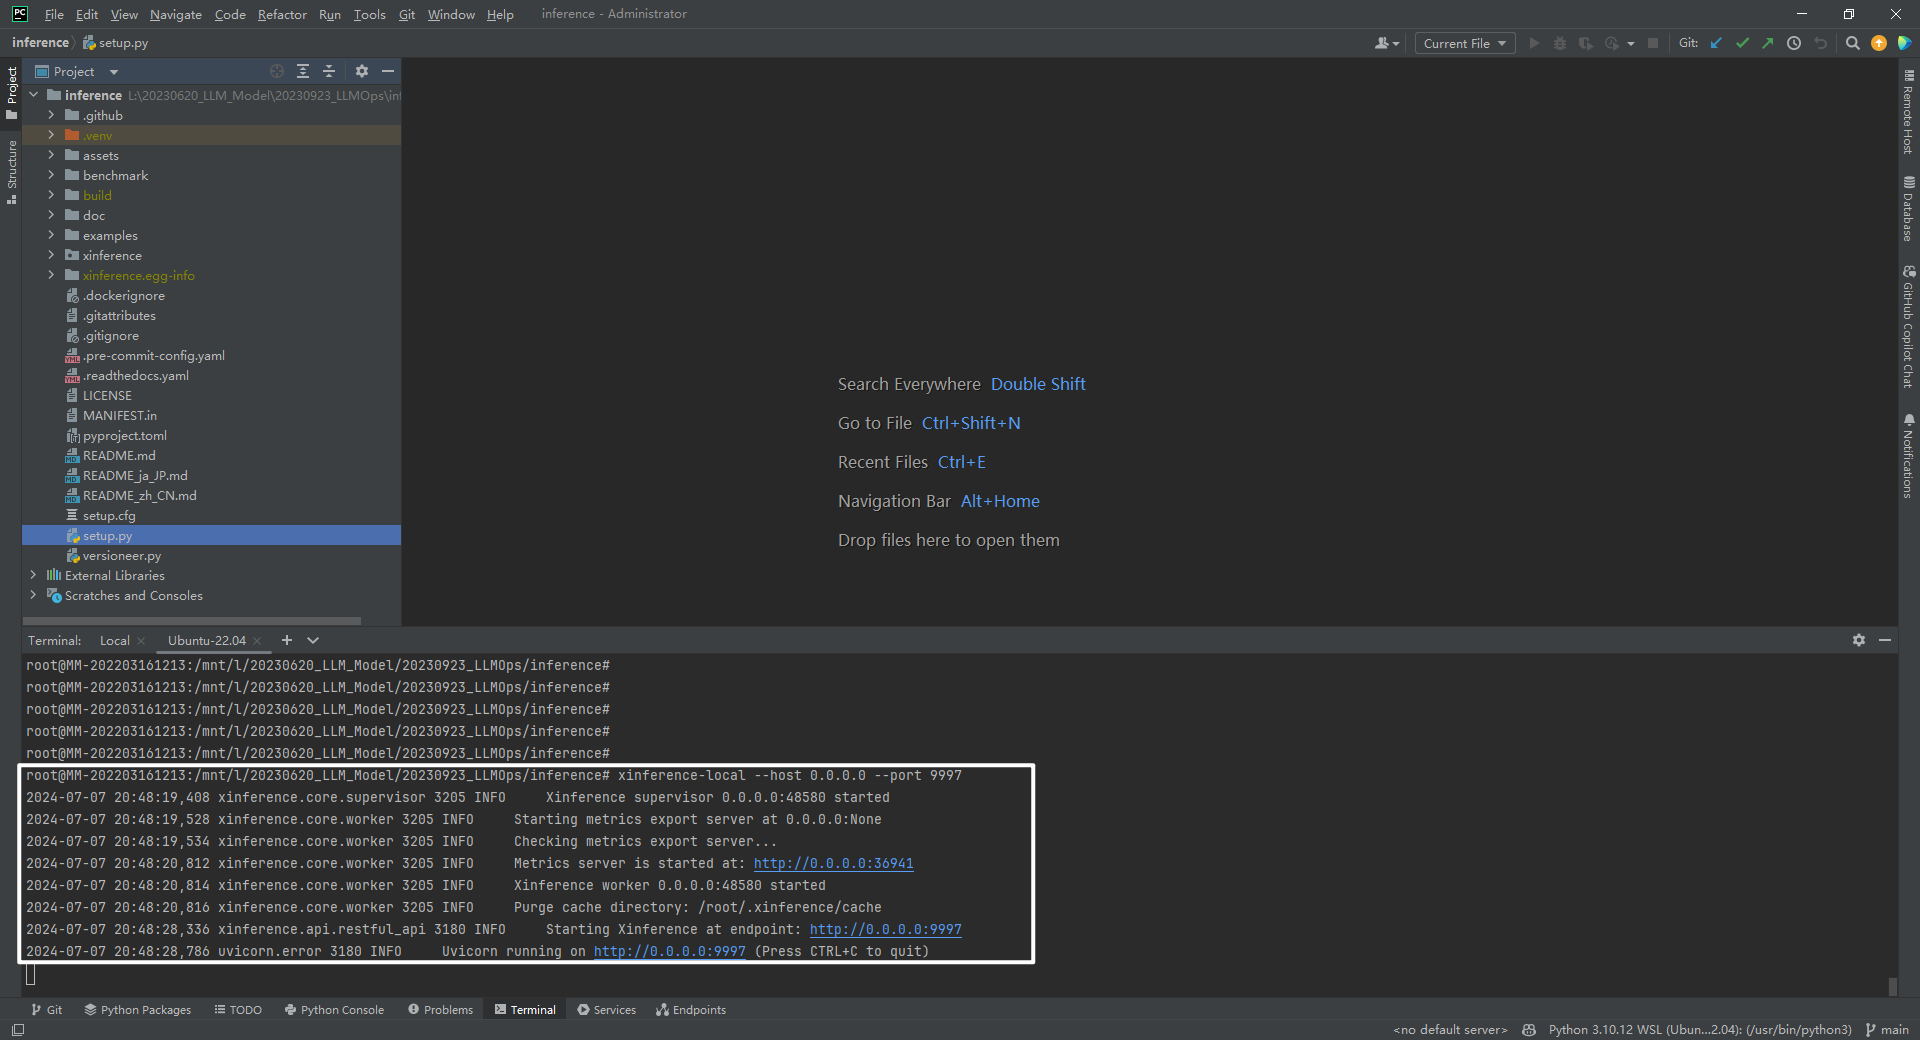
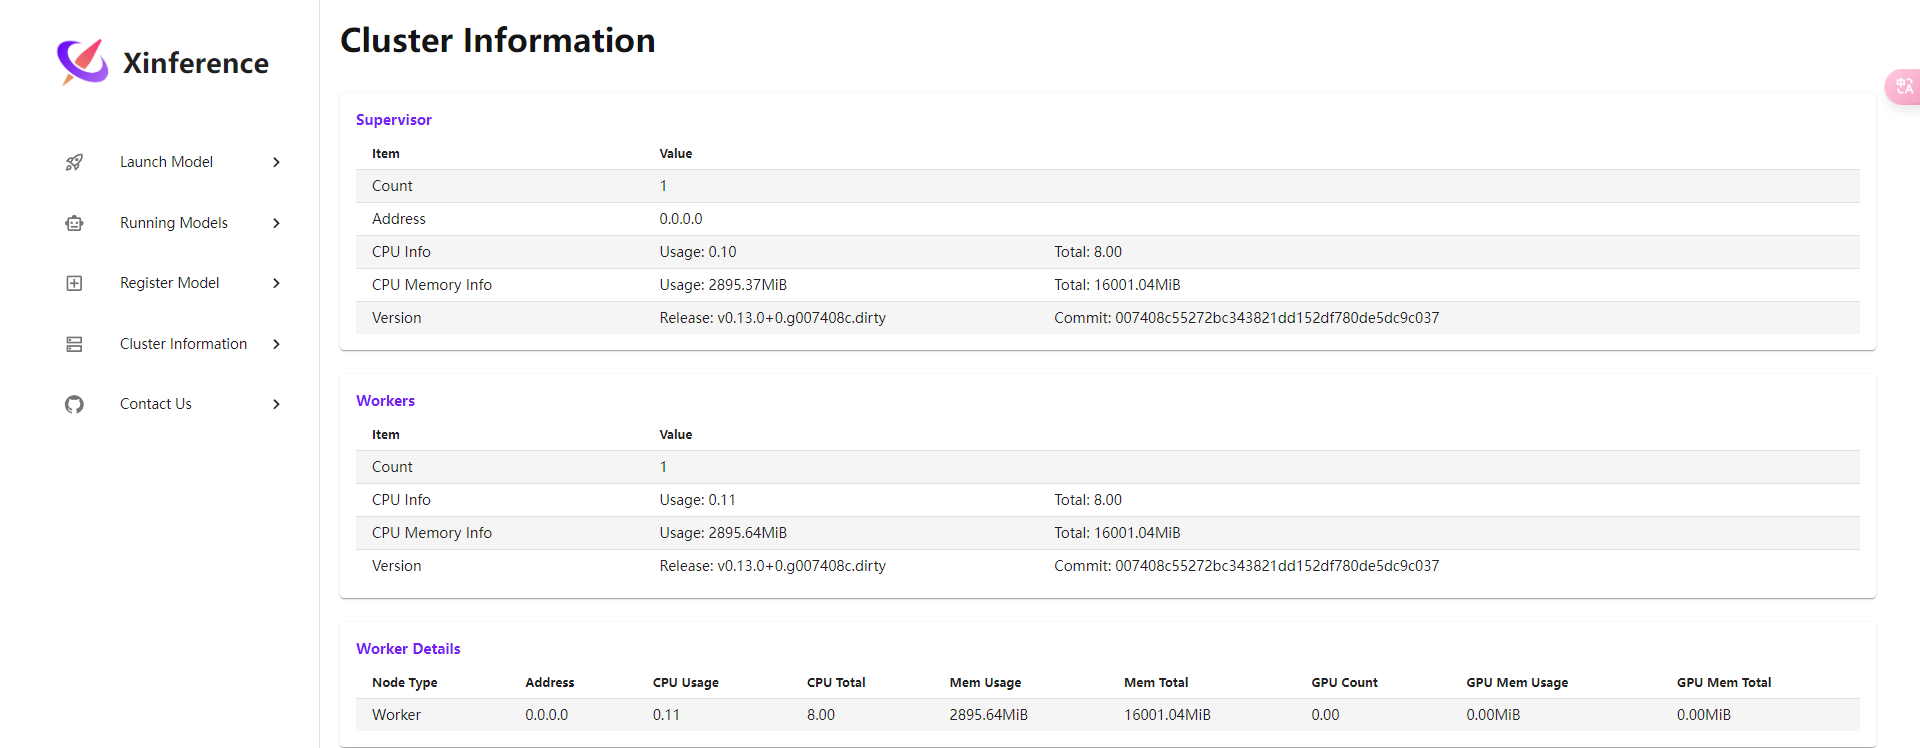
打开链接 http://127.0.0.1/ui/#/cluster_info,如下所示:
参考文献
1 Xorbits 官网:https://xorbits.cn/inference
2 Xinference 官方文档:https://inference.readthedocs.io/zh-cn/latest/index.html
3 Xorbits Inference GitHub:https://github.com/xorbitsai/inference
NLP工程化(星球号)