Android Framwork从零上手(一)下载编译AOSP源码
Android 系统开发涉及的知识面很广,代码量大,复杂度高,相关的学习资料也非常匮乏。我也在努力学习,分享一些学习心得
什么是AOSP
AOSP,全称"Android Open Source Project",中文意为"Android 开放源代码项目"。发起者是谷歌,主要用途是移动设备的系统。
硬件要求
用于 Android Framework 开发的电脑需要较强的 CPU,大内存,大存储,一般来说需要满足以下要求:
- CPU 不低于 6 核心,建议 8 核及以上
- 内存不低于 32G,建议 64G
- 存储空间不低于 500G,建议 1TB SSD
虚拟机安装
开发环境搭建
安装好系统后需要安装必要的软件:
powershell
sudo apt-get install git-core gnupg flex bison build-essential zip curl zlib1g-dev gcc-multilib g++-multilib libc6-dev-i386 libncurses5 lib32ncurses5-dev x11proto-core-dev libx11-dev lib32z1-dev libgl1-mesa-dev libxml2-utils xsltproc unzip fontconfig python下载编译源码
下载 repo 工具
powershell
mkdir ~/bin
curl https://mirrors.tuna.tsinghua.edu.cn/git/git-repo -o ~/bin/repo
chmod +x ~/bin/repo
repo 的运行过程中会尝试访问官方的 git 源更新自己,如果想使用 tuna 的镜像源进行更新,可以将如下内容复制到你的 ~/.bashrc 或者 ~/.zshrc 里。
powershell
export REPO_URL='https://mirrors.tuna.tsinghua.edu.cn/git/git-repo'
PATH=~/bin:$PATH
然后 source 一下:
powershell
source ~/.bashrc
#如果使用的是 zsh
#source ~/.zshrc
初始化仓库并同步远程代码
powershell
git config --global user.email "you@example.com"
git config --global user.name "Your Name"
mkdir aosp
cd aosp
#初始化仓库,-b 指示分支,这里使用 android10
repo init -u https://mirrors.tuna.tsinghua.edu.cn/git/AOSP/platform/manifest -b android-10.0.0_r41
#同步远程代码
repo sync
-b 后面的值参考 源代码标记和 build。这里选用了 android-10.0.0_r41 版本用于学习。Android 每年都会更新一个大版本,学习的角度来说,选择一个不太老的版本即可,不必追新。
这里可能会遇到类型 SyntaxError: invalid syntax 'python': No such file or directory 等错误,这是 repo 和 Python 版本不一致导致的,我们可以用如下方式解决:
powershell
# 安装 python3
sudo apt install python3
# 下载最新的 repo
curl https://storage.googleapis.com/git-repo-downloads/repo-1 > ~/bin/repo
chmod a+x ~/bin/repo
# 使用 python3 执行 repo
python3 ~/bin/repo init -u https://mirrors.tuna.tsinghua.edu.cn/git/AOSP/platform/manifest -b android-10.0.0_r41
还有一种比较简单的方法,直接建立软链接:
powershell
# 安装 python3
sudo apt install python3
sudo apt install python-is-python3

# # 建立软链接
# sudo ln -s /usr/bin/python3.6 /usr/bin/python
编译源码
powershell
source build/envsetup.sh
# 如果是 Android13
# lunch sdk_phone_x86_64
lunch aosp_x86_64-eng
make -j16
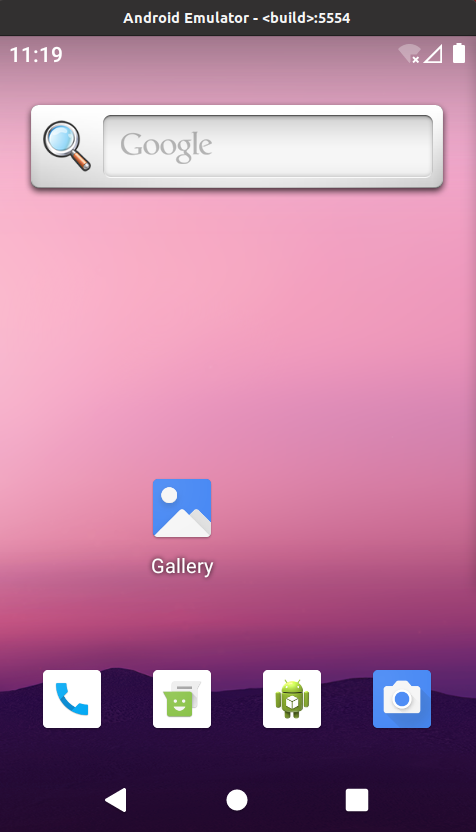
运行模拟器
powershell
emulator -verbose -cores 4 -show-kernel