1.搭建脚手架项目
2.创建完项目后,安装所需依赖包
npm i vite-plugin-electron electron@26.1.0
3.根目录下创建electron/main.ts
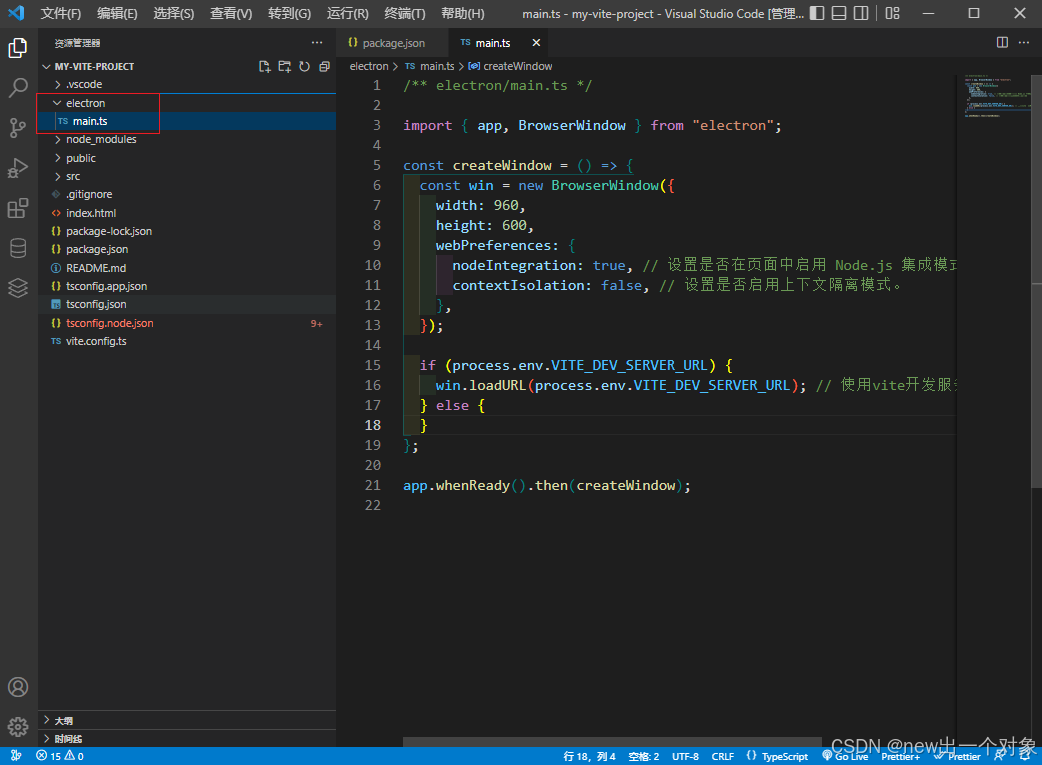
electron/main.ts
/** electron/main.ts */

import { app, BrowserWindow } from "electron";

const createWindow = () => {
  const win = new BrowserWindow({
    width: 960,
    height: 600,
    webPreferences: {
      nodeIntegration: true, // 设置是否在页面中启用 Node.js 集成模式
      contextIsolation: false, // 设置是否启用上下文隔离模式。
    },
  });

  if (process.env.VITE_DEV_SERVER_URL) {
    win.loadURL(process.env.VITE_DEV_SERVER_URL); // 使用vite开发服务的url路径访问应用
  } else {
  }
};

app.whenReady().then(createWindow);
4.配置vite.config.ts
import electron from "vite-plugin-electron";

electron([{ entry: "electron/main.ts" }])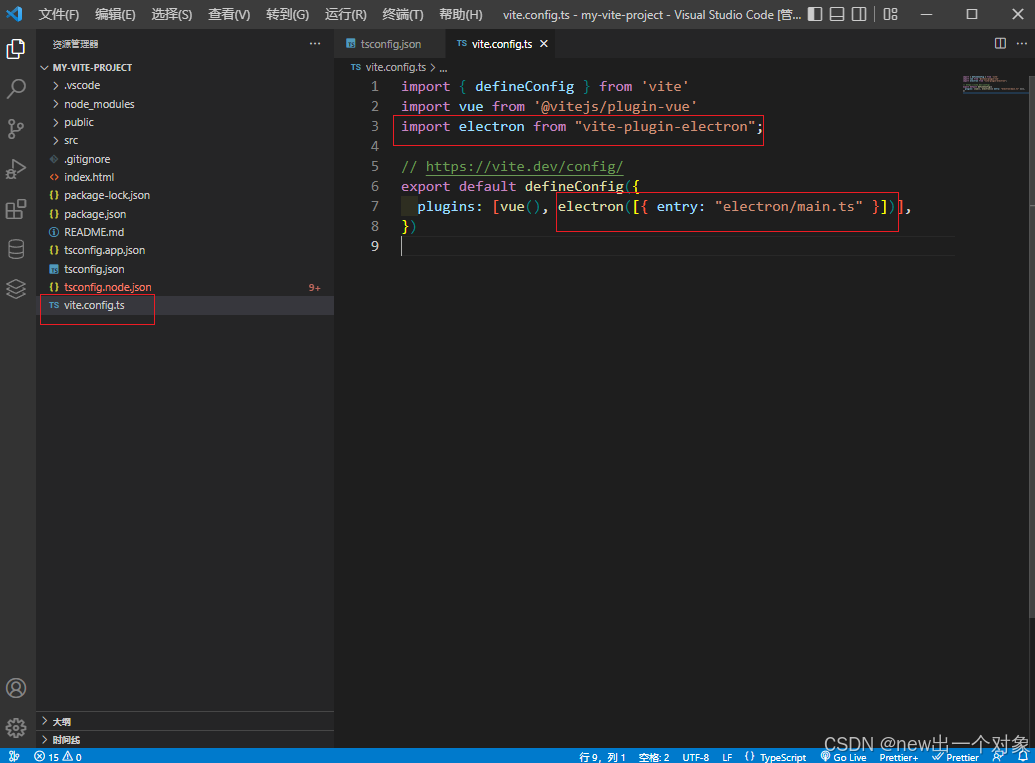
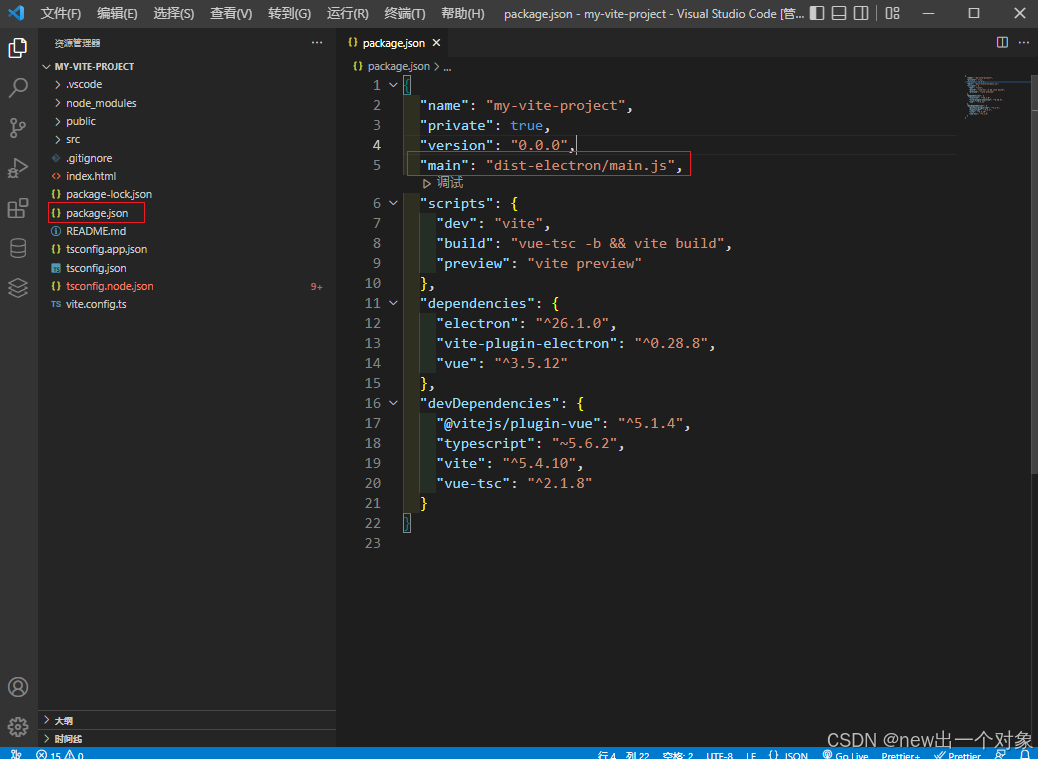
5.配置package.json
删除:"type": "module",
添加:"main": "dist-electron/main.js",
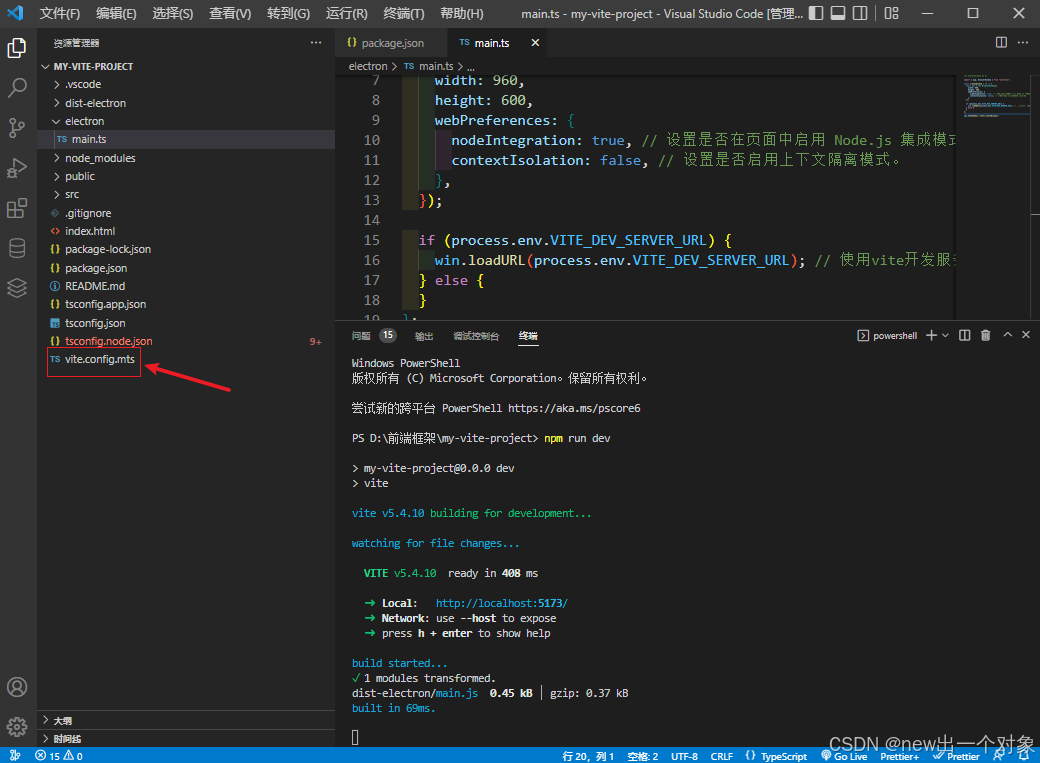
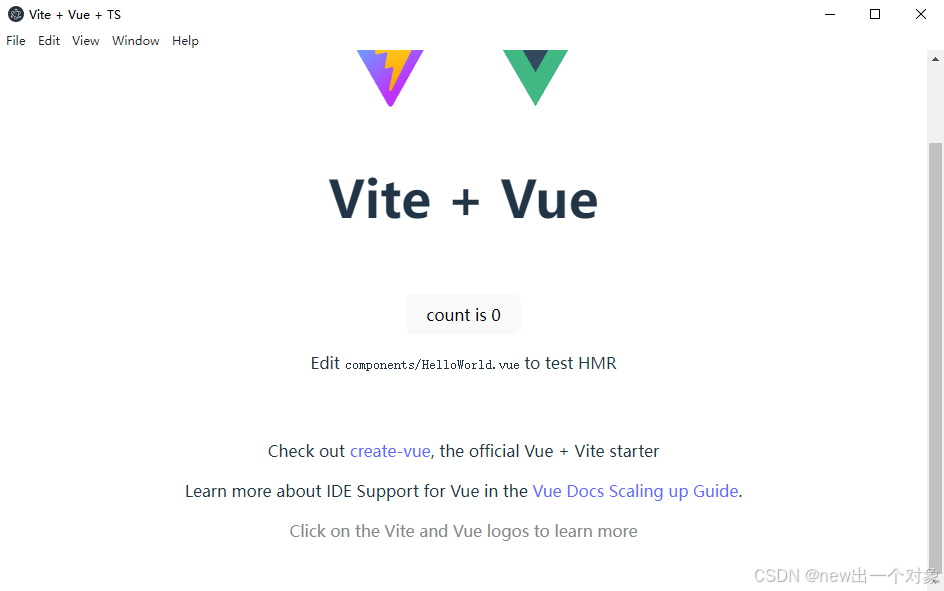
6.运行项目 npm run dev 自动弹出窗口
7.解决问题
警告问题:The CJS build of Vite's Node API is deprecated. See https://vite.dev/guide/troubleshooting.html#vite-cjs-node-api-deprecated for more details.
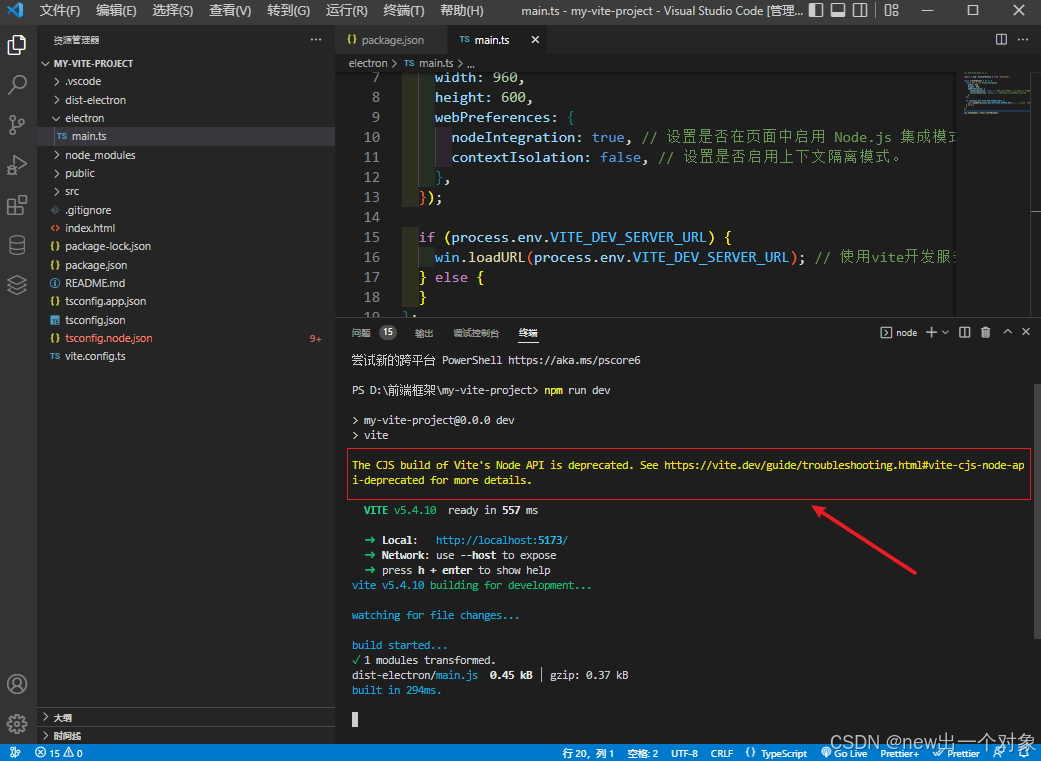
解决方案
将 vite.config.ts 文件改名为 vite.config.mts
文件扩展名 .mts 明确地指示 Node.js 将该文件作为一个 ECMAScript Module (ESM) 来处理。
这与在 package.json 中设置 "type": "module" 相类似,都是为了确保 Node.js 以 ESM 格式解析和执行模块。