
大家好,我是大明同学。
Axure选择器是一种在交互设计中常用的组件,这期内容,我们来探讨Axure中多级下拉选择器设计与交互技巧。

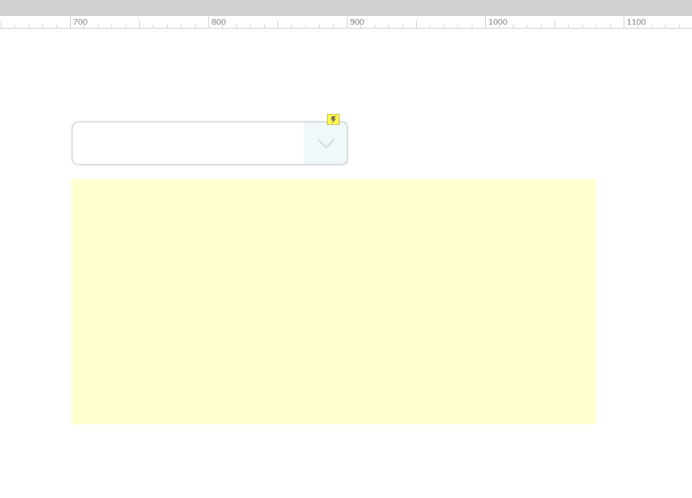
下拉列表选择输入框元件
创建选择输入框所需的元件
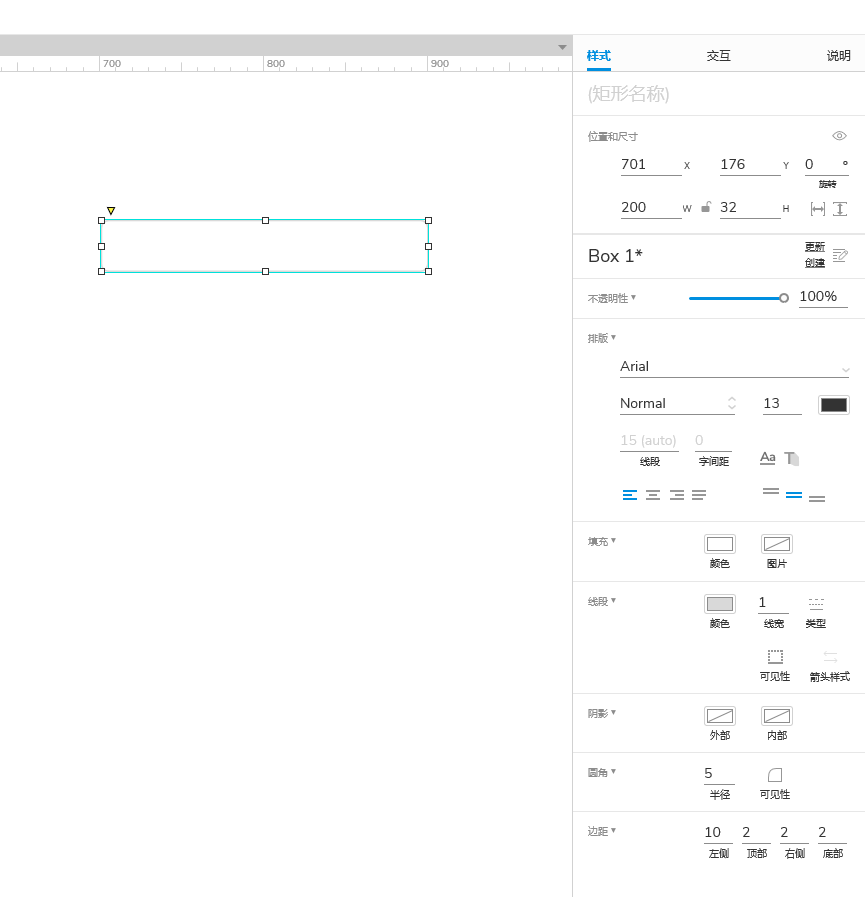
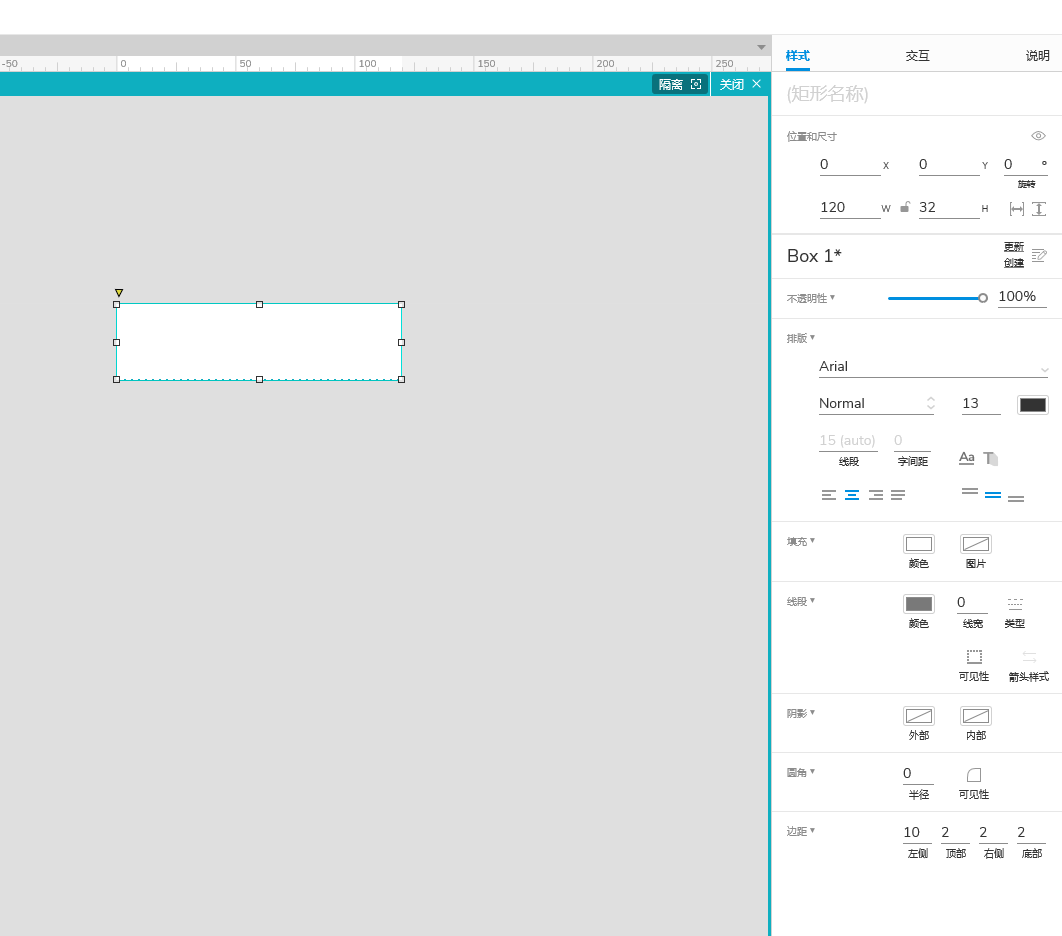
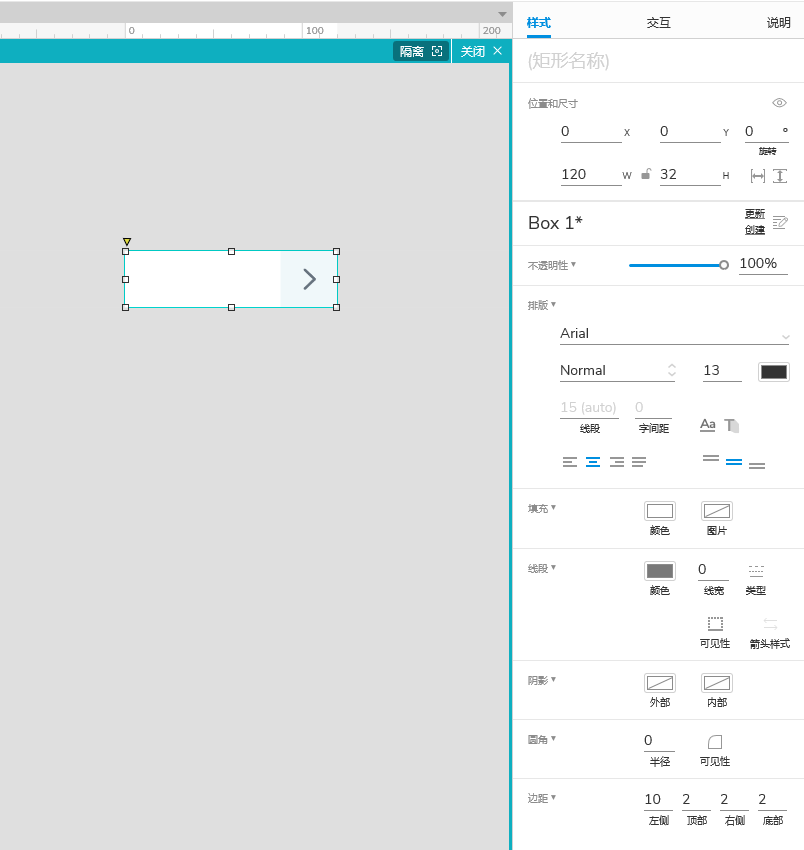
1.在元件库中拖出一个矩形元件。
2.选中矩形元件,在样式窗格中将按钮元件的宽设置为200,高设置为32,文本左侧对齐,线段填充颜色灰色(#D9D9D9)线宽为1,圆角半径5,边距左右侧10。
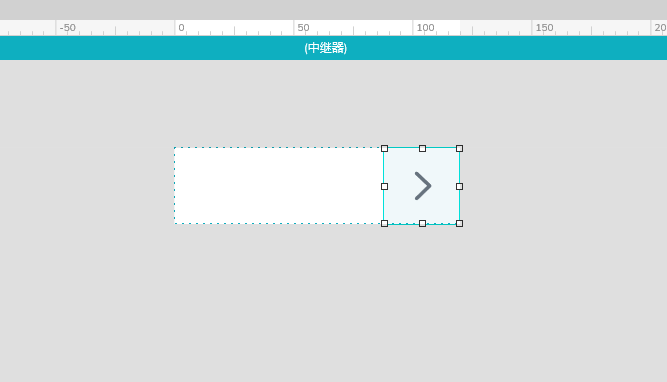
3.在iconfont搜索向下和向上icon,复制SVG代码,粘贴到画布上。
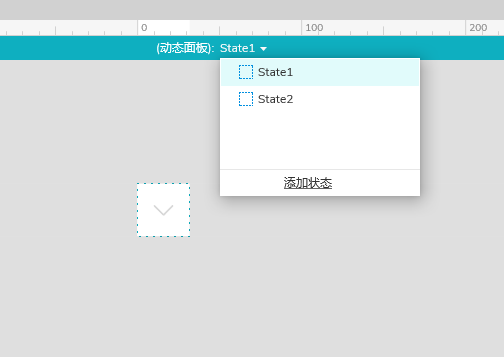
4.拖入一个动态面板,在样式窗格中将动态面板的宽高设置为32,并将向下icon剪切粘贴到动态面板内State1中,将向上剪切粘贴到动态面板内State2中。
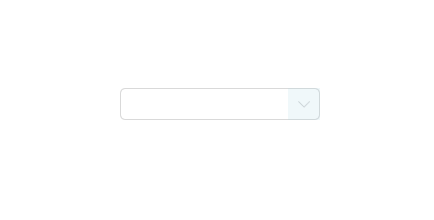
5.选中动态面板基于矩形框右对齐,选中矩形和动态面板右键组合。
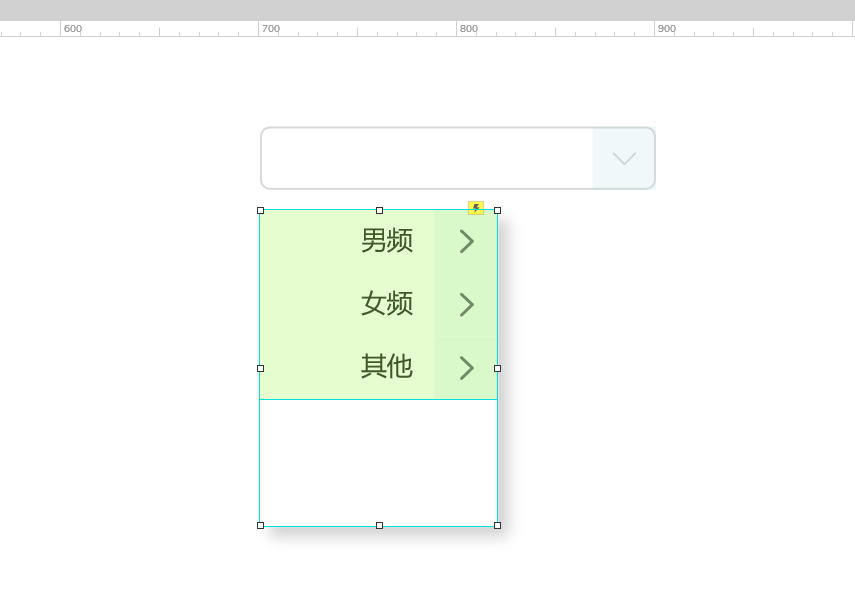
创建下拉选择列表所需的元件
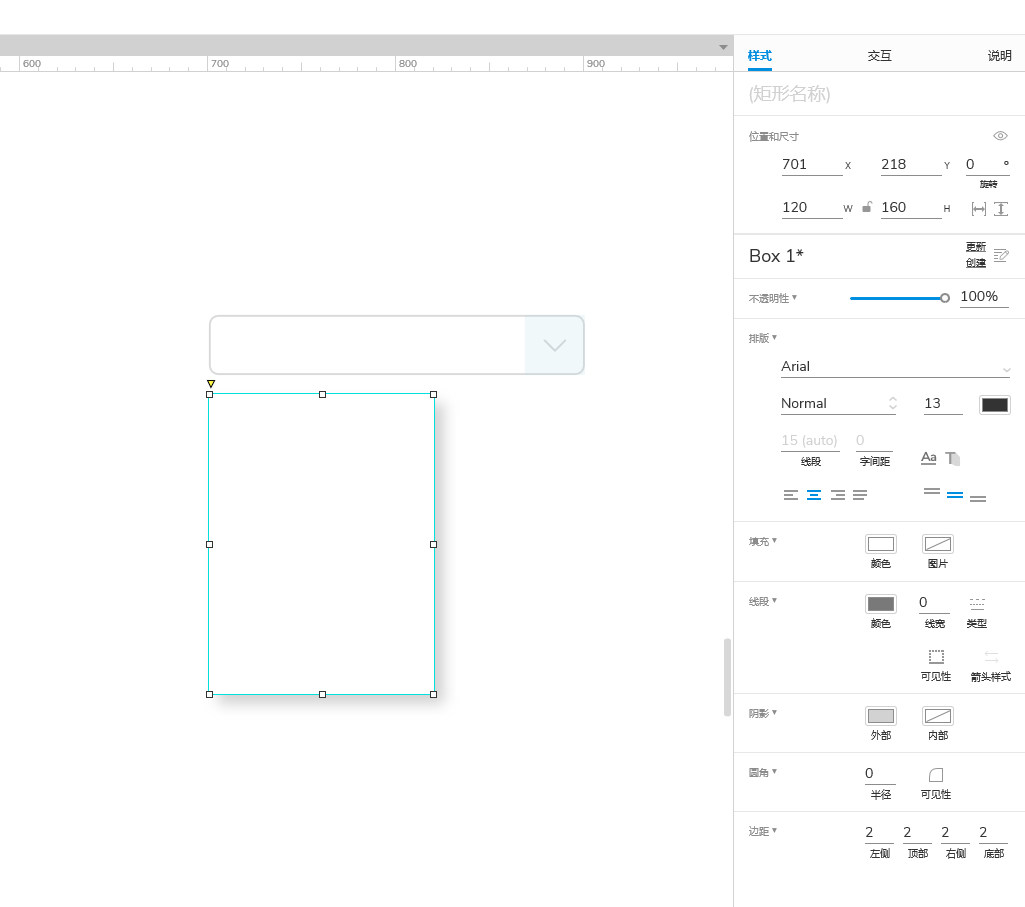
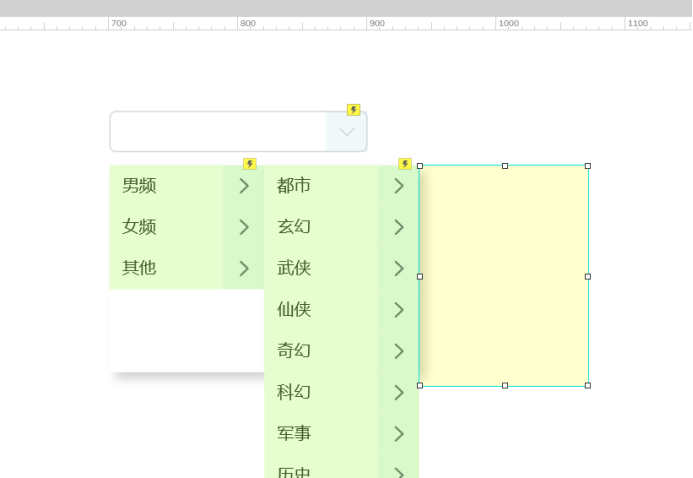
1.在元件库中拖入一个矩形,将宽设为120,高设置为160,线段设为0,阴影设为灰色 (#7F7F7F) 透明度35%,模糊设为7。
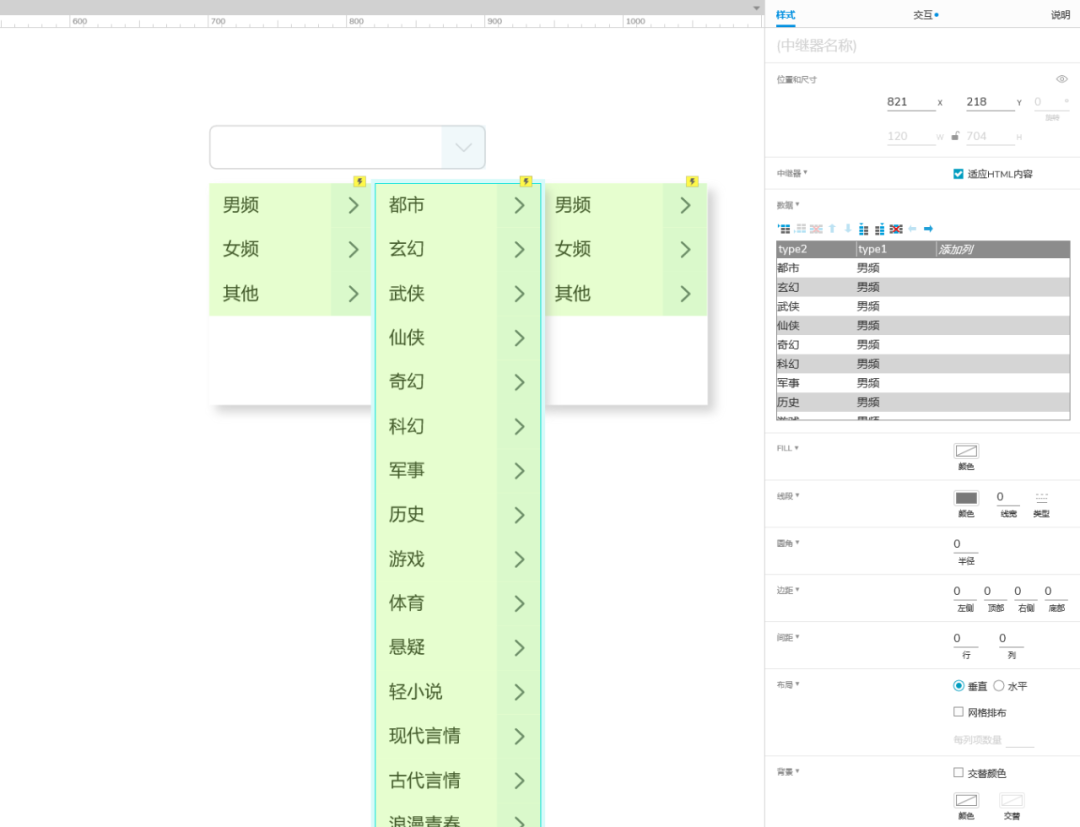
2.在元件库中拖入一个中继器元件。
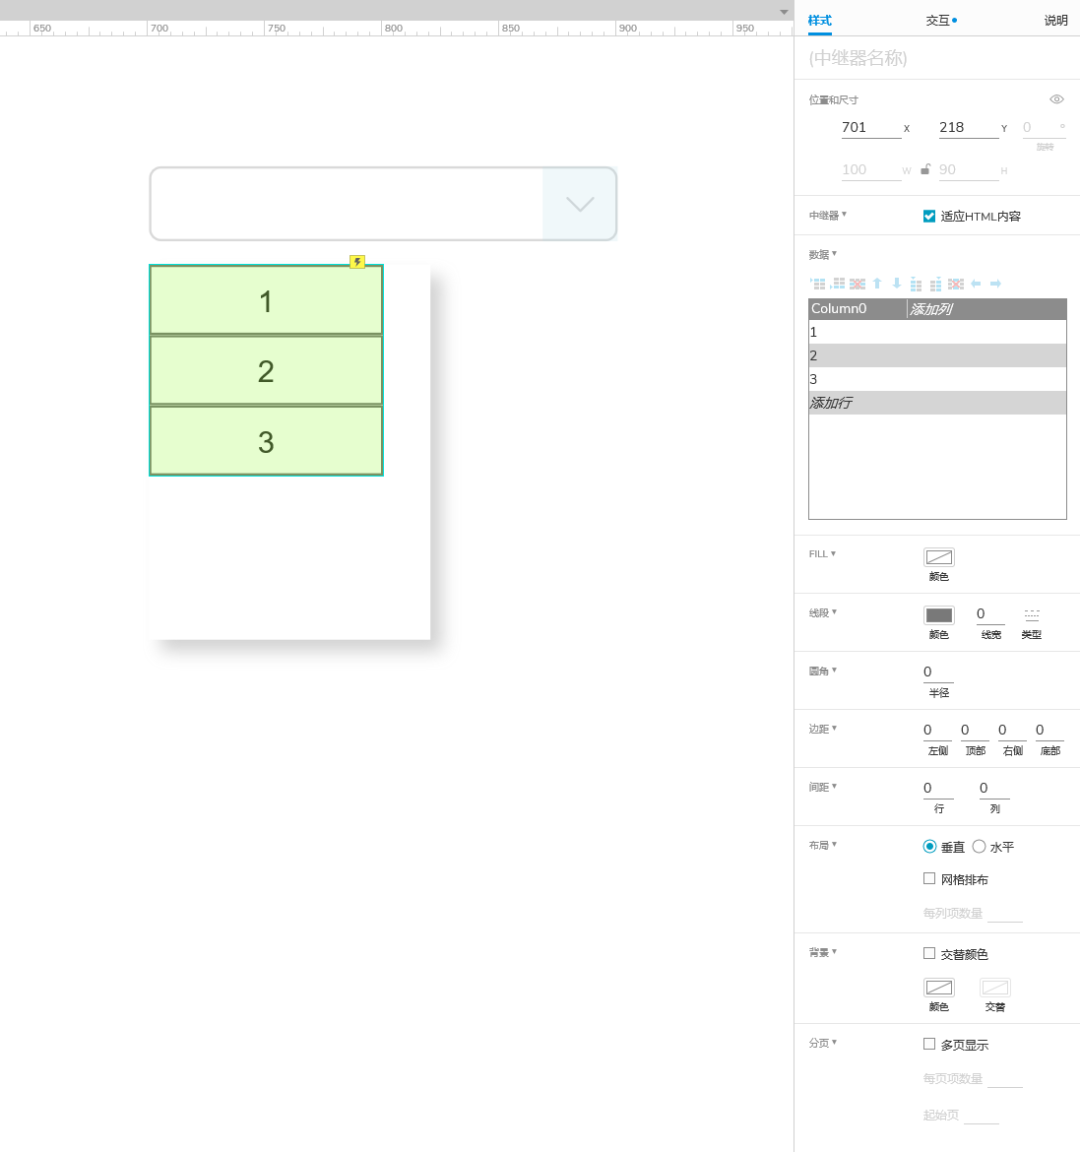
3.双击中继器元件,选中中继器内部矩形元件,在样式窗格将矩形宽设为120,高设为32,线宽设为0,边距左侧10。
4.在iconfont搜索向右icon,复制SVG代码 粘贴到画布上,基于中继器矩形向右对齐 右键转为动态面板,双击动态面板 选中向右icon 右键变换图片 转换SVG图片为图形 居中对齐,复制State1状态到State2,选中State2向右icon 将填充颜色设为蓝色 (#0052D9)。
选中中继间矩形,在样式窗格将数据窗格Column0 修改为type1,并在type1列输入文本。
5.选中中继器和矩形 右键 组合 。
选中中继器元件,在交互窗格中,将隔离列表之间的选项组取消勾选。
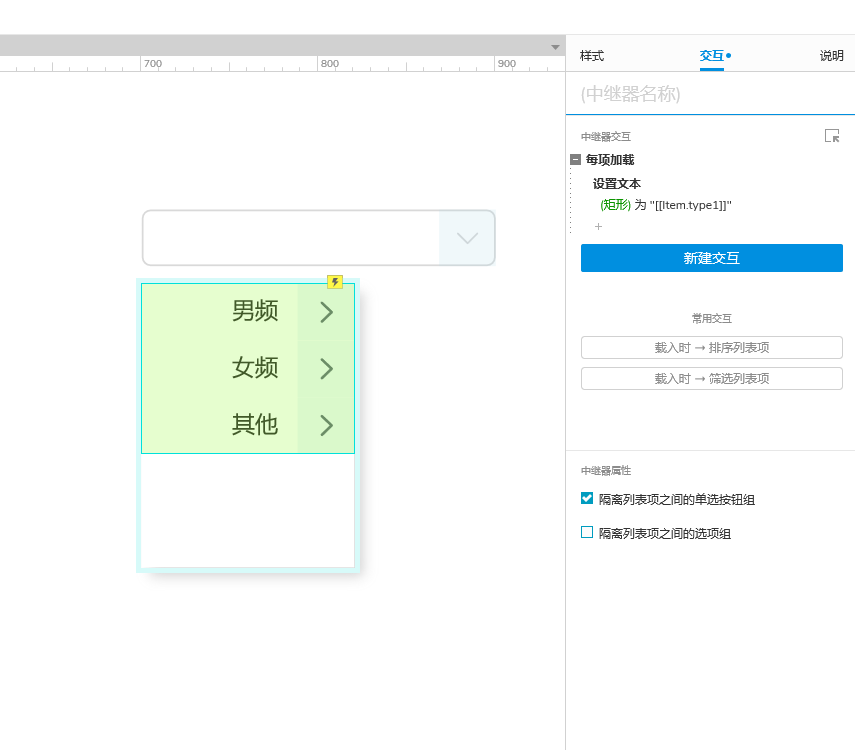
选中中继器矩形,在样式窗格中将文本内容设为左对齐。
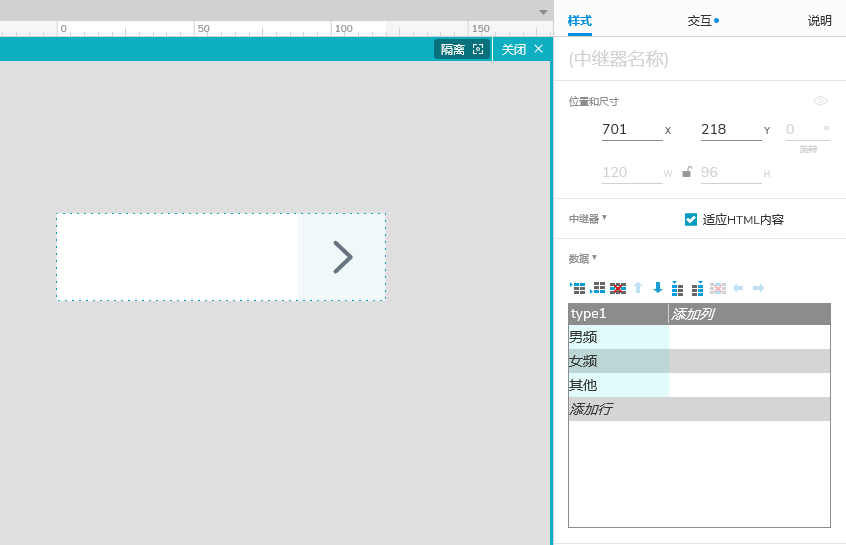
6.复制两个组合列表元件。
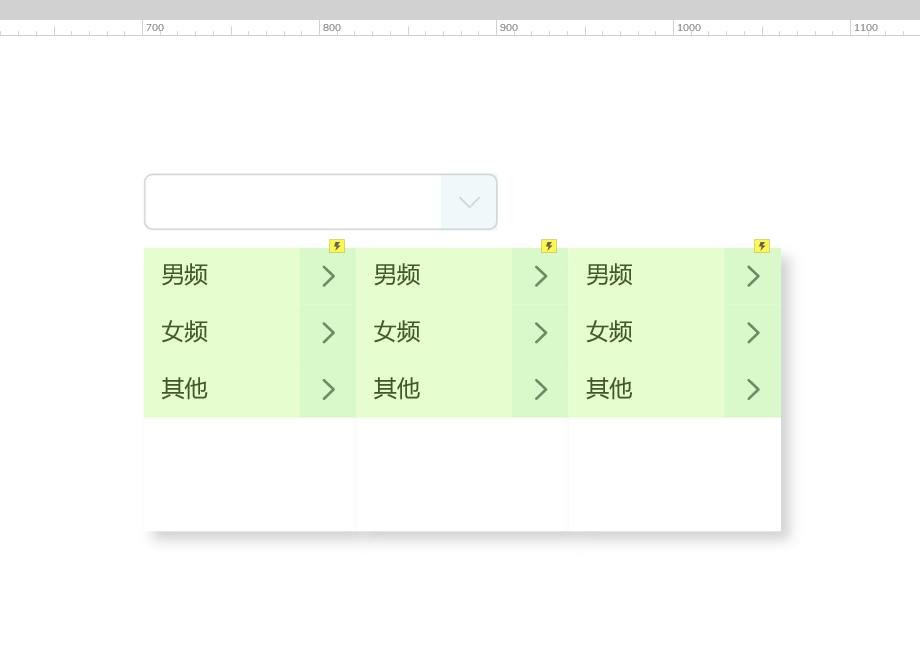
选中第二个中继间矩形,在样式窗格将数据窗格type1修改为type2,并在type1、2列输入文本,type1、type2文本必须有关联性,不然筛选时可能会出错。
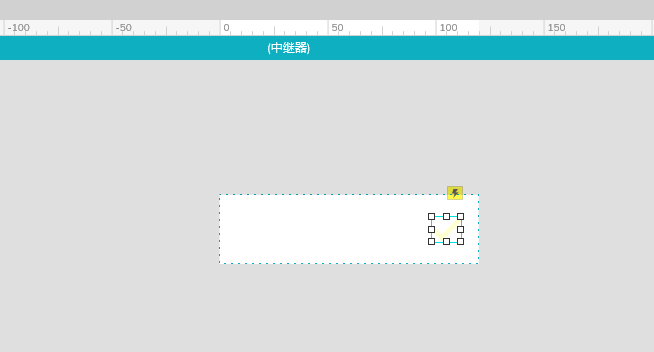
7.第三个中继器同步以上操作,将icon动态面板删除,替换为勾选icon 。
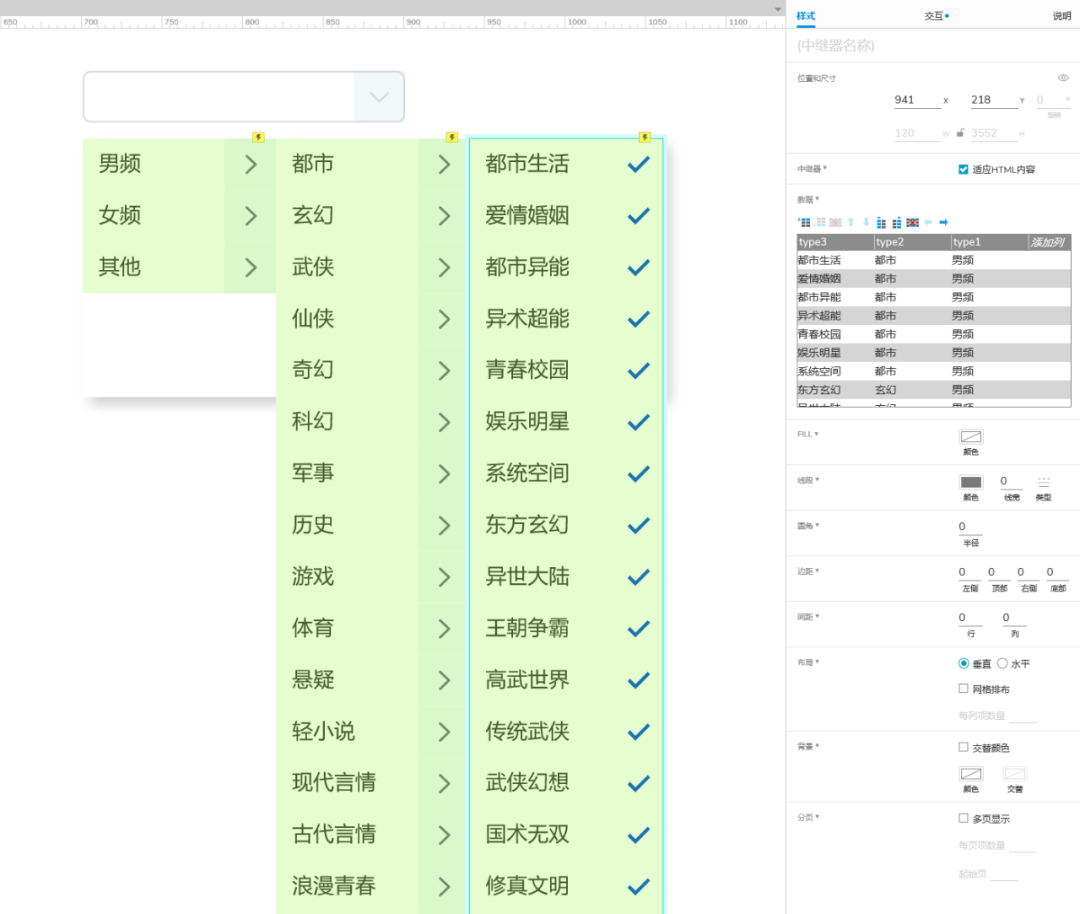
8.选中中继器组合元件,在样式窗格元件名称分别命名 一级分类、二级分类、三级分类。
创建交互
创建"选择输入框"的交互状态
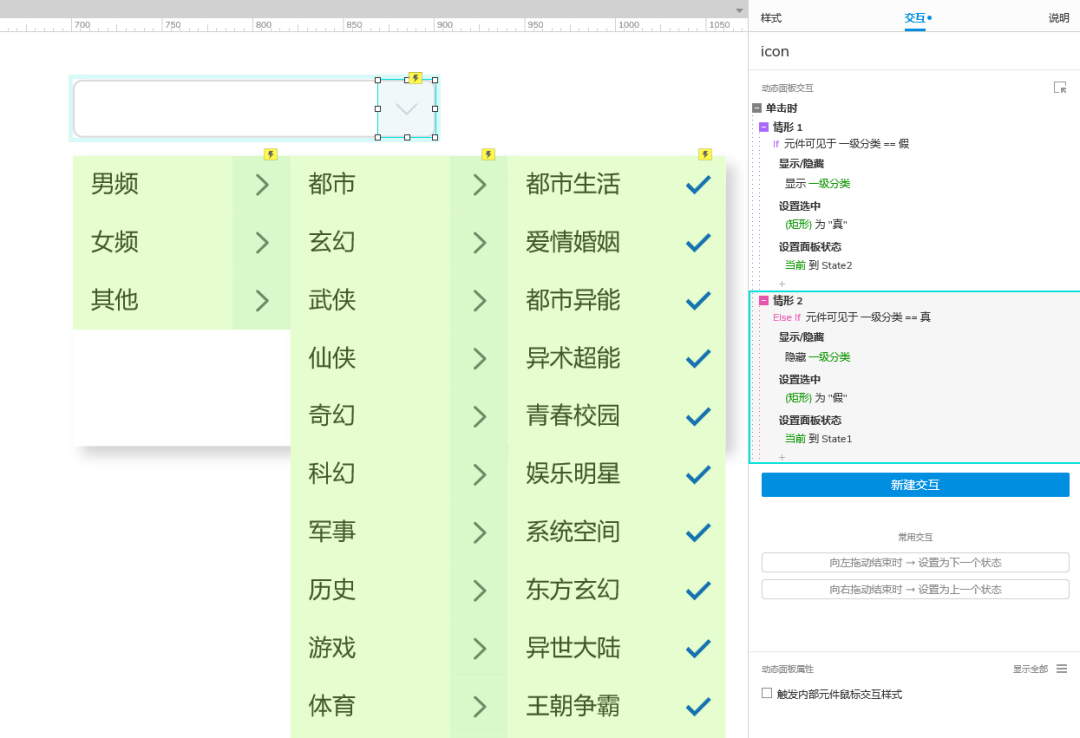
1.选中选中输入框元件,在交互窗格点击新建交互,添加单击时显示/隐藏 显示 一级分类,设置选中 当前 为"真" ,设置icon动态面板 到 State2 。

创建icon动态面板 的交互状态
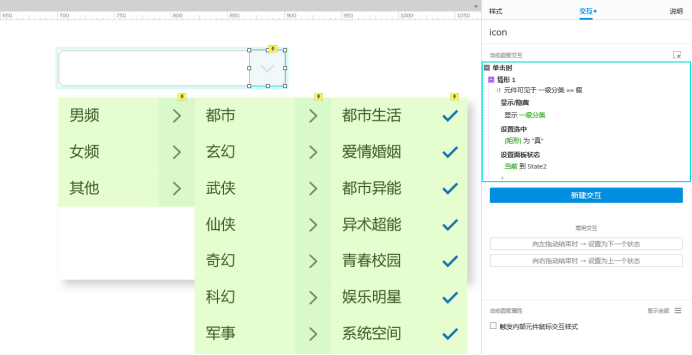
1.选中icon动态面板,在交互窗格中创建单击时交互,启用情形判断。
情形1: 元件可见 一级分类 等于 假
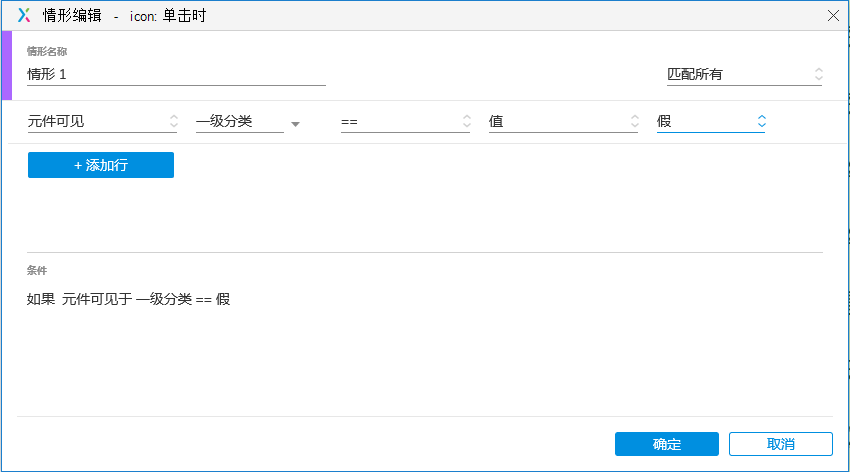
设置显示/隐藏 显示 一级分类, 设置选中 矩形 (选择输入框)为 "真",设置面板状态 当前 到 State2。
情形2:元件可见 一级分类 等于 "真",设置显示/隐藏 隐藏 一级分类, 设置选中 矩形 (选择输入框)为 "假",设置面板状态 当前 到 State1。
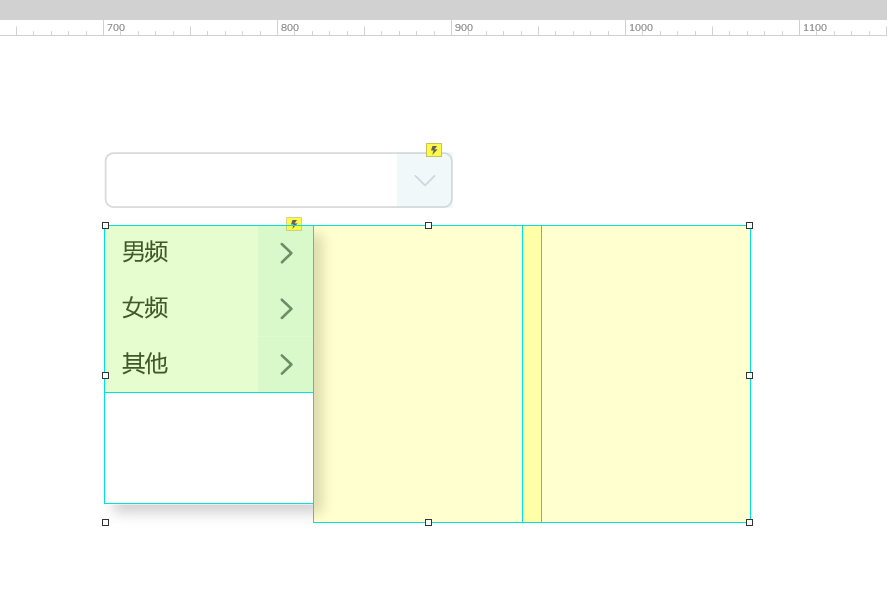
创建"下拉选择列表"的交互状态
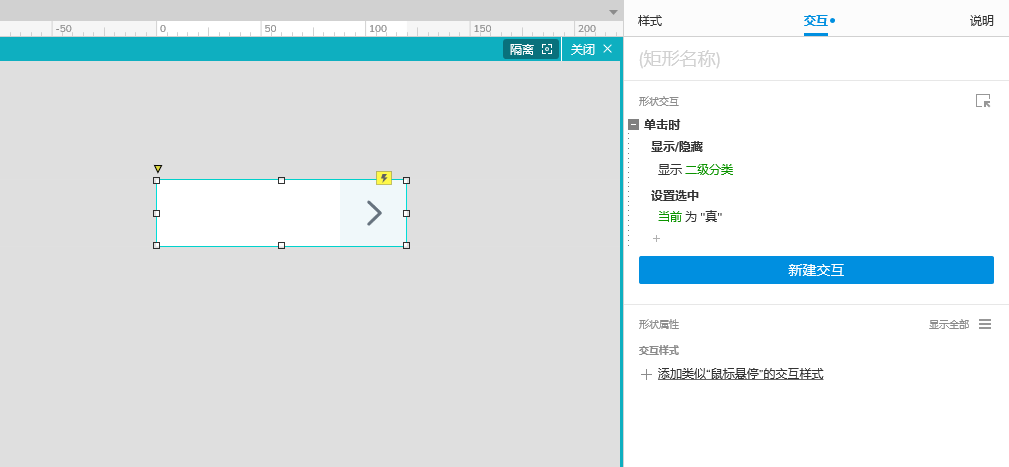
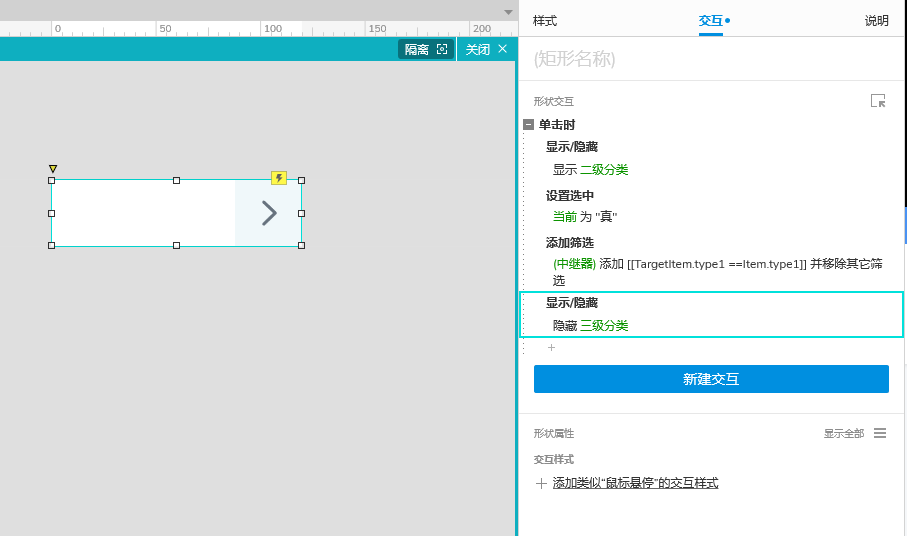
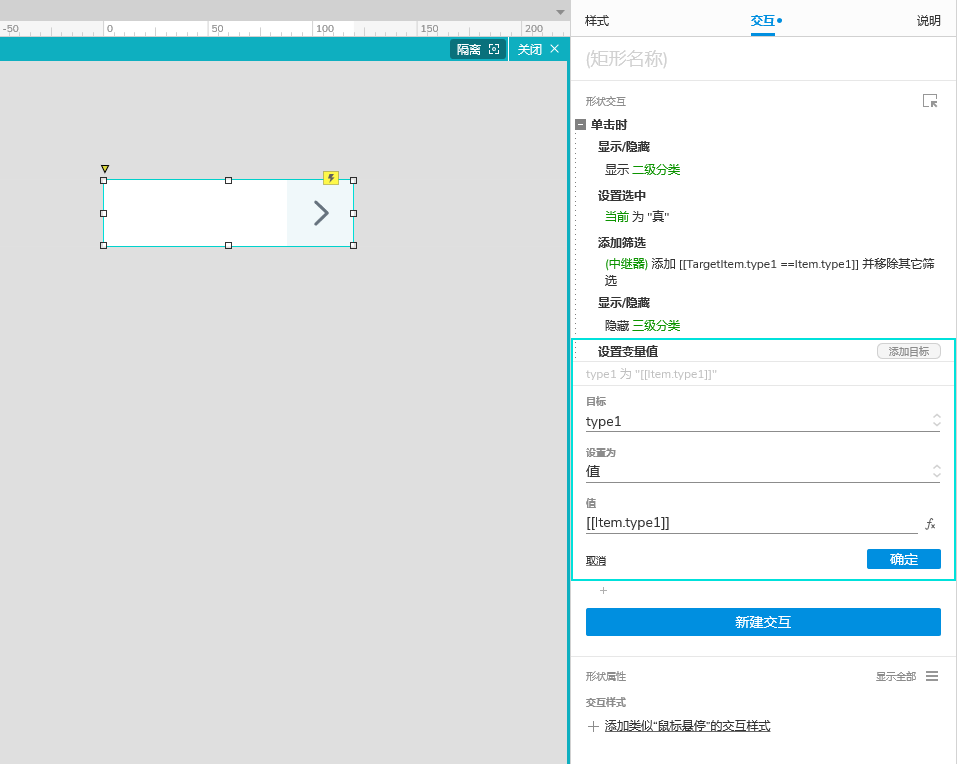
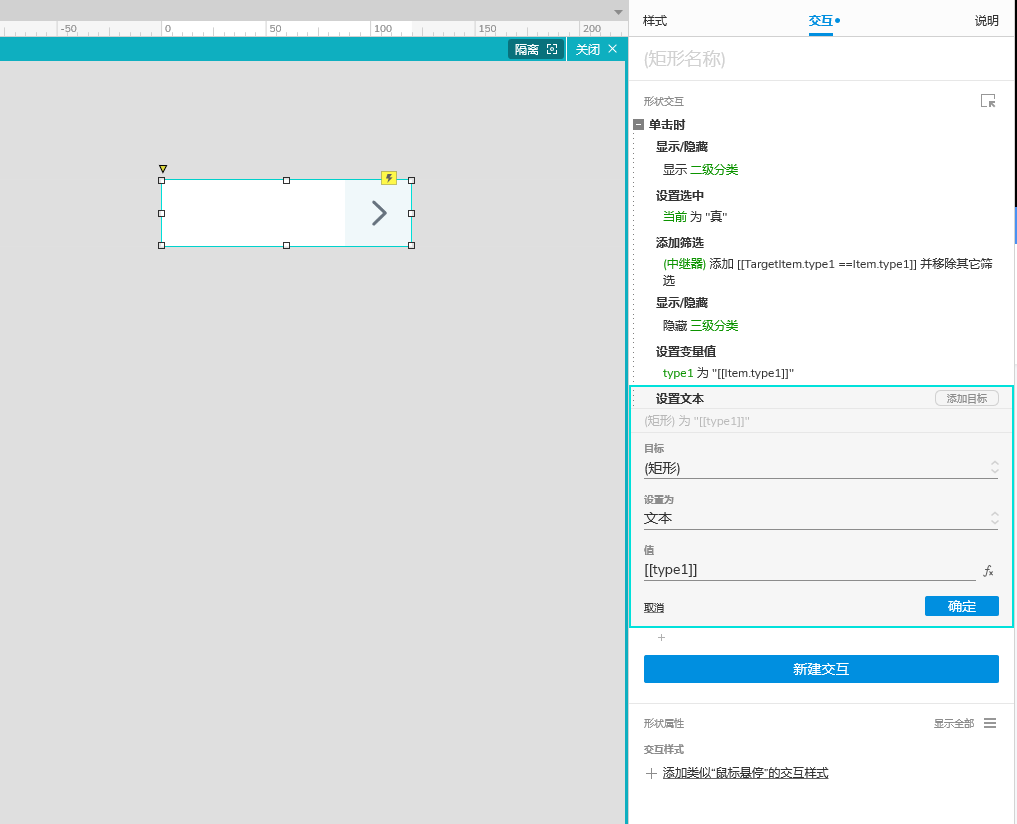
1.选中一级分类元件,双击中继器,到中继器内部矩形,在交互窗格 创建 单击时交互,显示/隐藏 显示 二级分类 设置选中 当前 为 真。
添加筛选 二级分类 中继器 规则 插入变量函数 \[TargetItem.type1 ==Item.type1]
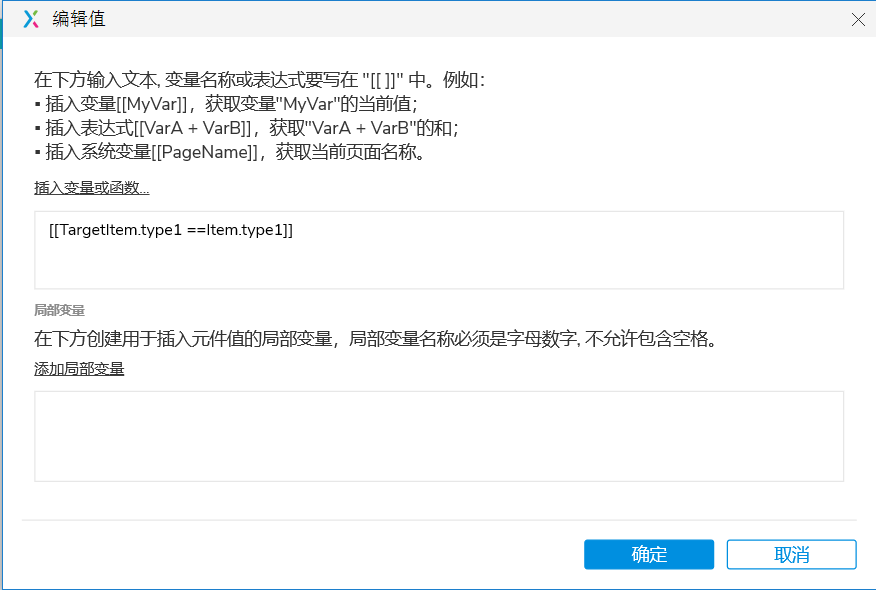
再看一遍完整规则

添加动作 显示/隐藏 隐藏 三级分类
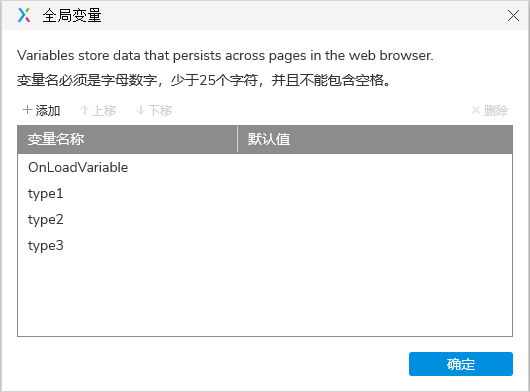
- 添加全局变量,单击项目选项,全局变量,新增 type1、type2、type3 变量。
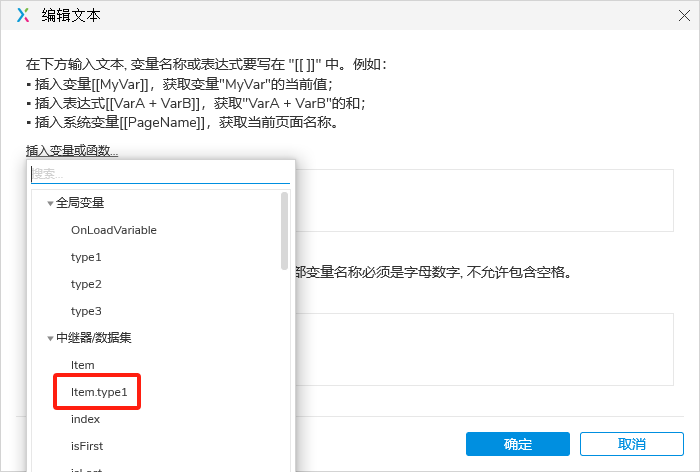
3.设置变量值 type1 值 插入变量或函数 \[Item.type1]
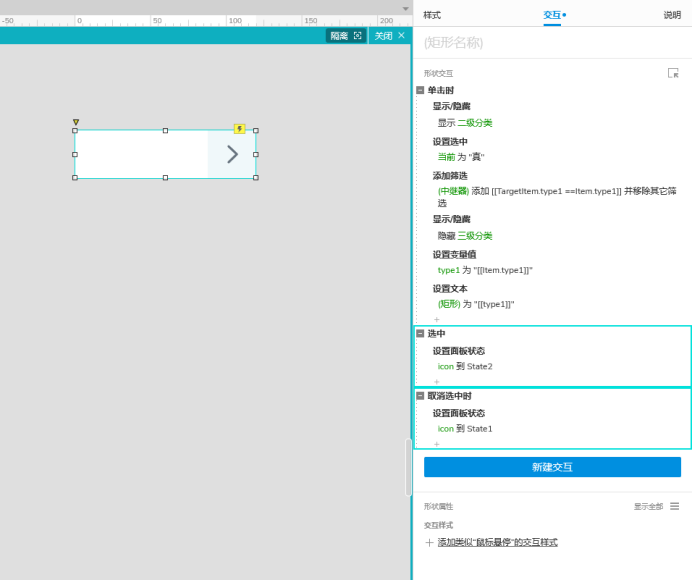
好的,来看一下完整交互 。
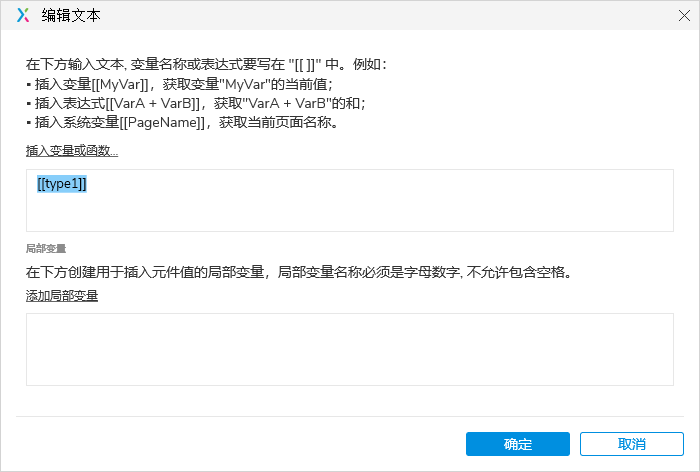
4.设置文本 矩形 ((选择输入框)) 文本 插入变量或函数 \[type1]
看一下完整交互。
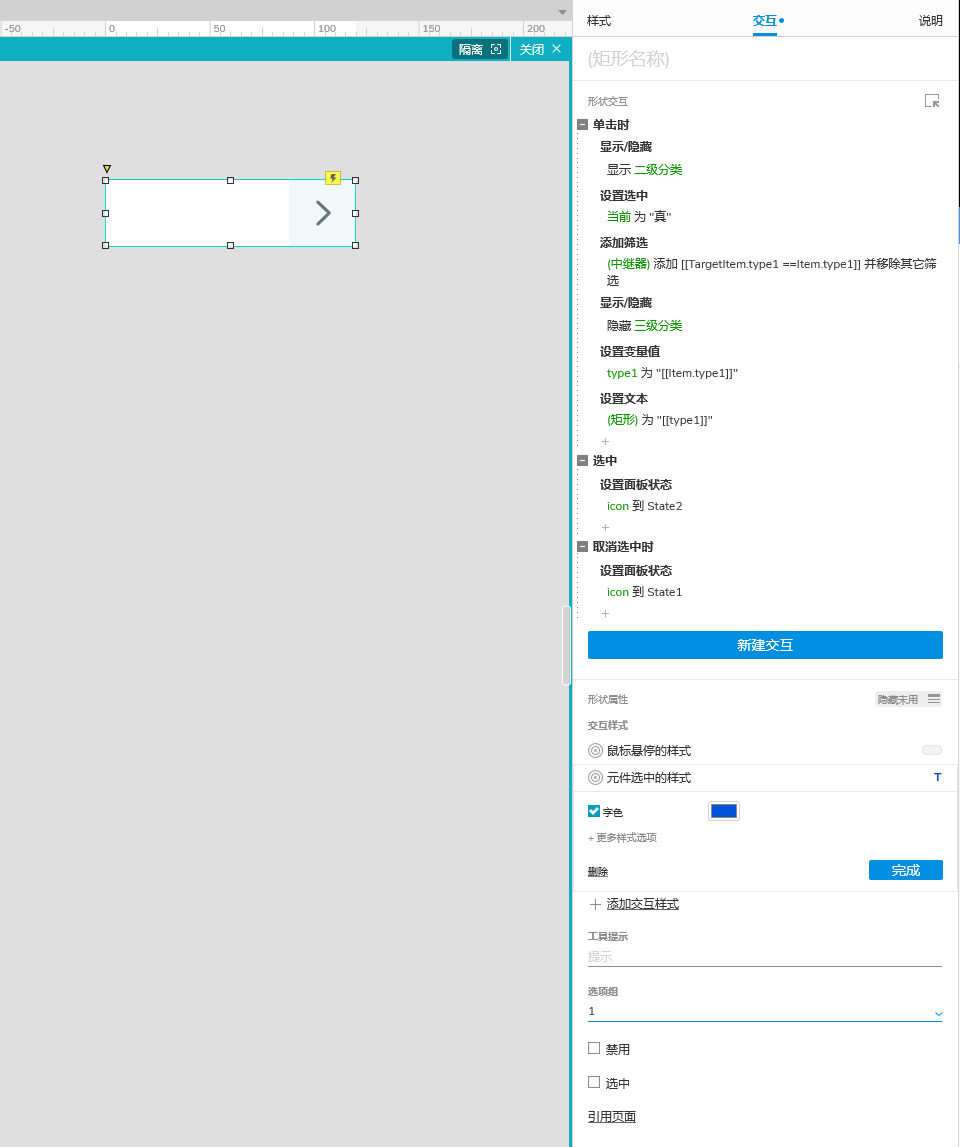
5.新建交互 选中 设置icon动态面板 到 State 2,新建交互 取消选中时 设置icon动态面板 到State 1。
6.设置形状属性 点击显示全部 交互样式 鼠标悬停的样式 填充颜色 灰色 (#F2F2F2),元件选中的样式 字色 蓝色(#0052D9),选项组 1
同步设置 二级分类
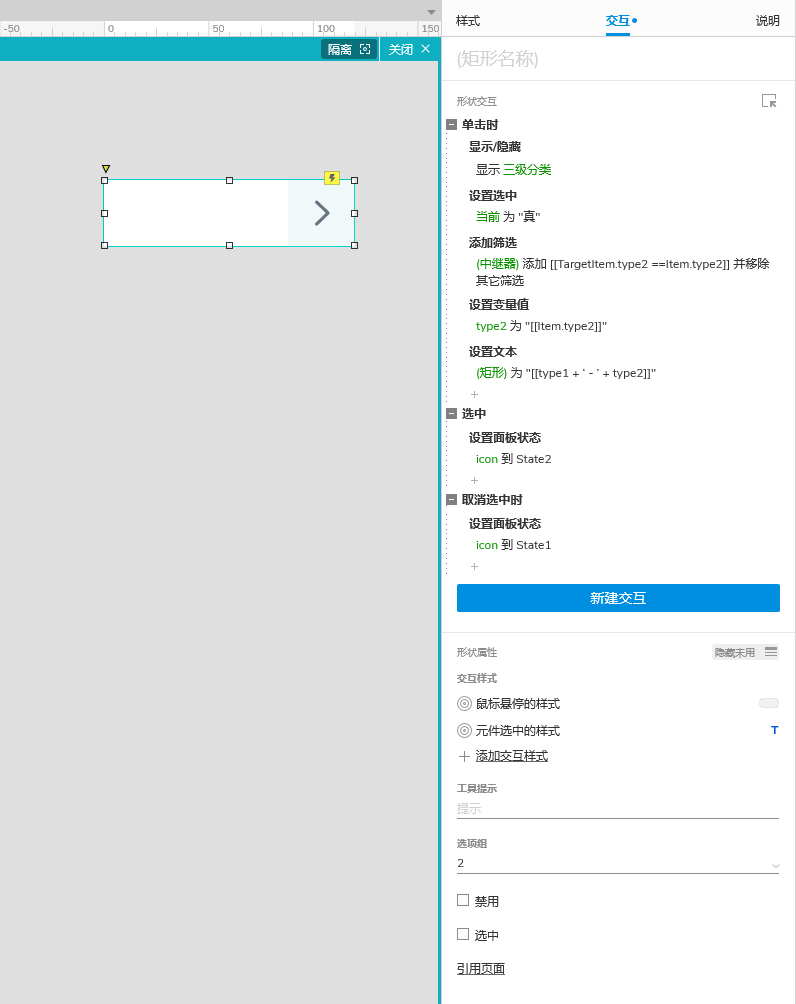
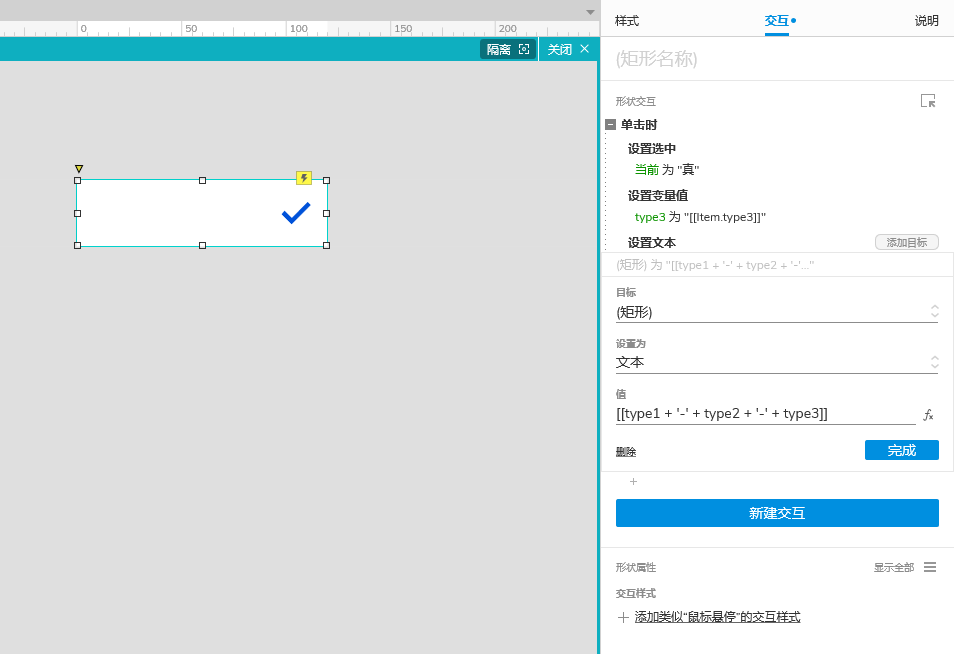
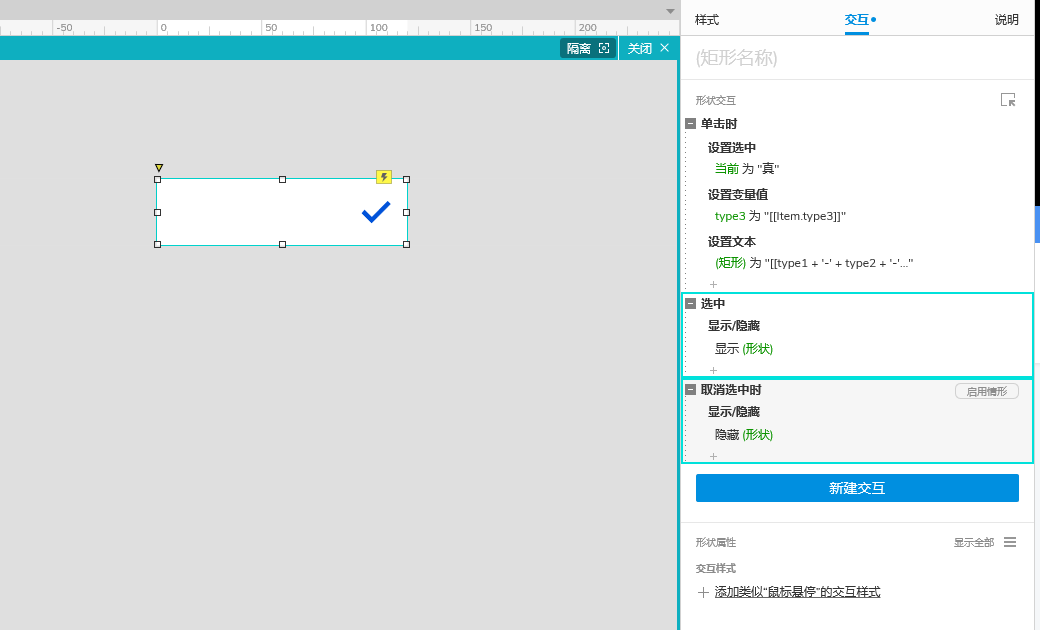
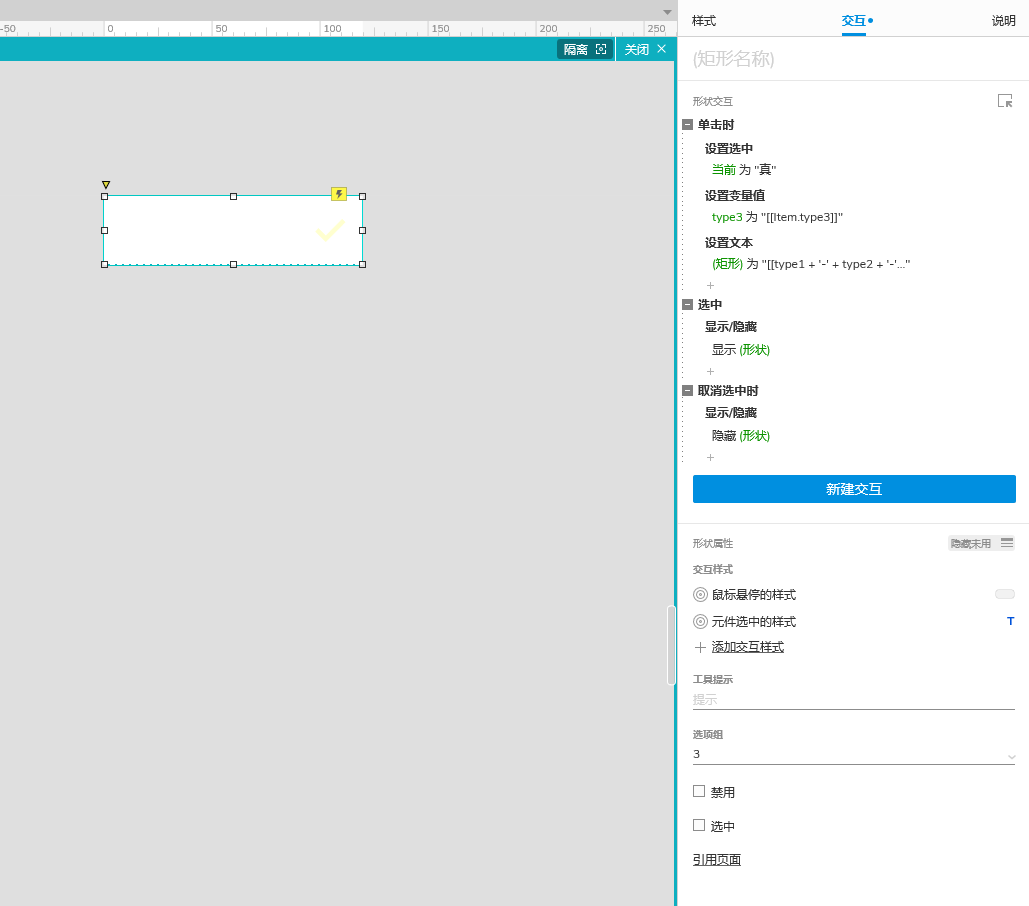
7.选中三级分类元件,双击中继器,到中继器内部矩形,在交互窗格 创建单击时交互,设置选中 当前 为 "真",设置变量值 type3 为 \[Item.type3],设置文本 矩形 (筛选输入框) 为 \[type1 + '-' + type2 + '-' + type3]。
新建交互,选中 显示 / 隐藏 显示 形状 (勾选),新建交互,选中 显示 / 隐藏 隐藏 形状 (勾选)
选中 勾选 icon 设为隐藏
8.设置形状属性 点击显示全部 交互样式 鼠标悬停的样式 填充颜色 灰色 (#F2F2F2),元件选中的样式 字色 蓝色(#0052D9),选项组 3
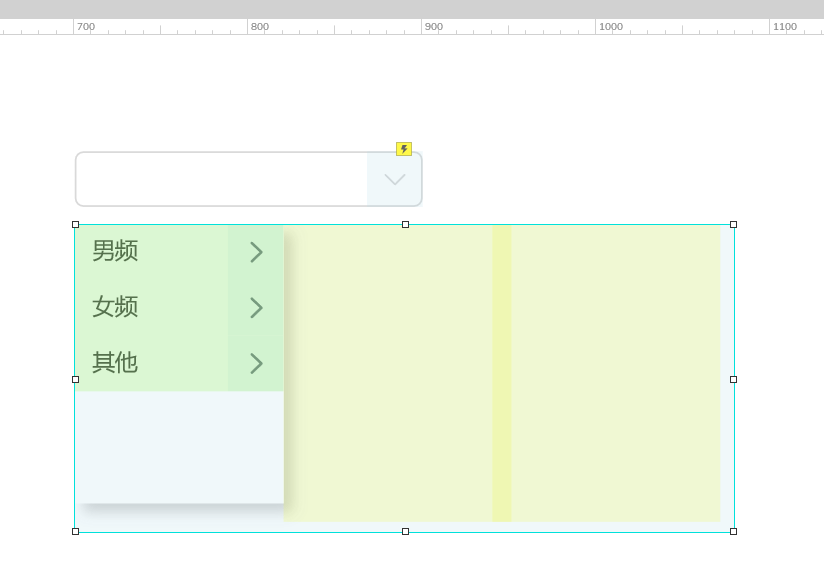
9.在元件库中拖入一个内联框架,选中内联框架,在样式窗格中勾选隐藏边框,右键转为动态面板,选中动态面板,将框设为 148 高设为160 ,右键 滚动条 设为垂直滚动,剪切三级分类元件 粘贴到动态面板内。
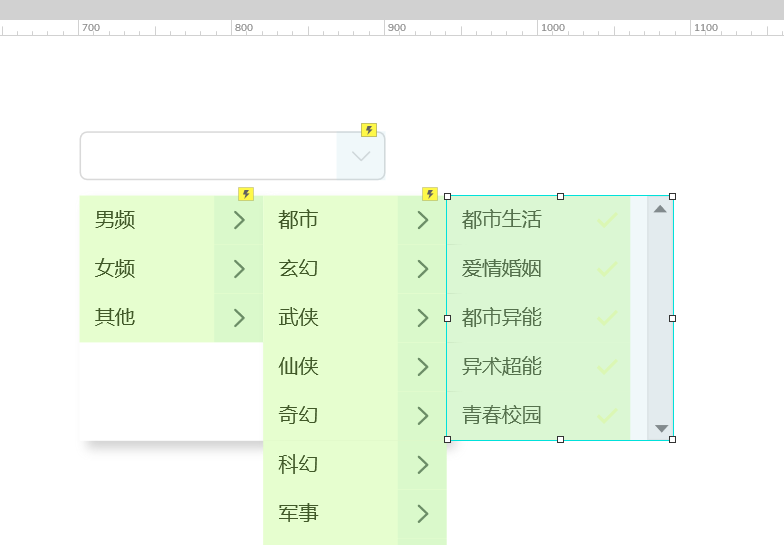
在元件库中拖入一个动态面板,遮住三级分类下拉选项滚动条,复制背景,粘贴到动态面板内。
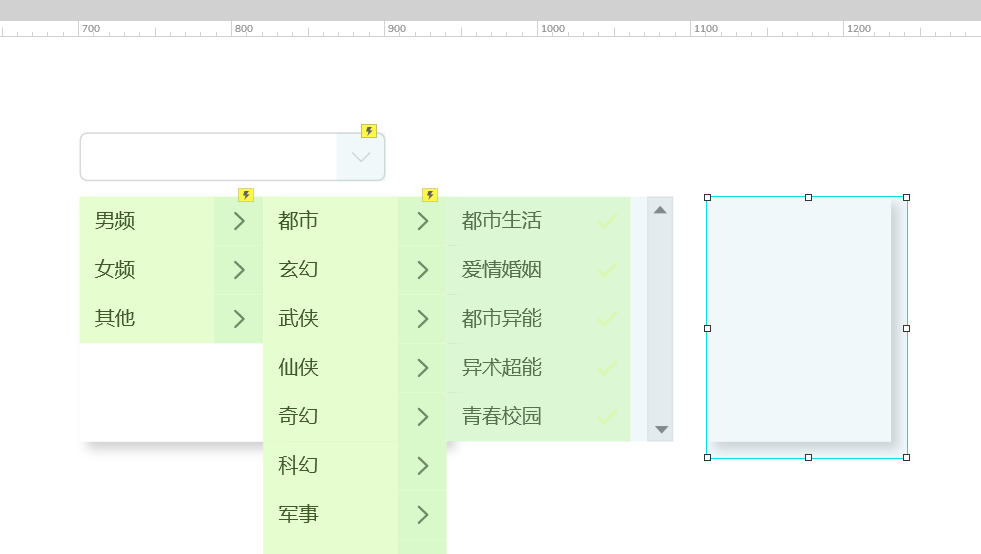
剪切三级分类下拉选项元件,粘贴到动态面板内。
10.因为叠加了动态面板,所以,一级分类中继器内矩形元件的显示/隐藏 隐藏 中继器的交互需要重新设置,二级分类中继器内矩形元件单击时 显示/隐藏 显示中继器的交互也需要重新配置。

选中三级分类下拉元件,设置为隐藏。
再用同样的方式,设置二级分类,调整一级分类单击时,显示/隐藏 交互。
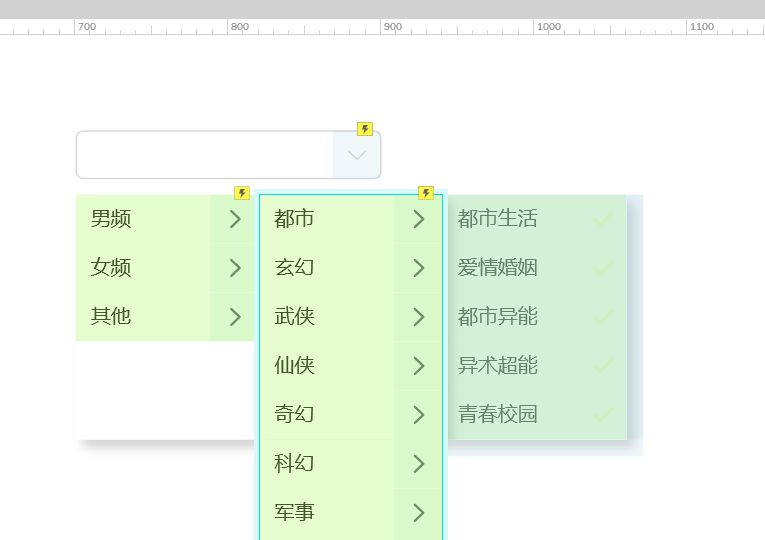
选中一级分类元件,右键 转为动态面板,将二级分类,三级分类粘贴到一级分类动态面板内。
、
选中整个动态面板,设为隐藏,并修改 矩形(下拉输入框)单击时 显示/隐藏 一级分类改为整个动态面板和向下icon动态面板,情形条件中元件可见于 一级分类、显示/隐藏 一级分类。
预览交互
点击预览,在预览页面鼠标下拉列表选择输入框可以选择对应的选项。
预览地址:https://yfeynz.axshare.com
OK,这期内容到这里就结束了。
我是大明同学
下期见