为了测试GPU函数的耗时,可以使用 CUDA 提供的计时功能:cudaEventCreate , cudaEventRecord , 和 cudaEventElapsedTime。这些函数可以帮助你测量某个 CUDA 操作(如设置设备)所花费的时间。
一、记录耗时案例
以下是一个示例程序,它测量调用 cudaSetDevice 所花费的时间:
cpp
#include <iostream>
#include <vector>
#include <cuda_runtime.h>


__global__ void dummyKernel() {

    // Dummy kernel to ensure CUDA context is initialized
}


int main() {

    // CUDA device IDs
    int device1 = 0;
    int numIterations = 10; // Number of times to call cudaSetDevice


    // Create CUDA events
    cudaEvent_t start, stop;
    cudaEventCreate(&start);
    cudaEventCreate(&stop);

    // Vector to store elapsed times
    std::vector<float> elapsedTimes(numIterations);


    // Set initial device (optional, but ensures a known starting state)
    cudaSetDevice(device1);


    // Measure time for multiple cudaSetDevice calls
    for (int i = 0; i < numIterations; ++i) {
        // Record the start event
        cudaEventRecord(start, 0);

        // Set the device (this is the operation we are timing)
        cudaSetDevice(device1);

        // Record the stop event
        cudaEventRecord(stop, 0);

        // Measure the elapsed time between the start and stop events
        cudaEventElapsedTime(&elapsedTimes[i], start, stop);

        // Output results
        std::cout << "Number of iterations: i " << i << std::endl;

        std::cout << " time to set device " << device1 << ": " << elapsedTimes[i] << " ms" << std::endl;

    }


    // Calculate statistics (e.g., average time)
    float totalTime = 0.0f;
    for (float time : elapsedTimes) {
        totalTime += time;
    }
    float averageTime = totalTime / numIterations;


    // Output results
    std::cout << "Number of iterations: " << numIterations << std::endl;
    std::cout << "Average time to set device " << device1 << ": " << averageTime << " ms" << std::endl;


    // Optionally, run a dummy kernel to ensure CUDA is initialized and ready
    dummyKernel<<<1, 1>>>();
    cudaDeviceSynchronize();


    // Clean up
    cudaEventDestroy(start);
    cudaEventDestroy(stop);

    return 0;
}
二、编译和运行
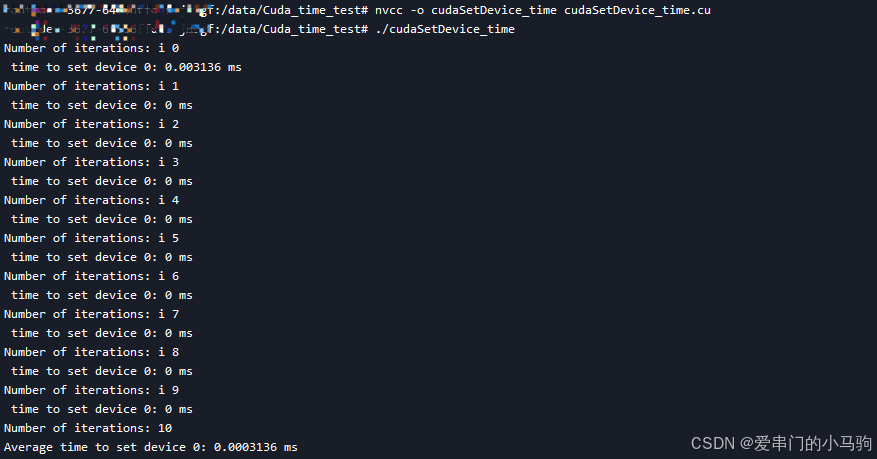
2.1 编译 : 使用 nvcc 编译这个 CUDA 程序。(上面程序文件铭为test_cudaSetDevice_multiple.cu)
bash
nvcc -o test_cudaSetDevice_multiple test_cudaSetDevice_multiple.cu2.2 运行: ,然后运行生成的可执行文件。
bash
./test_cudaSetDevice_multiple哈哈哈,就得到运行结果啦!