1 用户认证介绍
默认ES是没有设置用户认证访问的,所以每次访问时,直接调相关API就能查询和写入数据。现在做一个认证,只有通过认证的用户才能访问和操作ES。
2 开启加密设置
1.生成证书文件
bash
/usr/share/elasticsearch/bin/elasticsearch-certutil \
cert --days 3650 \
-out /etc/elasticsearch/config/elastic-certificates.p12 \
-pass ""

输入 Y 确认
2.修改证书权限,可以发现是没有读权限的
bash
[root@elk91~]# ll /etc/elasticsearch/config/
-rw------- 1 root elasticsearch 3596 Nov 22 10:54 elastic-certificates.p12
[root@elk91~]# chmod +r /etc/elasticsearch/config/elastic-certificates.p12
[root@elk91~]#
3.elk91节点同步证书文件到其他节点
bash
scp -r /etc/elasticsearch/config/ 10.0.0.92:/etc/elasticsearch/
scp -r /etc/elasticsearch/config/ 10.0.0.93:/etc/elasticsearch/
4.所有节点修改ES集群的配置文件 **/etc/elasticsearch/elasticsearch.yml **,在最后一行添加以下内容
yaml
xpack.security.enabled: true
xpack.security.transport.ssl.enabled: true
xpack.security.transport.ssl.verification_mode: certificate
xpack.security.transport.ssl.keystore.path: config/elastic-certificates.p12
xpack.security.transport.ssl.truststore.path: config/elastic-certificates.p12
5.所有节点重启ES集群
bash
systemctl restart elasticsearch.service6.所有节点检查集群节点端口是否监听
bash
[root@elk91~]# ss -ntl | grep '9[2|3]00'
LISTEN 0      4096               *:9300            *:*
LISTEN 0      4096               *:9200            *:*
7.测试访问ES集群生效。ES集群加密成功,用户无法直接访问,直接会拒绝,状态码为401
curl 10.0.0.93:9200
{"error":{"root_cause":{"type":"security_exception","reason":"missing authentication credentials for REST request \[/","header":{"WWW-Authenticate":"Basic realm="security" charset="UTF-8""}}],"type":"security_exception","reason":"missing authentication credentials for REST request /","header":{"WWW-Authenticate":"Basic realm="security" charset="UTF-8""}},"status":401}
3 设置客户端访问ES
3.1 生成访问ES所需密码
如果手动输入密码非常繁琐,要输入8次。自动生成比较省事
1.自动生成ES的随机密码
bash
/usr/share/elasticsearch/bin/elasticsearch-setup-passwords  auto

# 输入 y

Changed password for user apm_system
PASSWORD apm_system = LwZaR33f7BKl2vYK49zy

Changed password for user kibana_system
PASSWORD kibana_system = ZR1gDykyGk50t55Dq7w9

Changed password for user kibana
PASSWORD kibana = ZR1gDykyGk50t55Dq7w9

Changed password for user logstash_system
PASSWORD logstash_system = Zx45S9uCJ4bSHmL3Hc4v

Changed password for user beats_system
PASSWORD beats_system = Oi4DFzsFkFPx45g3MOa0

Changed password for user remote_monitoring_user
PASSWORD remote_monitoring_user = u7MupRNtSLZ5K6lpz7qx

Changed password for user elastic
PASSWORD elastic = KZ0smMuIXcLEBfxGcqWW
2.使用用户+密码访问ES
bash
[root@elk91~]# curl -u elastic:KZ0smMuIXcLEBfxGcqWW 10.0.0.93:9200/_cat/nodes
10.0.0.92 39 56 0 0.52 0.57 0.55 cdfhilmrstw - elk92
10.0.0.93 37 53 0 0.14 0.43 0.49 cdfhilmrstw - elk93
10.0.0.91 65 75 2 0.24 0.36 0.35 cdfhilmrstw * elk91
3.2 kibana访问ES
1.修改kibana的配置文件:/etc/kibana/kibana.yml,增加以下配置
bash
elasticsearch.username: "kibana_system"
elasticsearch.password: "ZR1gDykyGk50t55Dq7w9"
2.重启kibana
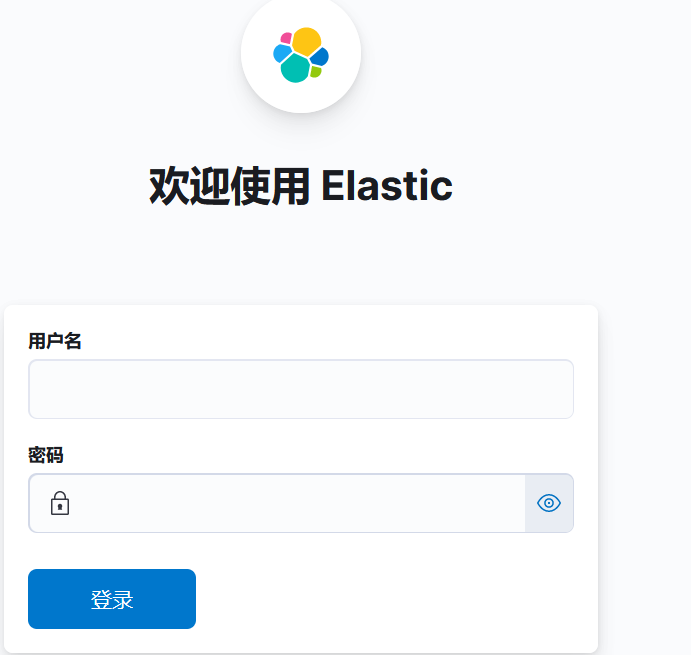
systemctl restart kibana.service3.再次访问kibana,输入 elastic + 密码 即可登录
3.3 filebeat访问ES
1.编写filebeat配置文件后,在 output.elasticsearch 增加用户认证即可
yaml
cat > 17-tcp-to-es.yaml <<EOF
filebeat.inputs:
- type: tcp
  host: "0.0.0.0:9000"

output.elasticsearch:
  hosts:
  - "http://10.0.0.91:9200"
  - "http://10.0.0.92:9200"
  - "http://10.0.0.93:9200"
  index: "zhiyong18-luckyboy-log-es-tls"
  # 在这里添加用户认证
  username: "elastic"
  password: "KZ0smMuIXcLEBfxGcqWW"

setup.ilm.enabled: false
setup.template.name: "zhiyong18-luckyboy-modules"
setup.template.pattern: "zhiyong18-luckyboy-log*"
setup.template.overwrite: false
EOF
2.测试filebeat写入成功
bash
# 发送册数数据
echo 'name: wzy' | nc 10.0.0.92 9000
可以查看到这条文档

3.也可以在kibana上给es修改密码
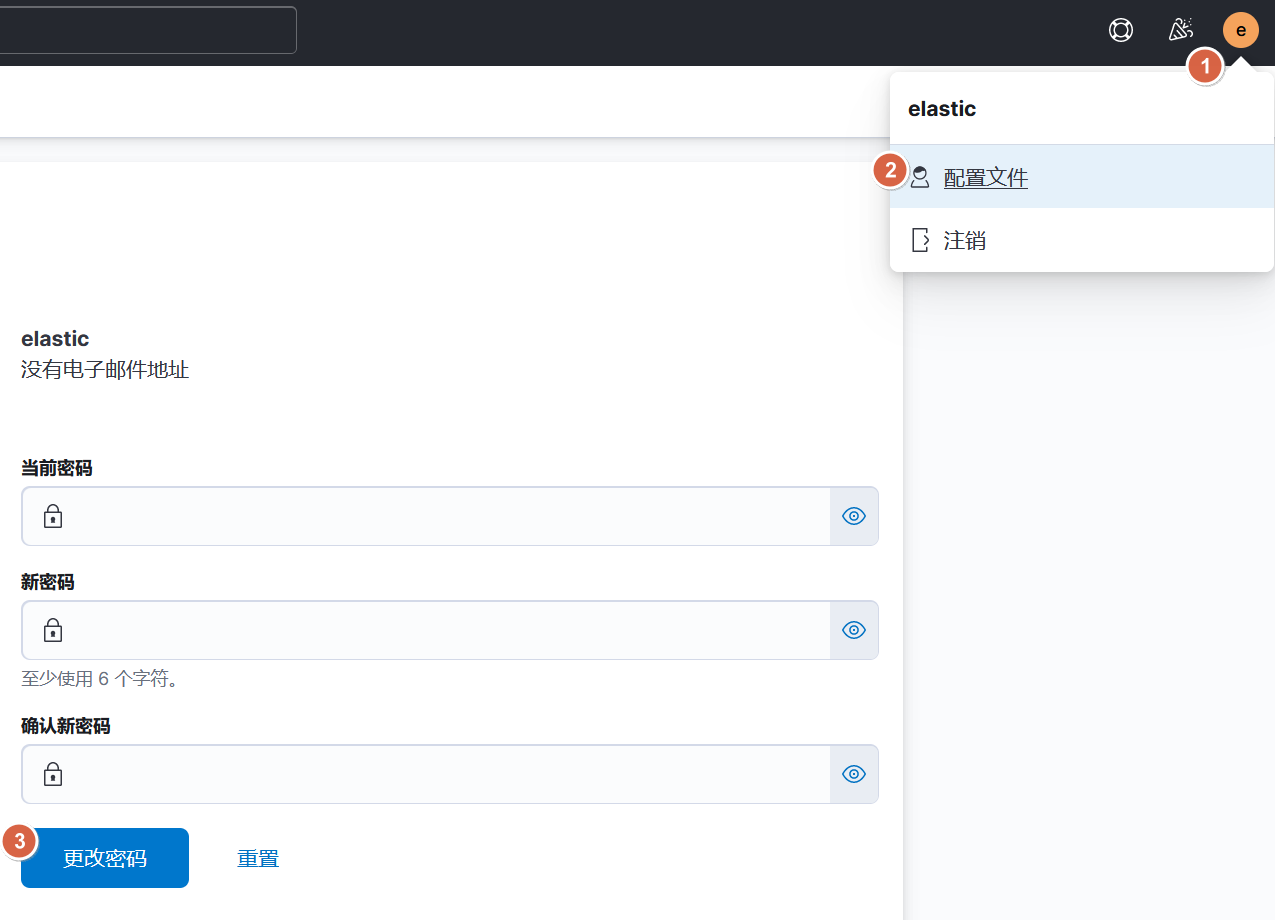
3.4 logstash访问ES
yaml
cat > 08-tcp-to-es_tls.conf <<EOF
input {
tcp {
port => 8888
}
}
output {
stdout {}
elasticsearch {
hosts => ["http://10.0.0.91:9200","http://10.0.0.92:9200","http://10.0.0.93:9200"]
index => "zhiyong18-luckyboy-es-tls-logstash-%{+yyyy.MM.dd}"
user => "elastic"
password => "123456"
}
}
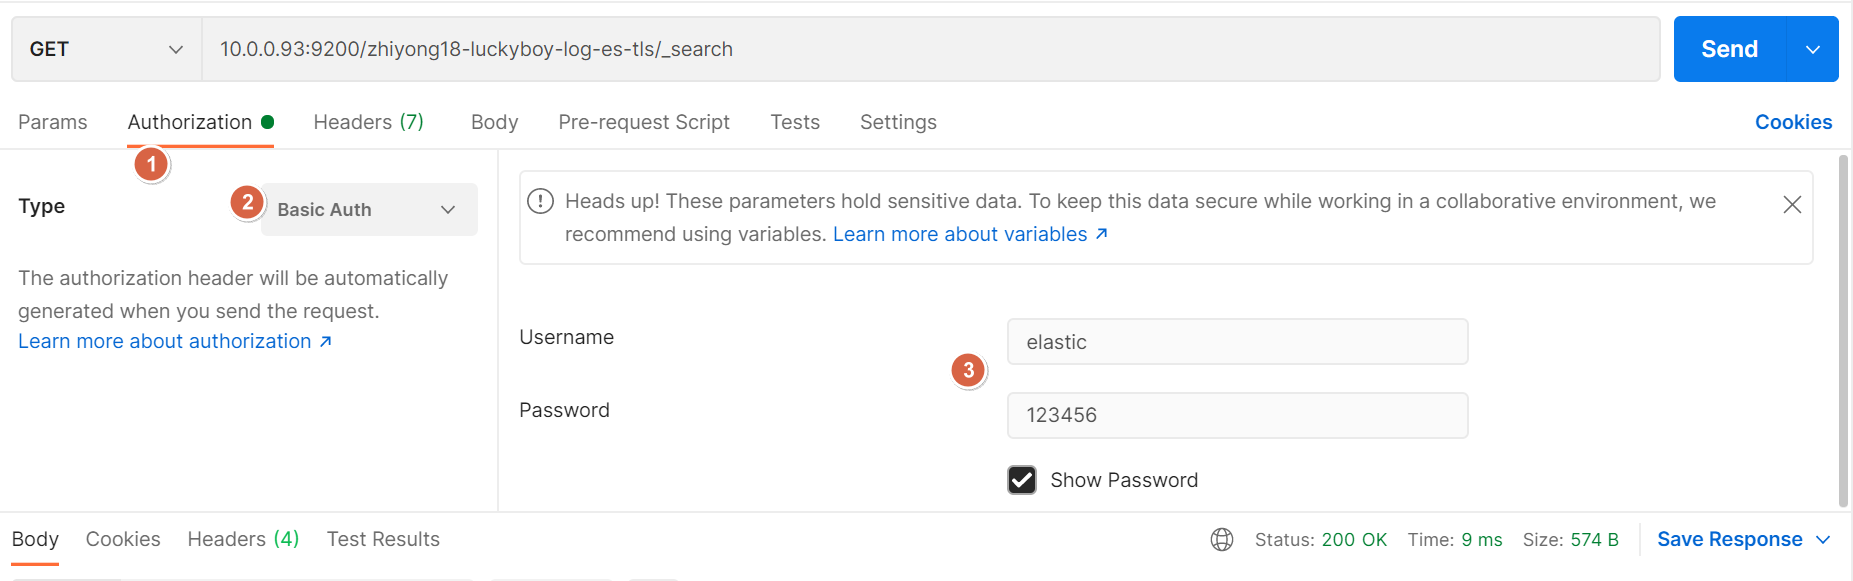
EOF3.5 postman访问ES
bash
:9200","http://10.0.0.93:9200"]
     index => "zhiyong18-luckyboy-es-tls-logstash-%{+yyyy.MM.dd}"
     user => "elastic"
     password => "123456"
  }
}
EOF
3.5 postman访问ES