c语言版本和算法原理的可以查看本人的其他文档。《自动驾驶AVM环视算法--全景的俯视图像和原图》本文档进用于展示部分代码的视线,获取方式网盘自行获取(非免费介意勿下载):链接: https://pan.baidu.com/s/1MJa8ZCEfNyLc5x0uVegtog 提取码: vskn 。
测试的环境:

以下是主运行函数的部分代码(仅供参考):
import cv2
from runTOP import *

# 导入 MyClass 类
from runTOP import avmobjData

# 创建类的实例
runTOP = avmobjData()


F_open=True
B_open=True
L_open=True
R_open=True
F_video=cv2.VideoCapture("video/Front.avi")
if F_video.isOpened():
    F_ocpn,F_frame=F_video.read()
else:
    F_open=False
B_video=cv2.VideoCapture("video/Back.avi")
if B_video.isOpened():
    B_ocpn,B_frame=B_video.read()
else:
    B_open=False
L_video=cv2.VideoCapture("video/Left.avi")
if L_video.isOpened():
    L_ocpn,L_frame=L_video.read()
else:
    L_open=False
R_video=cv2.VideoCapture("video/Right.avi")
if R_video.isOpened():
    R_ocpn,R_frame=R_video.read()
else:
    R_open=False

CarImage = cv2.imread("top.png")
print(F_open,B_open,L_open,R_open)
#初始化函数
new_width,new_height=runTOP.init(0)
print("new_width,new_height",new_width,new_height)
resize_CarImage = cv2.resize(CarImage, (new_width, new_height))
cv2.imshow("resize_CarImage",resize_CarImage)
# 创建一个三通道的彩色图像(RGB),初始值为 0(黑色)
Dstimg = np.zeros((JS_AVM_IMGH, JS_AVM_IMGW, 3), dtype=np.uint8)
while F_open and B_open and L_open and R_open:
    F_ret,F_frame=F_video.read()
    B_ret,B_frame=B_video.read()
    L_ret,L_frame=L_video.read()
    R_ret,R_frame=R_video.read()
    if F_frame is None  or B_frame is None or L_frame is None or R_frame is None is None:
        break
    if F_ret==True and B_ret==True and L_ret==True and R_ret==True:
        runTOP.run(F_frame,B_frame,L_frame,R_frame,Dstimg,0)
        runTOP.js_DrawCar(Dstimg,resize_CarImage,1)
        Dstimg=runTOP.drawTxt(Dstimg)
        cv2.imshow("avmTOP",Dstimg)
        if cv2.waitKey(25) & 0xFF==27:
            break
F_video.release()
B_video.release()
L_video.release()
R_video.release()
cv2.destroyAllWindows()
注:当前python的版本效率比较低,需要加速的可以自行优化加速代码,实现的过程是从C代码直接转换过来的,没有进行任何的优化加速。
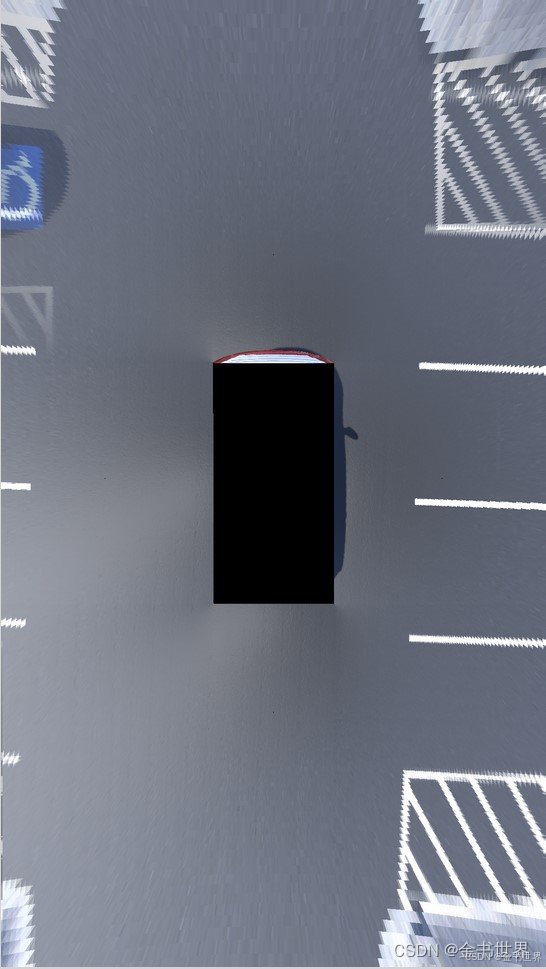
测试实现的效果:
