前提准备:
- 两台httpd,一台haproxy,NFS部署在任意一台httpd上
- http1:192.168.180.110
- http2:192.168.180.120,NFS
- haproxy:192.168.180.100
http(两台httpd的操作是一样的):
- 安装httpd
bash
yum install -y httpd2.分别编写网页
bash
echo "server1 192.168.180.110" > /var/www/html/index.html
echo "server2 192.168.180.120" > /var/www/html/index.html- 开启httpd
bash
systemctl start httpd- 关闭防火墙
bash
systemctl stop firewalld
setenforce 0
haproxy:
- 安装haproxy(通过源码包安装)
bash
yum install -y gcc gcc-c++ make lrzsz
tar zxf haproxy-2.9.9.tar.gz
cd haproxy-2.9.9
make TARGET=linux-glibc && make install
- 移动主配置文件
bash
mkdir /etc/haproxy
cp addons/ot/test/sa/haproxy.cfg /etc/haproxy/- 修改主配置文件
bash
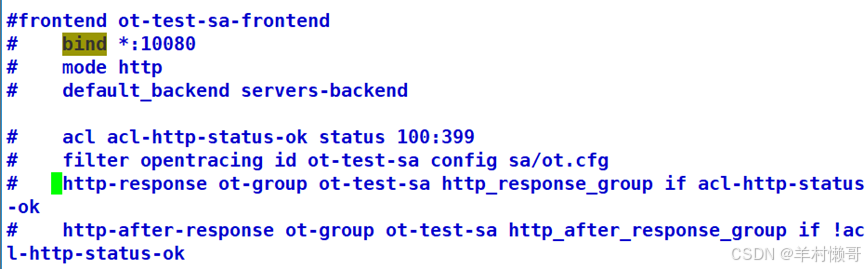
vim /etc/haproxy/haproxy.cfg
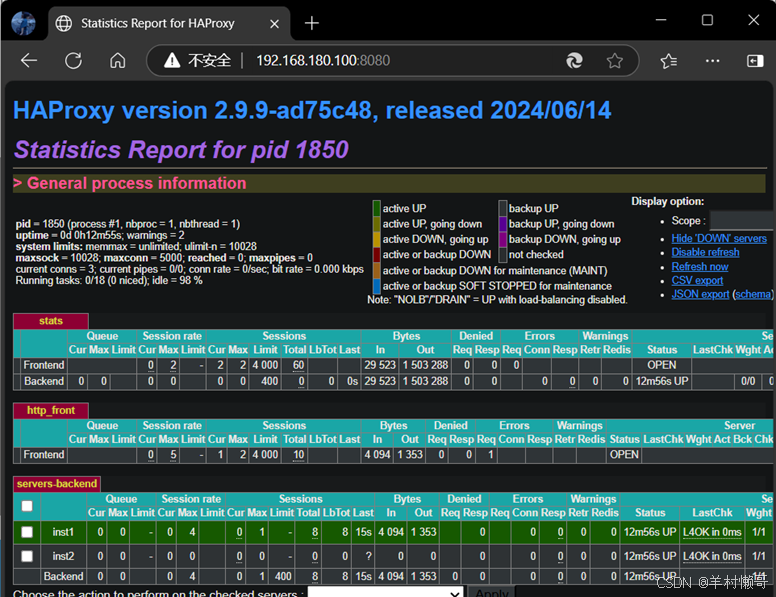
将端口改为8080
注释
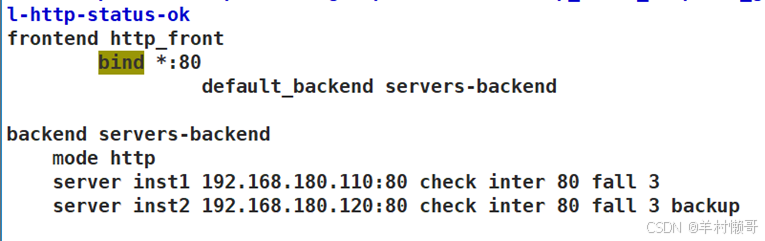
添加内容
frontend http_front
bind *:80
default_backend servers-backend
backend servers-backend
mode http
server inst1 192.168.180.110:80 check inter 80 fall 3
server inst2 192.168.180.120:80 check inter 80 fall 3 backup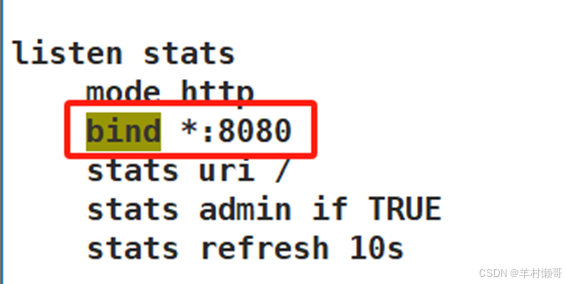
- 创建自启动脚本
bash
cp ~/haproxy-2.9.9/examples/haproxy.init /etc/init.d/haproxy
ln -s /usr/local/sbin/haproxy /usr/sbin/haproxy
chmod +x /etc/init.d/haproxy
chkconfig --add /etc/init.d/haproxy
/etc/init.d/haproxy start
- 关闭防火墙
bash
systemctl stop firewalld
setenforce 0
NFS-192.168.180.120:
- 在httpd上均安装
bash
yum install -y nfs-utils rpcbind- 创建共享目录
bash
mkdir -p /opt/wwwroot
vim /etc/exports
/opt/wwwroot    192.168.180.0/24(rw,sync,no_root_squash)
- 分别启动
bash
systemctl start nfs
systemctl start rpcbind- 查看NFS共享了什么目录
bash
showmount -e 192.168.180.120
- http均挂载NFS共享目录
bash
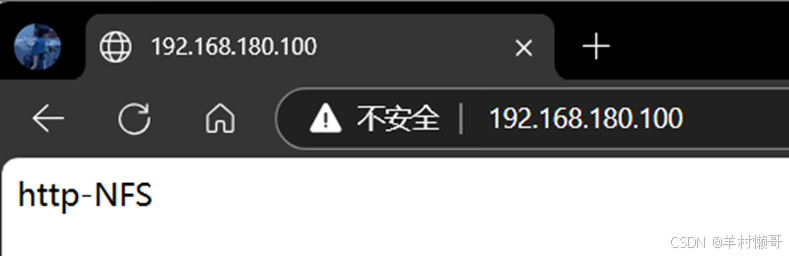
mount 192.168.180.120:/opt/wwwroot /var/www/html/- 创建测试页面
bash
echo "http-NFS" > /opt/wwwroot/index.html- 访问测试