更新日志:
Created on 14Jan.2025 by Dave , added openssh-server, tailescape
Updated on 15Jan.2025, added "tailescape - tailscape ssh"
前期准备:
1. 更新可用软件包的数据库
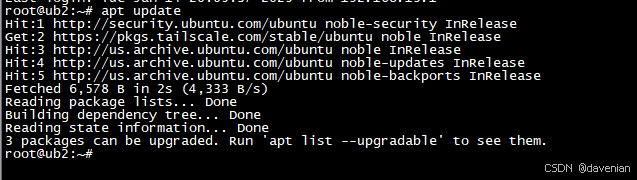
2. 升级系统中所有已安装的软件包到最新版本

3. 安装 curl 和 git 这两个软件包 (如果已经安装,会进行升级)

一、安装 openssh-server(服务器)
1. 安装软件包
sudo apt update
sudo apt install openssh-server
2. 启动 SSH 服务器
启动服务:
sudo systemctl start ssh查看状态:
root@ub2:~# sudo systemctl status ssh
● ssh.service - OpenBSD Secure Shell server
     Loaded: loaded (/usr/lib/systemd/system/ssh.service; enabled; preset: enabled)
     Active: active (running) since Tue 2025-01-14 20:11:43 CST; 17min ago
TriggeredBy: ● ssh.socket
       Docs: man:sshd(8)
             man:sshd_config(5)
    Process: 954 ExecStartPre=/usr/sbin/sshd -t (code=exited, status=0/SUCCESS)
   Main PID: 965 (sshd)
      Tasks: 1 (limit: 4558)
     Memory: 3.2M (peak: 19.8M)
        CPU: 191ms
     CGroup: /system.slice/ssh.service
             └─965 "sshd: /usr/sbin/sshd -D [listener] 0 of 10-100 startups"

Jan 14 20:11:43 ub2 systemd[1]: Starting ssh.service - OpenBSD Secure Shell server...
Jan 14 20:11:43 ub2 sshd[965]: Server listening on :: port 22.
Jan 14 20:11:43 ub2 systemd[1]: Started ssh.service - OpenBSD Secure Shell server.
Jan 14 20:13:08 ub2 sshd[1851]: Accepted password for root from 192.168.19.1 port 44083 ssh2
Jan 14 20:13:08 ub2 sshd[1851]: pam_unix(sshd:session): session opened for user root(uid=0) by root(uid=0)
确保 SSH 服务在系统启动时自动启动:
root@ub2:~# sudo systemctl enable ssh
Synchronizing state of ssh.service with SysV service script with /usr/lib/systemd/systemd-sysv-install.
Executing: /usr/lib/systemd/systemd-sysv-install enable ssh
root@ub2:~#
3. 配置防火墙 (UFW)
我用的是 Desktop 版本,ufw 没有启用(安装)。因此,只列出命令。
检查 UFW 的状态:
sudo ufw status允许 SSH 连接 或 22端口:
sudo ufw allow ssh

sudo ufw allow 22
启用 UFW:
sudo vi /etc/ssh/sshd_config4. 配置 SSH
让 root 用户,使用密码登录。配置文件:/etc/ssh/sshd_config
主要是这两个参数:
PermitRootLogin yes
PasswordAuthentication yes
我正在用的文件:/etc/ssh/sshd_config
root@ub2:~# cat /etc/ssh/sshd_config

# This is the sshd server system-wide configuration file.  See
# sshd_config(5) for more information.

# This sshd was compiled with PATH=/usr/local/sbin:/usr/local/bin:/usr/sbin:/usr/bin:/sbin:/bin:/usr/games

# The strategy used for options in the default sshd_config shipped with
# OpenSSH is to specify options with their default value where
# possible, but leave them commented.  Uncommented options override the
# default value.

Include /etc/ssh/sshd_config.d/*.conf

#Port 22
#AddressFamily any
#ListenAddress 0.0.0.0
#ListenAddress ::

#HostKey /etc/ssh/ssh_host_rsa_key
#HostKey /etc/ssh/ssh_host_ecdsa_key
#HostKey /etc/ssh/ssh_host_ed25519_key

# Ciphers and keying
#RekeyLimit default none

# Logging
#SyslogFacility AUTH
#LogLevel INFO

# Authentication:

#LoginGraceTime 2m
#PermitRootLogin prohibit-password
PermitRootLogin yes
#StrictModes yes
#MaxAuthTries 6
#MaxSessions 10

#PubkeyAuthentication yes

# Expect .ssh/authorized_keys2 to be disregarded by default in future.
#AuthorizedKeysFile     .ssh/authorized_keys .ssh/authorized_keys2

#AuthorizedPrincipalsFile none

#AuthorizedKeysCommand none
#AuthorizedKeysCommandUser nobody

# For this to work you will also need host keys in /etc/ssh/ssh_known_hosts
#HostbasedAuthentication no
# Change to yes if you don't trust ~/.ssh/known_hosts for
# HostbasedAuthentication
#IgnoreUserKnownHosts no
# Don't read the user's ~/.rhosts and ~/.shosts files
#IgnoreRhosts yes

# To disable tunneled clear text passwords, change to no here!
PasswordAuthentication yes
#PermitEmptyPasswords no

# Change to yes to enable challenge-response passwords (beware issues with
# some PAM modules and threads)
KbdInteractiveAuthentication no

# Kerberos options
#KerberosAuthentication no
#KerberosOrLocalPasswd yes
#KerberosTicketCleanup yes
#KerberosGetAFSToken no

# GSSAPI options
#GSSAPIAuthentication no
#GSSAPICleanupCredentials yes
#GSSAPIStrictAcceptorCheck yes
#GSSAPIKeyExchange no

# Set this to 'yes' to enable PAM authentication, account processing,
# and session processing. If this is enabled, PAM authentication will
# be allowed through the KbdInteractiveAuthentication and
# PasswordAuthentication.  Depending on your PAM configuration,
# PAM authentication via KbdInteractiveAuthentication may bypass
# the setting of "PermitRootLogin prohibit-password".
# If you just want the PAM account and session checks to run without
# PAM authentication, then enable this but set PasswordAuthentication
# and KbdInteractiveAuthentication to 'no'.
UsePAM yes

#AllowAgentForwarding yes
#AllowTcpForwarding yes
#GatewayPorts no
X11Forwarding yes
#X11DisplayOffset 10
#X11UseLocalhost yes
#PermitTTY yes
PrintMotd no
#PrintLastLog yes
#TCPKeepAlive yes
#PermitUserEnvironment no
#Compression delayed
#ClientAliveInterval 0
#ClientAliveCountMax 3
#UseDNS no
#PidFile /run/sshd.pid
#MaxStartups 10:30:100
#PermitTunnel no
#ChrootDirectory none
#VersionAddendum none

# no default banner path
#Banner none

# Allow client to pass locale environment variables
AcceptEnv LANG LC_*

# override default of no subsystems
Subsystem       sftp    /usr/lib/openssh/sftp-server

# Example of overriding settings on a per-user basis
#Match User anoncvs
#       X11Forwarding no
#       AllowTcpForwarding no
#       PermitTTY no
#       ForceCommand cvs server
root@ub2:~#
二、 安装 Tailscale 应用
1. 安装软件包
curl -fsSL https://tailscale.com/install.sh | sh2. 启动 tailscale 应用
tailscale up3. 按照提示激活连接 (略)
4. 在控制台确认连接
控制台: (当前是离线)

5. 配置 Tailscale SSH
参考源链接:Tailscale SSH · Tailscale Docs
a. tailscape ssh 用途
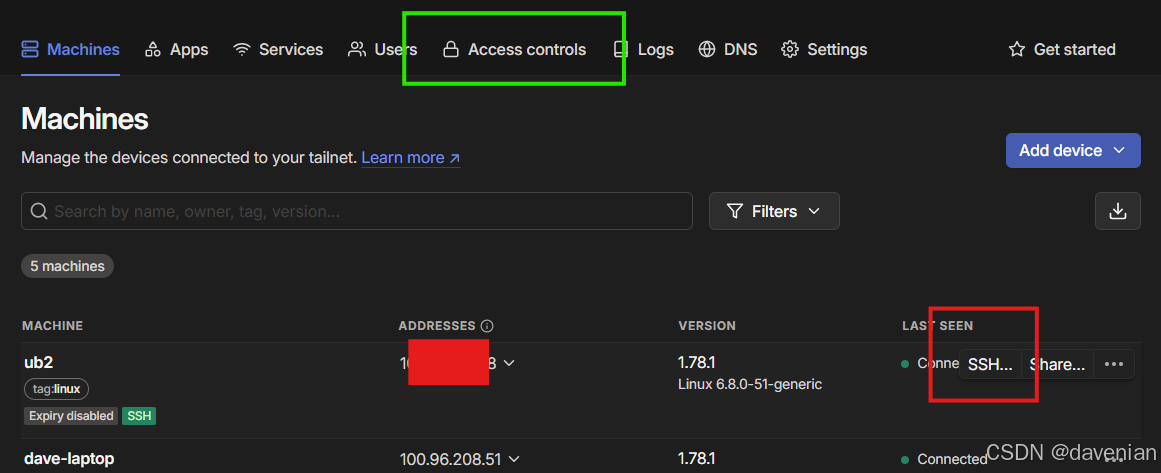
在 tailscale console 上,用 SSH 连接主机,见上图红框。
b. 配置 tailscape ssh
配置主要有两处: tailscale console 上的 access controls (见上图绿框), 还有主机上启用 ssh
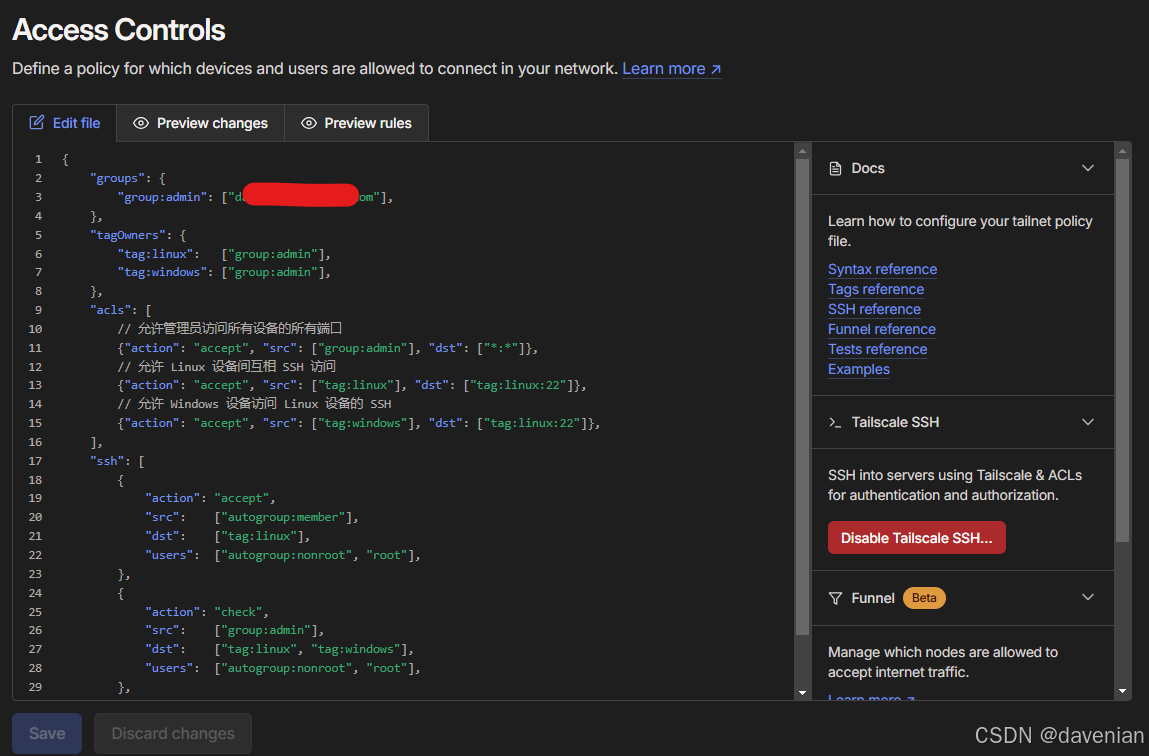
1) access controls 配置
下面是我的配置内容,你需要替换 "//使用你的tailscale注册邮箱(https://login.tailscale.com/admin/users 里面的邮箱地址)" 为管理员组的 email ,要保留 双引号。
{
	"groups": {
		"group:admin": ["//使用你的tailscale注册邮箱(https://login.tailscale.com/admin/users 里面的邮箱地址)"],
	},
	"tagOwners": {
		"tag:linux":   ["group:admin"],
		"tag:windows": ["group:admin"],
	},
	"acls": [
		// 允许管理员访问所有设备的所有端口
		{"action": "accept", "src": ["group:admin"], "dst": ["*:*"]},
		// 允许 Linux 设备间互相 SSH 访问
		{"action": "accept", "src": ["tag:linux"], "dst": ["tag:linux:22"]},
		// 允许 Windows 设备访问 Linux 设备的 SSH
		{"action": "accept", "src": ["tag:windows"], "dst": ["tag:linux:22"]},
	],
	"ssh": [
		{
			"action": "accept",
			"src":    ["autogroup:member"],
			"dst":    ["tag:linux"],
			"users":  ["autogroup:nonroot", "root"],
		},
		{
			"action": "check",
			"src":    ["group:admin"],
			"dst":    ["tag:linux", "tag:windows"],
			"users":  ["autogroup:nonroot", "root"],
		},
	],
}
2) 在 ubuntu 24 desktop 上启动 tailscale ssh
这行命令带有能数 --reset 重置,会清除现有主机上的 Tailscale 配置。
sudo tailscale up --accept-routes --advertise-tags=tag:linux --ssh --reset解释:
- 为设备添加 linux 标签(--advertise-tags=tag:linux)
- 启用 SSH 功能(--ssh)
- 重置配置(--reset)
- 接受路由(--accept-routes) ,白话:接受来自其它 Tailscale 网络访问
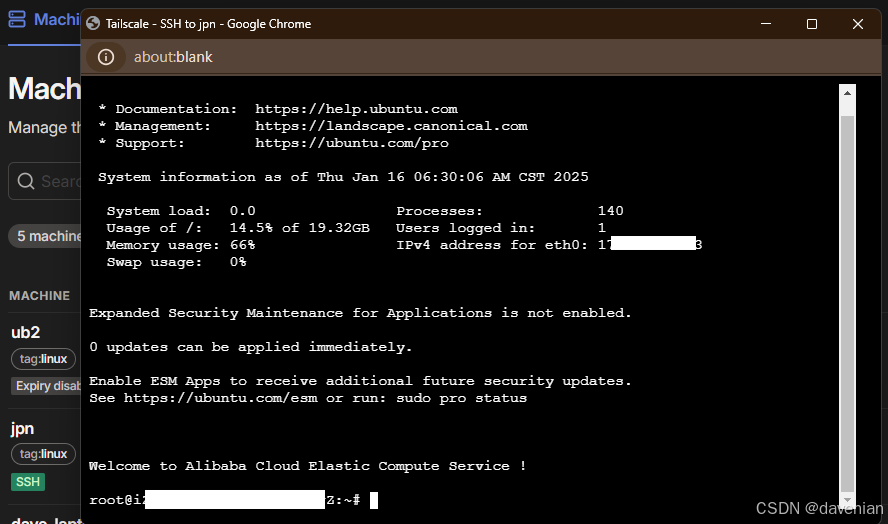
c. 演示
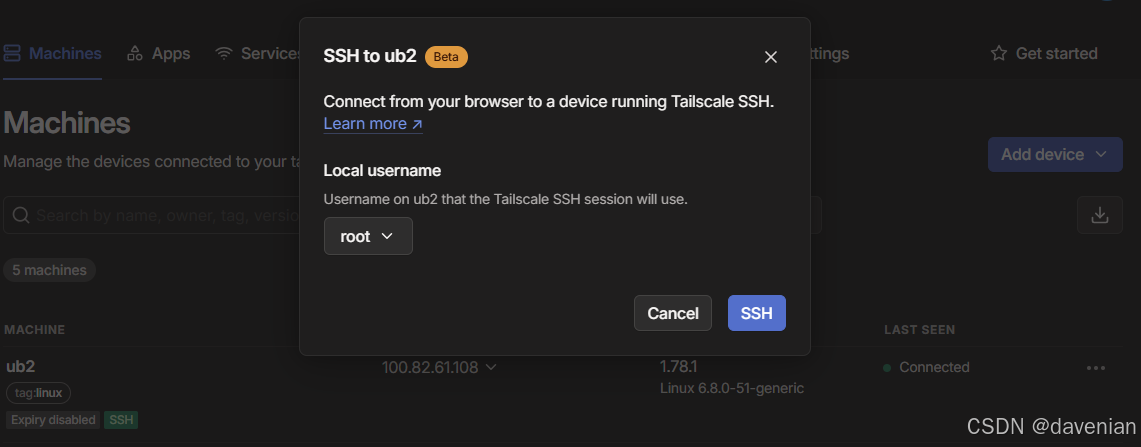
安全审核过程略过...

Damm, 竟然用浏览器,连接到我 Laptop 上的 Ubuntu VM.
ali 云上的 日本机 也ok

三、