文章目录
- 1、事件监听
-
- [1.1 案例:击关闭顶部广告](#1.1 案例:击关闭顶部广告)
- [1.2 案例:随机点名](#1.2 案例:随机点名)
- [1.3 事件监听的版本](#1.3 事件监听的版本)
- 2、事件类型
-
- [2.1 鼠标事件](#2.1 鼠标事件)
-
- [2.1.1 语法](#2.1.1 语法)
- [2.1.2 案例:轮播图主动切换](#2.1.2 案例:轮播图主动切换)
- [2.2 焦点事件](#2.2 焦点事件)
-
- [2.2.1 语法](#2.2.1 语法)
- [2.2.2 案例:模拟小米搜索框](#2.2.2 案例:模拟小米搜索框)
- [2.3 键盘事件](#2.3 键盘事件)
-
- [2.3.1 语法](#2.3.1 语法)
- [2.3.2 回车发布评论](#2.3.2 回车发布评论)
- [2.4 文本事件](#2.4 文本事件)
-
-
- [2.4.1 语法](#2.4.1 语法)
- [2.4.2 案例:评论字数统计](#2.4.2 案例:评论字数统计)
-
1、事件监听
让程序检测是否有事件产生,一旦有事件触发,就立即调用一个函数做为响应
- 语法:

- 示例:
javascript
<body>
    <button>按钮</button>
    <script>
        const btn = document.querySelector('button')
        // 事件类型要加引号
        // 每点击一次,执行一次函数
        btn.addEventListener('click', function () {
            alert('点击成功~')
        })
    </script>
</body>
监听三要素:
- 事件源 (谁被触发了,是一个DOM对象)
- 事件类型 (用什么方式触发,点击还是鼠标经过等)
- 事件处理程序 (要做什么事情)
1.1 案例:击关闭顶部广告
需求:点击关闭之后,顶部关闭
思路:
- 广告页面用一个div大盒子嵌套一个div小盒子,小盒子里放个关闭图标x
- 点击x,隐藏大盒子,display:none 隐藏元素 display:block 显示元素
javascript
<!DOCTYPE html>
<html lang="en">

<head>
    <meta charset="UTF-8">
    <meta name="viewport" content="width=device-width, initial-scale=1.0">
    <title>Document</title>
    <style>
        .box {
            position: relative;
            width: 1000px;
            height: 200px;
            background-color: blue;
            margin: 100px auto;
            text-align: center;
            font-size: 50px;
            line-height: 200px;
            font-weight: 700;
        }

        .box1 {
            position: absolute;
            right: 20px;
            top: 10px;
            width: 20px;
            height: 20px;
            background-color: skyblue;
            text-align: center;
            font-size: 16px;
            line-height: 20px;
            /*鼠标箭头变为小手样式 */
            cursor: pointer;
        }
    </style>
</head>

<body>
    <div class="box">
        一刀999!
        <div class="box1">x</div>
    </div>
    <script>
        const x = document.querySelector('.box1')
        const div = document.querySelector('.box')
        x.addEventListener('click', function () {
            div.style.display = 'none'
        })
    </script>
</body>

</html>
1.2 案例:随机点名
思路:
- 点名器上名字快速闪动,用定时器 + 短时间重复执行,从数组中随机选择数据渲染
- 点击开始,打开定时器
- 点击结束,关闭定时器,取出当前数据,并从数组中删除该数据
- 当数组中仅剩一个数据时,不用抽了,disabled = true
javascript
<!DOCTYPE html>
<html lang="en">

<head>
    <meta charset="UTF-8">
    <meta name="viewport" content="width=device-width, initial-scale=1.0">
    <title>Document</title>
    <style>
        * {
            margin: 0;
            padding: 0;
        }

        h2 {
            text-align: center;
        }

        .box {
            width: 600px;
            margin: 50px auto;
            display: flex;
            font-size: 25px;
            line-height: 40px;
        }

        .uname {

            width: 450px;
            height: 40px;
            color: red;

        }

        .btns {
            text-align: center;
        }

        .btns button {
            width: 120px;
            height: 35px;
            margin: 0 50px;
        }
    </style>
</head>

<body>
    <h2>随机点名</h2>
    <div class="box">
        <span>名字是:</span>
        <div class="uname">即将开始随机抽</div>
    </div>
    <div class="btns">
        <button class="start">开始</button>
        <button class="end">结束</button>
    </div>

    <script>
        // 数据数组
        const arr = ['马超', '黄忠', '赵云', '关羽', '张飞', '曹操']
        // 定时器ID(全局变量)
        let timerId = 0
        // 抽中数据的索引(全局变量)
        let random

        // 获取DOM对象
        const start = document.querySelector('.start')
        const end = document.querySelector('.end')
        const uname = document.querySelector('.uname')


        // 点击开始,打开定时器
        start.addEventListener('click', function () {
            // 返回定时器ID
            timerId = setInterval(function () {
                random = Math.floor(Math.random() * arr.length)
                uname.innerHTML = arr[random]
            }, 10)  // 十毫秒刷新一次

            // 如果数组长度剩1了,那就置灰开始和结束按钮
            if (arr.length === 1) {
                start.disabled = true
                end.disabled = true
            }
        })

        // 点击关闭,清除定时器
        end.addEventListener('click', function () {
            clearInterval(timerId)
            arr.splice(random, 1)
        })
    </script>
</body>

</html>
1.3 事件监听的版本
- 在DOM L0版本,语法是:事件源.on事件 = function() { }
- 在DOM L1版本,语法是:事件源.addEventListener(事件, 事件处理函数)
前者做为早期语法,会产生覆盖,如下,绑定两次点击时间,只有第二个生效,也就是说只有一个22的弹窗,这种类似赋值覆盖,let num =1 ; num = 2
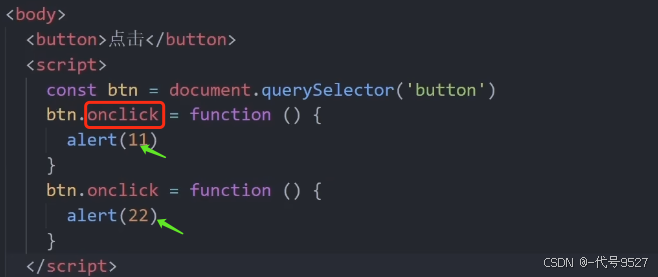
但DOM L1的事件监听语法,则不会覆盖,下面这么写,会有11和22两个弹窗

2、事件类型
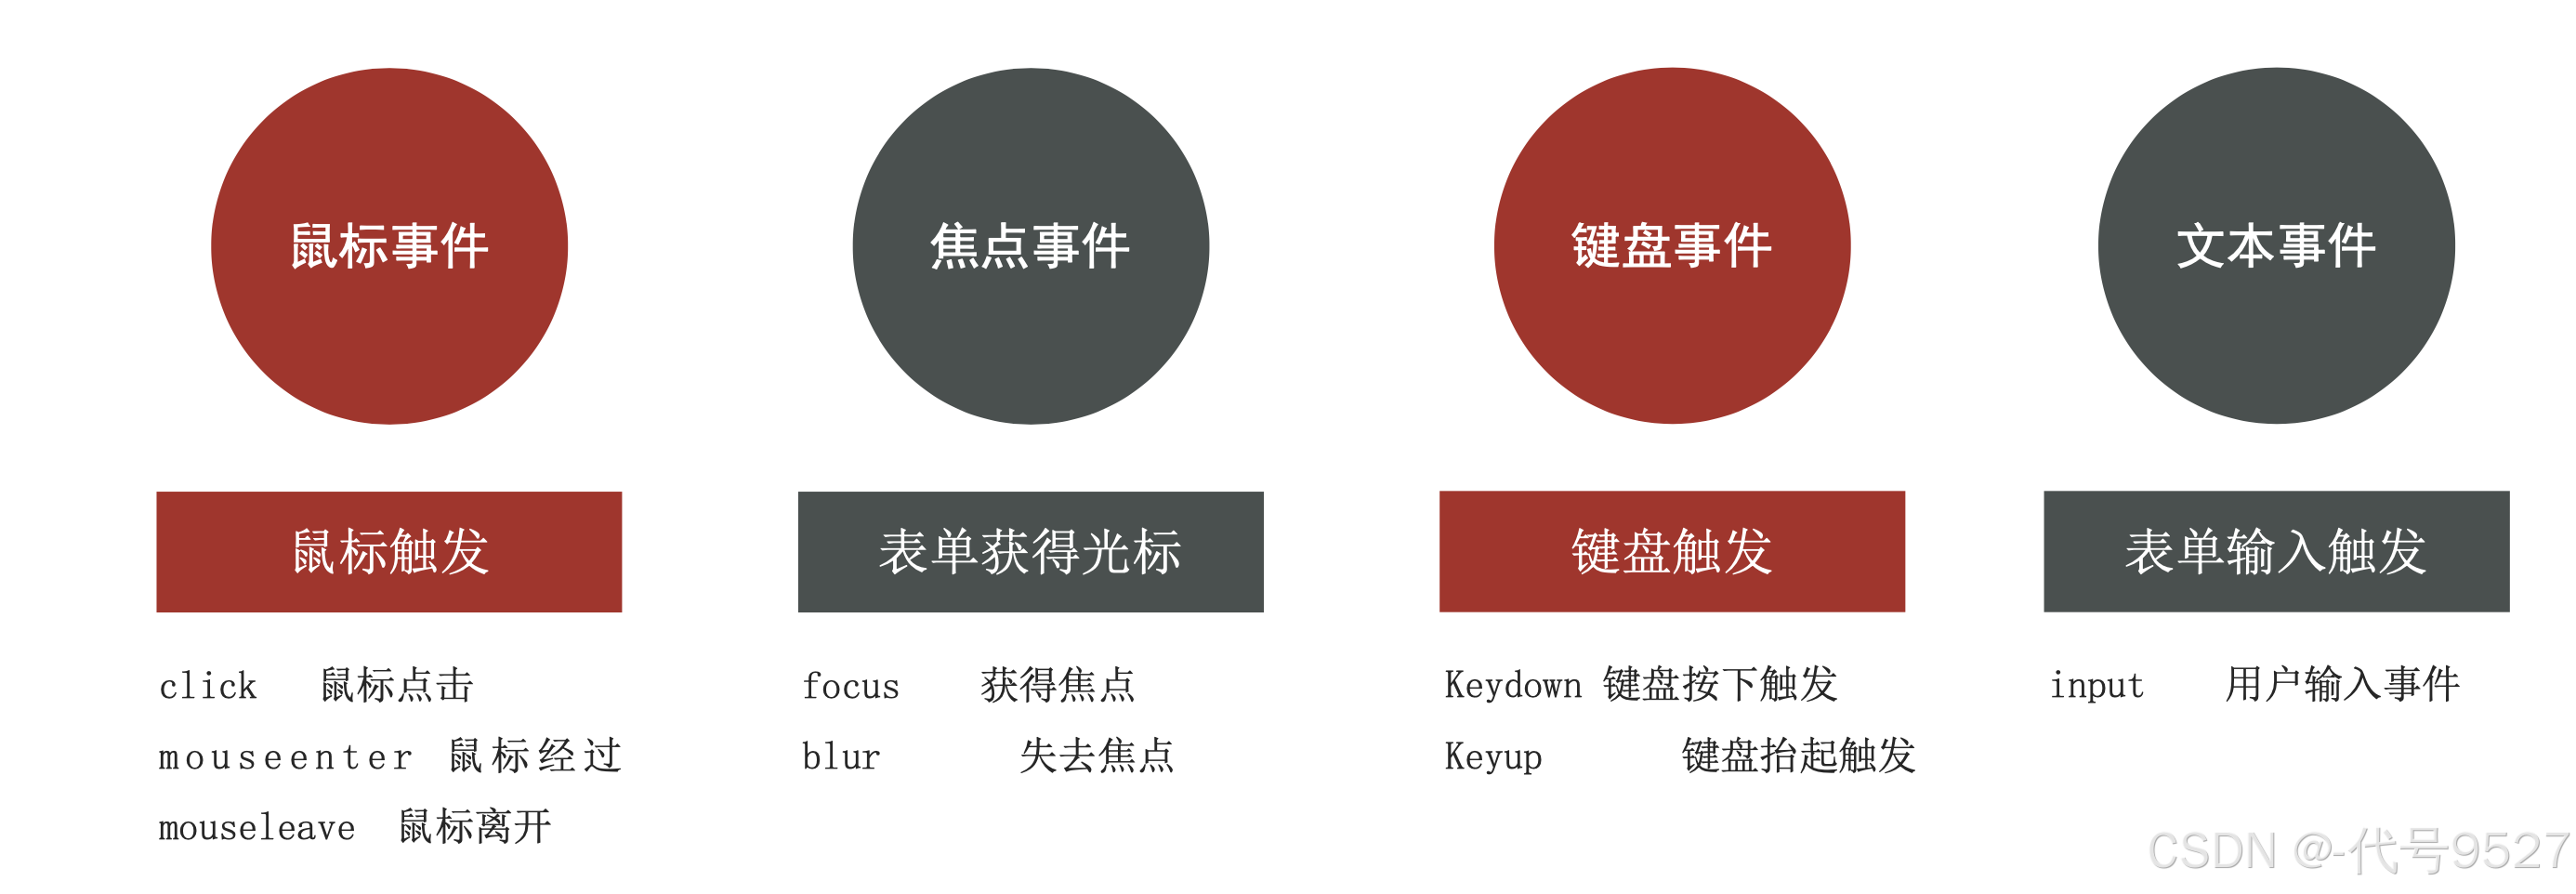
2.1 鼠标事件
2.1.1 语法
相关事件:
- click:鼠标点击
- mouseenter:鼠标经过
- mouseleave:鼠标离开
演示鼠标事件中的鼠标经过和离开:
javascript
<!DOCTYPE html>
<html lang="en">

<head>
    <meta charset="UTF-8">
    <meta name="viewport" content="width=device-width, initial-scale=1.0">
    <title>Document</title>
    <style>
        div {
            width: 200px;
            height: 200px;
            background-color: greenyellow;
        }
    </style>
</head>

<body>
    <!-- 空盒子 -->
    <div></div>

    <script>
        const div = document.querySelector('div')
        div.addEventListener('mouseenter', function () {
            console.log('鼠标经过···');

        })
        div.addEventListener('mouseleave', function () {
            console.log('鼠标离开...');

        })
    </script>
</body>

</html>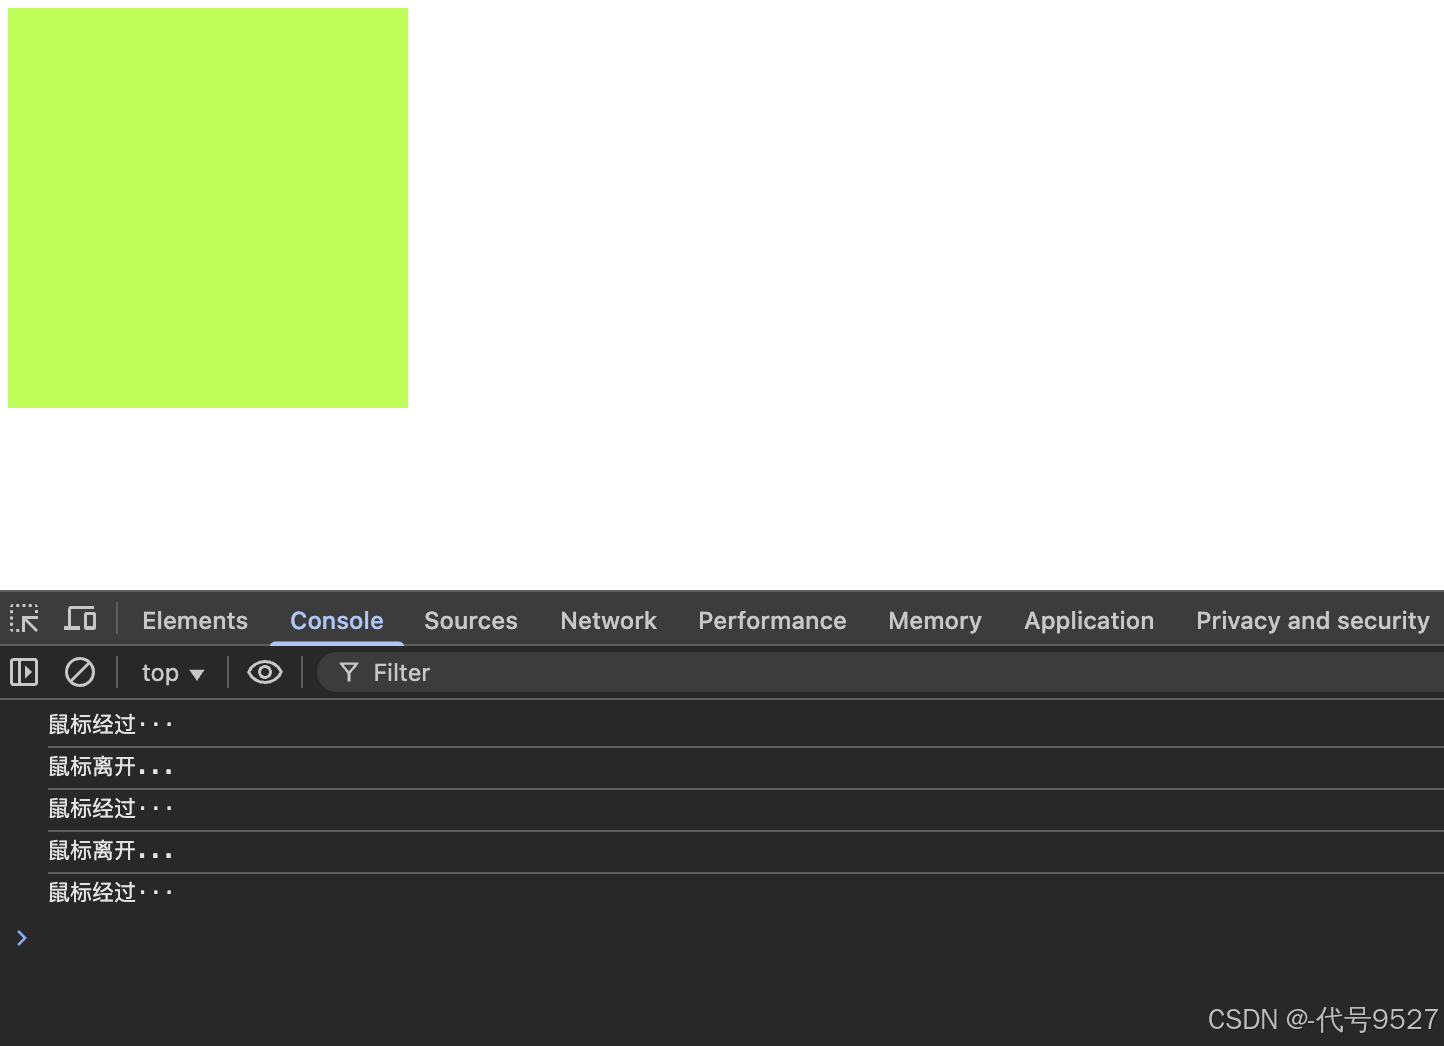
2.1.2 案例:轮播图主动切换
链接🔗:https://blog.csdn.net/llg___/article/details/146964079
2.2 焦点事件
2.2.1 语法
相关事件:
- focus:获得焦点(获得光标)
- blur:失去焦点(失去光标)
示例:
javascript
<body>
    <input type="text">
    <script>
        const input = document.querySelector('input')
        input.addEventListener('focus', function () {
            console.log('获得焦点');

        })
        input.addEventListener('blur', function () {
            console.log('失焦了');

        })
    </script>
</body>
效果:
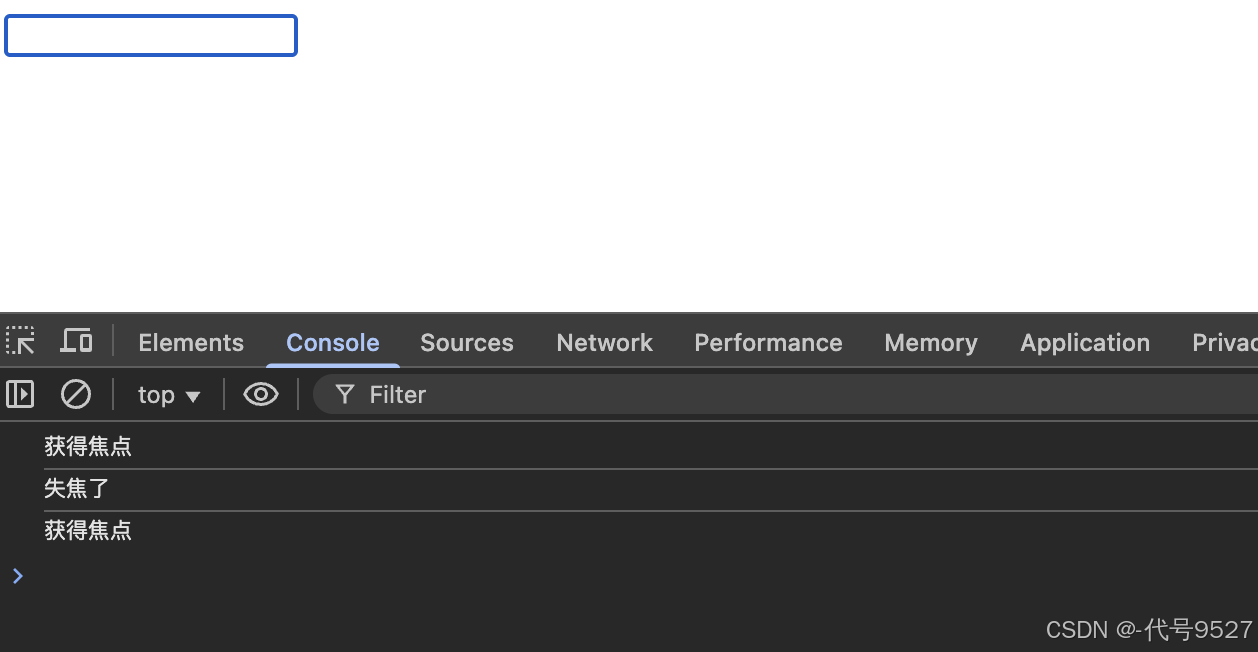
2.2.2 案例:模拟小米搜索框
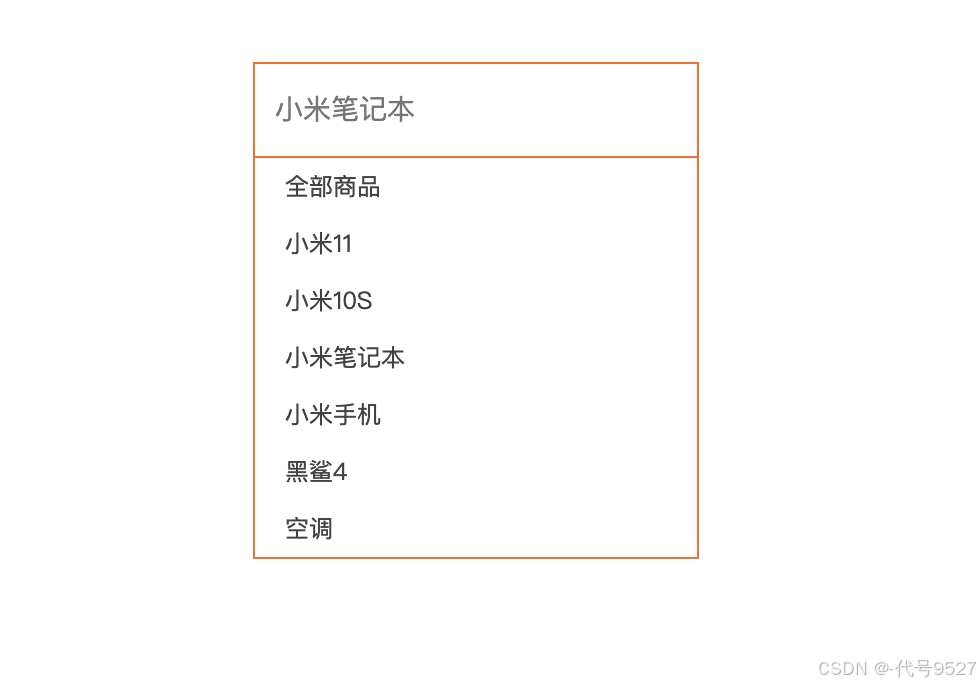
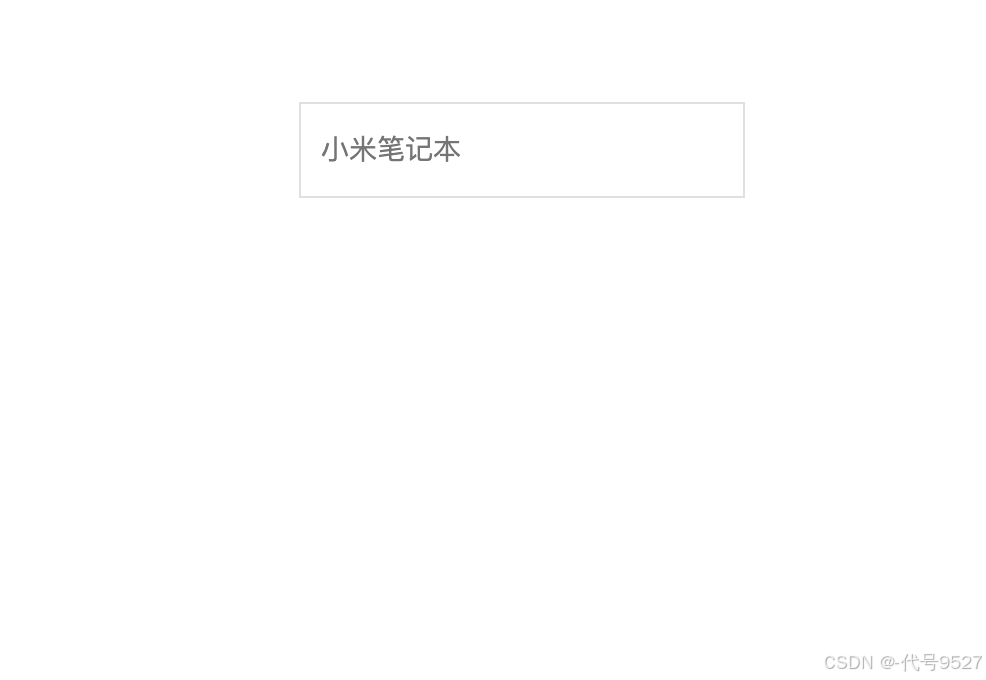
模拟小米搜索框,搜索框获得焦点时,显示可能搜索词汇且搜索框高亮
javascript
<!DOCTYPE html>
<html lang="en">

<head>
    <meta charset="UTF-8">
    <meta http-equiv="X-UA-Compatible" content="IE=edge">
    <meta name="viewport" content="width=device-width, initial-scale=1.0">
    <title>Document</title>
    <style>
        * {
            margin: 0;
            padding: 0;
            box-sizing: border-box;
        }

        ul {

            list-style: none;
        }

        .mi {
            position: relative;
            width: 223px;
            margin: 100px auto;
        }

        .mi input {
            width: 223px;
            height: 48px;
            padding: 0 10px;
            font-size: 14px;
            line-height: 48px;
            border: 1px solid #e0e0e0;
            outline: none;
        }

        .mi .search {
            border: 1px solid #ff6700;
        }

        .result-list {
            display: none;
            position: absolute;
            left: 0;
            top: 48px;
            width: 223px;
            border: 1px solid #ff6700;
            border-top: 0;
            background: #fff;
        }

        .result-list a {
            display: block;
            padding: 6px 15px;
            font-size: 12px;
            color: #424242;
            text-decoration: none;
        }

        .result-list a:hover {
            background-color: #eee;
        }
    </style>

</head>

<body>
    <div class="mi">
        <input type="search" placeholder="小米笔记本">
        <ul class="result-list">
            <li><a href="#">全部商品</a></li>
            <li><a href="#">小米11</a></li>
            <li><a href="#">小米10S</a></li>
            <li><a href="#">小米笔记本</a></li>
            <li><a href="#">小米手机</a></li>
            <li><a href="#">黑鲨4</a></li>
            <li><a href="#">空调</a></li>
        </ul>
    </div>
    <script>
        const input = document.querySelector('[type=search]')  //CSS的属性选择器
        const ul = document.querySelector('.result-list')

        // 获得焦点
        input.addEventListener('focus', function () {
            // 展示下拉框数据
            ul.style.display = 'block'
            // 让搜索框边线变黄
            input.classList.add('search')
        })

        // 失去焦点
        input.addEventListener('blur', function () {
            ul.style.display = 'none'
            input.classList.remove('search')

        })


    </script>
</body>

</html>
获得焦点效果:
失去焦点效果:
2.3 键盘事件
2.3.1 语法
相关事件:
-
keydown:键盘按下触发
-
keyup:键盘抬起触发
-
示例:
javascript
<body>
    <input type="text">
    <script>
        const input = document.querySelector('input')
        input.addEventListener('keydown', function () {
            console.log('键盘按下了');

        })
        input.addEventListener('keyup', function () {
            console.log('键盘弹起了');

        })
    </script>
</body>
效果:按下Enter并松开,算两个事件,一个按下 + 一个弹起

2.3.2 回车发布评论
链接🔗:
2.4 文本事件
2.4.1 语法
相关事件:
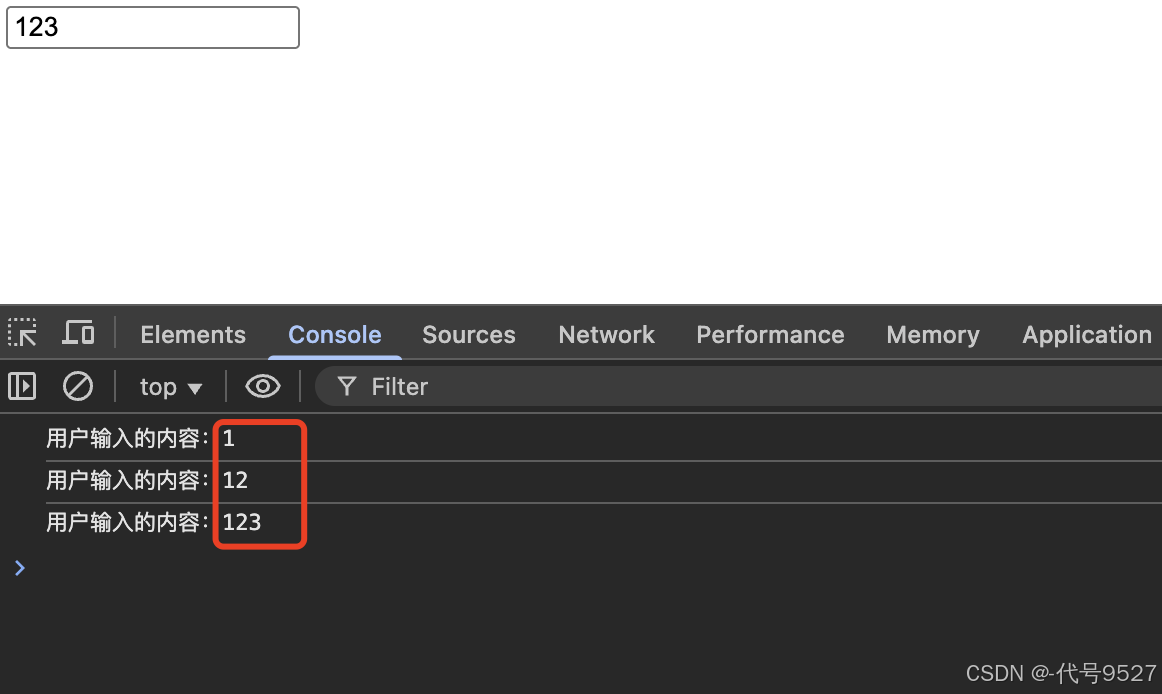
- input:用户输入事件
示例:
javascript
<body>
    <input type="text">
    <script>
        const input = document.querySelector('input')
        input.addEventListener('input', function () {
            console.log(`用户输入的内容:${input.value}`);

        })
    </script>
</body>
注意,获取这个输入值,用value属性
2.4.2 案例:评论字数统计
javascript
<body>
    <div class="wrapper">
        <i class="avatar"></i>
        <textarea id="tx" placeholder="发一条友善的评论" rows="2" maxlength="200"></textarea>
    </div>
    <div class="wrapper">
        <span class="total">0/200字</span>
    </div>

    <script>
        const tx = document.querySelector('#tx')
        const total = document.querySelector('.total')

        // 实现获得焦点就显示评论的字数,失焦则隐藏字数计算
        tx.addEventListener('focus', function () {
            total.style.opacity = 1     // opacity,透明度样式,相比display,显示和隐藏更加柔和
        })
        tx.addEventListener('blur', function () {
            total.style.opacity = 0
        })

        tx.addEventListener('input', function () {
            // tx.value是获取到输入的字符串,后面.length获取字符串长度(包装类型)
            total.innerHTML = `${tx.value.length}/200字`
        })
    </script>

</body>
效果:

