Pyinstaller 打包flask_socketio为exe程序后出现:ValueError: Invalid async_mode specified
一、详细描述问题描述
|-----------------------------------------------------------------------------------------------------------------------------------------------------------------------------------------------------------------------------------------------------------------------------------------------------------------------------------------------------|
| Traceback (most recent call last): File "app_3.py", line 22, in <module> File "flask_socketio\init.py", line 186, in init File "flask_socketio\init.py", line 242, in init_app File "socketio\base_server.py", line 34, in init File "engineio\base_server.py", line 94, in init ValueError: Invalid async_mode specified |
二、解决方法
1.确认flask_socketio的版本,如 flask_socketio version>5.x 。则不需要async_mode=''参数。使用 pip show flask_socketio 命令查看版本,版本信息如下。
|-------------------------------------|
| Name: Flask-SocketIO Version: 5.5.1 |
可运行的最小基础代码如下,可在该代码验证环境是否正常,index.html为首页可在template文件夹中自行创建。注意allow_unsafe_werkzeug=True,这个配置必须添加。否则会出现错误。
|-----------------------------------------------------------------------------------------------------------------------------------------------------------------------------------------------------------------------------------------------------------------------------------------------------------------------------------------------|
| app = Flask(name) app.secret_key = 'your_secret_key' # socketio = SocketIO(app, async_mode='eventlet') # 5.x版本已废弃该命令 socketio = SocketIO(app) @app.route('/') def welcome(): return render_template('index.html') if name == 'main': socketio.run(app, host='0.0.0.0', port=5000, debug=True, allow_unsafe_werkzeug=True) |
index.html文件如下:
|----------------------------------------------------------------------------------------------------------------------------------------------------------------------------------------------------------------------------------------------------------------------------------------------------------------------------------------------------------|
| <!DOCTYPE html> <html lang="en"> <head> <meta charset="UTF-8"> <meta name="viewport" content="width=device-width, initial-scale=1.0"> <title>Welcome</title> <link rel="stylesheet" href="{{ url_for('static', filename='style.css') }}"> </head> <body> <h1>Welcome to My Flask App!</h1> <p>This is a simple welcome page.</p> </body> </html> |
- 使用pyinstaller命令打包,这一步打包后会生成一个配置参数文件app.spec。注意确保
确保根目录下有templates, static两个文件夹。
|------------------------------------------------------------------------------------------------------|
| pyinstaller --onefile --noconsole --add-data="templates;templates" --add-data="static;static" app.py |
- 打包完成后,找到app.spec配置文件。完成如下操作:
(1)在相关的行,强制添加如下库的依赖。信息如下。
|---------------------------------------------------------------------------------------------------------------------------------------------------------------------------------------------------------------------------------------------------------------------------------------------------------------------------------------|
| a = Analysis( 'app.py', pathex=\[\], binaries=\[\], hiddenimports="gevent","geventwebsocket","gevent.ssl","gevent.builtins","engineio.async_drivers.threading", datas=('templates', 'templates'), ('static', 'static'), hookspath=\[\], hooksconfig={}, runtime_hooks=\[\], excludes=\[\], noarchive=False, optimize=0, ) |
(2)修改配置,开启后台运行窗口模型
|------------------------------------------------------------------------------------------------------------------------------------------------------------------------------------------------------------------------------------------------------------------------------------------------------------------------------------------|
| exe = EXE( pyz, a.scripts, a.binaries, a.datas, \[\], name='app', debug=False, bootloader_ignore_signals=False, strip=False, upx=True, upx_exclude=\[\], runtime_tmpdir=None, console=True, # False -> True disable_windowed_traceback=False, argv_emulation=False, target_arch=None, codesign_identity=None, entitlements_file=None, ) |
(3)删除原来的dist、bulid文件文件,使用 pyinstaller app.spec命令重新打包。
|----------------------|
| pyinstaller app.spec |
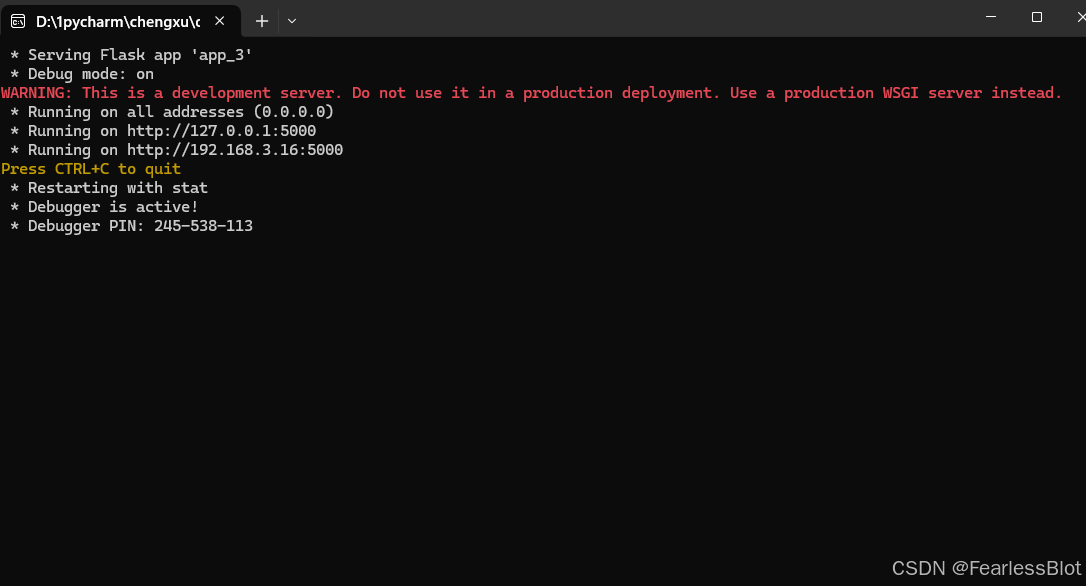
- 打包完成后,找到app.exe文件,点击后。exe程序将以黑窗口模式后台运行。