在前段时间我在使用WebGL矢量图层时接触到了flat样式,我对其十分的感兴趣,于是我花了几天的时间对其进行了了解,在这篇文章中我将简单的介绍一下flat样式的使用方式以及我对其的一些理解。
一、了解flat样式
1.什么是flat样式?
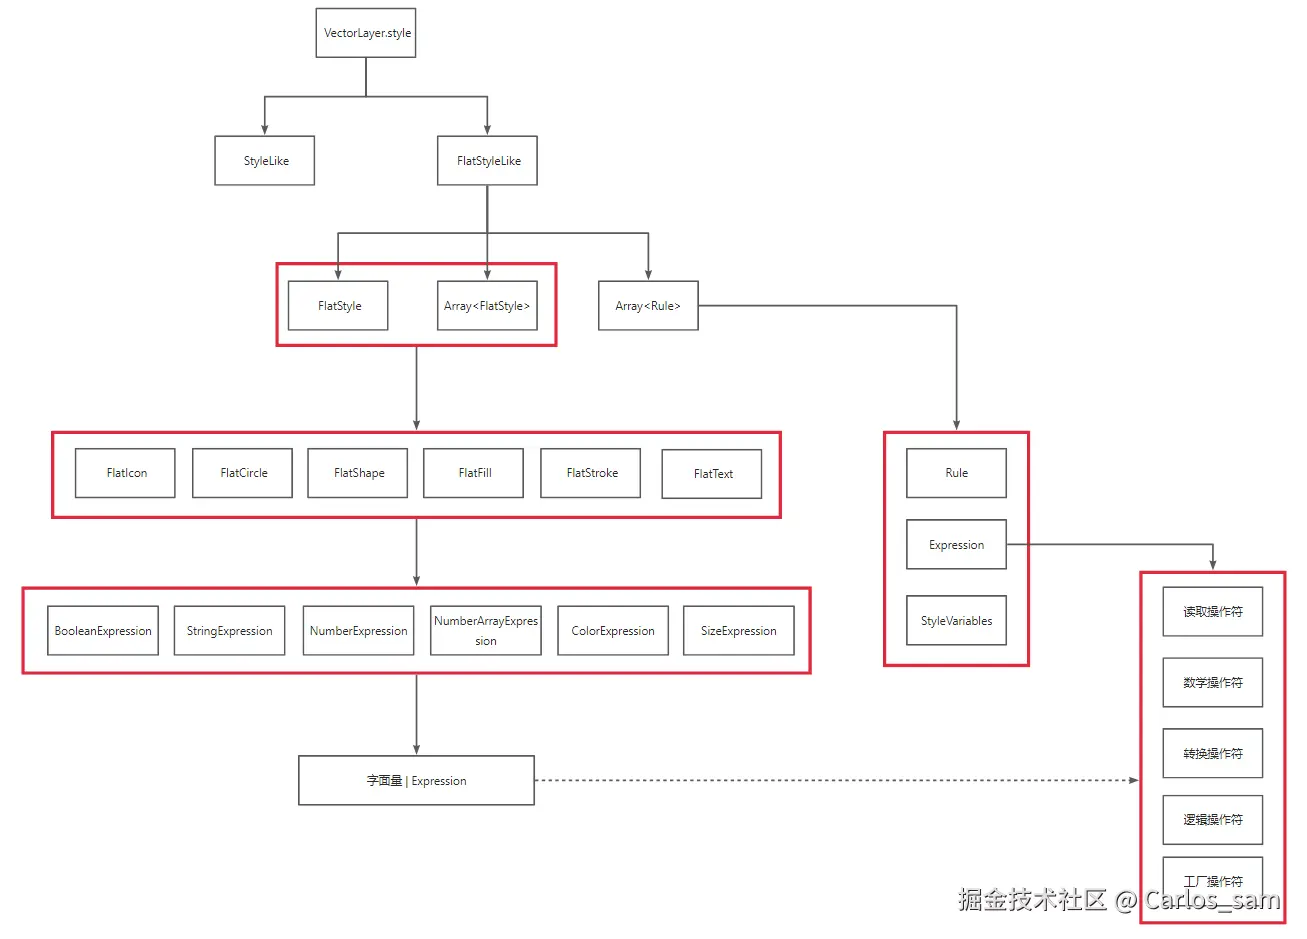
flat样式(flatStyle)是给矢量图层设置样式的一种方式,它可以作为VectorLayer、WebGLPointsLayer和WebGLVectorLayer等图层的style属性值。
2.flat样式的形式
flat样式可以有flatStyle、Array<flatStyle>和Array<Rule>三种形式。这三种形式又可以概括为两种情况:字面量对象flat样式 和带筛选条件的flat样式。
对象形式的flat样式中可以包含 stroke、fill、image和 text样式属性。这些类型可以被组合在一个对象中。例如,一个同时带有stroke和fill属性的样式可以看起像这样:
JavaScript
const style = {
  'stroke-color': 'yellow',
  'stroke-width': 1.5,
  'fill-color': 'orange',
};
带筛选条件的flat样式则是一种可以基于筛选条件有条件的应用样式的规则列表。例如,如果人口数量大于 100 万,就用一个大的橙色圆圈来设置点的样式,否则就用一个较小的蓝色圆圈来设置点的样式:
JavaScript
const rules = [
  {
    filter: ['>', ['get', 'population'], 1_000_000],
    style: {
      'circle-radius': 10,
      'circle-fill-color': 'red',
    }
  },
  {
    else: true,
    style: {
      'circle-radius': 5,
      'circle-fill-color': 'blue',
    },
  },
];
3.flat样式与传统样式的对比
flat样式顾名思义就是一种"扁平化"的样式模式,我认为这种扁平化是相对于Opnelayers的传统样式而言的。我们都知道使用Openlayers中的传统样式时需要将多种样式类型进行嵌套使用,因此相较而言扁平化的flat样式使用起来更加方便,代码的可读性也更强。
从我个人学习和使用的感受来说,我认为flat样式学习难度更高但使用起来更简单方便,而传统样式学习起来略微简单但使用起来很麻烦(因为需要多层嵌套,我个人在使用的时候都经常会写错,比如漏写了一层Style类)
从适用范围的角度来看,传统样式可以在VectorLayer图层中使用,也可以作为Feature的样式,但是无法再最新的WebGL矢量图层中使用。flat样式则是可以在普通的矢量图层和WebGL矢量图层中使用,但是却无法用在Feature上。
| flat样式 | 传统样式 | |
|---|---|---|
| 样式结构 | 扁平化结构 | 嵌套式的结构 |
| 使用体验 | 使用起来简单方便 | 使用起来容易出错 |
| 学习体验 | 学习难度略高,缺少学习资料 | 学习难度略低,学习资料丰富 |
| 适用范围 | ✅ Canvas矢量图层、WebGL矢量图层❌ Feature | ✅ Canvas矢量图层、Feature❌ WebGL矢量图层 |
二、使用字面量对象的flat样式
flat样式可以分为六个子类,每个子类都包含了大量的样式属性,各个子类的样式属性都可以包含在一个对象中使用(具体的样式属性请浏览OpenLayers v10.5.0 API - Module: ol/style/flat)。
| 类型 | 描述 |
|---|---|
| FlatStroke | 用于为线和面设置描边效果的属性 |
| FlatFill | 用于填充面的属性 |
| FlatText | 用于为点、线面添加标注的属性 |
| FlatIcon | 用于渲染带有图标的点要素的属性 |
| FlatCircle | 用于渲染带有圆形符号的点要素的属性 |
| FlatShape | 用于渲染带有规则形状符号的点要素的属性 |
1.给面要素设置样式
基本样式
一个最基础的面样式大概就像下面这样设置,用到了FlatFill和FlatStroke的样式属性。
JavaScript
const examplePolygon = [
  [
    [113.03703481110736, 23.08358617574624],
    [113.17196065339252, 23.08358617574624],
    [113.17196065339252, 23.20964665330365],
    [113.03703481110736, 23.20964665330365],
    [113.03703481110736, 23.08358617574624],
  ],
];

const polygonStyles = {
   base: {
    "fill-color": "red", //填充颜色
    "stroke-color": "black", //边框颜色
    "stroke-width": 5, //边框宽度
  },
  img: {
    //填充图片
    "fill-pattern-src":
      "https://tse1-mm.cn.bing.net/th/id/OIP-C.yUdkH707l9Y1S0tmbAQlcgHaJO?w=161&h=201&c=7&r=0&o=5&pid=1.7",
    "stroke-color": "black", //边框颜色
    "stroke-width": 3, //边框宽度
  },
};

function drawPolygon() {
  const vectorLayer = new VectorLayer({
    source: new VectorSource({
      features: [
        new Feature({
          geometry: new Polygon(examplePolygon),
        }),
      ],
    }),
  });

  vectorLayer.setStyle(polygonStyles.base);
  window.map.addLayer(vectorLayer);
}
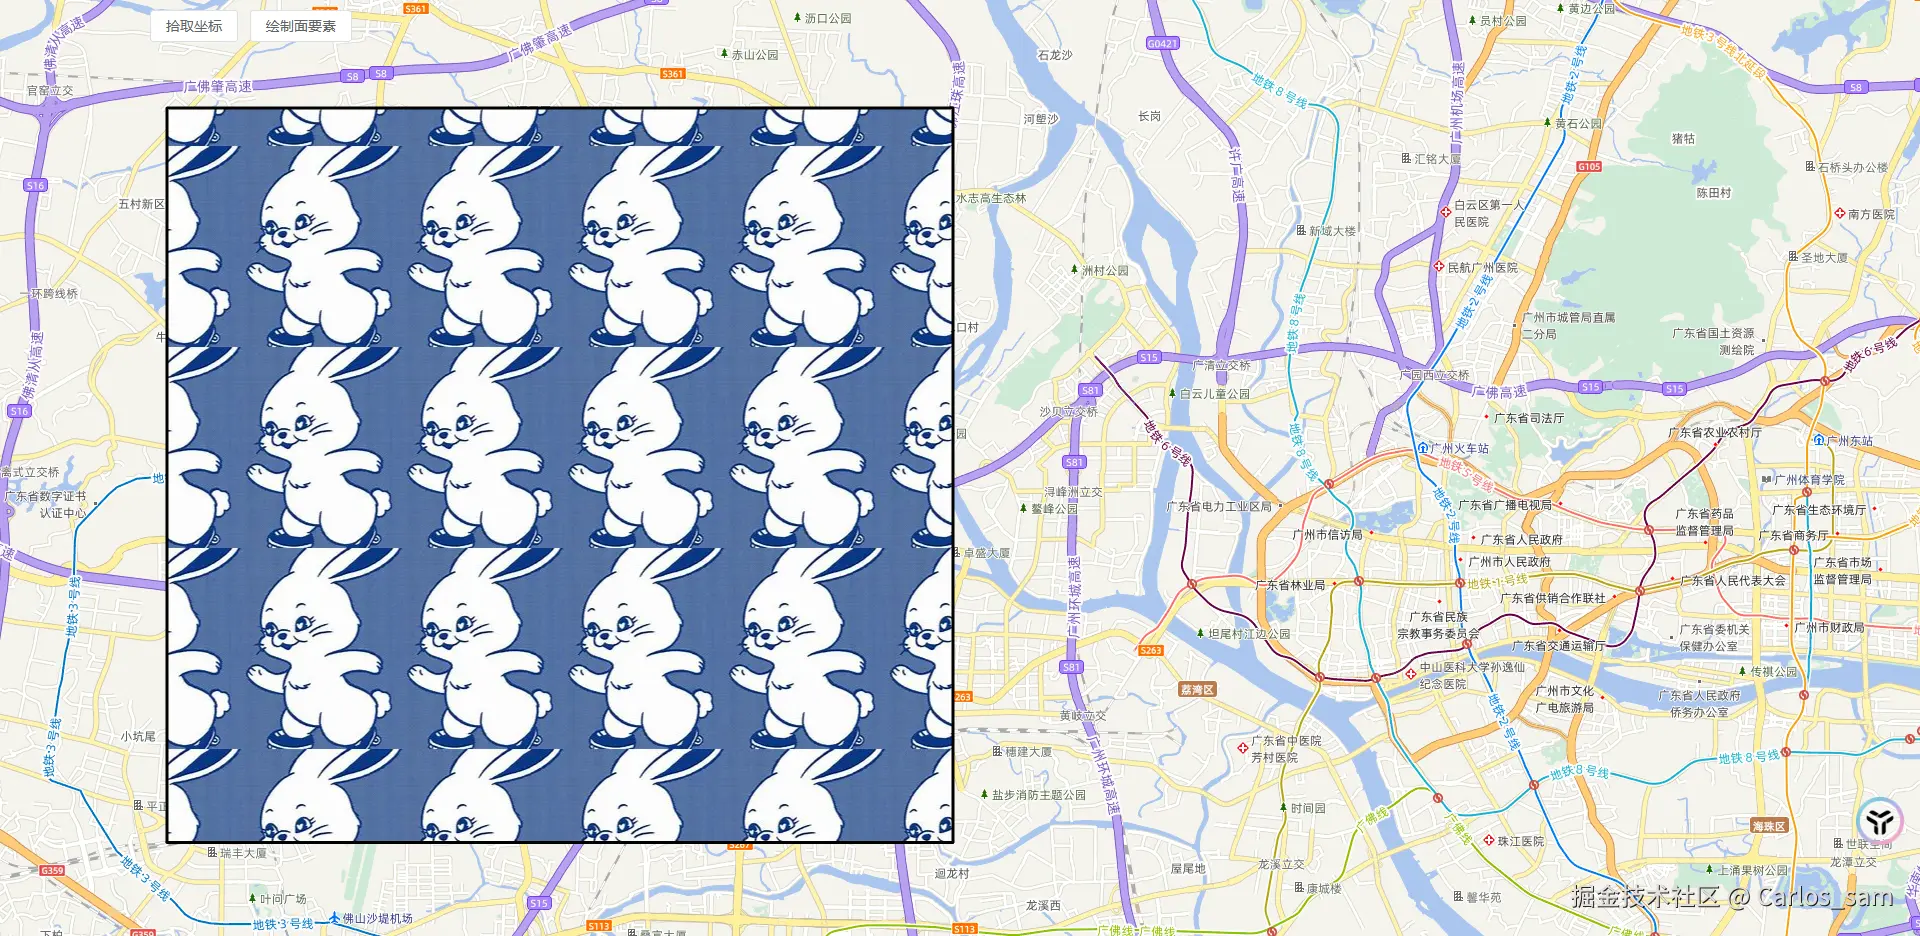
填充图案
也可以给多边形中填充图案,只需要设置'fill-pattern-src'属性。
JavaScript
const examplePolygon = [
  [
    [113.03703481110736, 23.08358617574624],
    [113.17196065339252, 23.08358617574624],
    [113.17196065339252, 23.20964665330365],
    [113.03703481110736, 23.20964665330365],
    [113.03703481110736, 23.08358617574624],
  ],
];

const polygonStyles = {
   base: {
    "fill-color": "red", //填充颜色
    "stroke-color": "black", //边框颜色
    "stroke-width": 5, //边框宽度
  },
  img: {
    //填充图片
    "fill-pattern-src":
      "https://tse1-mm.cn.bing.net/th/id/OIP-C.yUdkH707l9Y1S0tmbAQlcgHaJO?w=161&h=201&c=7&r=0&o=5&pid=1.7",
    "stroke-color": "black", //边框颜色
    "stroke-width": 3, //边框宽度
  },
};

function drawPolygon() {
  const vectorLayer = new VectorLayer({
    source: new VectorSource({
      features: [
        new Feature({
          geometry: new Polygon(examplePolygon),
        }),
      ],
    }),
  });

  vectorLayer.setStyle(polygonStyles.img);
  window.map.addLayer(vectorLayer);
}
2.给线素设置样式
基本样式
一个最基础的线样式大概就像下面这样设置,线要素主要使用FlatStroke的样式属性。
JavaScript
const exampleLineString = [
  [113.25710469636127, 23.242621601111583],
  [113.30928975495502, 23.164306100067744],
  [113.23787862214252, 23.164993078147077],
  [113.29487019929095, 23.094234335975887],
  [113.2371919766347, 23.095951781174215],
  [113.2862871304433, 23.023819082844362],
];

const lineStyles = {
   base: {
    "stroke-color": "red",//边框颜色
    "stroke-width": 5,//边框宽度
  },
};

function drawLineFlatStyle() {
  const vectorLayer = new VectorLayer({
    source: new VectorSource({
      features: [
        new Feature({
          geometry: new LineString(exampleLineString),
        }),
      ],
    }),
  });

  vectorLayer.setStyle(lineStyles.base);
  window.map.addLayer(vectorLayer);
}
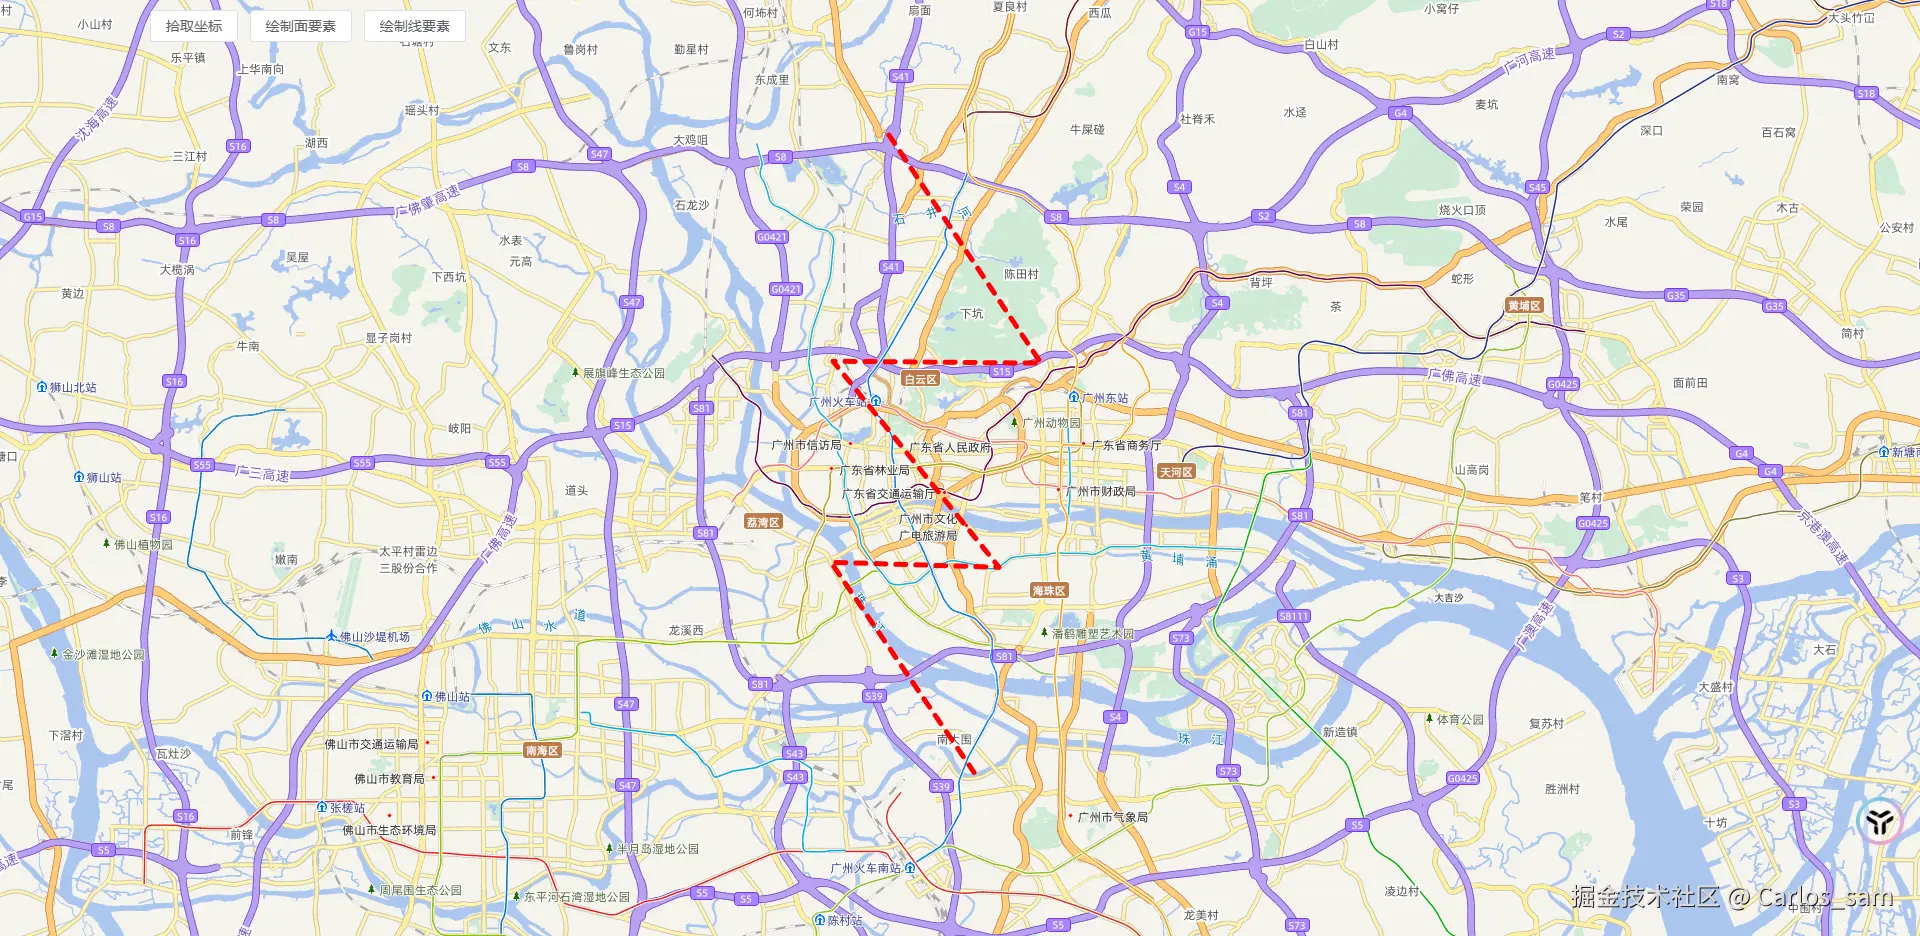
虚线
通过'stroke-line-dash'属性可以将线要素设置为虚线
JavaScript
const lineStyles = {
    base: {
    "stroke-color": "red",//边框颜色
    "stroke-width": 5,//边框宽度
  },
  dash: {
    "stroke-color": "red",//边框颜色
    "stroke-width": 5,//边框宽度
    "stroke-line-dash": [10, 10],//虚线样式
  },
};

function drawLineFlatStyle() {
  const vectorLayer = new VectorLayer({
    source: new VectorSource({
      features: [
        new Feature({
          geometry: new LineString(exampleLineString),
        }),
      ],
    }),
  });

  vectorLayer.setStyle(lineStyles.dash);
  window.map.addLayer(vectorLayer);
}
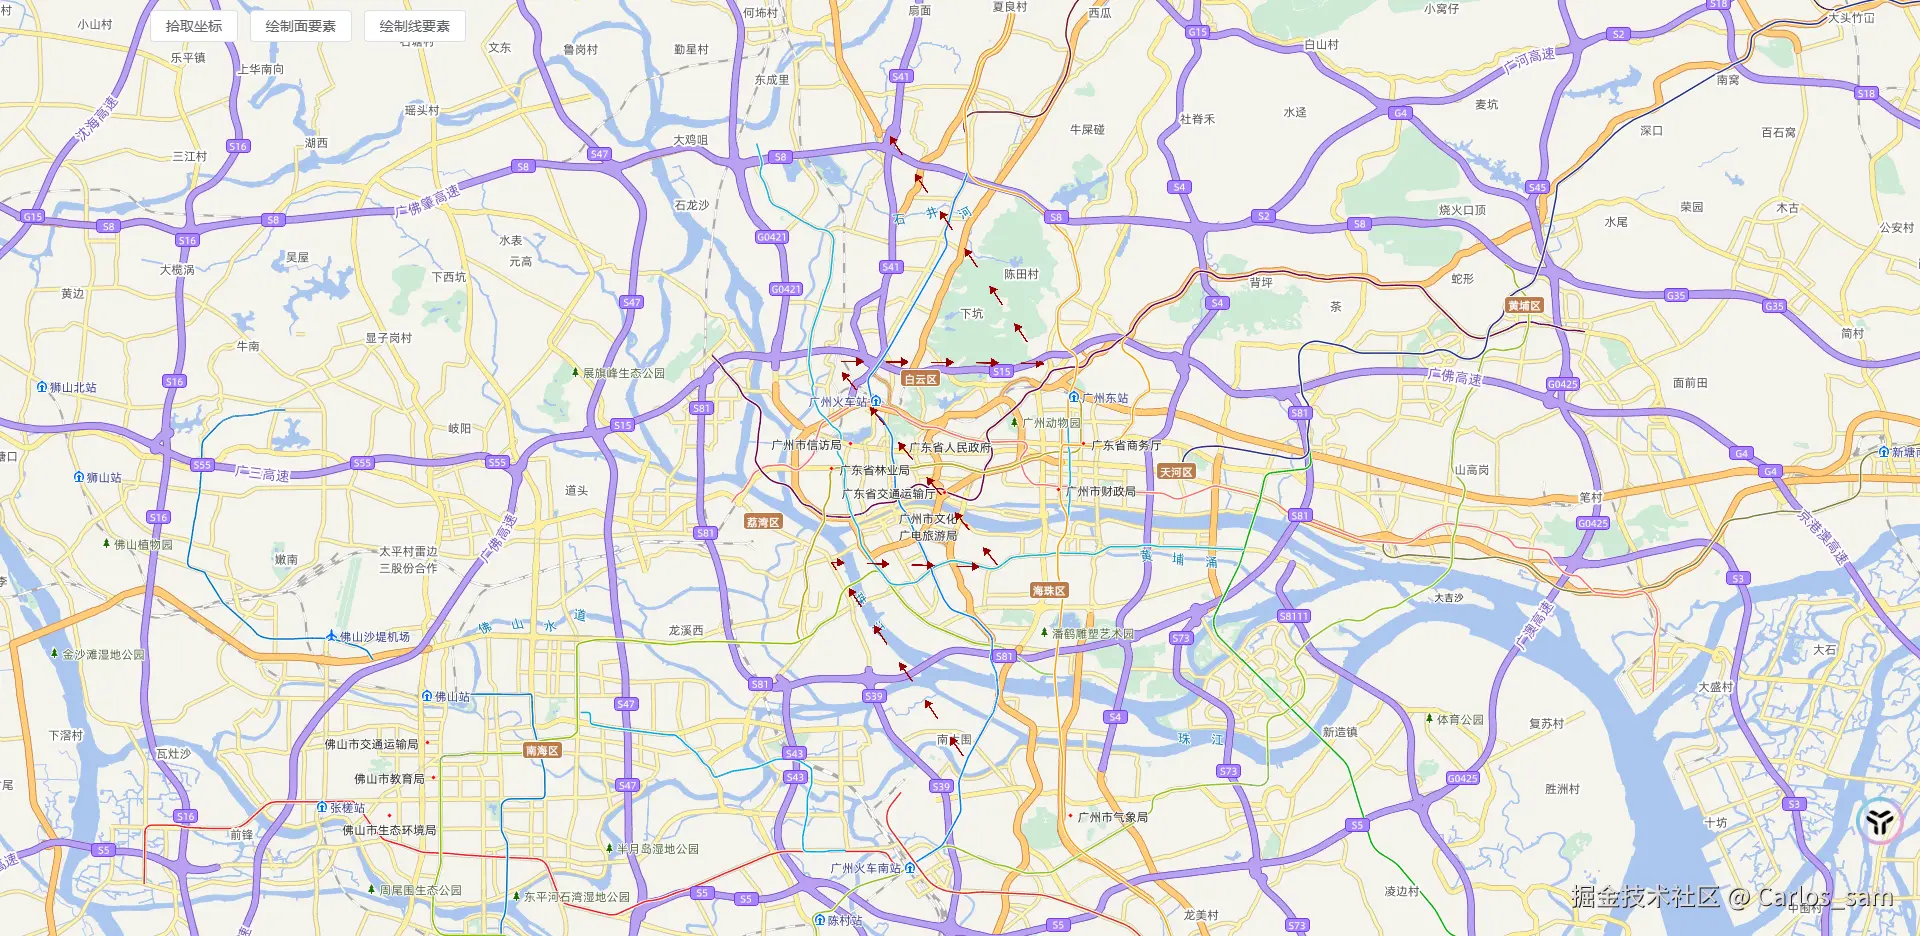
填充图案
通过'stroke-pattern-src'属性也可以给线要素设置填充图案,但是注意这个属性只能在 WebGL图层中使用。
JavaScript
const exampleLineString = [
  [113.25710469636127, 23.242621601111583],
  [113.30928975495502, 23.164306100067744],
  [113.23787862214252, 23.164993078147077],
  [113.29487019929095, 23.094234335975887],
  [113.2371919766347, 23.095951781174215],
  [113.2862871304433, 23.023819082844362],
];

const lineStyles = {
  base: {
    "stroke-color": "red",//边框颜色
    "stroke-width": 5,//边框宽度
  },
  dash: {
    "stroke-color": "red",//边框颜色
    "stroke-width": 5,//边框宽度
    "stroke-line-dash": [10, 10],//虚线样式
  },
  img: {
    "stroke-color": "red",//边框颜色
    "stroke-width": 25,//边框宽度
    "stroke-pattern-src": "src/assets/images/example/arrow.svg",//边框填充图片
    "stroke-pattern-spacing": 20,//边框填充图片间距
  },
};

function drawLineFlatStyle() {
  // const vectorLayer = new VectorLayer({
  //   source: new VectorSource({
  //     features: [
  //       new Feature({
  //         geometry: new LineString(exampleLineString),
  //       }),
  //     ],
  //   }),
  // });

  // 只能在WebGL中使用
  const vectorLayer = new WebGLVectorLayer({
    source: new VectorSource({
      features: [
        new Feature({
          geometry: new LineString(exampleLineString),
        }),
      ],
    }),
  });

  vectorLayer.setStyle(lineStyles.img);
  window.map.addLayer(vectorLayer);
}
3.给点要素设置样式
图标点
通过FlatIcon的样式属性可以实现图标点的效果。
JavaScript
const examplePoints = [
  [113.49399739655658, 23.23266041896127],
  [113.49640065583392, 23.171175880861064],
  [113.50120717438861, 23.057824497771293],
];

const pointStyles = {
  icon: {
    "icon-src": "src/assets/images/example/point.svg", // 图标路径
    "icon-anchor": [0.5, 0], // 图标锚点
    "icon-width": 50, // 图标宽度
    "icon-height": 50, // 图标高度
  },
};

function drawPointFlatStyle() {
  const vectorLayer = new VectorLayer({
    source: new VectorSource({
      features: examplePoints.map(point => {
        return new Feature({
          geometry: new Point(point),
        });
      }),
    }),
  });

  vectorLayer.setStyle(pointStyles.icon);
  window.map.addLayer(vectorLayer);
}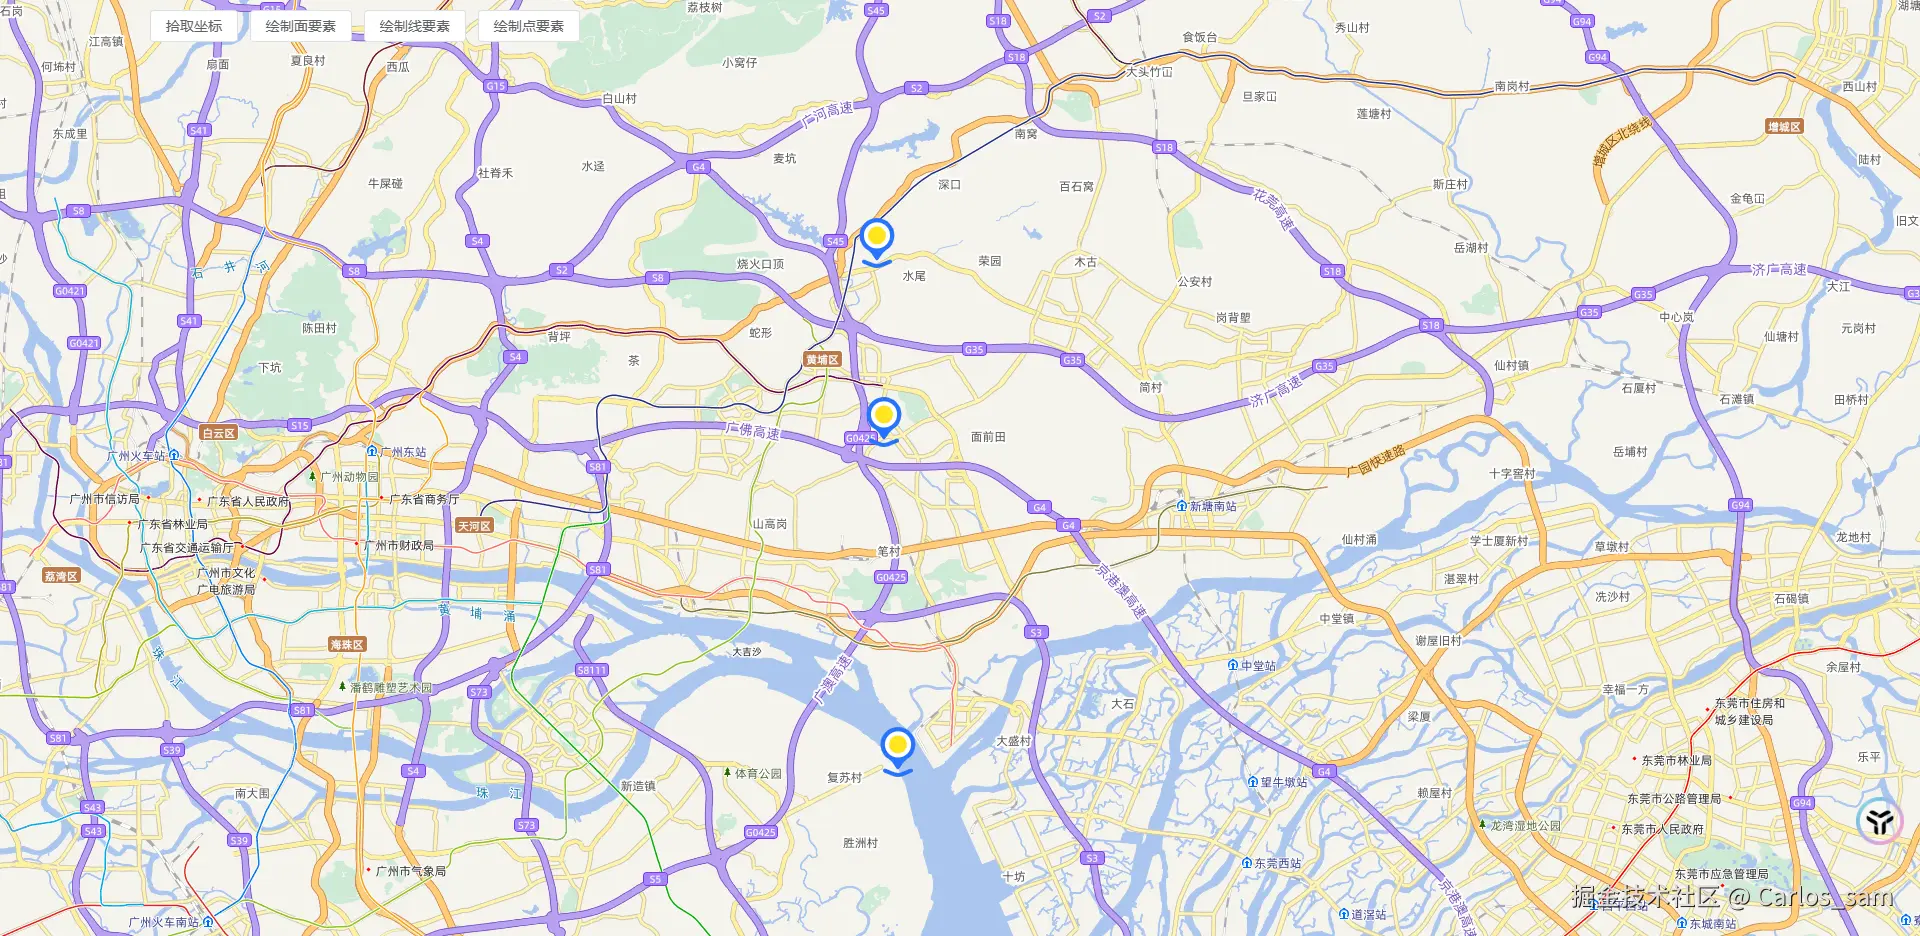
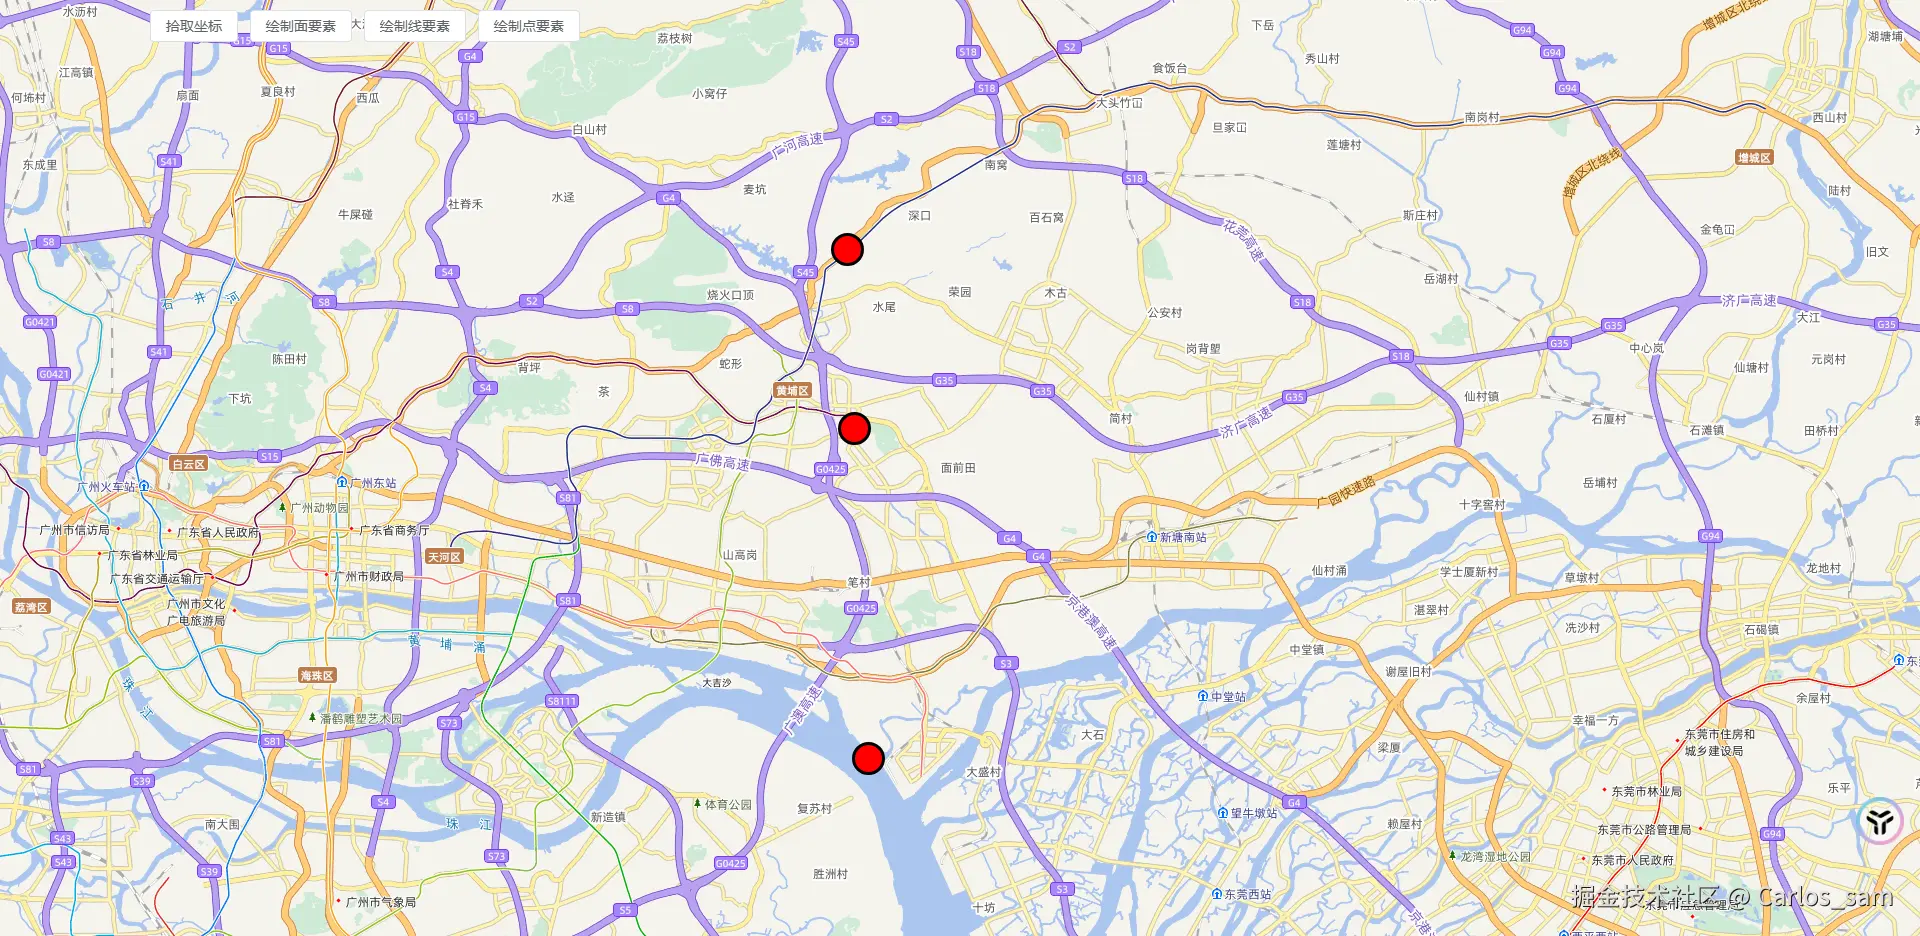
圆形点
通过FlatCircle的样式属性可以给点添加圆形图案。
JavaScript
const examplePoints = [
  [113.49399739655658, 23.23266041896127],
  [113.49640065583392, 23.171175880861064],
  [113.50120717438861, 23.057824497771293],
];

const pointStyles = {
  icon: {
    "icon-src": "src/assets/images/example/point.svg", // 图标路径
    "icon-anchor": [0.5, 0], // 图标锚点
    "icon-width": 50, // 图标宽度
    "icon-height": 50, // 图标高度
  },
  circle: {
    "circle-fill-color": "red", // 圆形颜色
    "circle-radius": 15, // 圆形半径
    "circle-stroke-color":"black", // 圆形边框颜色
    "circle-stroke-width": 3, // 圆形边框宽度
  },
};

function drawPointFlatStyle() {
  const vectorLayer = new VectorLayer({
    source: new VectorSource({
      features: examplePoints.map(point => {
        return new Feature({
          geometry: new Point(point),
        });
      }),
    }),
  });

  vectorLayer.setStyle(pointStyles.circle);
  window.map.addLayer(vectorLayer);
}
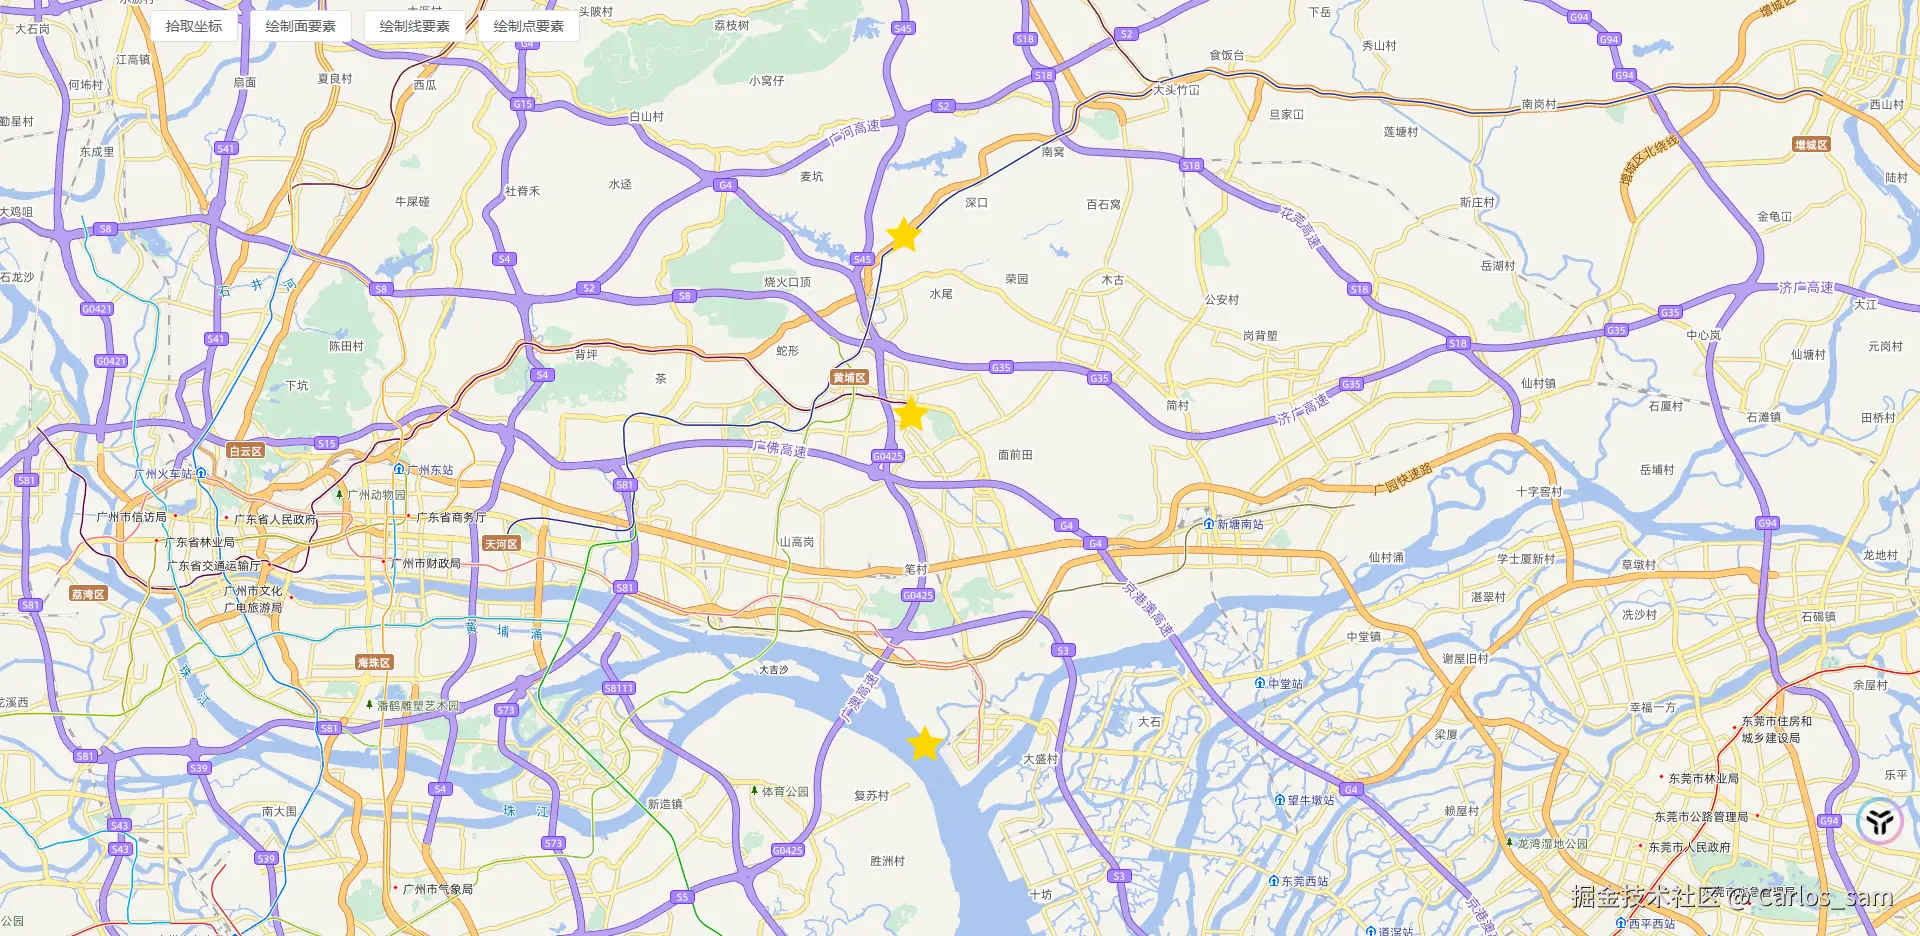
星形点
通过FlatShape的属性可以给点添加星形图案。
JavaScript
const examplePoints = [
  [113.49399739655658, 23.23266041896127],
  [113.49640065583392, 23.171175880861064],
  [113.50120717438861, 23.057824497771293],
];

const pointStyles = {
  icon: {
    "icon-src": "src/assets/images/example/point.svg", // 图标路径
    "icon-anchor": [0.5, 0], // 图标锚点
    "icon-width": 50, // 图标宽度
    "icon-height": 50, // 图标高度
  },
  circle: {
    "circle-fill-color": "red", // 圆形颜色
    "circle-radius": 15, // 圆形半径
    "circle-stroke-color": "black", // 圆形边框颜色
    "circle-stroke-width": 3, // 圆形边框宽度
  },
  star: {
    "shape-points": 5, // 图形顶点数
    "shape-fill-color": "Gold", // 图形填充颜色
    "shape-radius": 10, // 图形半径
    "shape-radius2": 20, // 图形外边框半径 (绘制星形时需要)
    "shape-angle": Math.PI, // 图形旋转角度 (单位:弧度)
  },
};

function drawPointFlatStyle() {
  const vectorLayer = new VectorLayer({
    source: new VectorSource({
      features: examplePoints.map(point => {
        return new Feature({
          geometry: new Point(point),
        });
      }),
    }),
  });

  vectorLayer.setStyle(pointStyles.star);
  window.map.addLayer(vectorLayer);
}
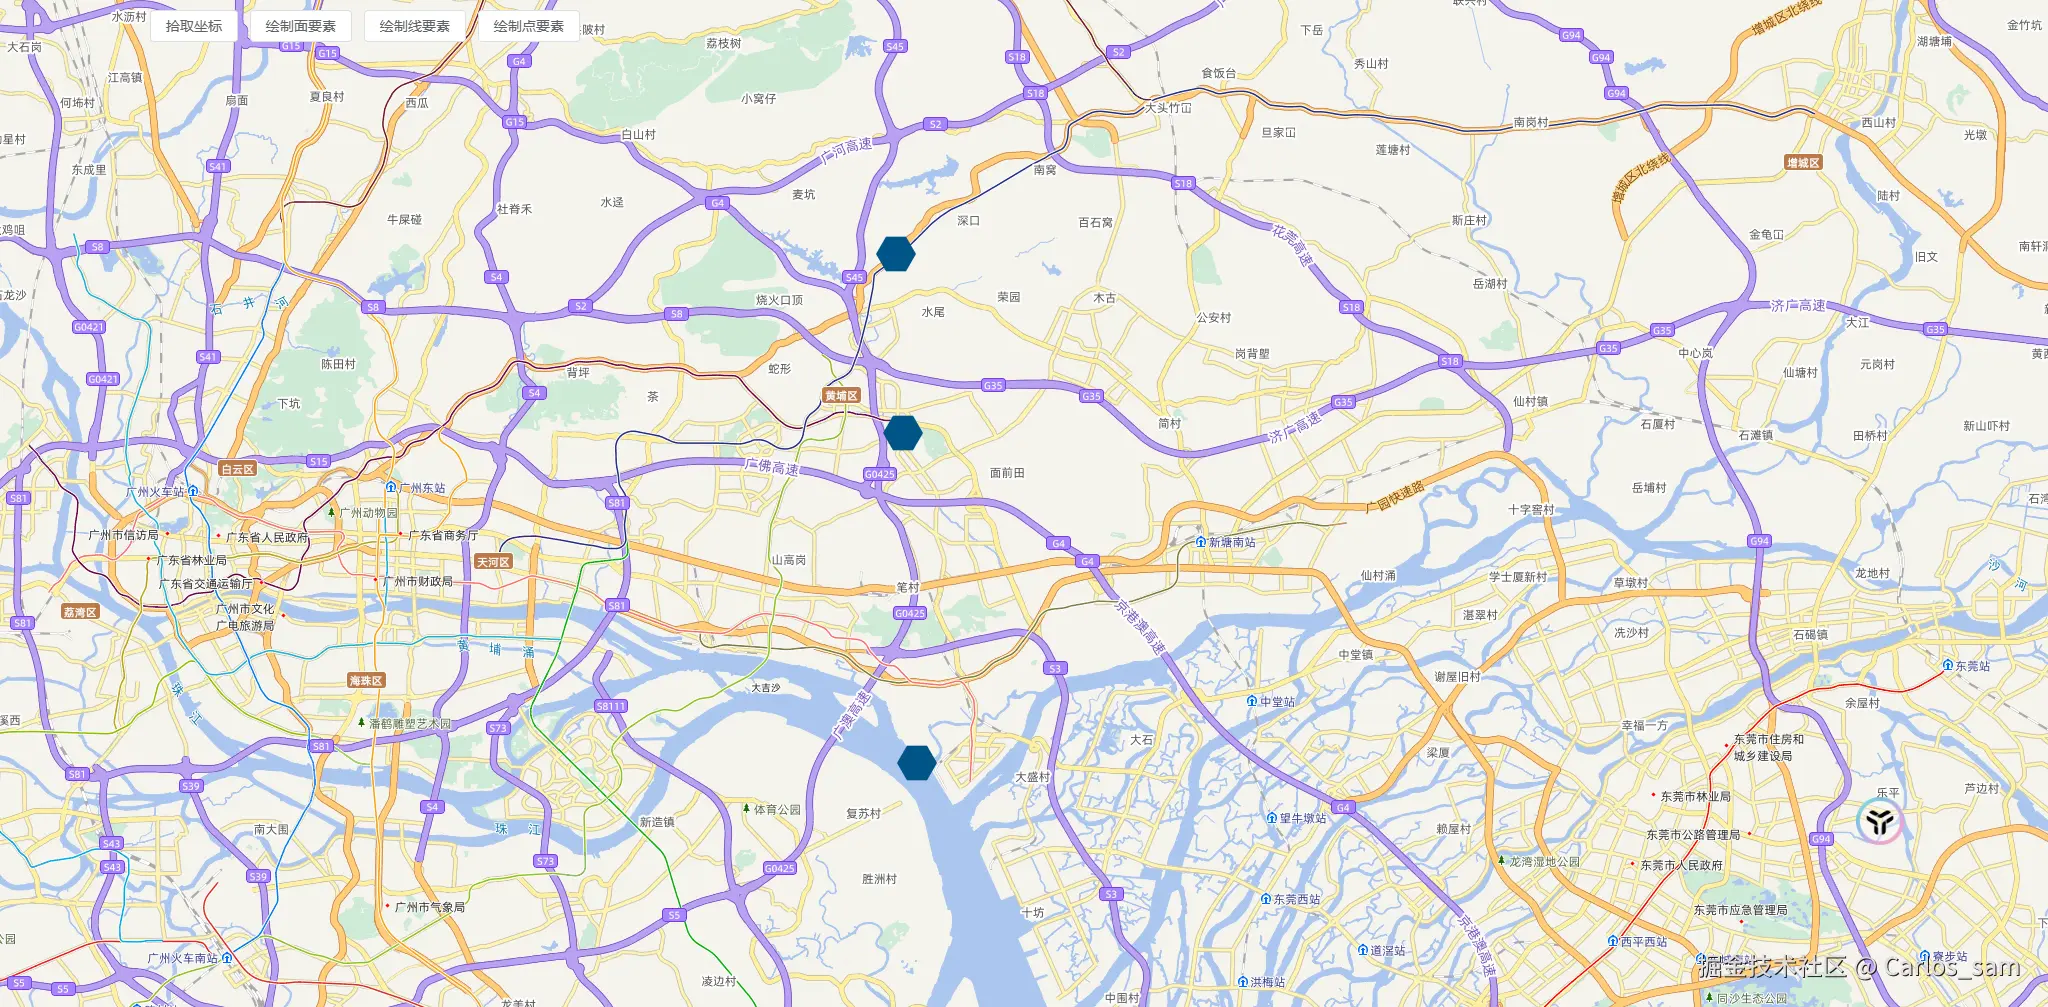
正多边形点
通过FlatShape的属性也可以给点添加正多边形图案。
JavaScript
const examplePoints = [
  [113.49399739655658, 23.23266041896127],
  [113.49640065583392, 23.171175880861064],
  [113.50120717438861, 23.057824497771293],
];

const pointStyles = {
  icon: {
    "icon-src": "src/assets/images/example/point.svg", // 图标路径
    "icon-anchor": [0.5, 0], // 图标锚点
    "icon-width": 50, // 图标宽度
    "icon-height": 50, // 图标高度
  },
  circle: {
    "circle-fill-color": "red", // 圆形颜色
    "circle-radius": 15, // 圆形半径
    "circle-stroke-color": "black", // 圆形边框颜色
    "circle-stroke-width": 3, // 圆形边框宽度
  },
  star: {
    "shape-points": 5, // 图形顶点数
    "shape-fill-color": "Gold", // 图形填充颜色
    "shape-radius": 10, // 图形半径
    "shape-radius2": 20, // 图形外边框半径 (绘制星形时需要)
    "shape-angle": Math.PI, // 图形旋转角度 (单位:弧度)
  },
  regular: {
    "shape-points": 6, // 图形顶点数
    "shape-fill-color": "#005588", // 图形填充颜色
    "shape-radius": 20, // 图形半径
    "shape-angle": Math.PI / 2, // 图形旋转角度 (单位:弧度)
  },
};

function drawPointFlatStyle() {
  const vectorLayer = new VectorLayer({
    source: new VectorSource({
      features: examplePoints.map(point => {
        return new Feature({
          geometry: new Point(point),
        });
      }),
    }),
  });

  vectorLayer.setStyle(pointStyles.regular);
  window.map.addLayer(vectorLayer);
}
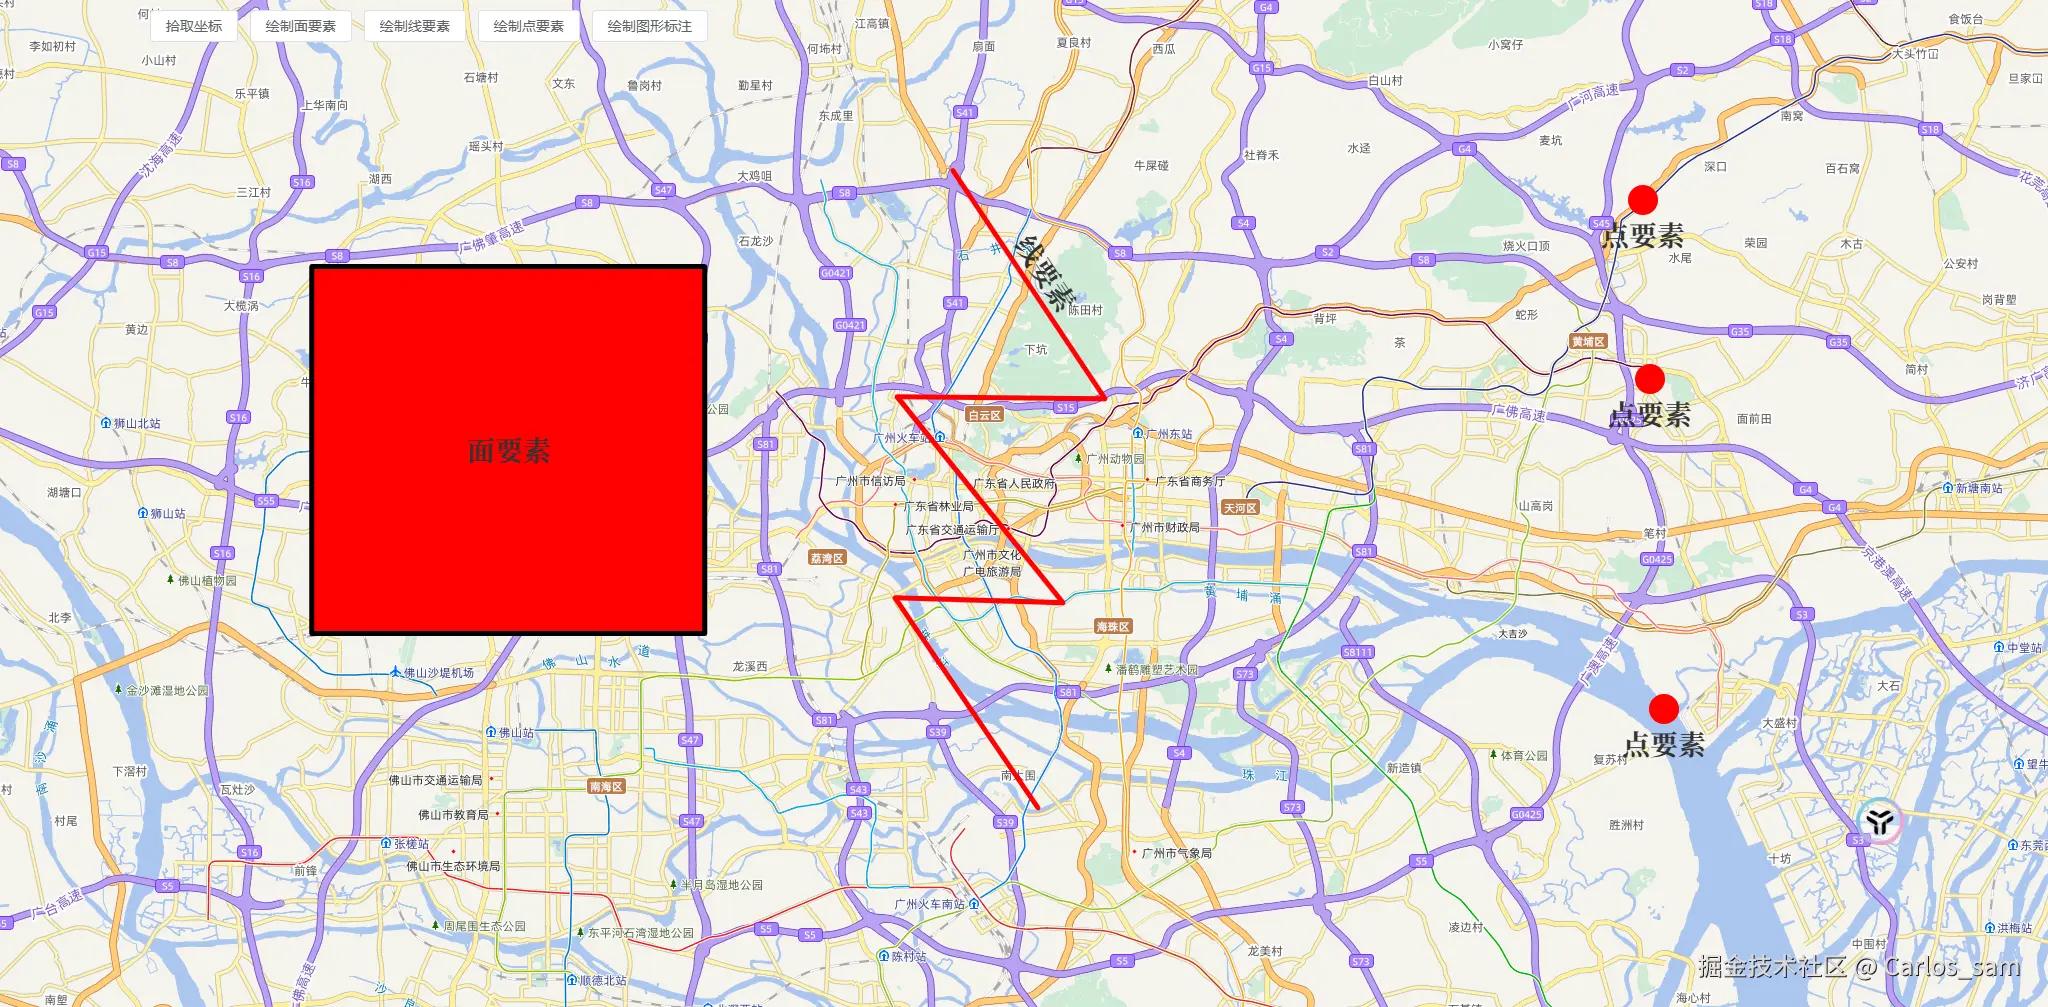
4.给图形添加文字标注
使用FlatText的属性可以给图形添加文字标注。请注意FlatText当前在 WebGL 图层中不支持。
JavaScript
const labelStyles = {
  polygon: {
    "fill-color": "red", //填充颜色
    "stroke-color": "black", //边框颜色
    "stroke-width": 5, //边框宽度
    "text-value": "面要素", //文本内容
    "text-font": "bold 28px serif", //字体样式
  },
  line: {
    "stroke-color": "red", //边框颜色
    "stroke-width": 5, //边框宽度
    "text-value": "线要素", //文本内容
    "text-placement": "line", //文本位置
    "text-font": "bold 28px serif", //字体样式
    "text-offset-y": -20, //文本垂直偏移量
  },
  point: {
    "circle-fill-color": "red", // 圆形颜色
    "circle-radius": 15, // 圆形半径
    "text-value": "点要素", //文本内容
    "text-font": "bold 28px serif", //字体样式
    "text-offset-y": 35, //文本垂直偏移量
  },
};

function drawLabelFlatStyle() {
  const polygonVectorLayer = new VectorLayer({
    source: new VectorSource({
      features: [
        new Feature({
          geometry: new Polygon(examplePolygon),
        }),
      ],
    }),
  });

  polygonVectorLayer.setStyle(labelStyles.polygon);
  window.map.addLayer(polygonVectorLayer);

  const lineVectorLayer = new VectorLayer({
    source: new VectorSource({
      features: [
        new Feature({
          geometry: new LineString(exampleLineString),
        }),
      ],
    }),
  });

  lineVectorLayer.setStyle(labelStyles.line);
  window.map.addLayer(lineVectorLayer);

  const pointVectorLayer = new VectorLayer({
    source: new VectorSource({
      features: examplePoints.map(point => {
        return new Feature({
          geometry: new Point(point),
        });
      }),
    }),
  });

  pointVectorLayer.setStyle(labelStyles.point);

  window.map.addLayer(pointVectorLayer);
}
三、使用带筛选条件的flat样式
有的时候我们希望应用的样式是根据一些条件动态变化的,如果是在传统样式中会通过一个样式函数来实现这样的功能,在flat样式中我们则需要通过 Rule 和 Expression 来实现动态的样式。
Rule用于有条件地应用一种样式。如果规则的过滤器的计算结果为真,样式将会被应用。它包括如下的属性:
| Name | Type | Description | |
|---|---|---|---|
style |
FlatStyle | Array | 如果过滤器匹配,则应用的样式。 |
filter |
EncodedExpression | undefined | 用于确定是否应用某种样式的过滤器。如果未包含过滤器,则该规则始终适用(除非它是一个"else"规则)。 |
else |
boolean | undefined | 如果为真,只有当之前没有其他规则适用时,此规则才会适用。如果else规则也带有过滤器,那么当该过滤器不匹配时,此规则将不会被应用。 |
Expression则是由操作符组成的可以表达一定逻辑的表达式,请查看这个文档了解更多有关表达式的内容(OpenLayers v10.5.0 API - Module: ol/expr/expression)
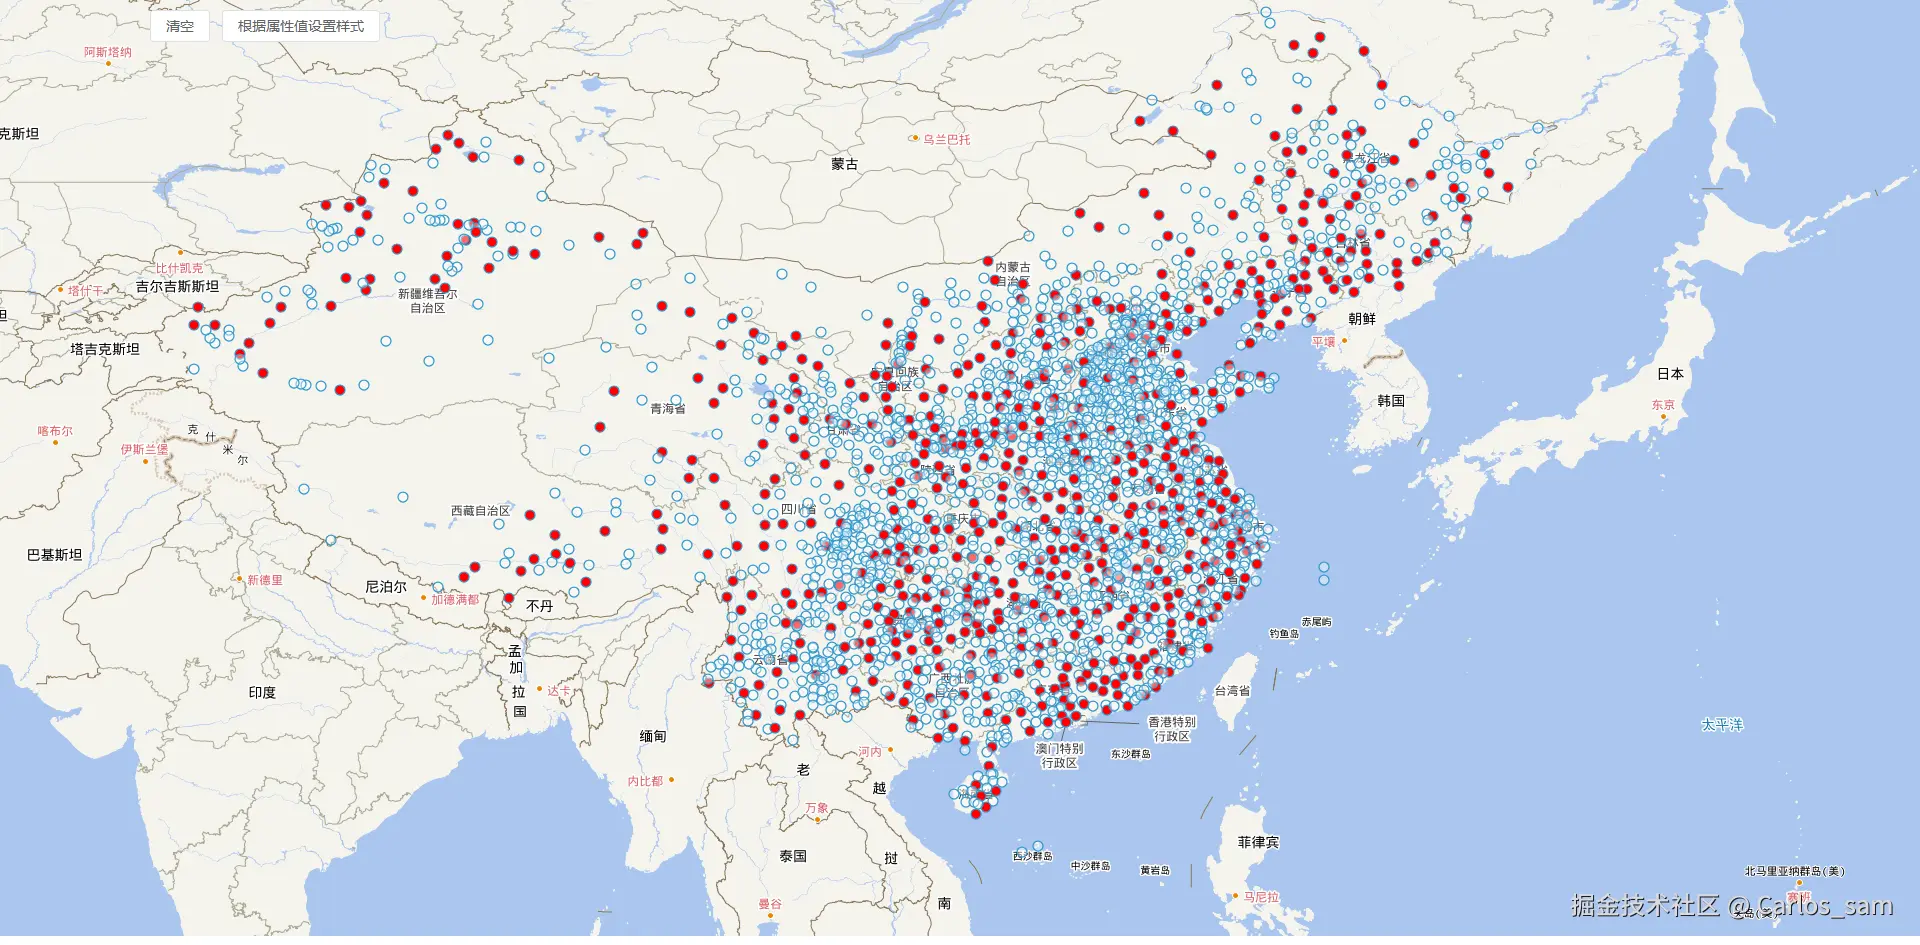
1.根据要素属性值设置样式
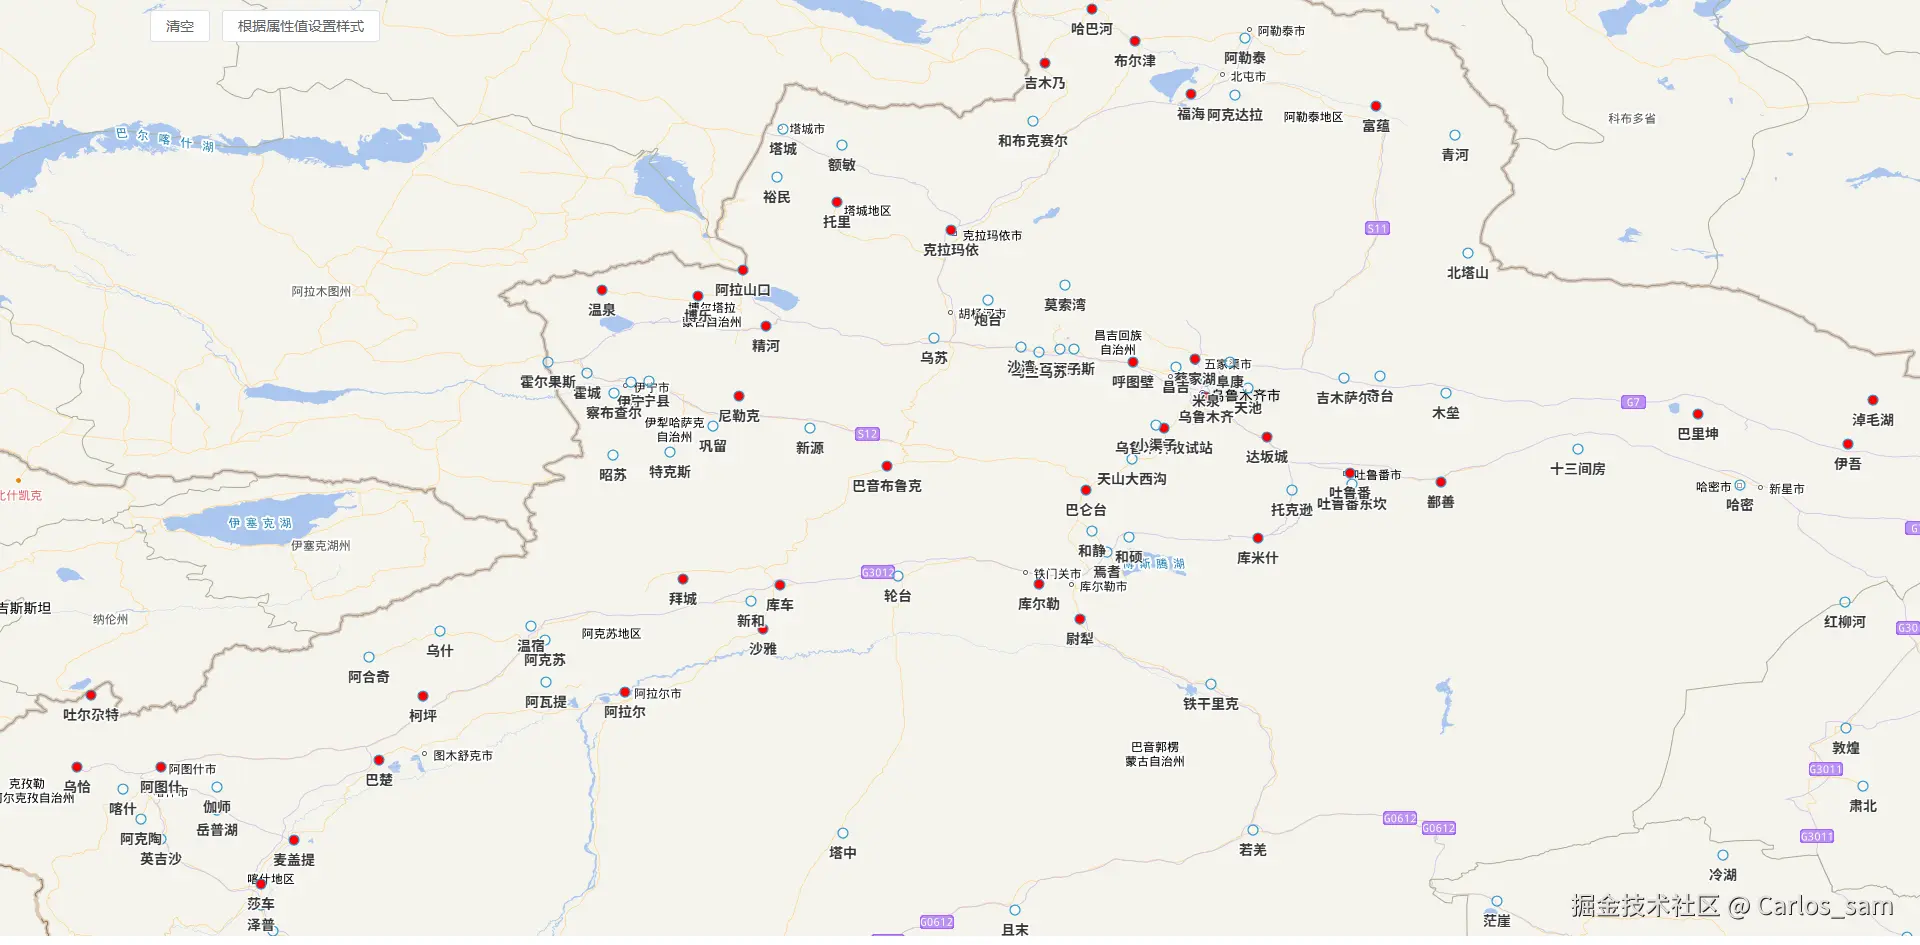
我向地图中添加了一些气象站点,让类型为基本站的站点渲染为红色圆,其它站点则渲染为白色圆。
主要是通过['get', attributeName]操作符提取要素属性值,类似于 feature.get('attributeName')。
JavaScript
function setFlatStyleByAttribute() {
  const weatherStationLayer = new VectorLayer({
    properties: {
      name: "气象站点",
      id: "weather-station",
    },
    source: new VectorSource({
      format: new GeoJSON(),
      url: "src/data/气象站点/stations-wgs.geojson",
    }),
  });

  weatherStationLayer.setStyle([
    {
      filter: ["==", ["get", "type"], "基本站"],
      style: {
        "circle-radius": 5, //圆半径
        "circle-fill-color": "rgb(255,0,0)", //圆填充颜色
        "circle-stroke-width": 1.25, //圆边框宽度
        "circle-stroke-color": "#3399CC", //圆边框颜色
      },
    },
    {
      else: true,
      style: {
        "circle-radius": 5, //圆半径
        "circle-fill-color": "rgba(255,255,255,0.4)", //圆填充颜色
        "circle-stroke-width": 1.25, //圆边框宽度
        "circle-stroke-color": "#3399CC", //圆边框颜色
      },
    },
  ]);

  window.map.addLayer(weatherStationLayer);
}
通过['get', attributeName]操作符,还可以轻松的读取每个站点的名称并显示出来。
JavaScript
  const labelStyle = {
    "text-value": ["get", "name"], //文本值
    "text-font": "bold 14px sans-serif", //文本字体
    "text-offset-y": 20, //文本垂直偏移
    "text-fill-color": "#333", //文本填充颜色
    "text-stroke-color": "#fff", //文本描边颜色
    "text-stroke-width": 2, //文本描边宽度
    "text-declutter-mode": "declutter", //文本冲突处理模式
  };

  weatherStationLayer.setStyle([
    {
      filter: ["==", ["get", "type"], "基本站"],
      style: [
        {
          "circle-radius": 5, //圆半径
          "circle-fill-color": "rgb(255,0,0)", //圆填充颜色
          "circle-stroke-width": 1.25, //圆边框宽度
          "circle-stroke-color": "#3399CC", //圆边框颜色
        },
        labelStyle,
      ],
    },
    {
      else: true,
      style: [
        {
          "circle-radius": 5, //圆半径
          "circle-fill-color": "rgba(255,255,255,0.4)", //圆填充颜色
          "circle-stroke-width": 1.25, //圆边框宽度
          "circle-stroke-color": "#3399CC", //圆边框颜色
        },
        labelStyle,
      ],
    },
  ]);
结合其它的表达式操作符还可以实现更多的精巧的效果,我在这里就不多做介绍了,这等待着你去探索。

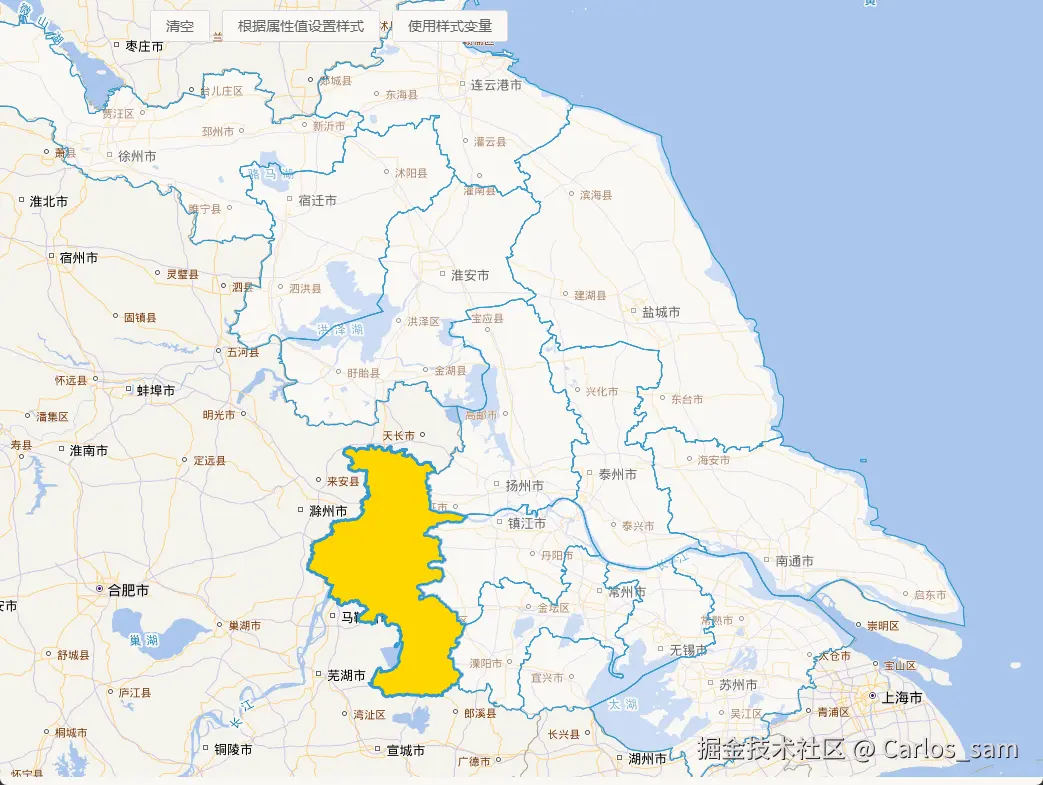
2.使用变量
flat样式中还有一个重要的东西就是 样式变量StyleVariables。
样式变量以对象的形式提供。可以在样式表达式中使用 ['var', 'varName'] 操作符来读取这些变量。每个变量都必须保存一个字面值(而不是一个表达式)。
目前样式变量只在WebGL矢量图层中才可以使用,通过实例化时的variables属性可以设置样式变量。

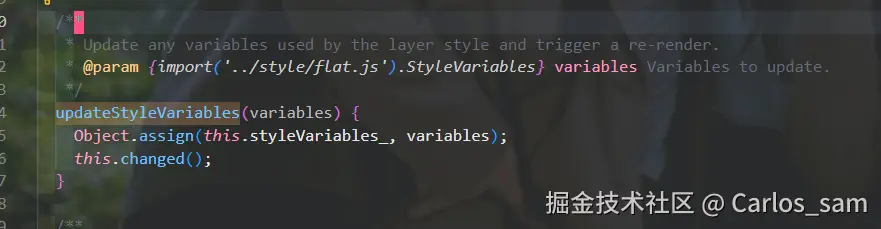
图层实例化完成后通过调用updateStyleVariables方法也可以修改样式变量。
利用样式变量我实现了如下的一个高亮鼠标移动到的面要素的效果。
JavaScript
  const jsLayer = new WebGLVectorLayer({
    properties: {
      name: "江苏省行政区划",
      id: "js-layer",
    },
    source: new VectorSource({
      url: "https://geo.datav.aliyun.com/areas_v3/bound/geojson?code=320000_full",
      format: new GeoJSON(),
    }),
    variables: {
      highlightedName: "南京市",
    },
  });
  jsLayer.setStyle([
    {
      filter: ["==", ["var", "highlightedName"], ["get", "name"]],
      style: [
        {
          "fill-color": "rgba(255,255,255,0.4)",
          "stroke-width": 3,
          "fill-color": "gold",
        },
      ],
    },
    {
      else: true,
      style: {
        "fill-color": "rgba(255,255,255,0.4)",
        "stroke-color": "#3399CC",
        "stroke-width": 1.25,
      },
    },
  ]);

  const displayFeatureInfo = function (pixel) {
    const feature = map.forEachFeatureAtPixel(pixel, function (feature) {
      return feature;
    });

    jsLayer.updateStyleVariables({ highlightedName: feature.get("name") });
  };

  window.map.on("pointermove", function (evt) {
    if (evt.dragging) {
      return;
    }
    displayFeatureInfo(evt.pixel);
  });

  window.map.addLayer(jsLayer);