自己配环境的时候也没个指南,少安装包或者包之间版本冲突是再按正常不过的事了,真的令人不胜其烦。
下面记录一下自己在conda虚拟环境配置stable diffusion的代码环境,希望能帮大家少踩几个坑。
虚拟环境配置
默认你已经安装了annaconda,接下来打开命令提示符:
python
#创建python3.10的虚拟环境,环境名为newgit_env
conda create -n newgit_env python=3.10
#激活虚拟环境
conda activate newgit_env
#安装git
conda install git
#安装pytorch(本人安装的是GPU版本)
conda install pytorch torchvision torchaudio pytorch-cuda=11.8 -c pytorch -c nvidia
#测试GPU是否可用(在命令提示符测试)
import torch
print(torch.__version__)          # 应输出类似 2.5.1+cu118
print(torch.cuda.is_available())  # 应返回 True
print(torch.version.cuda)         # 应输出 11.8
#官方教程安装diffusers
pip install --upgrade diffusers[torch]  #以下是两种不同安装渠道,推荐第二种
conda install -c conda-forge diffusers
#安装transformers
conda install transformers=4.40.0
#安装jupyter
conda install -c conda-forge jupyter
#安装opencv(本人运行代码时发现少包,安装上)
conda install -c conda-forge opencv
pip install hf_xet
Pytorch导入conda虚拟环境
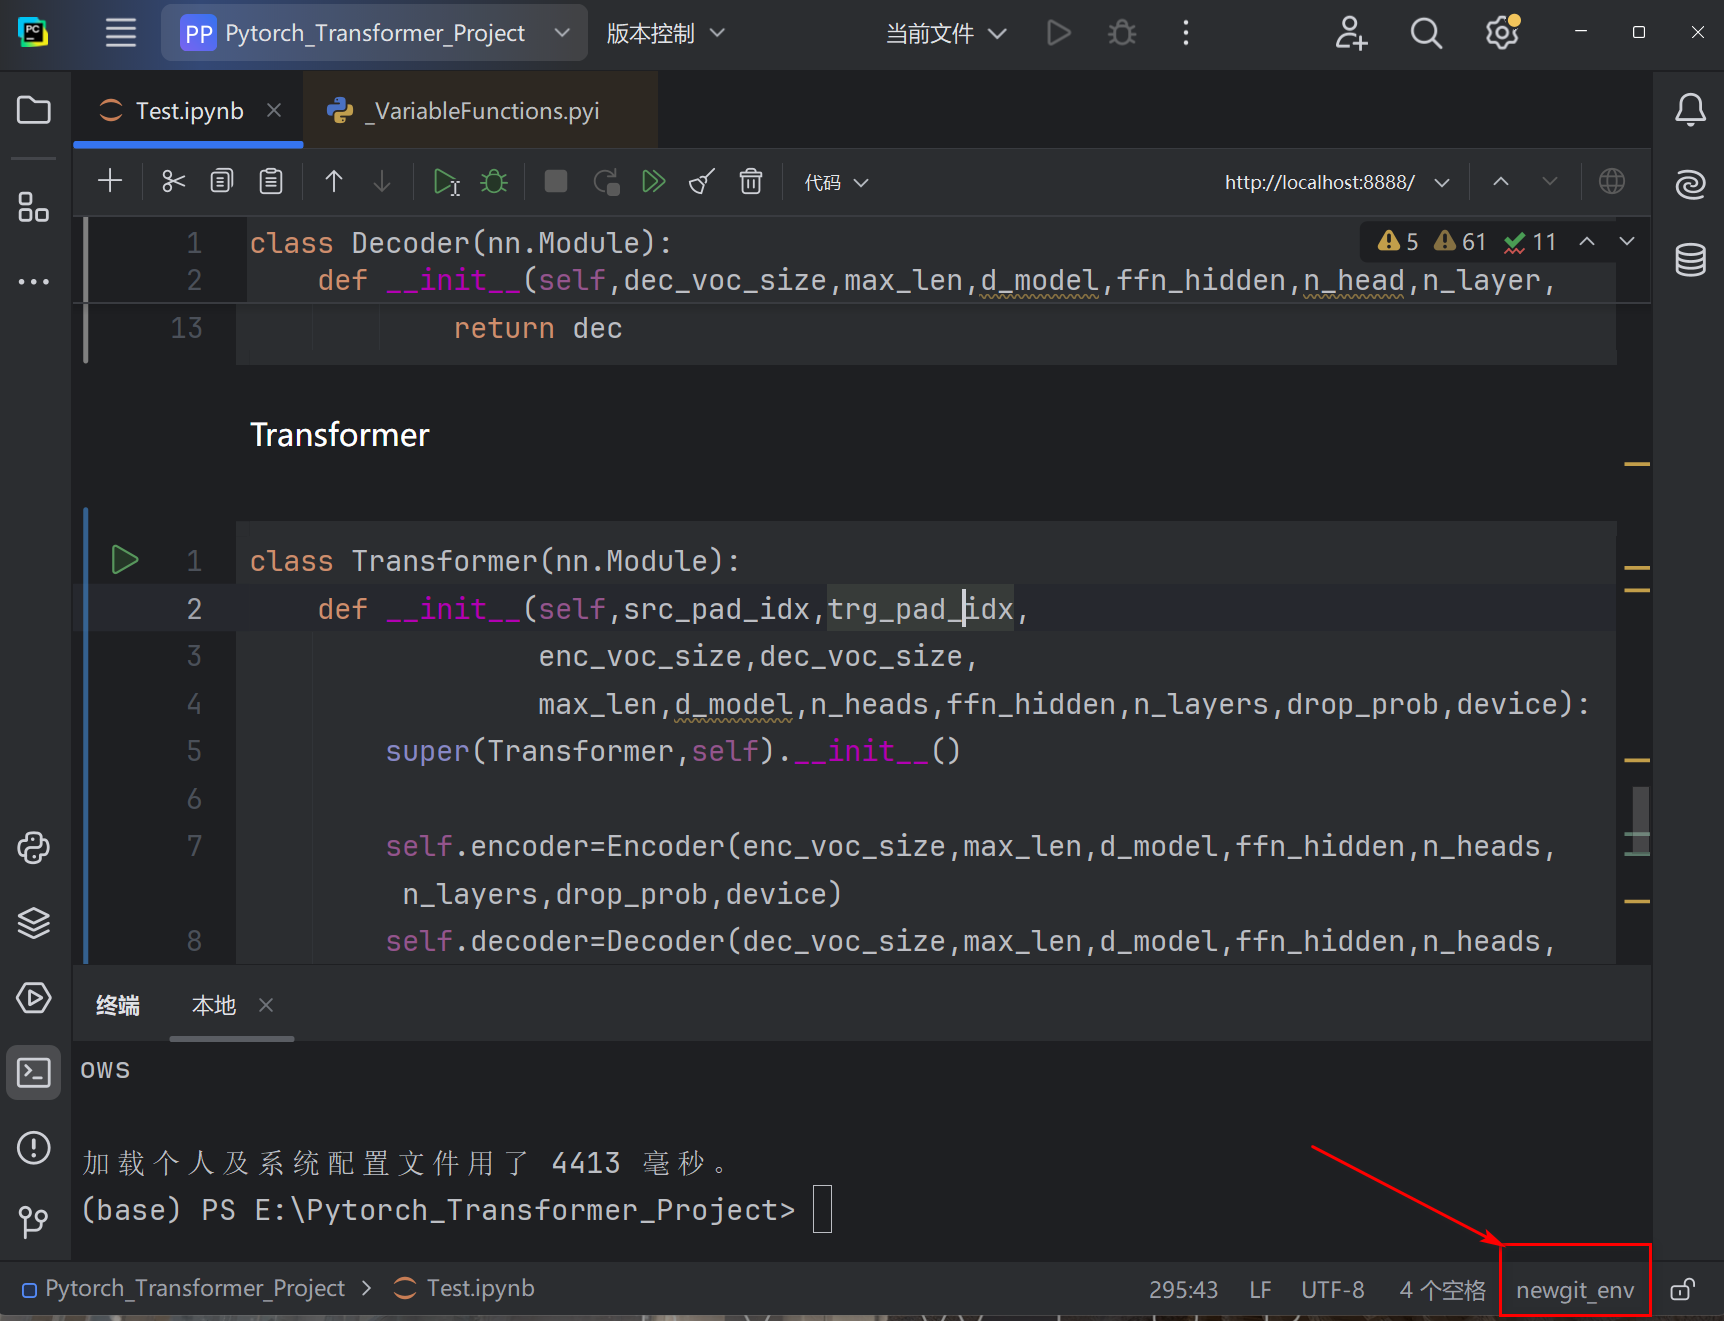
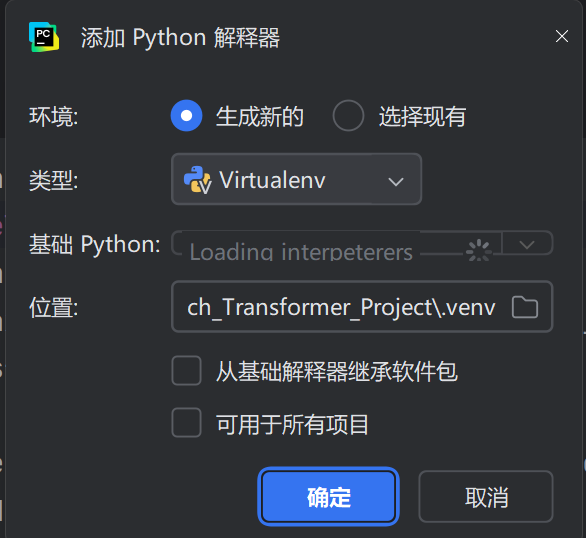
点击pycharm右下角红框地方,打开python解释器界面->添加新的解释器->添加本地解释器
点击选择现有
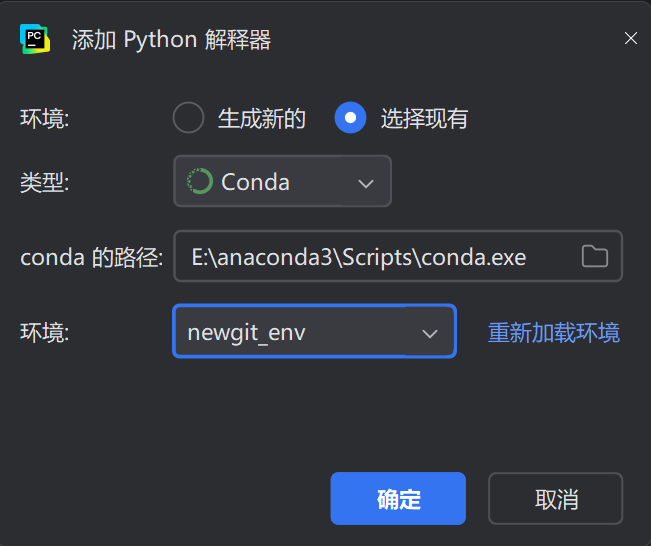
类型选择conda,环境就选择我们创建的虚拟环境名,conda的路径不用管,系统会自动识别我们安装的路径
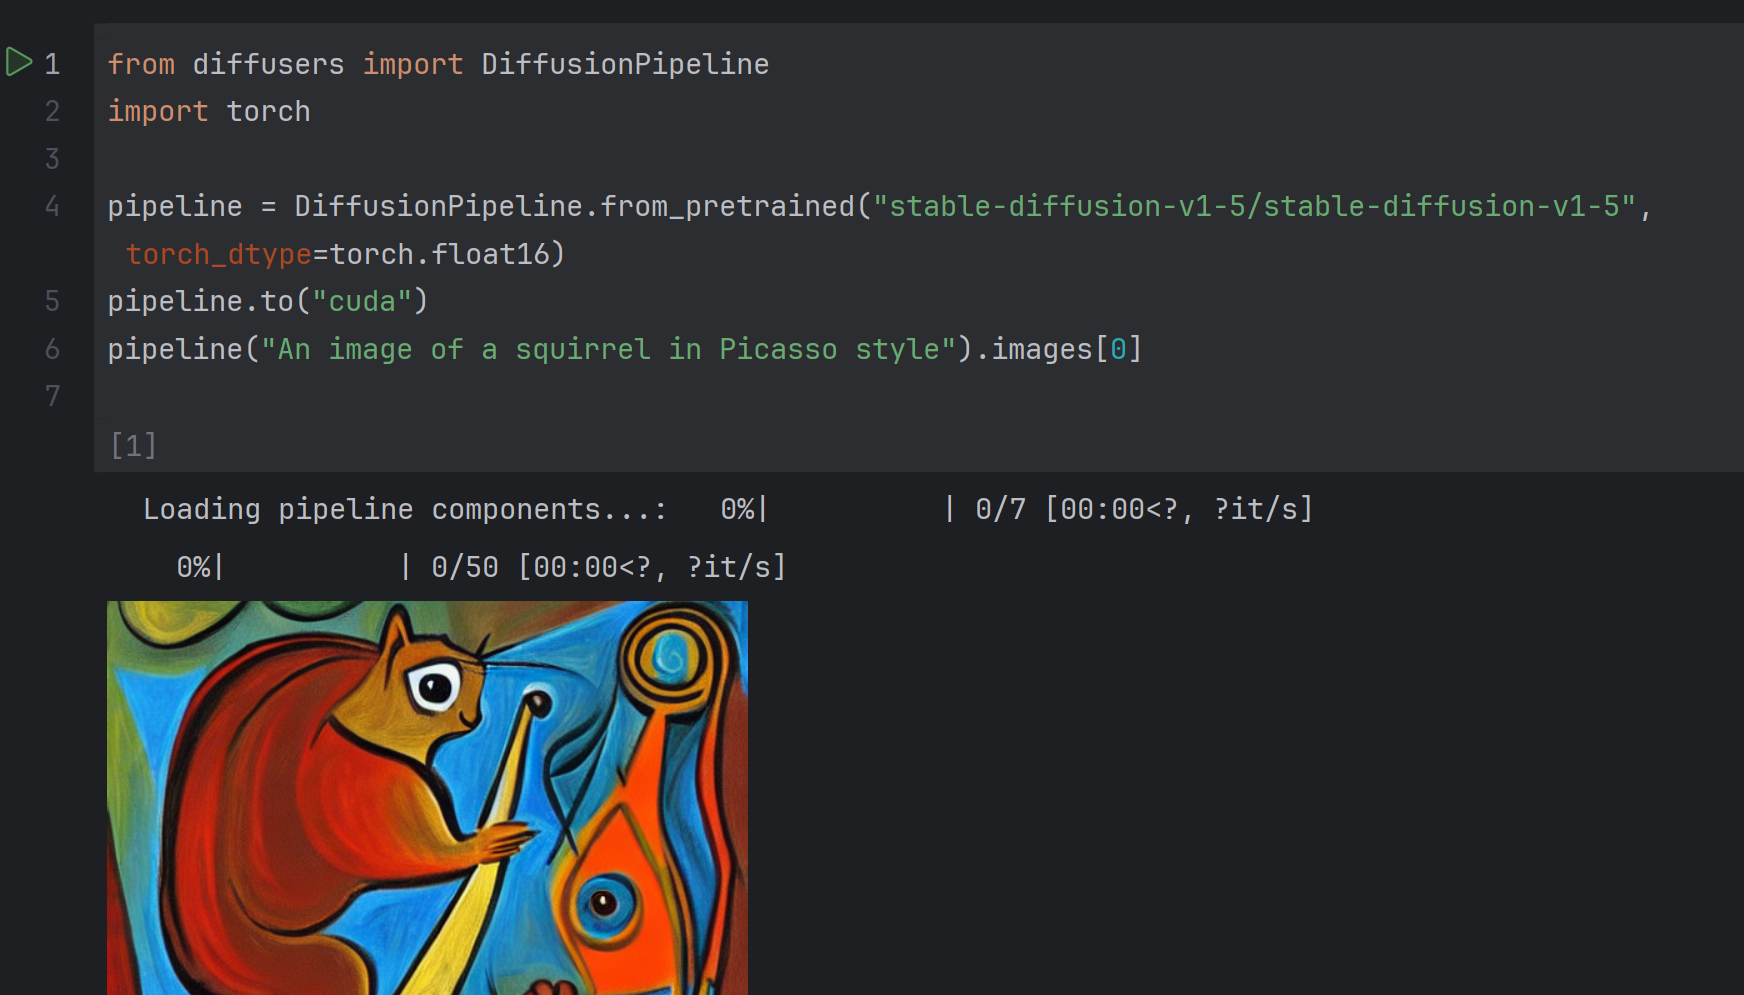
运行stable diffusion官方demo
(此处我使用的是jupyter,jupyter在pycharm里面的配置教程看我另外一篇文章:
在pycharm配置虚拟环境和jupyter,解决jupyter运行失败问题)
大功告成!
希望能帮到你。