Spring security详细上手教学(一)hello world项目
1. 构建hello world程序
引入依赖,笔者这里使用Spring boot3.2.x,Spring security6.2.x版本
java
        <dependency>
                <groupId>org.springframework.boot</groupId>
                <artifactId>spring-boot-starter-web</artifactId>
        </dependency>
        <!-- ... 其他依赖元素 ... -->
        <dependency>
            <groupId>org.springframework.boot</groupId>
            <artifactId>spring-boot-starter-security</artifactId>
        </dependency>
创建一个Rest endpoint
java
@RestController
public class HelooController {

    @GetMapping("/hello")
    public String hello() {
        return "hello!";
    }
}
运行主程序,发现打印日志中,有自动生成一串UUID格式的security密码
2025-04-24T13:21:10.114+08:00  WARN 59924 --- [           main] .s.s.UserDetailsServiceAutoConfiguration :

Using generated security password: c3681247-1323-4cc3-a55f-c730046900d8

This generated password is for development use only. Your security configuration must be updated before running your application in production.
如果直接访问localhost:8080/hello
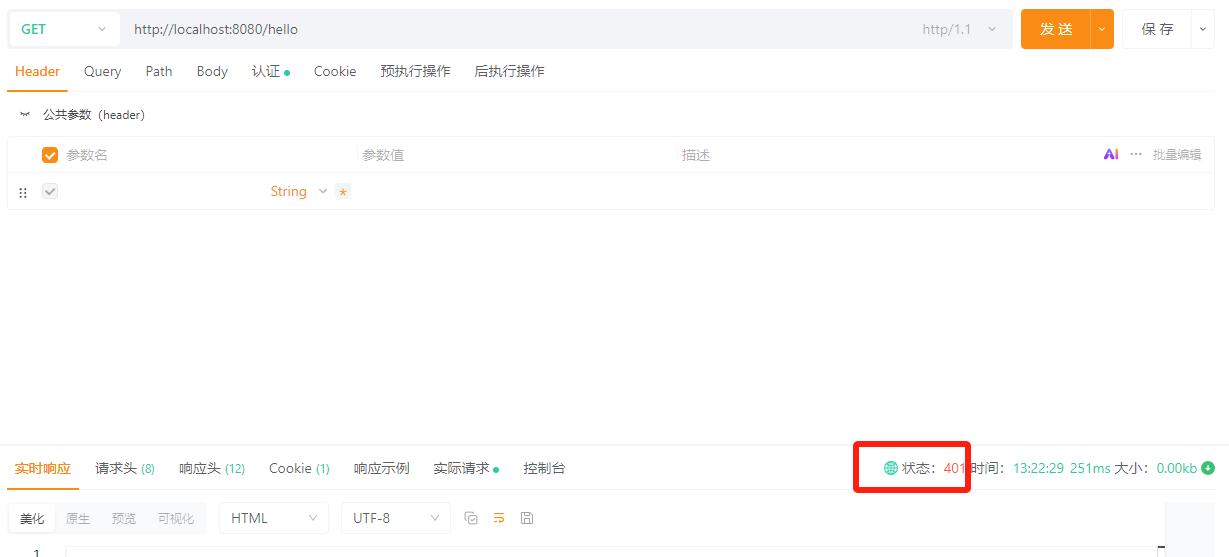
会报401状态码
{
"status":401,
"error":"Unauthorized",
"message":"Unauthorized",
"path":"/hello"
}
此时此接口就必须使用鉴权才可以访问了,在认证(Autherization)中填写默认的用户名user,密码是刚才日志中生成的一串UUID ,类型选择Basic auth。可以发现添加鉴权之后能够正确返回hello!
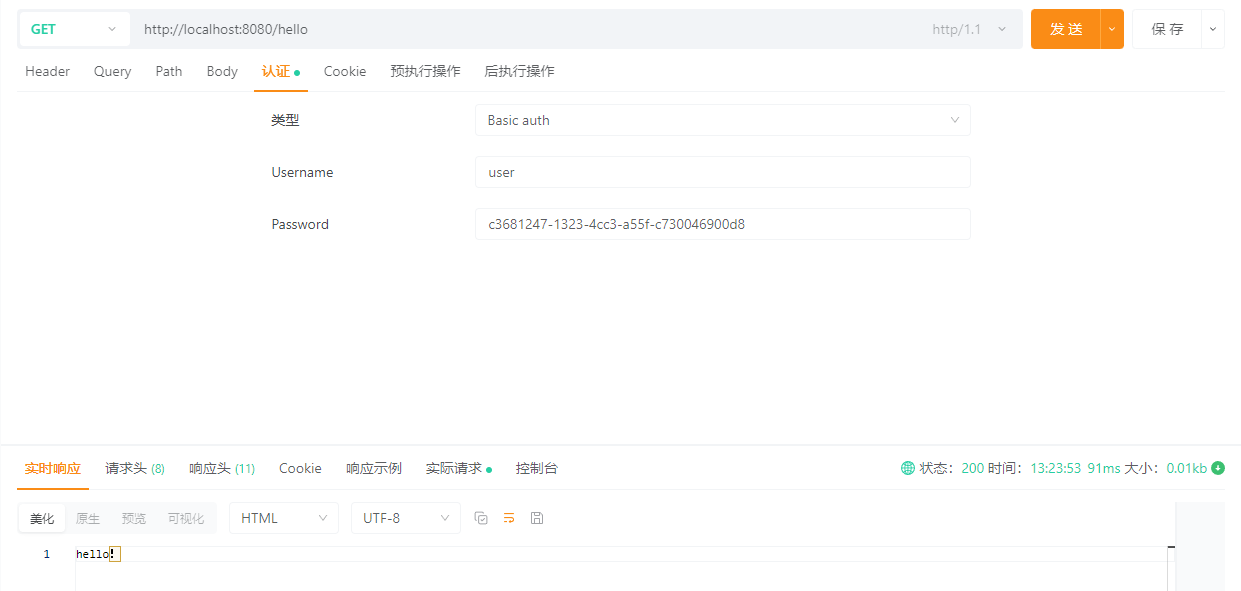
实际上在发送http请求的时候,会将 user:c3681247-1323-4cc3-a55f-c730046900d8 用base64编码之后,加载http请求头的Authorization参数上,进行传输。所以在命令行,也可以使用
curl -H "Authorizaiton: Basic dXNlcjpjMzY4MTI0Ny0xMzIzLTRjYzMtYTU1Zi1jNzMwMDQ2OTAwZDg=" localhost:8080/hello2. 了解机制

- 首先客户端请求被Authentication filter拦截
- Authentication filter将身份验证委托给管理器
- Authentication管理器调用Authentication provider,Authentication provider中提供了鉴权的逻辑
- UserDetailService实现用户管理,PasswordEncoder实现密码管理(加密和匹配)
- Security上下文环境中包含鉴权的数据,返回给filter
这里UserDetailService和PasswordEncoder被自动配置并初始化bean,Spring Boot默认配置一个user用户,并随机生成一个UUID密码
3. 重载配置
3.1 用户密码管理的重载
这一小节,关于如何使用InMemoryUserDetailManager 重载Spring boot默认的UserDetailService bean,需要注意的是InMemoryUserDetailManager 不用作生产环境,只是一个样例,用来学习理解如何覆盖重载默认的UserDetailService
java
public class ProjectConfig {

    @Bean
    UserDetailsService userDetailsService() {
        return new InMemoryUserDetailsManager();
    }
}
创建InMemoryUserDetailsManager bean之后,发现不再有默认的user用户名和生成的UUID密码了。此时我们没有默认的PasswordEncoder了
我们需要做:
- 创建用户/密码
- 添加用户到userDetailsService管理
- 定义一个PasswordEncoder bean
这里使用了var去隐藏类型,后续再讨论
@Configuration
public class ProjectConfig {

    @Bean
    UserDetailsService userDetailsService() {
        var user = User.withUsername("john")
                .password("{noop}12345")
                .authorities("read")
                .build();
        return new InMemoryUserDetailsManager(user);
    }
}
随后我们还得添加一个PasswordEncoder bean
@Bean
public PasswordEncoder passwordEncoder() {
return NoOpPasswordEncoder.getInstance();
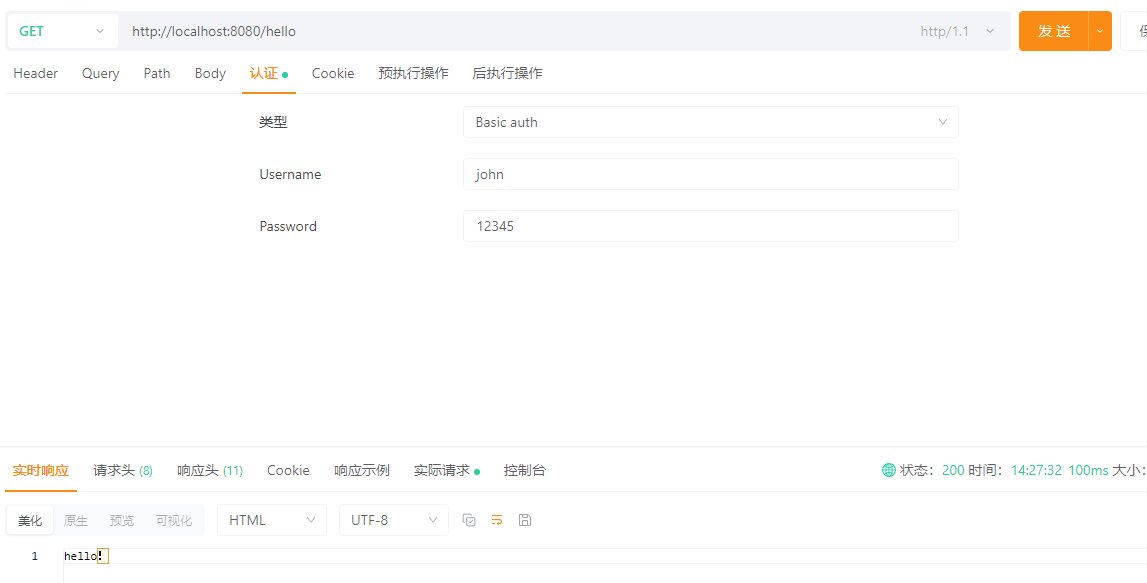
}NoOpPasswordEncoder不会对密码做任何加密或者哈希。匹配的时候也只是对字符串进行equals,生产环境我们不能使用这个,这里只是用来理解这个章节的内容。
现在我们可以用john用户访问了
3.2 灵活管理接口
有些情况下,我们不是所有的接口都需要鉴权,而且有些时候可能需要除了http basic之外的其他鉴权类型。这个时候需要定义SecurityFilterChain bean
java
    @Bean
    SecurityFilterChain configure(HttpSecurity http) throws Exception {
        http.httpBasic(Customizer.withDefaults());
        http.authorizeHttpRequests(auth -> {
            auth.anyRequest().authenticated();
        });
        return http.build();
    }
以上代码和Springboot的默认情况是一致的。
@Bean
SecurityFilterChain configure(HttpSecurity http) throws Exception {
    http.httpBasic(Customizer.withDefaults());
    http.authorizeHttpRequests(auth -> {
        auth.anyRequest().permitAll();
    });
    return http.build();
}
如果我们改成permitAll,那么再次访问hello接口,将不再需要用户名密码。
httpBasic方法,用来设置鉴权方式,这里设置的是HTTP Basic
authorizeHttpRequests方法,用来设置不同访问接口的鉴权规则,这个方法规定了对于不同的接口请求,我们的程序如何处理
- 这些方法都需要传入Customizer对象作为参数,这里还可以设置 CSRF\CORS等等机制。
java
@FunctionalInterface
public interface Customizer<T> {
    void customize(T t);

    static <T> Customizer<T> withDefaults() {
        return (t) -> {
        };
    }
}
过去版本的Spring Security,采用如下的方式进行配置,这种方式不如使用Customizer+lambda表达式的方式更加灵活。
http.authorizeHttpRequests().anyRequest().authenticated()3.3 在SecurityFilterChain中配置UserDetailsService
@Bean
SecurityFilterChain configure(HttpSecurity http) throws Exception {
    http.httpBasic(Customizer.withDefaults());
    http.authorizeHttpRequests(auth -> {
        auth.anyRequest().authenticated();
    });
    var user = User.withUsername("john")
            .password("12345")
            .authorities("read")
            .build();
    http.userDetailsService(new InMemoryUserDetailsManager(user));
    return http.build();
}
这样配置也是可以的
3.4 定义鉴权逻辑
这小节,主要是为了理解Authentication Provider是如何制定鉴权逻辑的。
java
@Component
public class CustomAuthenticationProvider implements AuthenticationProvider {

    /**
     * @param authentication
     * @return Authentication
     * @throws AuthenticationException
     */
    @Override
    public Authentication authenticate(Authentication authentication) throws AuthenticationException {
        String userName = authentication.getName();
        String password = String.valueOf(authentication.getCredentials());

        if ("john".equals(userName) && "123".equals(password)) {
            return new UsernamePasswordAuthenticationToken(userName, password, List.of());
        } else {
            throw new AuthenticationCredentialsNotFoundException("Error");
        }
    }

    /**
     * @param authenticationType
     * @return
     */
    @Override
    public boolean supports(Class<?> authenticationType) {
        return UsernamePasswordAuthenticationToken.class.isAssignableFrom(authenticationType);
    }
}
java
package com.zhao.springSecurityDemo.config;

import org.springframework.beans.factory.annotation.Autowired;
import org.springframework.context.annotation.Bean;
import org.springframework.context.annotation.Configuration;
import org.springframework.security.config.Customizer;
import org.springframework.security.config.annotation.web.builders.HttpSecurity;
import org.springframework.security.core.userdetails.User;
import org.springframework.security.core.userdetails.UserDetailsService;
import org.springframework.security.crypto.password.NoOpPasswordEncoder;
import org.springframework.security.crypto.password.PasswordEncoder;
import org.springframework.security.provisioning.InMemoryUserDetailsManager;
import org.springframework.security.web.SecurityFilterChain;

import java.security.Security;

/**
 * @author zhaozhe
 * @description
 * @since 2025/4/24 14:13
 */
@Configuration
public class ProjectConfig {

    private final CustomAuthenticationProvider customAuthenticationProvider;

    @Autowired
    public ProjectConfig(CustomAuthenticationProvider customAuthenticationProvider) {
        this.customAuthenticationProvider = customAuthenticationProvider;
    }

    @Bean
    SecurityFilterChain configure(HttpSecurity http) throws Exception {
        http.httpBasic(Customizer.withDefaults());
        http.authenticationProvider(customAuthenticationProvider);
        http.authorizeHttpRequests(auth -> {
            auth.anyRequest().authenticated();
        });
        return http.build();
    }
}
3.5 在多个类中配置
我们可以在不同的配置类中分别配置UserDetailsService、PasswordEncoder和SecurityFilterChain。推荐这样做的原因是,可以增加我们代码的可读性。
java
@Configuration
public class UserManagementConfig {

    @Bean
    public UserDetailsService userDetailsService() {
        var userDetailsService = new InMemoryUserDetailsManager();
        var user = User.withDefaultPasswordEncoder()
                .username("user")
                .password("password")
                .roles("read")
                .build();
        userDetailsService.createUser(user);
        return userDetailsService;
    }

    @Bean
    public PasswordEncoder passwordEncoder() {
        return NoOpPasswordEncoder.getInstance();
    }
}
java
@Configuration
public class WebAuthorizationConfig {

    @Bean
    public SecurityFilterChain configure(HttpSecurity http) throws Exception {
        http.httpBasic(Customizer.withDefaults());
        http.authorizeHttpRequests(
          auth -> {auth.anyRequest().authenticated();}
        );
        return http.build();
    }
}