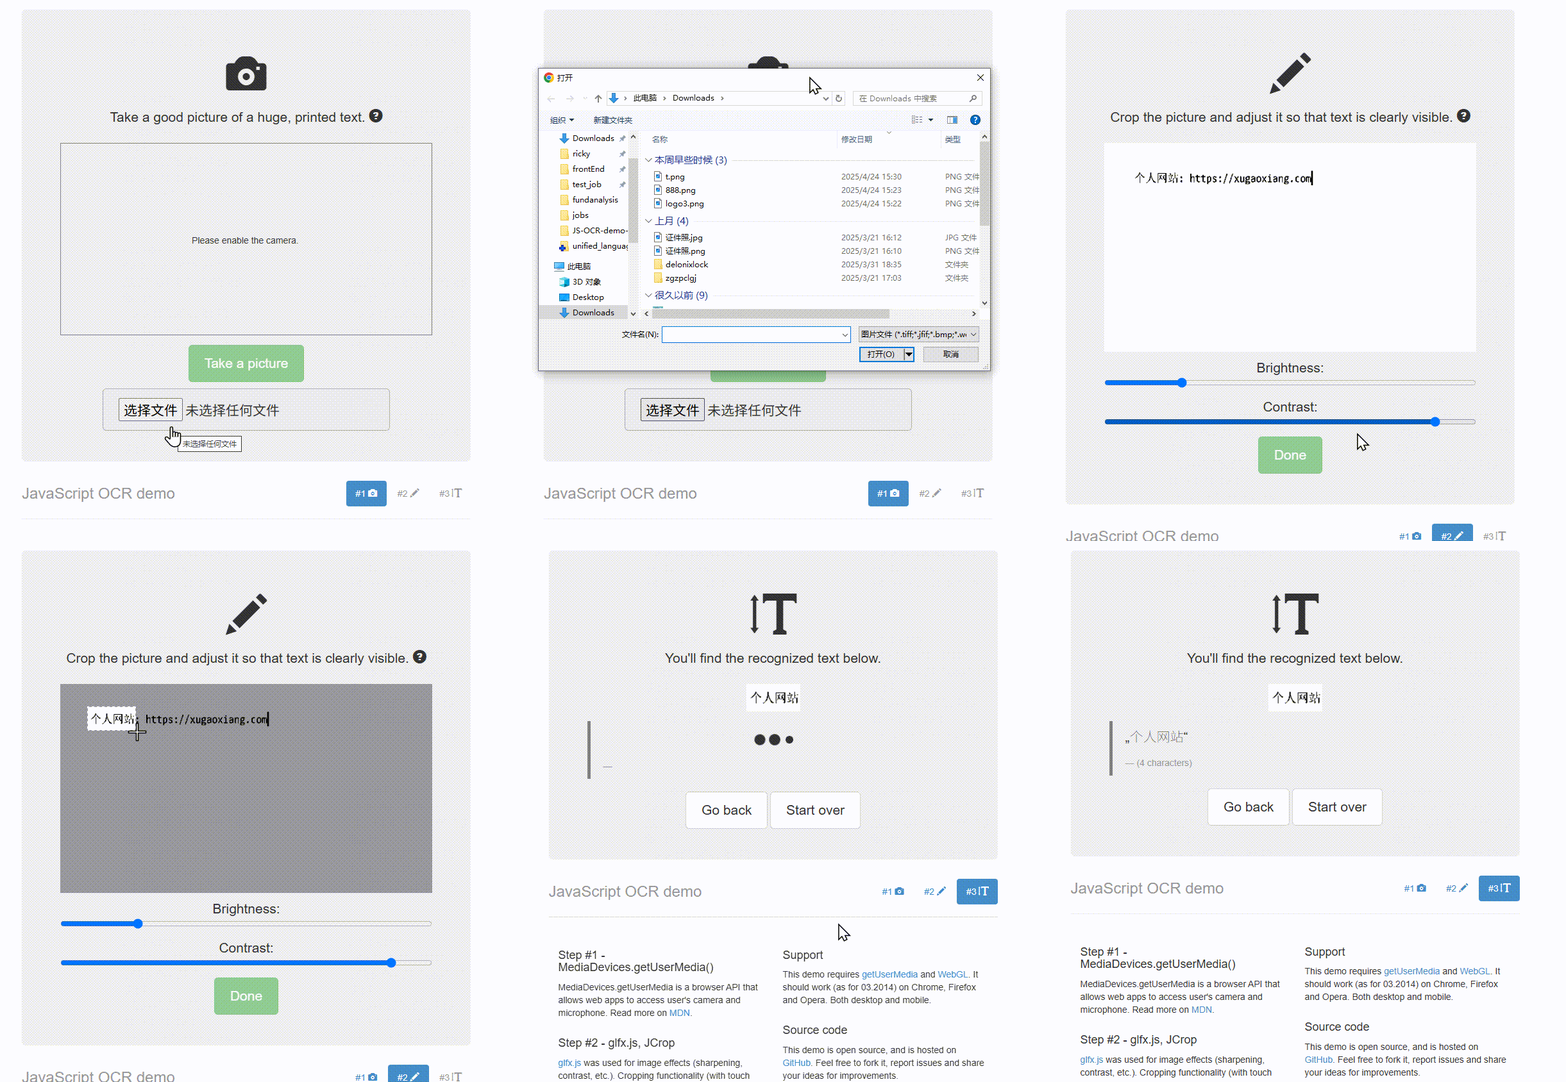
背景:
在了解 Tesseract 的识别效果的时候,有个demo项目很好用。有个小毛病,就是没事都要从摄像头抓取图片,然后进行识别。如果可以从本地读取图,就更方便了。
实现:
-
在页面
index.html增加选择文件的input组件html51|<input type="file" id="uploadImage" accept="image/*" class="btn btn-lg btn-default" style="justify-self: center; margin-top: 10px;"> -
在main.js修改方法:
-
增加加载本地图片的逻辑。
js// 新增:本地图片上传 $('#uploadImage').on('change', function (e) { var file = e.target.files[0]; if (!file) return; var reader = new FileReader(); reader.onload = function (evt) { var img = document.querySelector('#step2 img'); img.onload = function () { // 将图片绘制到canvas var canvas = document.querySelector('#step2 canvas'); canvas.width = pictureWidth; canvas.height = pictureHeight; var ctx = canvas.getContext('2d'); ctx.drawImage(img, 0, 0, canvas.width, canvas.height); texture = fxCanvas.texture(canvas); fxCanvas.draw(texture) .hueSaturation(-1, -1)//grayscale .unsharpMask(20, 2) .brightnessContrast(0.2, 0.9) .update(); $('.jcrop-holder img').attr('src', fxCanvas.toDataURL()); $(img).attr('src', fxCanvas.toDataURL()); }; img.src = evt.target.result; }; reader.readAsDataURL(file); step2(false); changeStep(2); }); -
修改step2方法:增加参数判断,区分使用的相机截图,还是本地文件;截图时,使用图片真实像素为基准。
jsfunction step2(usevideo=true) { var canvas = document.querySelector('#step2 canvas'); var img = document.querySelector('#step2 img'); //setup canvas canvas.width = pictureWidth; canvas.height = pictureHeight; var ctx = canvas.getContext('2d'); if(usevideo){ //draw picture from video on canvas ctx.drawImage(video, 0, 0); console.log('draw picture from video on canvas'); } //modify the picture using glfx.js filters texture = fxCanvas.texture(canvas); fxCanvas.draw(texture) .hueSaturation(-1, -1)//grayscale .unsharpMask(20, 2) .brightnessContrast(0.2, 0.9) .update(); window.texture = texture; window.fxCanvas = fxCanvas; $(img) //setup the crop utility .one('load', function () { if (!$(img).data().Jcrop) { $(img).Jcrop({ onSelect: function () { //Enable the 'done' button $('#adjust').removeAttr('disabled'); }, trueSize: [img.naturalWidth || img.width, img.naturalHeight || img.height] }); } else { //update crop tool (it creates copies of <img> that we have to update manually) $('.jcrop-holder img').attr('src', fxCanvas.toDataURL()); } }) //show output from glfx.js .attr('src', fxCanvas.toDataURL()); } -
修改step3方法:截图区域不再使用缩放系数计算;修改识别语言为中文
chi_simjsfunction step3() { var canvas = document.querySelector('#step3 canvas'); var step2Image = document.querySelector('#step2 img'); var cropData = $(step2Image).data().Jcrop.tellSelect(); // 直接使用裁剪区域的宽高 canvas.width = cropData.w; canvas.height = cropData.h; var ctx = canvas.getContext('2d'); ctx.drawImage( step2Image, cropData.x, cropData.y, cropData.w, cropData.h, // 源区域 0, 0, cropData.w, cropData.h // 目标区域 ); var spinner = $('.spinner'); spinner.show(); $('blockquote p').text(''); $('blockquote footer').text(''); // do the OCR! // 设置参数 var options = 'chi_sim+eng'; Tesseract.recognize(ctx, options).then(function (result) { var resultText = result.text ? result.text.trim() : ''; //show the result spinner.hide(); $('blockquote p').html('„' + resultText + '"'); $('blockquote footer').text('(' + resultText.length + ' characters)'); }); }
