1.创建空白项目

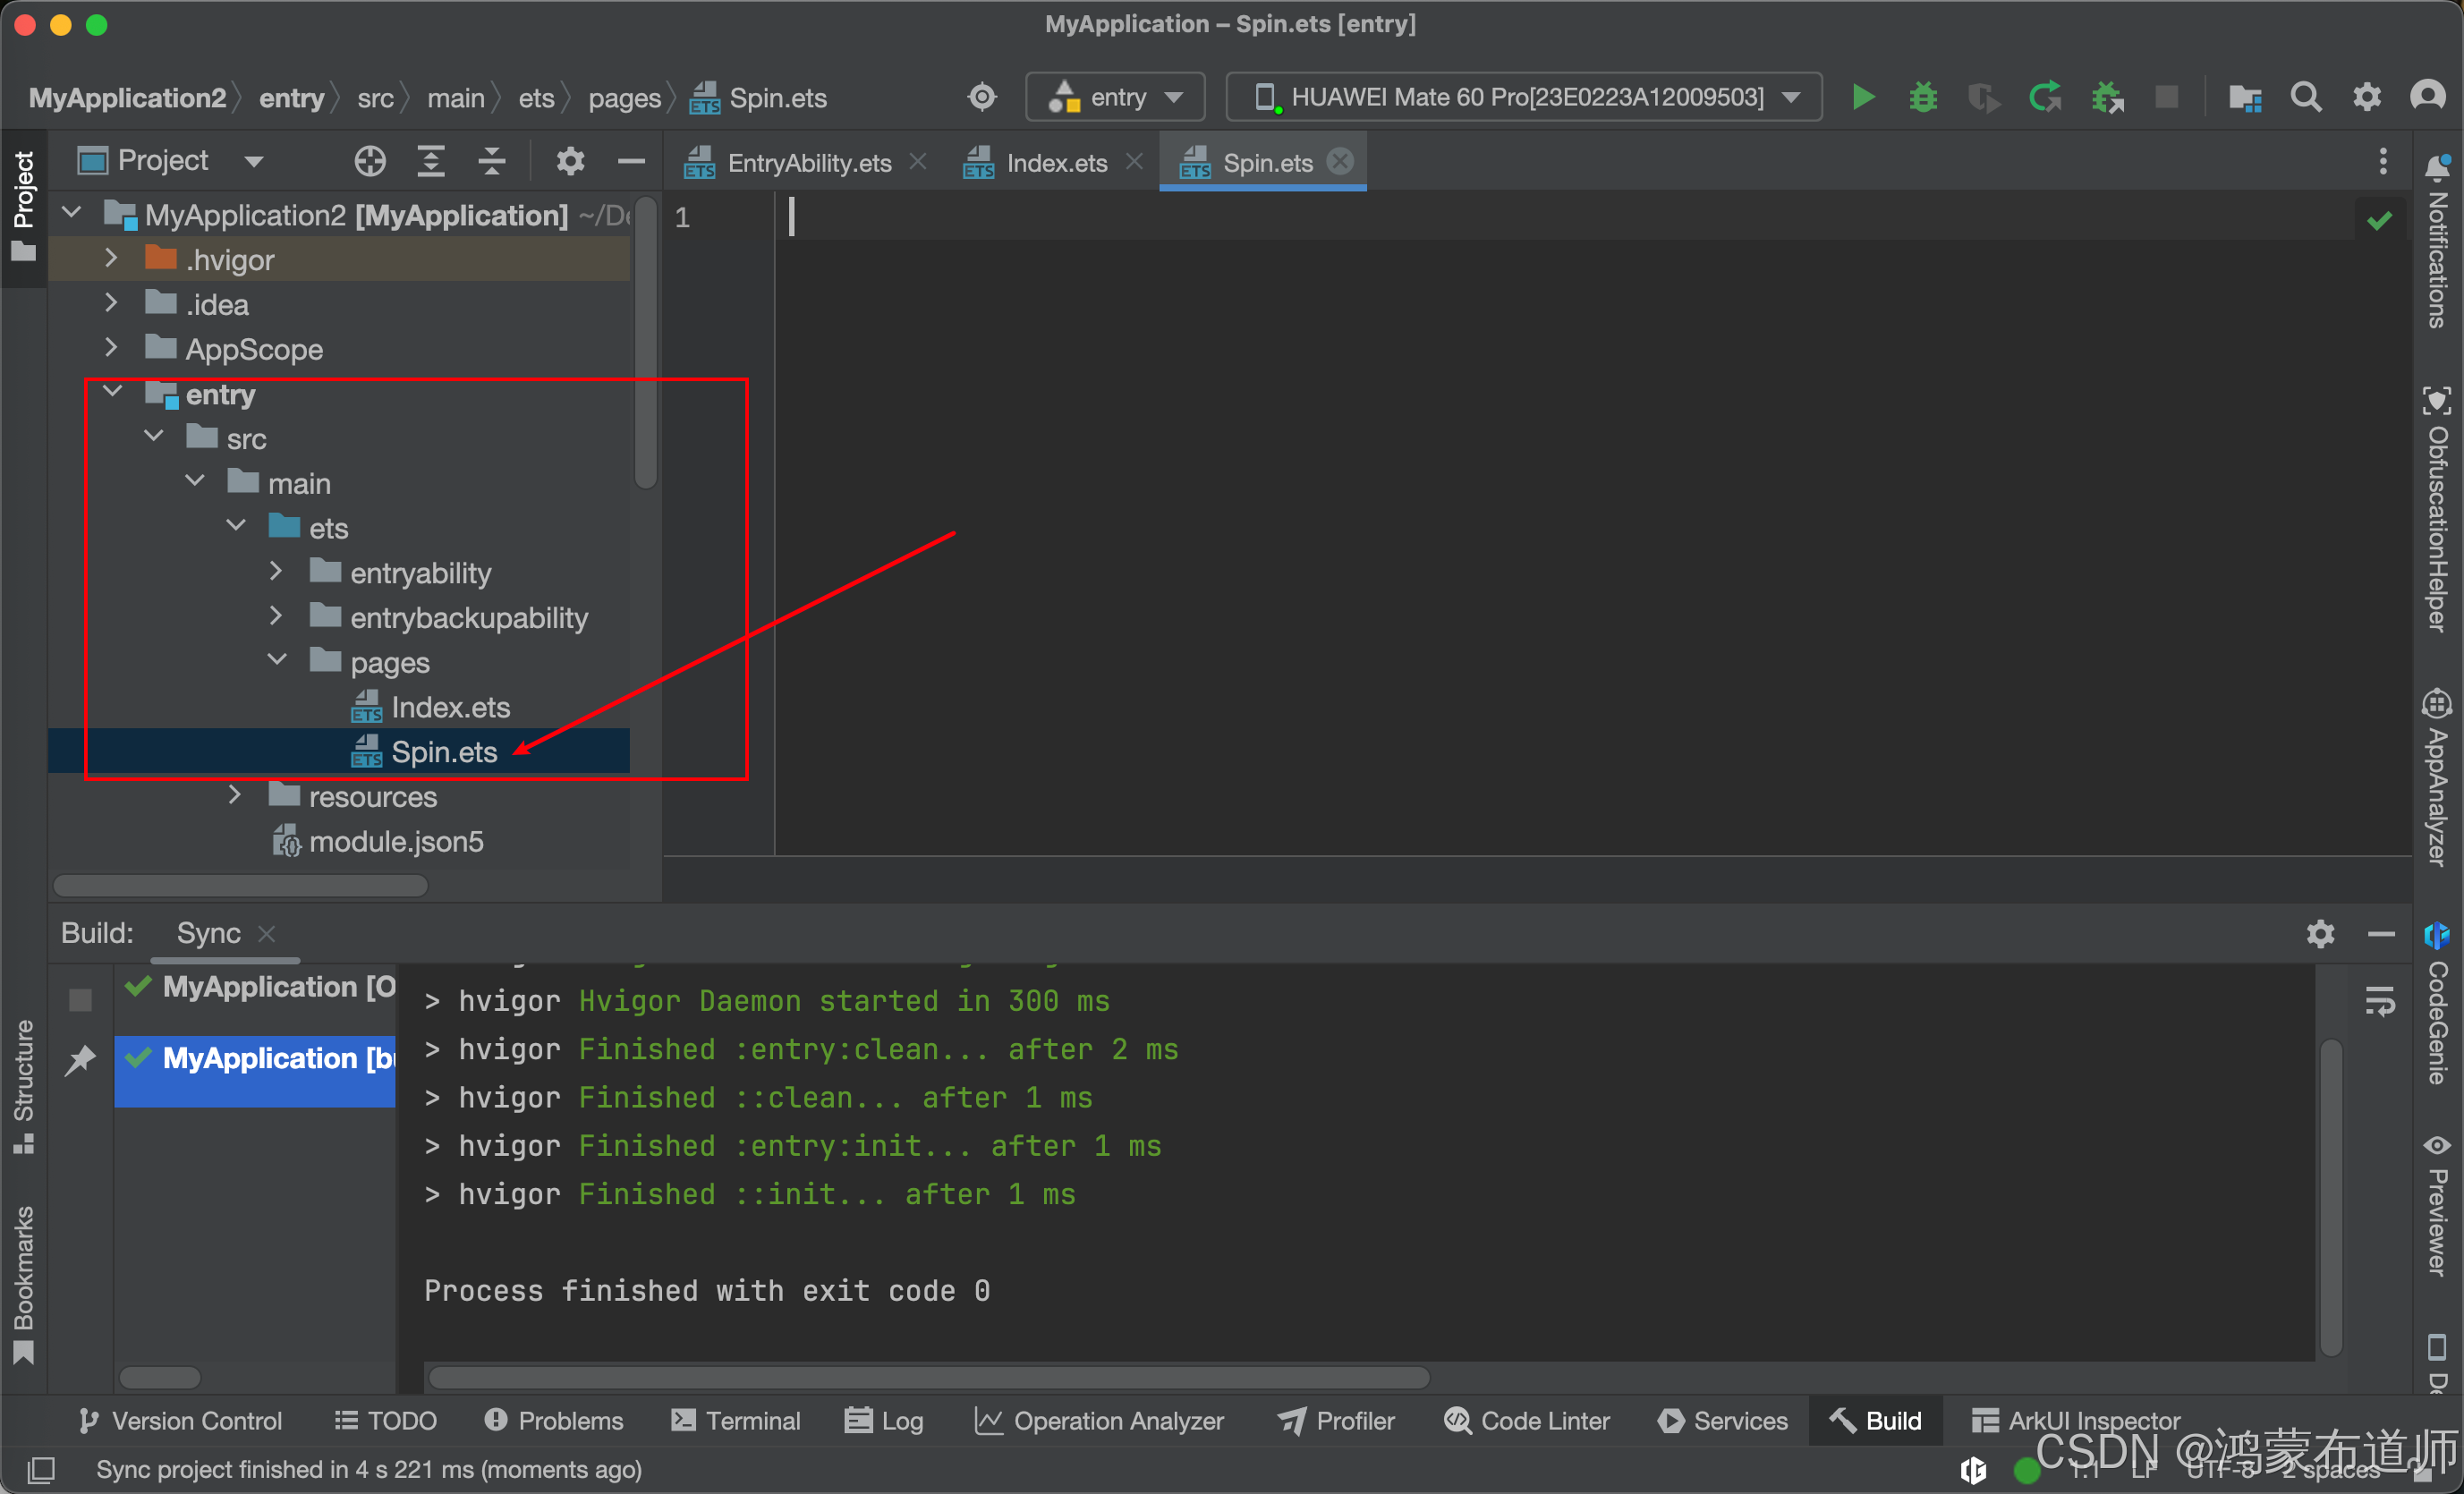
2.Page文件夹下面新建Spin.ets文件,代码如下:
// ===== 接口定义(必须放在使用前)=====
/**
 * 关键帧动画整体配置参数
 */
interface KeyframeAnimationConfig {
  iterations: number;
  delay: number;
}

/**
 * 单个关键帧动画项
 */
interface KeyframeItem {
  duration: number;
  curve: Curve;
  event: () => void;
}

/**
 * 动画状态更新参数
 */
interface AnimationUpdateParams {
  scale1?: number;
  scale2?: number;
}
// ===== 接口定义结束 =====

/**
 * SpinKit 风格的弹性缩放加载动画组件。
 *
 * @component
 * @param spinSize - 动画容器大小(必须为正数)
 * @param spinColor - 动画颜色(支持资源引用)
 *
 * 示例:
 * ```ets
 * SpinTwo({
 *   spinSize: 60,
 *   spinColor: '#FF0000'
 * })
 * ```
 */
@ComponentV2
export struct SpinTwo {
  // 参数定义(父组件必须传入)
  @Require @Param spinSize: number = 48;
  @Require @Param spinColor: ResourceColor = '#209ED8';

  // 局部状态
  @Local scale1: number = 0;
  @Local scale2: number = 1;

  // 常量定义
  private readonly ANIMATION_DURATION: number = 1000;

  build() {
    Stack() {
      Canvas()
        .scale({ x: this.scale1, y: this.scale1 })
        .bounceStyle()

      Canvas()
        .scale({ x: this.scale2, y: this.scale2 })
        .bounceStyle()
    }
    .width(this.spinSize)
    .height(this.spinSize)
    .onAppear(() => {
      this.startAnimation();
    });
  }

  /**
   * 启动无限循环的关键帧动画
   */
  private startAnimation(): void {
    const uiContext = this.getUIContext();
    if (!uiContext) return;

    const animationConfig: KeyframeAnimationConfig = {
      iterations: -1,
      delay: 0
    };

    uiContext.keyframeAnimateTo(animationConfig, [
      this.createKeyframe(this.ANIMATION_DURATION, { scale1: 1, scale2: 0 }),
      this.createKeyframe(this.ANIMATION_DURATION, { scale1: 0, scale2: 1 })
    ]);
  }

  /**
   * 创建关键帧动画配置项
   * @param duration - 动画持续时间
   * @param update - 更新的状态对象
   */
  private createKeyframe(
    duration: number,
    update: AnimationUpdateParams
  ): KeyframeItem {
    return {
      duration,
      curve: Curve.EaseInOut,
      event: () => {
        if (update.scale1 !== undefined) this.scale1 = update.scale1;
        if (update.scale2 !== undefined) this.scale2 = update.scale2;
      }
    };
  }

  /**
   * 公共样式封装
   */
  @Styles
  bounceStyle() {
    .width('100%')
    .height('100%')
    .opacity(0.6)
    .borderRadius(this.spinSize / 2) // 圆形效果
    .backgroundColor(this.spinColor)
  }
}代码如下:
TypeScript
// ===== 接口定义(必须放在使用前)=====
/**
 * 关键帧动画整体配置参数
 */
interface KeyframeAnimationConfig {
  iterations: number;
  delay: number;
}

/**
 * 单个关键帧动画项
 */
interface KeyframeItem {
  duration: number;
  curve: Curve;
  event: () => void;
}

/**
 * 动画状态更新参数
 */
interface AnimationUpdateParams {
  scale1?: number;
  scale2?: number;
}
// ===== 接口定义结束 =====

/**
 * SpinKit 风格的弹性缩放加载动画组件。
 *
 * @component
 * @param spinSize - 动画容器大小(必须为正数)
 * @param spinColor - 动画颜色(支持资源引用)
 *
 * 示例:
 * ```ets
 * SpinTwo({
 *   spinSize: 60,
 *   spinColor: '#FF0000'
 * })
 * ```
 */
@ComponentV2
export struct SpinTwo {
  // 参数定义(父组件必须传入)
  @Require @Param spinSize: number = 48;
  @Require @Param spinColor: ResourceColor = '#209ED8';

  // 局部状态
  @Local scale1: number = 0;
  @Local scale2: number = 1;

  // 常量定义
  private readonly ANIMATION_DURATION: number = 1000;

  build() {
    Stack() {
      Canvas()
        .scale({ x: this.scale1, y: this.scale1 })
        .bounceStyle()

      Canvas()
        .scale({ x: this.scale2, y: this.scale2 })
        .bounceStyle()
    }
    .width(this.spinSize)
    .height(this.spinSize)
    .onAppear(() => {
      this.startAnimation();
    });
  }

  /**
   * 启动无限循环的关键帧动画
   */
  private startAnimation(): void {
    const uiContext = this.getUIContext();
    if (!uiContext) return;

    const animationConfig: KeyframeAnimationConfig = {
      iterations: -1,
      delay: 0
    };

    uiContext.keyframeAnimateTo(animationConfig, [
      this.createKeyframe(this.ANIMATION_DURATION, { scale1: 1, scale2: 0 }),
      this.createKeyframe(this.ANIMATION_DURATION, { scale1: 0, scale2: 1 })
    ]);
  }

  /**
   * 创建关键帧动画配置项
   * @param duration - 动画持续时间
   * @param update - 更新的状态对象
   */
  private createKeyframe(
    duration: number,
    update: AnimationUpdateParams
  ): KeyframeItem {
    return {
      duration,
      curve: Curve.EaseInOut,
      event: () => {
        if (update.scale1 !== undefined) this.scale1 = update.scale1;
        if (update.scale2 !== undefined) this.scale2 = update.scale2;
      }
    };
  }

  /**
   * 公共样式封装
   */
  @Styles
  bounceStyle() {
    .width('100%')
    .height('100%')
    .opacity(0.6)
    .borderRadius(this.spinSize / 2) // 圆形效果
    .backgroundColor(this.spinColor)
  }
}
3.修改Index.ets文件,代码如下:
import { SpinTwo } from './Spin';

@Entry
@Component
struct Index {
  @State message: string = 'Hello World';

  build() {
    Column() {
      SpinTwo({
        spinSize: 60,
        spinColor: '#FF0000'
      })
    }
    .alignItems(HorizontalAlign.Center)
    .justifyContent(FlexAlign.Center)
    .height('100%')
    .width('100%')
  }
}
代码如下:
TypeScript
import { SpinTwo } from './Spin';
@Entry
@Component
struct Index {
@State message: string = 'Hello World';
build() {
Column() {
SpinTwo({
spinSize: 60,
spinColor: '#FF0000'
})
}
.alignItems(HorizontalAlign.Center)
.justifyContent(FlexAlign.Center)
.height('100%')
.width('100%')
}
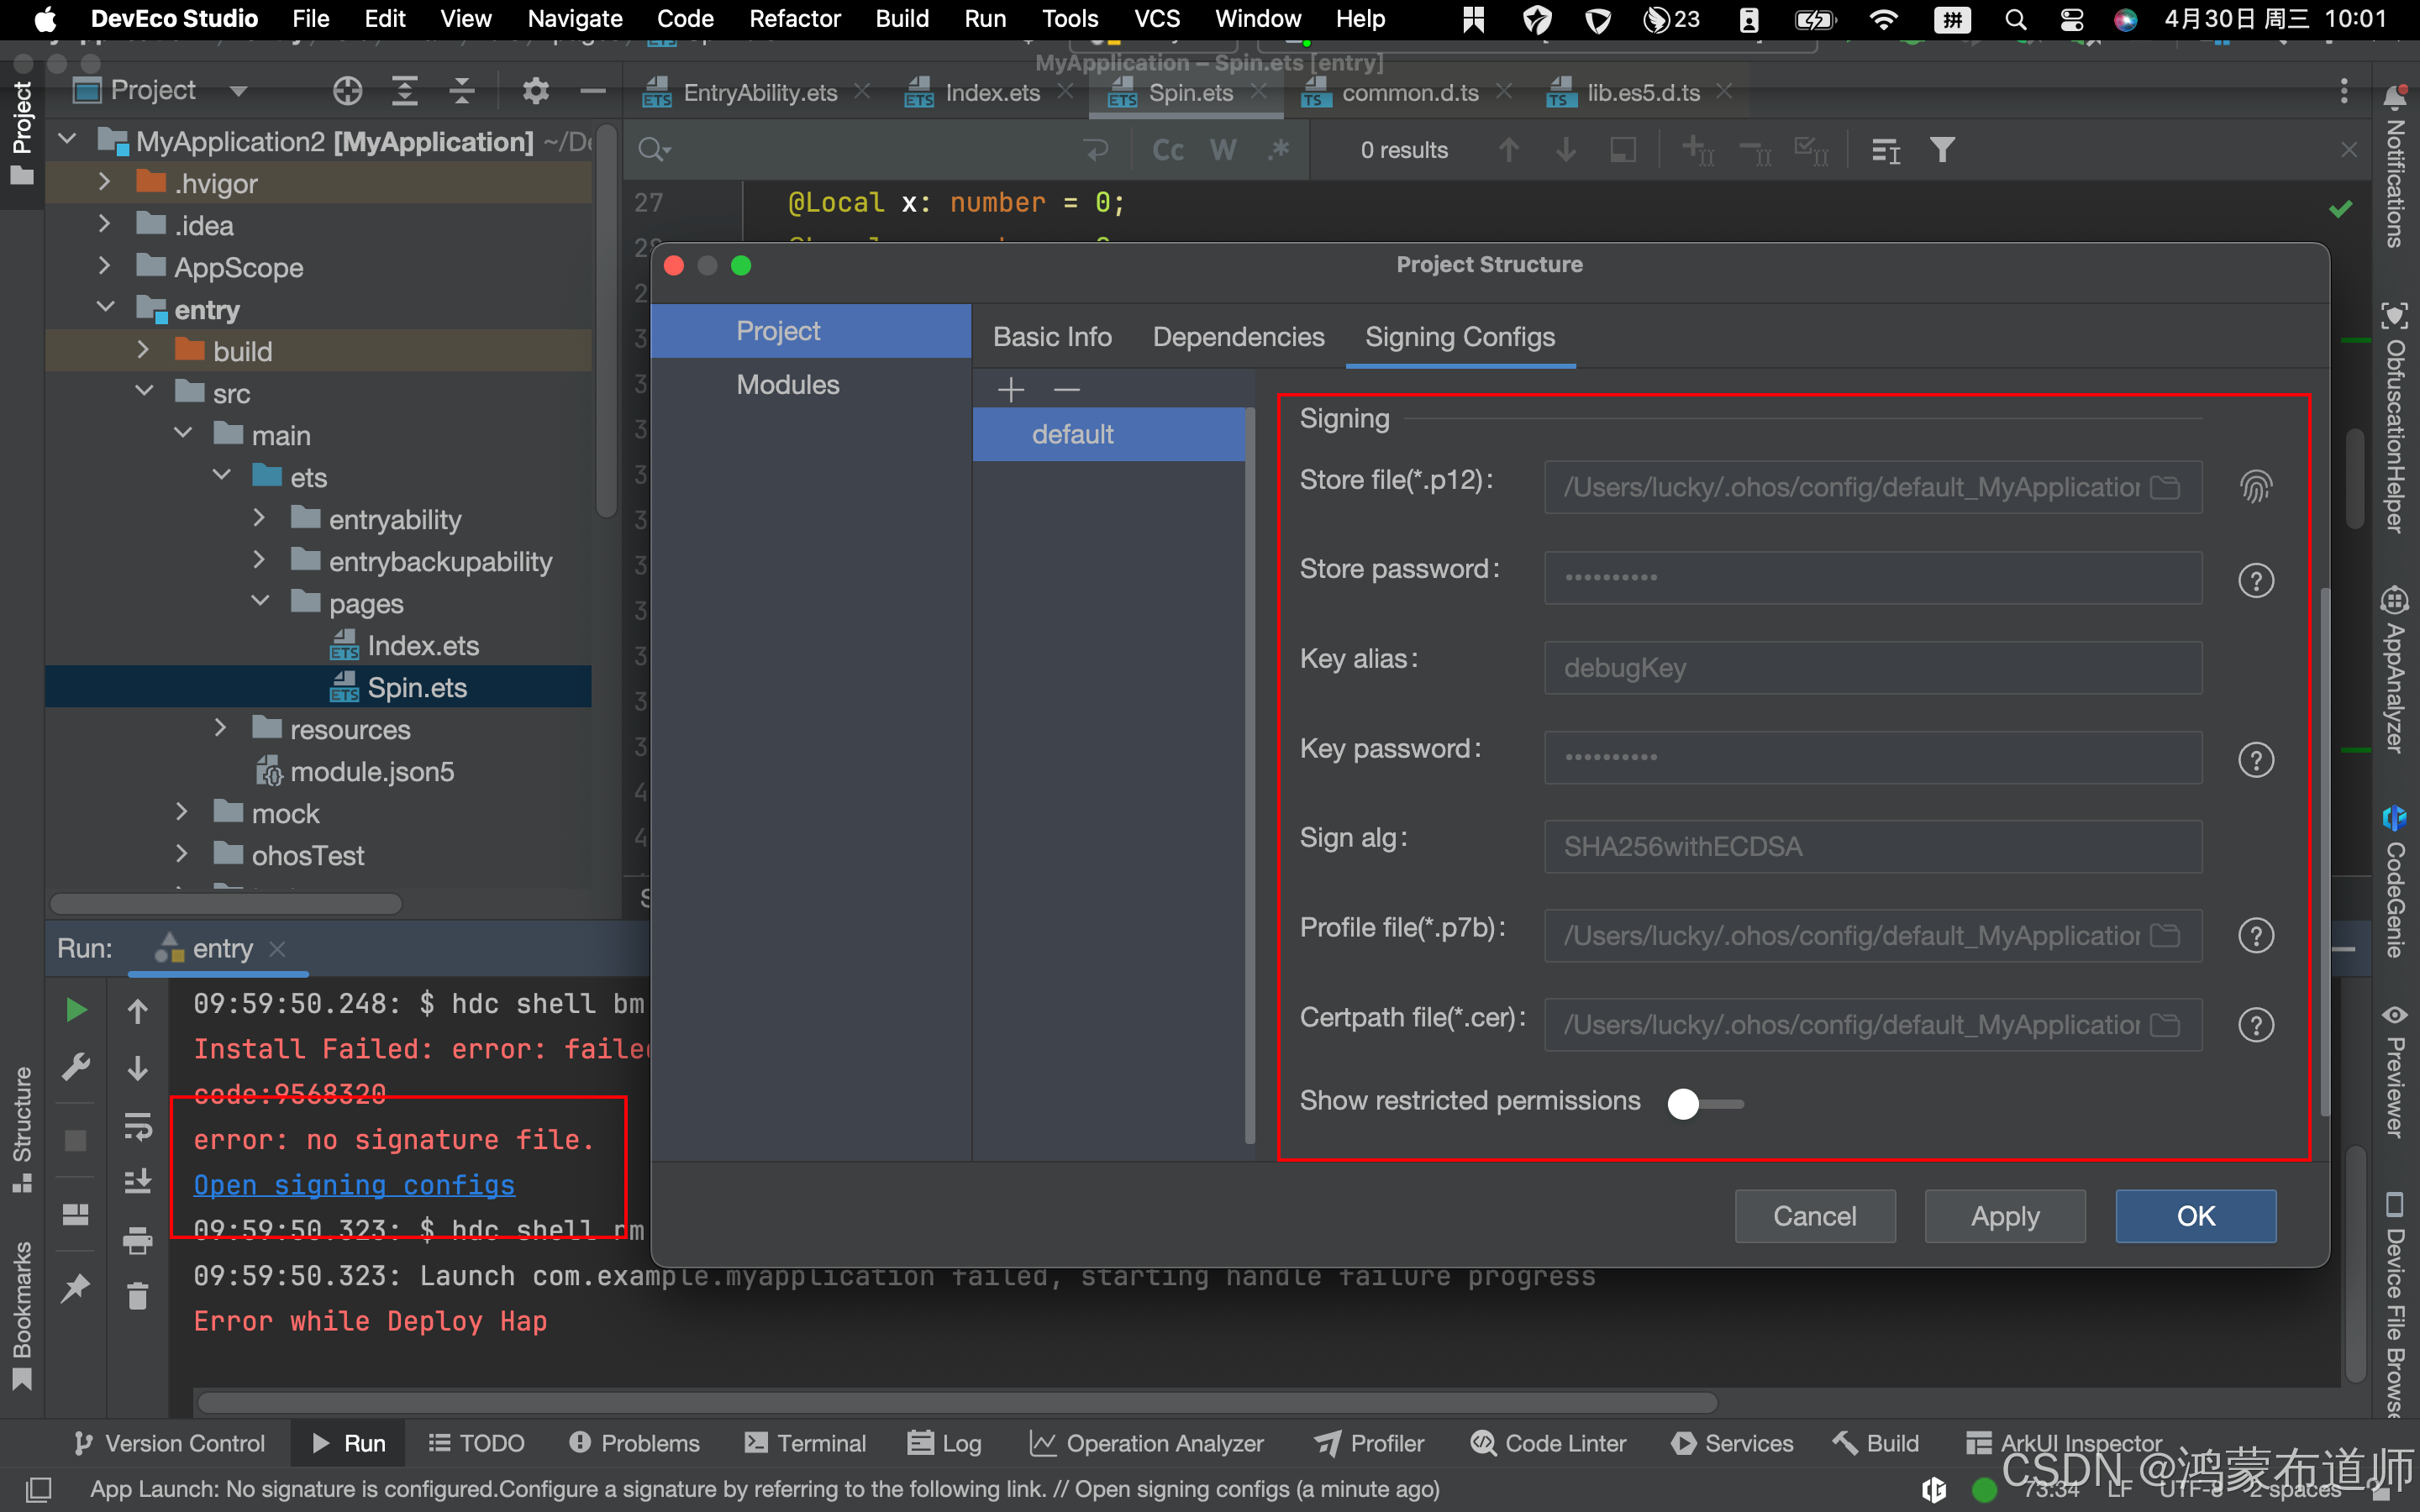
}4.运行项目,登录华为账号,需进行签名
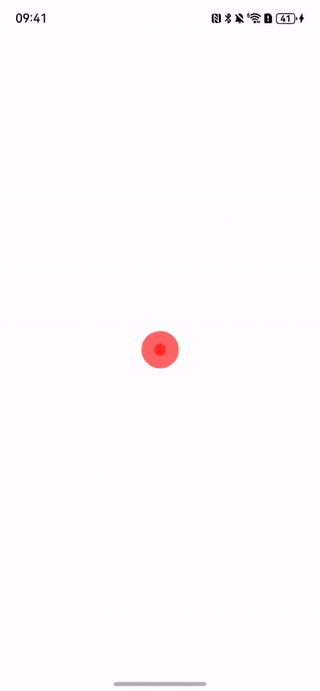
5.动画效果如下: