一、项目概述
本项目旨在通过两台服务器(Server-Web和Server-NFS-DNS)搭建一个基于LNMP(Linux、Nginx、MySQL、PHP)架构的个人博客系统。通过域名访问自建网站,同时实现资源文件的共享和DNS解析功能。
二、服务器配置
服务器信息
| 主机名 | IP地址 | 系统 | 主要服务 |
|---|---|---|---|
| Server-Web | 192.168.65.131 | Linux | Web服务(Nginx、PHP) |
| Server-NFS-DNS | 192.168.65.132 | Linux | NFS共享、DNS服务 |
三、基础配置
1. 配置静态IP地址
Server-Web(192.168.65.131)
nmcli c modify ens160 ipv4.method manual ipv4.addresses '192.168.65.131/24' ipv4.gateway '192.168.65.2' ipv4.dns '114.114.114.114'
nmcli c reload
nmcli c up ens160
Server-NFS-DNS(192.168.65.132)
nmcli c modify ens160 ipv4.method manual ipv4.addresses '192.168.65.132/24' ipv4.gateway '192.168.65.2' ipv4.dns '114.114.114.114'
nmcli c reload
nmcli c up ens160
2. 修改主机名及 /etc/hosts 映射
Server-Web(192.168.65.131)
hostnamectl set-hostname Server-Web
echo "127.0.0.1 Server-Web" >> /etc/hosts
echo "192.168.65.131 Server-Web" >> /etc/hosts
echo "192.168.65.132 Server-NFS-DNS" >> /etc/hosts
Server-NFS-DNS(192.168.65.132)
hostnamectl set-hostname Server-NFS-DNS
echo "127.0.0.1 Server-NFS-DNS" >> /etc/hosts
echo "192.168.65.131 Server-Web" >> /etc/hosts
echo "192.168.65.132 Server-NFS-DNS" >> /etc/hosts
3. 开启防火墙并配置
在两台服务器上执行以下命令:
systemctl start firewalld
systemctl enable firewalld
4.永久关闭selinux
为了确保SELinux在重启后仍然保持关闭状态,需要修改SELinux的配置文件:
vim /etc/selinux/config将文件中的以下内容:
SELINUX=enforcing修改为:
SELINUX=disabled保存并退出文件后,重启服务器以应用更改:
reboot重启后查看selinux状态:


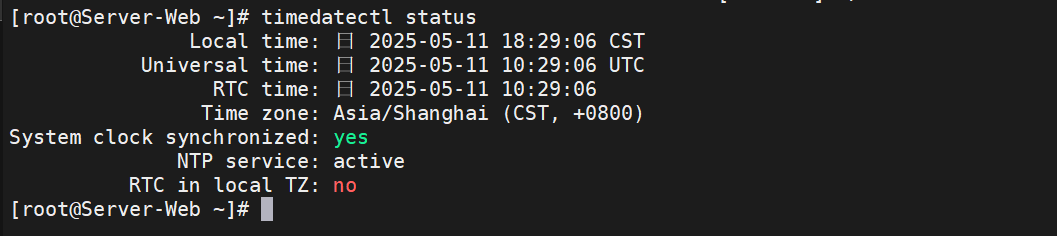
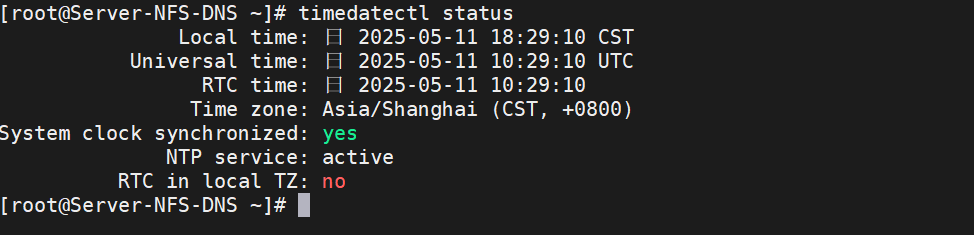
5. 时间同步
在两台服务器上执行以下命令:
vim /etc/chrony.conf
# 修改为:
server ntp.aliyun.com iburst
systemctl restart chronyd
chronyc sources -v
timedatectl status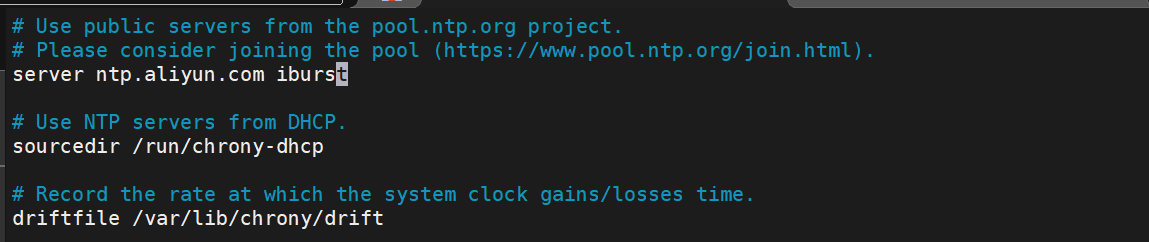
6. 配置免密SSH登录
Server-Web(192.168.65.131)
ssh-keygen -t rsa
ssh-copy-id 192.168.65.132
ssh 192.168.65.132
exit
Server-NFS-DNS(192.168.65.132)
ssh-keygen -t rsa
ssh-copy-id 192.168.65.131
ssh 192.168.65.131
exit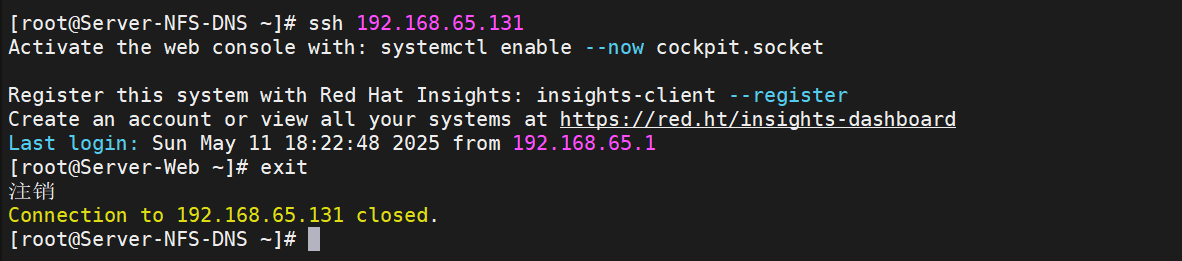
四、服务搭建
1. Server-Web端安装LNMP环境
在Server-Web(192.168.65.131)上执行以下命令:
yum install nginx mariadb-server php* -y2. Server-NFS-DNS端上传并解压WordPress
在Server-NFS-DNS(192.168.65.132)上执行以下命令:
cd /
unzip latest-zh_CN.zip
cd  wordpress
ls 
3. Server-NFS-DNS端设置NFS共享
在Server-NFS-DNS(192.168.65.132)上执行以下命令:
yum install rpcbind nfs-utils -y
vim /etc/exports
# 添加以下内容:
/wordpress 192.168.65.131(rw,sync,all_squash)
chmod -Rf 777 /wordpress
firewall-cmd --permanent --zone public --add-service=mountd
firewall-cmd --permanent --zone public --add-service=rpc-bind
firewall-cmd --permanent --zone public --add-service=nfs
firewall-cmd --reload
systemctl start rpcbind
systemctl start nfs-server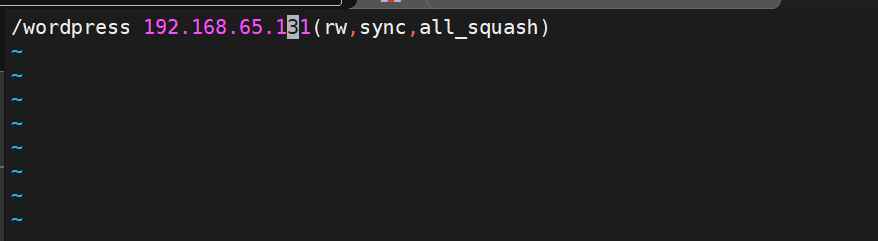


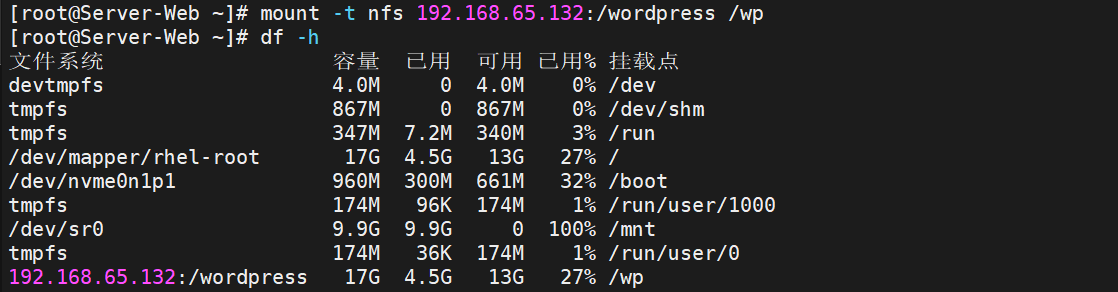
4. Server-Web端挂载NFS共享目录
在Server-Web(192.168.65.131)上执行以下命令:
yum install rpcbind nfs-utils -y
showmount -e 192.168.65.132
mkdir /wp
mount -t nfs 192.168.65.132:/wordpress /wp
cd /wp
ls

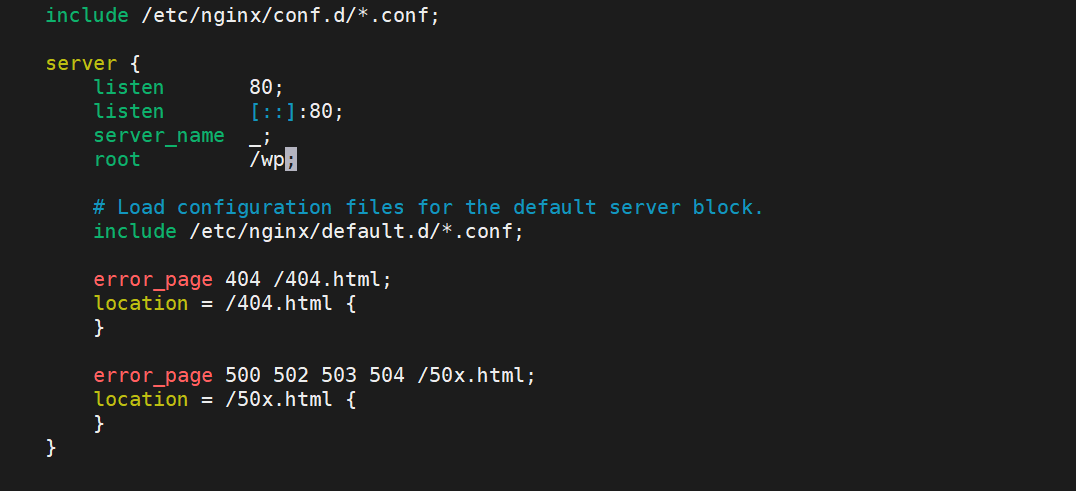
5. Server-Web端配置Nginx
在Server-Web(192.168.65.131)上执行以下命令:
firewall-cmd --permanent --zone public --add-service=http
firewall-cmd --reload
vim /etc/nginx/nginx.conf
# 修改root路径为:
root /wp;
systemctl restart nginx

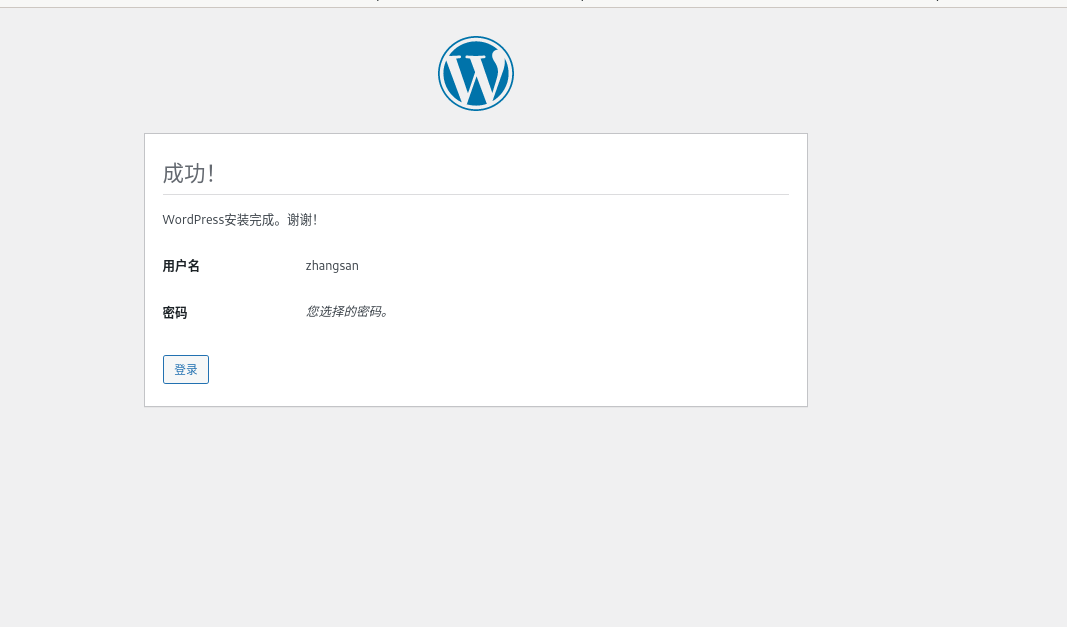
6. Server-Web端配置WordPress
在Server-Web(192.168.65.131)上执行以下命令:
cd /wp
cp wp-config-sample.php wp-config.php
vim wp-config.php
# 修改数据库配置:
define('DB_NAME', 'wordpress');
define('DB_USER', 'test1');
define('DB_PASSWORD', '123456');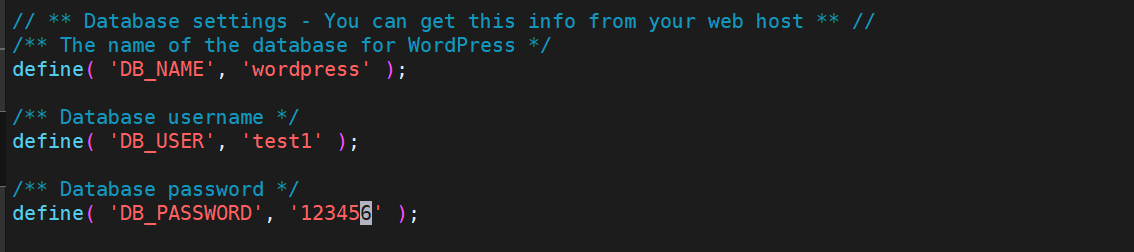
7. Server-Web端启动数据库并创建用户
在Server-Web(192.168.65.131)上执行以下命令:
systemctl start mariadb
mysql
# 在MySQL中执行以下命令:
create database wordpress;
create user 'test1'@'localhost' identified by '123456';
grant all on wordpress.* to 'test1'@'localhost';
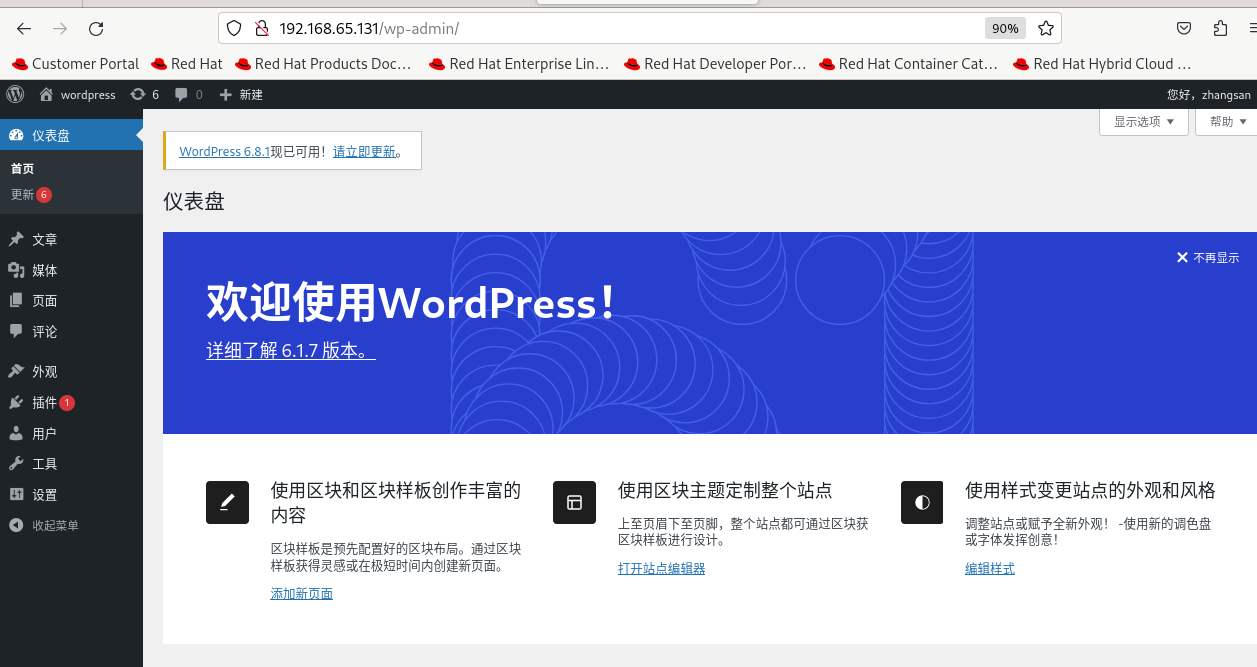
exit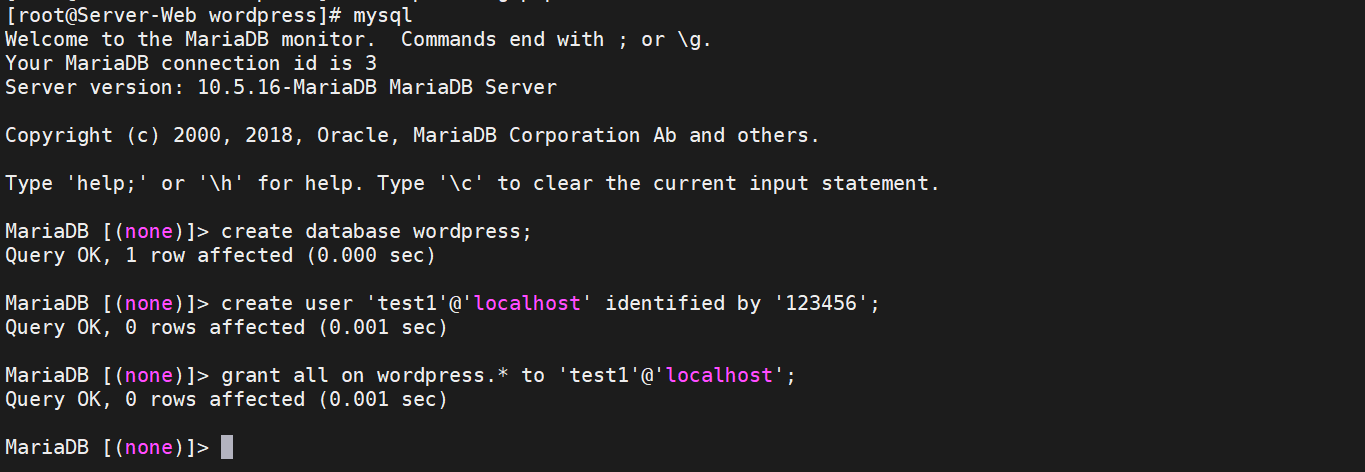
8. Server-Web端重启服务并通过ip访问测试
在Server-Web(192.168.65.131)上执行以下命令:
systemctl restart mariadb
systemctl restart nginx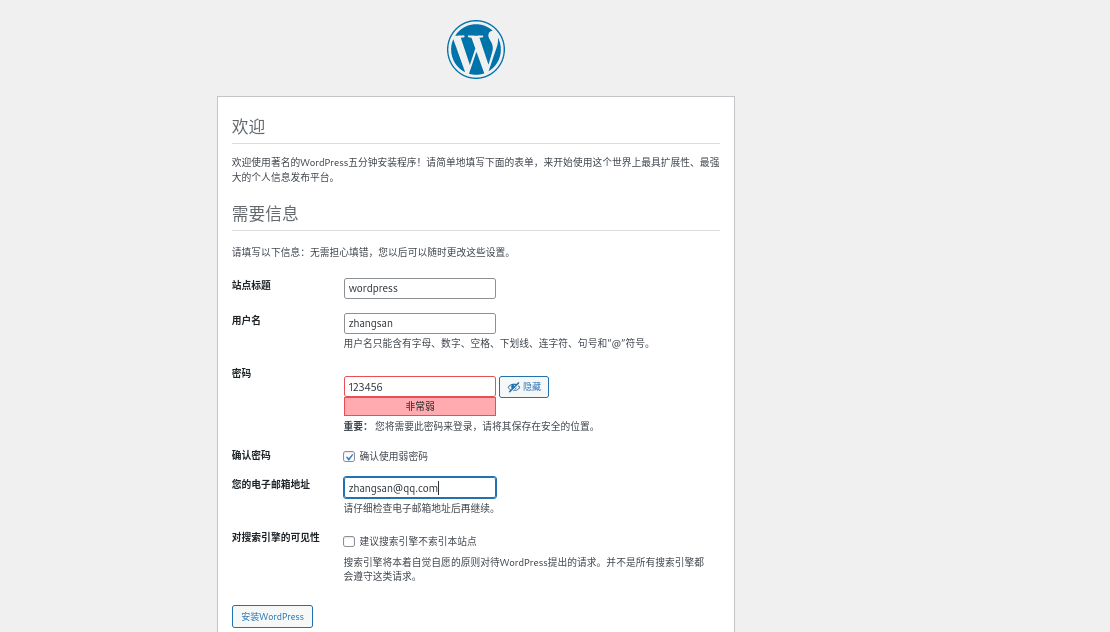
9. Server-NFS-DNS端配置DNS
在Server-NFS-DNS(192.168.65.132)上执行以下命令:
yum install bind -y
firewall-cmd --permanent --zone public --add-service=dns
firewall-cmd --reload
systemctl start named
vim /etc/named.conf
# 修改listen-on和allow-query为any
listen-on port 53 { any; };
allow-query { any; };

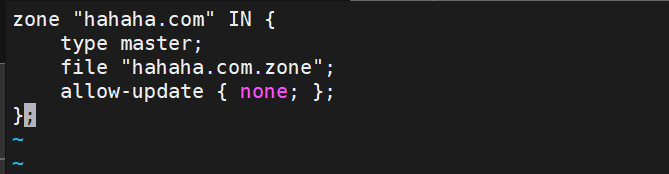
修改区域配置文件
vim /etc/named.rfc1912.zones
# 添加以下内容:
zone "hahaha.com" IN {
    type master;
    file "hahaha.com.zone";
    allow-update { none; };
};
新建区域数据文件
cd /var/named
cp -a named.localhost hahaha.com.zone
vim hahaha.com.zone
# 添加以下内容:
$TTL 1D
@       IN SOA  hahaha.com. admin.hahaha.com. (
                0       ; serial
                1D      ; refresh
                1H      ; retry
                1W      ; expire
                3H )    ; minimum
        NS      ns.hahaha.com.
ns      IN      A       192.168.65.131
www     IN      A       192.168.65.131
bbs     IN      A       192.168.65.131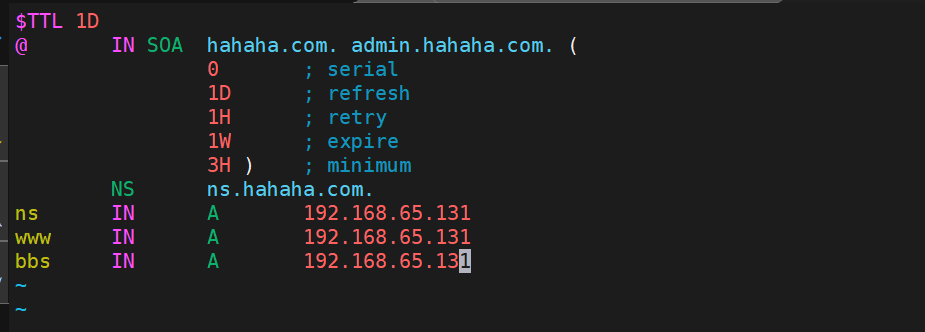
启动DNS服务
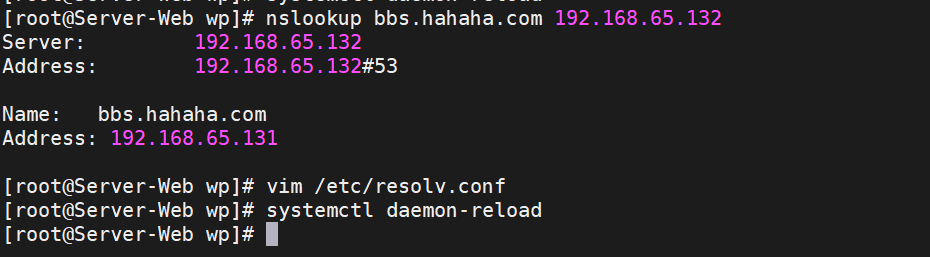
systemctl restart named五、测试
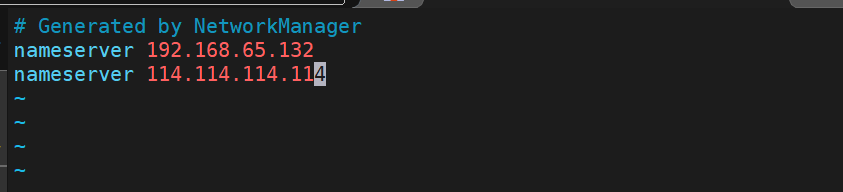
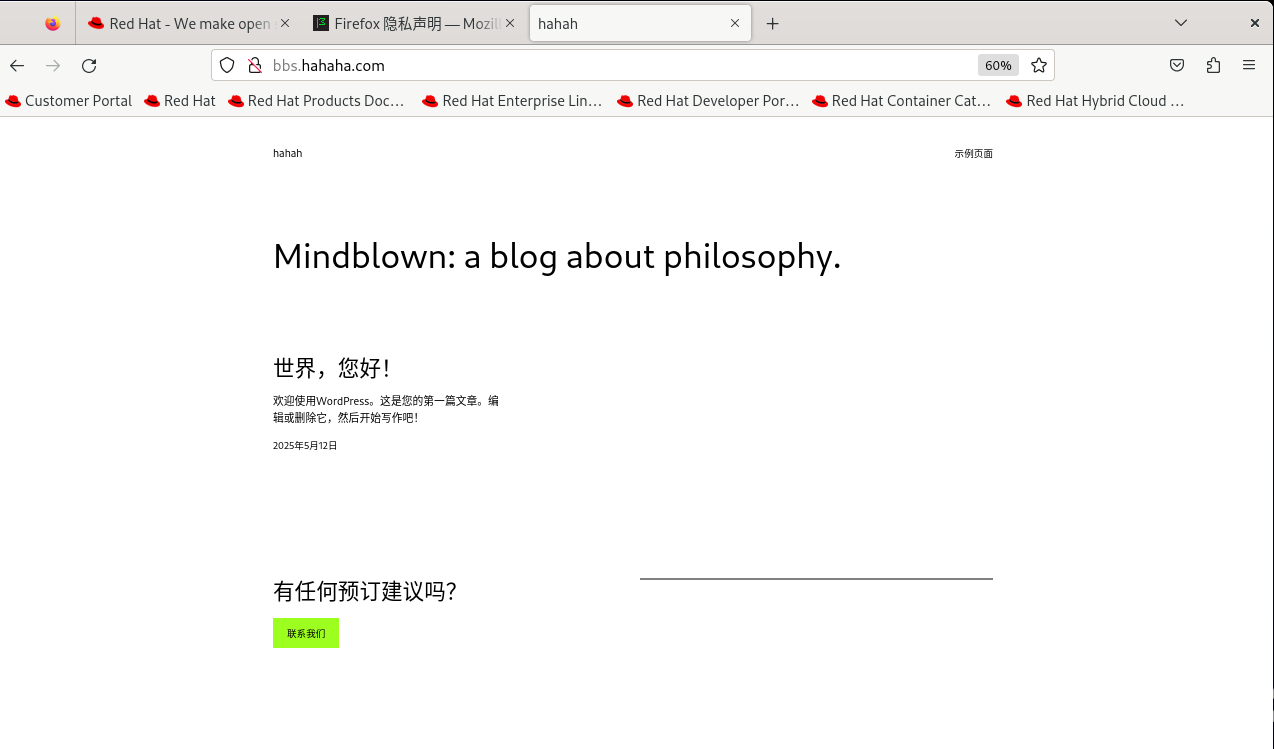
在Server-Web端中,将DNS服务器地址设置为192.168.65.132,然后通过浏览器访问 bbs.hahaha.com,完成WordPress的初始配置。