Java实战Spring Boot 3 整合 Ehcache 3(十九)
引言
在微服务和高并发场景下,缓存是提升系统性能的关键技术之一。Ehcache 作为 Java 生态中成熟的内存缓存框架,其 3.x 版本在性能、功能和易用性上均有显著提升。本文将详细介绍如何在 Spring Boot 3 中整合 Ehcache 3,并实现高效缓存管理。
一. 环境准备
- open JDK 17+:Spring Boot 3 要求 Java 17 及以上。
- Spring Boot 3.4.5:使用最新稳定版。
- Ehcache 3.10+:支持 JSR-107 标准,兼容 Spring Cache 抽象。
- 构建工具:Maven 或 Gradle(本文以 Maven 为例)。
二. 添加依赖
在 pom.xml 中添加 Ehcache 3 和 Spring Cache 依赖:
xml
<dependencies>
    <!-- Spring Boot Starter -->
    <dependency>
        <groupId>org.springframework.boot</groupId>
        <artifactId>spring-boot-starter-web</artifactId>
    </dependency>

    <!-- Spring Cache 抽象 -->
    <dependency>
        <groupId>org.springframework.boot</groupId>
        <artifactId>spring-boot-starter-cache</artifactId>
    </dependency>

    <!-- Ehcache 3.x 核心库 -->
    <dependency>
        <groupId>org.ehcache</groupId>
        <artifactId>ehcache</artifactId>
        <version>3.10.0</version>
        <classifier>jakarta</classifier> <!-- 针对高版本 JDK,添加 Jakarta 分类器 -->
    </dependency>
三. 配置 Ehcache 3
3.1 启用缓存
在 Spring Boot 主类或配置类上添加 @EnableCaching 注解:
java
@SpringBootApplication
@EnableCaching
@MapperScan("com.example.springboot3.mapper")
public class MyApplication {
    public static void main(String[] args) {
        SpringApplication.run(MyApplication.class, args);
    }
}
3.2 创建 Ehcache 配置文件
在 resources 目录下新建 ehcache.xml,定义缓存策略:
xml
<config xmlns:xsi="http://www.w3.org/2001/XMLSchema-instance"
        xmlns="http://www.ehcache.org/v3"
        xmlns:jsr107="http://www.ehcache.org/v3/jsr107">
    <service>
        <jsr107:defaults enable-management="true" enable-statistics="true"/>
    </service>
    <cache alias="productCache">
        <key-type>java.lang.String</key-type>
        <value-type>java.lang.Object</value-type>
        <expiry>
            <ttl unit="seconds">120</ttl>
        </expiry>
        <resources>
            <heap unit="entries">1000</heap>
            <offheap unit="MB">10</offheap>
        </resources>
    </cache>
</config>
3.3 配置 Spring Boot 使用 Ehcache
在 application.yml 中指定 Ehcache 配置文件路径:
yaml
spring:
  cache:
    jcache:
      config: classpath:ehcache.xml
    type: jcache
四. 实现缓存逻辑
4.1 定义服务类
使用 @Cacheable、@CachePut 和 @CacheEvict 注解管理缓存:
java
/**
 * ProductService - 类功能描述
 *
 * @author csdn:曼岛_
 * @version 1.0
 * @date 2025/5/12 15:01
 * @since JDK 17
 */
@Service
public class ProductService {

    @Autowired
    private ProductMapper productMapper;

    //从数据库查询并缓存结果
    @Cacheable(cacheNames = "productCache",key = "#id.toString()")
    public Product getProductById(Long id) {

        return productMapper.selectById(id);
    }

   //更新产品信息并更新缓存
    @CachePut(cacheNames = "productCache",key = "#product.id.toString()")
    public void updateProduct(Product product) {
        productMapper.updateById(product);
    }

    //更新或删除时清除缓存
    @CacheEvict(cacheNames = "productCache", key = "#id.toString()", allEntries = false)
    public void deleteProduct(Long id) {
        productMapper.deleteById(id);
    }
}
五. 高级配置与优化
5.1 自定义 CacheManager
通过 JCacheManagerCustomizer 配置多级缓存或动态缓存:
java
/**
 * EhcacheConfig - 类功能描述
 *
 * @author csdn:曼岛_
 * @version 1.0
 * @date 2025/5/13 14:21
 * @since JDK 17
 */
@Configuration
public class EhcacheConfig {

    @Bean
    public JCacheManagerCustomizer cacheManagerCustomizer() {
        return cm -> {
            CachingProvider provider = Caching.getCachingProvider();
            CacheManager cacheManager = null;
            try {
                cacheManager = provider.getCacheManager(
                        getClass().getResource("/ehcache.xml").toURI(),
                        getClass().getClassLoader()
                );
            } catch (URISyntaxException e) {
                e.printStackTrace();
            }

        };
    }
}
5.2 监控与统计
启用 Ehcache 统计信息:
yaml
spring:
  cache:
    jcache:
      provider: org.ehcache.jsr107.EhcacheCachingProvider
在代码中获取统计信息:
java
Cache<Long, Product> cache = cacheManager.getCache("productCache", Long.class, Product.class);
Eh107Cache<Long, Product> eh107Cache = (Eh107Cache<Long, Product>) cache;
Ehcache<Long, Product> ehcache = eh107Cache.getEhcache();
Statistics statistics = ehcache.getRuntimeConfiguration().getStatistics();
六. 测试验证
6.1 编写单元测试
使用 @SpringBootTest 测试缓存行为:
java
@SpringBootTest
public class ProductServiceTest {
@Autowired
private ProductService productService;
@Autowired
private ProductMapper productMapper;
@Autowired
private CacheManager cacheManager;
@Test
public void testGetProductById() {
// 清空缓存
Cache cache = cacheManager.getCache("productCache");
cache.clear();
// 创建一个测试产品
Product product = new Product();
product.setName("Product");
product.setPrice(100);
product.setStock(1);
productMapper.insert(product);
// 第一次调用,应该从数据库获取数据
Product result1 = productService.getProductById(product.getId());
assertNotNull(result1);
assertEquals(product.getName(), result1.getName());
// 第二次调用,应该从缓存获取数据
Product result2 = productService.getProductById(product.getId());
assertNotNull(result2);
assertEquals(product.getName(), result2.getName());
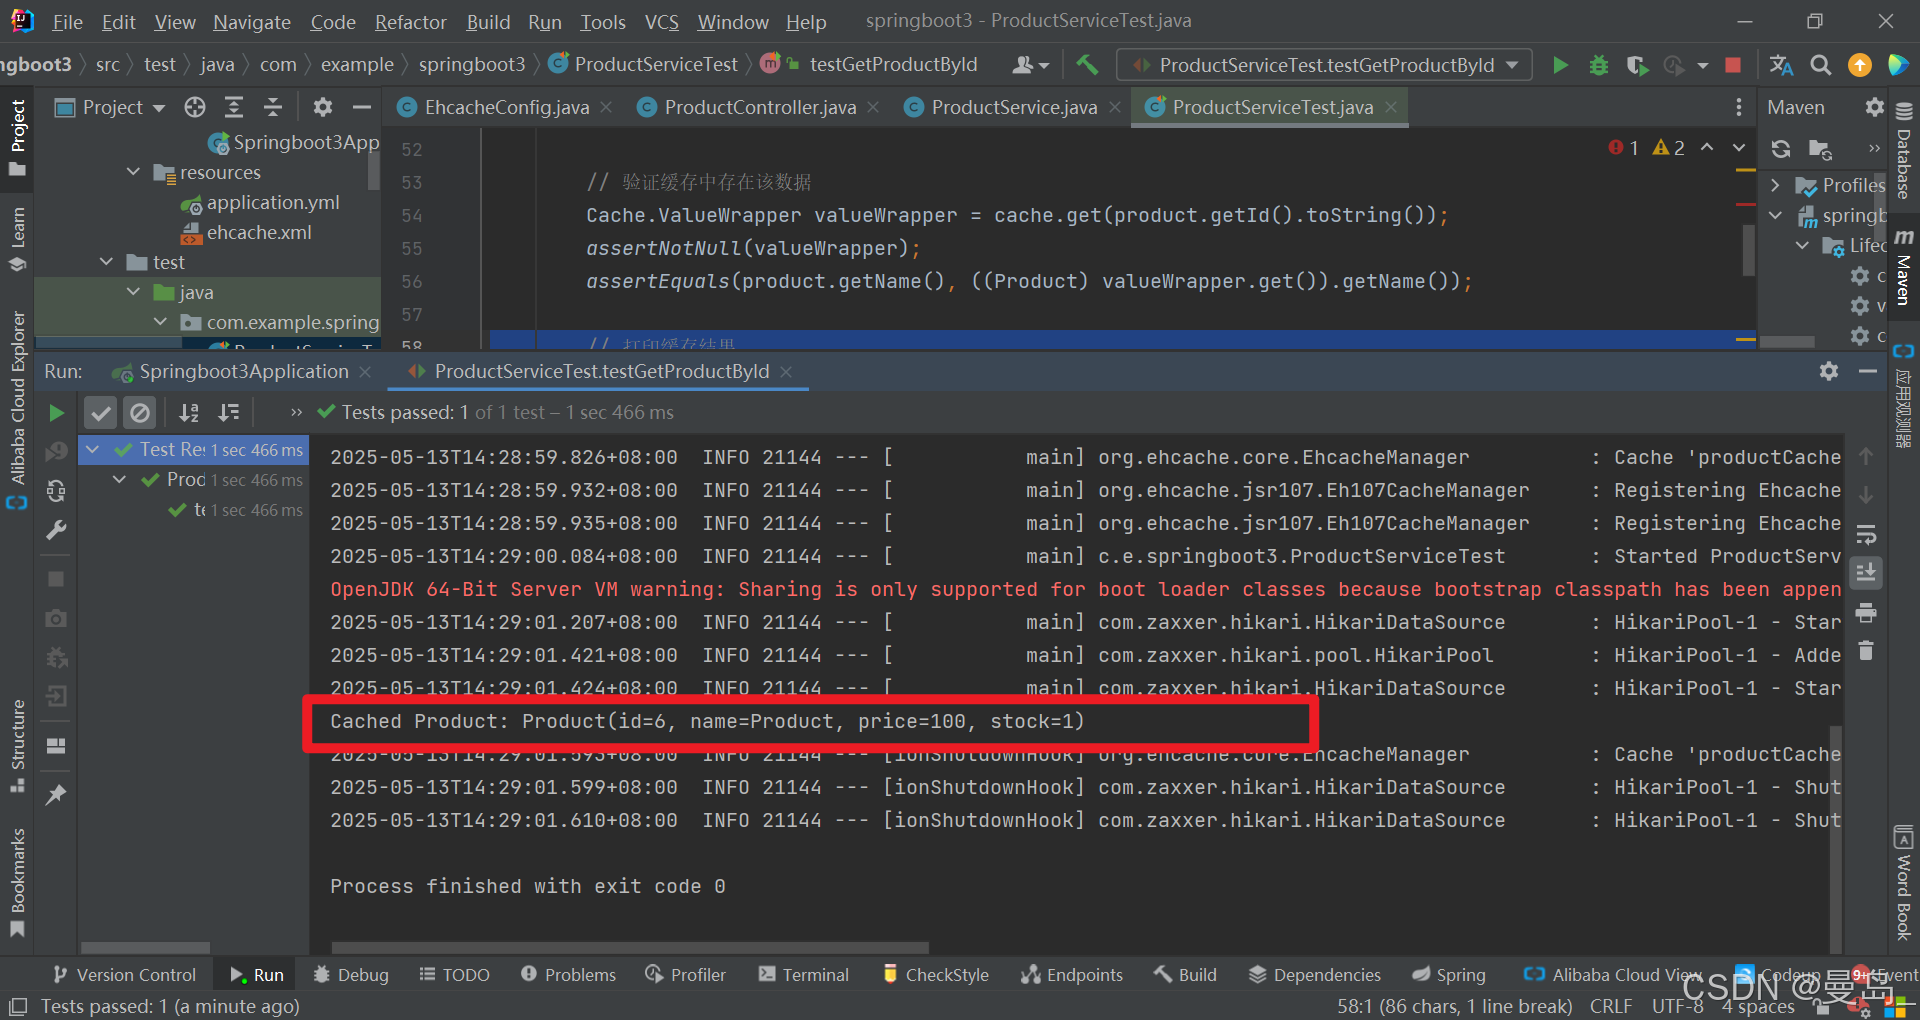
// 验证缓存中存在该数据
Cache.ValueWrapper valueWrapper = cache.get(product.getId().toString());
assertNotNull(valueWrapper);
assertEquals(product.getName(), ((Product) valueWrapper.get()).getName());
// 打印缓存结果
System.out.println("Cached Product: " + valueWrapper.get());
}
@Test
public void testUpdateProduct() {
// 清空缓存
Cache cache = cacheManager.getCache("productCache");
cache.clear();
// 创建一个测试产品
Product product = new Product();
product.setName("Product");
product.setPrice(100);
product.setStock(2);
productMapper.insert(product);
// 更新产品信息
product.setName("Updated Product");
product.setPrice(200);
productService.updateProduct(product);
// 验证数据库中的数据是否更新
Product updatedProduct = productMapper.selectById(product.getId().toString());
assertEquals("Updated Product", updatedProduct.getName());
assertEquals(200, updatedProduct.getPrice());
// 验证缓存中的数据是否更新
Cache.ValueWrapper valueWrapper = cache.get(product.getId().toString());
assertNotNull(valueWrapper);
assertEquals("Updated Product", ((Product) valueWrapper.get()).getName());
}
@Test
public void testDeleteProduct() {
// 清空缓存
Cache cache = cacheManager.getCache("productCache");
cache.clear();
// 创建一个测试产品
Product product = new Product();
product.setName("Test Product");
product.setPrice(100);
product.setStock(1);
productMapper.insert(product);
// 将产品信息放入缓存
productService.getProductById(product.getId());
// 删除产品
productService.deleteProduct(product.getId());
// 验证数据库中的数据是否删除
assertNull(productMapper.selectById(product.getId()));
// 验证缓存中的数据是否删除
assertNull(cache.get(product.getId().toString()));
}
}
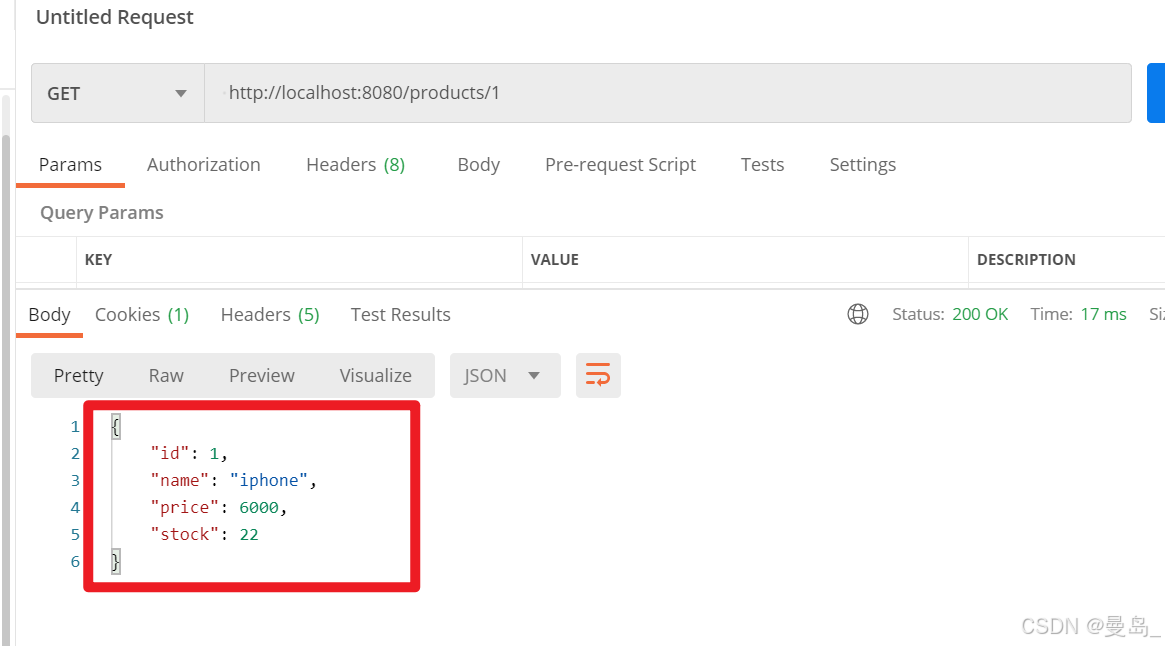
接口测试:
6.2 查看缓存状态
通过 Actuator 或日志观察缓存命中率(需添加 Actuator 依赖):
yaml
management:
  endpoints:
    web:
      exposure:
        include: cache
七. 常见问题与解决方案
7.1 缓存不生效
- 检查点 :确保
@EnableCaching已启用,方法为public,且调用来自 Spring 代理对象。 - 日志调试 :设置
logging.level.org.springframework.cache=DEBUG。
7.2 序列化异常
- 原因 :缓存对象未实现
Serializable。 - 解决 :为缓存对象添加
implements Serializable或配置序列化策略。
7.3 依赖冲突
- 排查工具 :使用
mvn dependency:tree检查版本一致性。 - 推荐:使用 Spring Boot 管理的 Ehcache 版本。
八. 性能对比与选型建议
- Ehcache vs Caffeine:Ehcache 支持多级缓存和持久化,适合复杂场景;Caffeine 更轻量,适合纯内存缓存。
- Ehcache vs Redis:Ehcache 适用于单机内存缓存,Redis 适合分布式缓存。
结语
通过本文,您已掌握在 Spring Boot 3 中整合 Ehcache 3 的核心步骤与优化技巧。合理利用缓存机制,可以显著提升系统性能。建议根据业务场景选择合适的缓存策略,并通过监控持续优化。
扩展阅读 :Ehcache 官方文档
希望本教程对您有帮助,请点赞❤️收藏⭐关注支持!欢迎在评论区留言交流技术细节!