前言
在上一篇文章中,我们学习了 Three.js 的基础概念,包括场景、相机、几何体、材质、网格和渲染器。这篇文章我们将深入讲解 对象的变换(Transform) 和 动画(Animation),并结合代码示例帮助你更好地理解这些核心概念。
Transform:对象的变换
在 3D 场景中,对象的变换包括 位置(Position) 、缩放(Scale) 和 旋转(Rotation)。Three.js 提供了丰富的 API 来操作这些属性,以下是具体用法。
1. 距离与位置
获取距离
.position.length():返回对象到原点(0,0,0)的距离。.position.distanceTo(object.position):返回两个对象之间的距离。
归一化
.position.normalize():将向量归一化为单位向量(长度为 1)。
设置位置
-
mesh.position.set(x, y, z):一次性设置对象的坐标。 -
单独设置轴:
jsmesh.position.x = 1; // 设置 x 轴 mesh.position.y = 1; // 设置 y 轴 mesh.position.z = 1; // 设置 z 轴
示例代码
js
// 创建一个立方体
const cube = new THREE.Mesh(
  new THREE.BoxGeometry(1, 1, 1),
  new THREE.MeshBasicMaterial({ color: 0x00ff00 })
);

// 设置立方体位置
cube.position.set(2, 0, 0); // 移动到 x=2 的位置

// 添加到场景
scene.add(cube);
2. 轴辅助工具
AxisHelper
new THREE.AxisHelper(size):创建一个坐标轴辅助工具,帮助可视化 3D 空间中的方向。size:坐标轴的长度(默认 1)。
示例代码
js
// 创建坐标轴辅助工具(长度为 5)
const axesHelper = new THREE.AxisHelper(5);
scene.add(axesHelper);
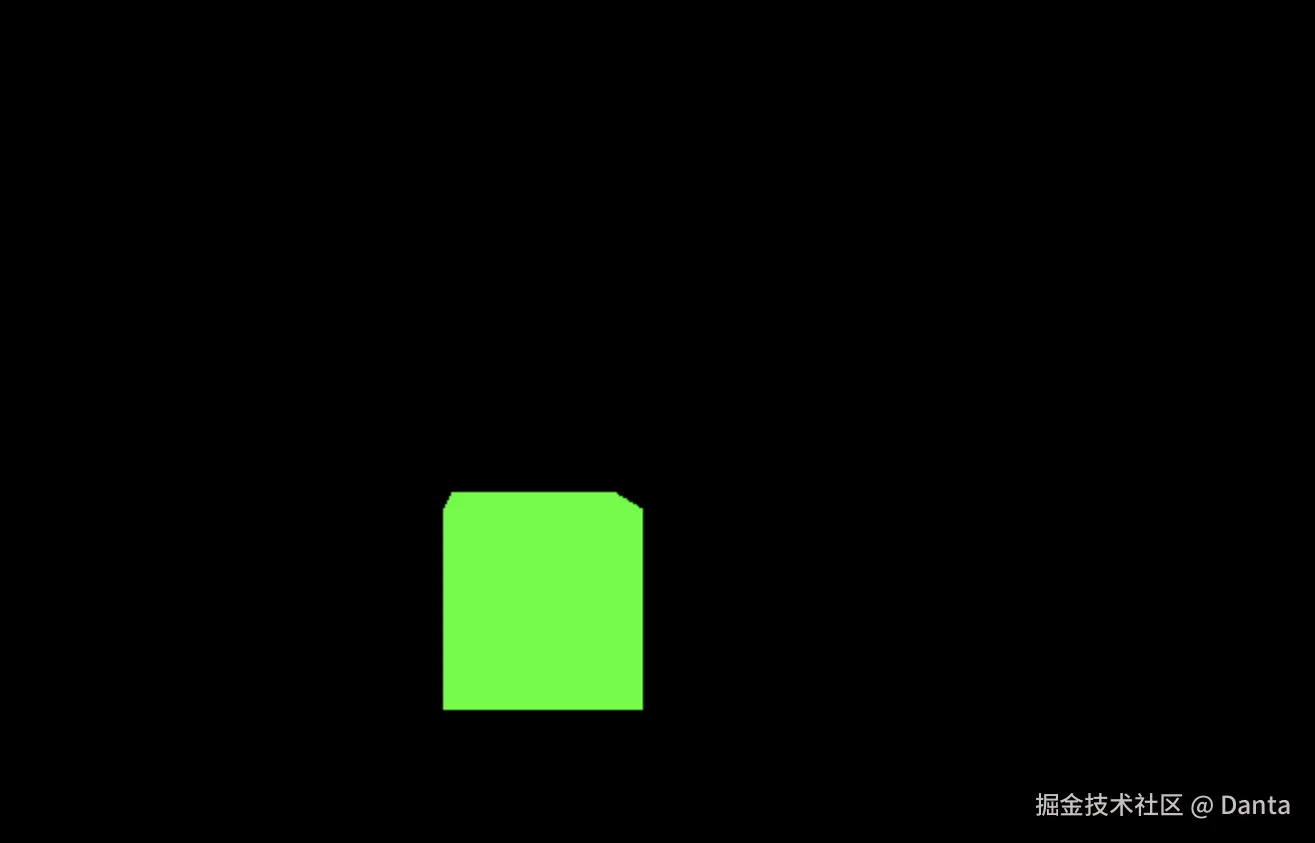
正常不调整xy方向是看不到三条轴线的
3. 定位对象
缩放(Scale)
.scale.x/y/z:单独设置缩放比例。.scale.set(x, y, z):一次性设置所有轴的缩放。
旋转(Rotation)
.rotation.x/y/z:单独设置旋转角度(弧度制)。.rotation.set(x, y, z):一次性设置所有轴的旋转。.rotation.reorder('XYZ'):调整旋转顺序(解决旋转依赖问题)。
lookAt()
object.lookAt(target):让对象朝向目标点(常用于相机或物体对齐)。
组(Group)
-
new THREE.Group():创建一个组,可将多个对象组合在一起,统一管理位置、旋转、缩放。jsconst group = new THREE.Group(); group.add(cube1); group.add(cube2); scene.add(group);
示例代码
js
// 缩放立方体
cube.scale.set(2, 1, 0.5); // x 轴放大 2 倍,y 轴不变,z 轴缩小一半

// 旋转立方体
cube.rotation.set(Math.PI / 4, 0, 0); // 绕 x 轴旋转 45 度

// 使用组管理多个对象
const group = new THREE.Group();
group.add(cube);
group.add(axesHelper);
scene.add(group);
Animation:动画
Three.js 的动画核心在于 渲染循环(Render Loop) 和 时间控制 。我们可以通过 requestAnimationFrame 或 THREE.Clock 实现平滑动画。
1. 渲染循环
基本原理
- 使用
requestAnimationFrame不断调用渲染函数,更新对象状态。 - 每帧更新对象的位置、旋转等属性。
示例代码
js
// 初始化时钟
const clock = new THREE.Clock();

// 渲染循环函数
function animate() {
  requestAnimationFrame(animate);

  // 获取经过的时间(秒)
  const elapsedTime = clock.getElapsedTime();

  // 更新对象位置
  cube.rotation.y += 0.01; // 每帧绕 y 轴旋转
  cube.position.y = Math.sin(elapsedTime); // 垂直运动

  // 渲染
  renderer.render(scene, camera);
}

// 启动渲染循环
animate();
2. 时间戳与时间控制
使用 Date.now()
Date.now()返回当前时间戳(毫秒),可用于计算帧间隔时间。deltaTime = currentTime - lastTime:计算两帧之间的时间差。
使用 THREE.Clock
const clock = new THREE.Clock():Three.js 提供的时钟工具。clock.getElapsedTime():获取从时钟启动到当前的总时间(秒)。
示例代码
js
let time = Date.now();

function animate() {
  requestAnimationFrame(animate);

  const currentTime = Date.now();
  const deltaTime = currentTime - time;
  time = currentTime;

  console.log(`每帧耗时:${deltaTime}ms`);

  renderer.render(scene, camera);
}

animate();
3. 使用 GSAP 实现动画
GSAP(GreenSock Animation Platform)是一个强大的动画库,可以简化 Three.js 动画的创建。
示例代码
js
// 引入 GSAP
<script src="https://cdnjs.cloudflare.com/ajax/libs/gsap/3.12.2/gsap.min.js"></script>

// 动画示例:立方体移动
gsap.to(cube.position, {
  duration: 1,   // 动画持续时间
  delay: 1,      // 延迟 1 秒开始
  x: 2,          // 移动到 x=2
  ease: "power1.inOut" // 缓动函数
});

gsap.to(cube.position, {
  duration: 1,
  delay: 2,
  x: 0,          // 回到 x=0
  ease: "power1.inOut"
});
完整代码示例

html
<!DOCTYPE html>
<html lang="en">
<head>
  <meta charset="UTF-8" />
  <meta name="viewport" content="width=device-width, initial-scale=1.0" />
  <title>Three.js Transform & Animation</title>
  <style>
    body { margin: 0; }
    canvas { display: block; }
  </style>
</head>
<body>
  <script src="https://cdn.jsdelivr.net/npm/three@0.132.2/build/three.min.js"></script>
  <script src="https://cdnjs.cloudflare.com/ajax/libs/gsap/3.12.2/gsap.min.js"></script>
  <script>
    // 初始化场景、相机、渲染器
    const scene = new THREE.Scene();
    const camera = new THREE.PerspectiveCamera(
      75,
      window.innerWidth / window.innerHeight,
      0.1,
      1000
    );
    camera.position.z = 5;

    const renderer = new THREE.WebGLRenderer();
    renderer.setSize(window.innerWidth, window.innerHeight);
    document.body.appendChild(renderer.domElement);

    // 创建立方体
    const geometry = new THREE.BoxGeometry(1, 1, 1);
    const material = new THREE.MeshBasicMaterial({ color: 0x00ff00 });
    const cube = new THREE.Mesh(geometry, material);
    scene.add(cube);

    // 坐标轴辅助工具
    const axesHelper = new THREE.AxisHelper(5);
    scene.add(axesHelper);

    // 使用 GSAP 动画
    gsap.to(cube.position, {
      duration: 1,
      delay: 1,
      x: 2,
      ease: "power1.inOut"
    });

    gsap.to(cube.position, {
      duration: 1,
      delay: 2,
      x: 0,
      ease: "power1.inOut"
    });

    // 渲染循环
    function animate() {
      requestAnimationFrame(animate);
      renderer.render(scene, camera);
    }

    animate();
  </script>
</body>
</html>
留下一个简单思考题如何实现下面的效果:
结语
通过这篇文章,我们学习了 Three.js 中对象的变换(Transform)和动画(Animation)的核心概念,并通过代码示例展示了如何实现这些功能。

