微信小程序使用画布实现飘落泡泡功能:从组件封装到页面调用的完整实践
先看示例截图:
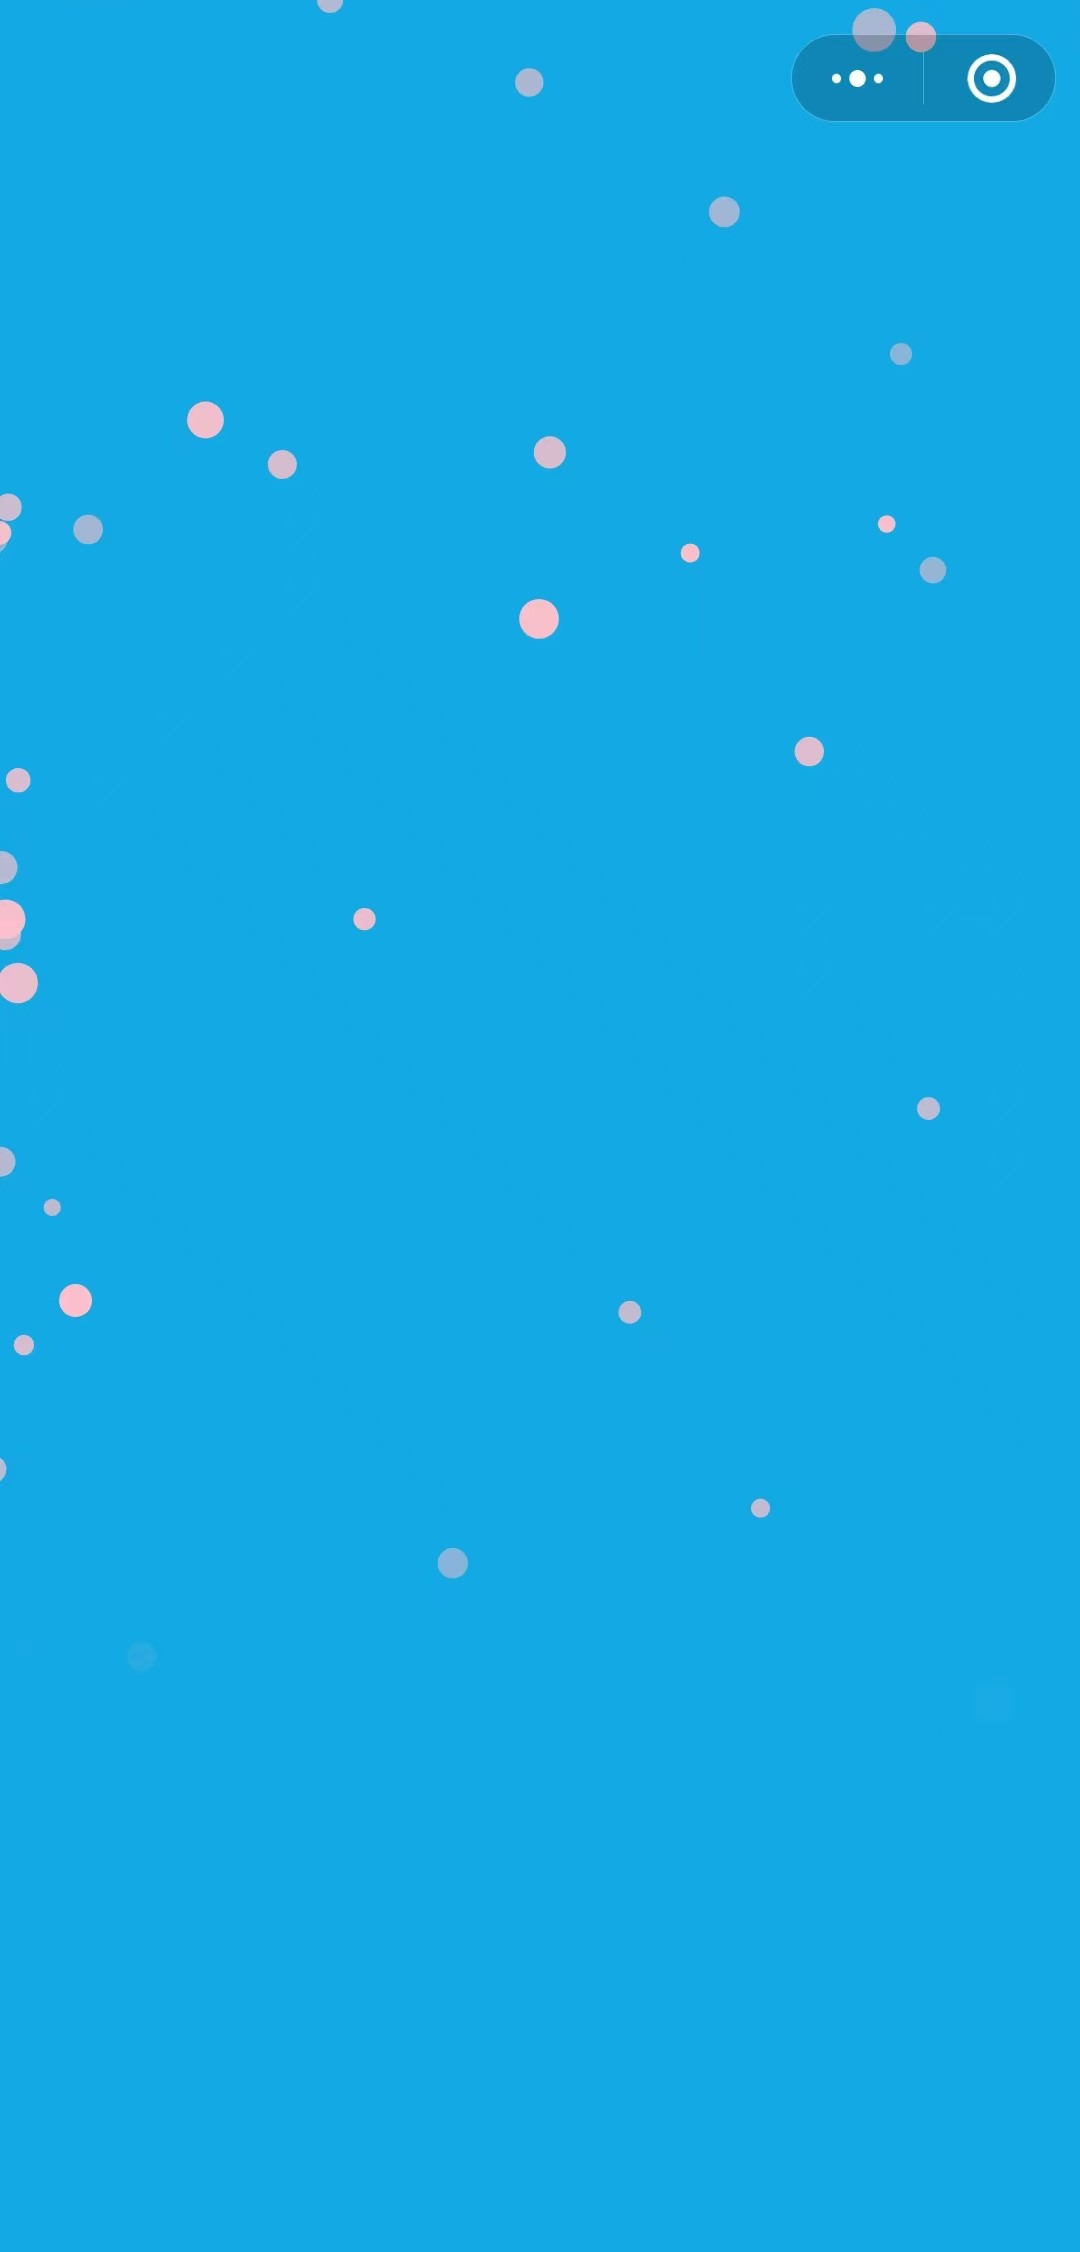
一、背景与技术选型
在微信小程序中实现类似于飘落的泡泡或者樱花飘落的功能,一般主要有 Canvas 和图片两种方案:
(1)Canvas 方案:性能优异,资源占用小,但视觉表现依赖绘图 API
(2)图片方案:视觉效果真实,但资源加载与内存占用较高
本文将采用Canvas 方案实现飘落的泡泡组件,通过组件化设计提升代码复用性,并分享性能优化经验,帮助开发者在真实感与性能间找到平衡点。
二、组件设计与实现
2.1 组件结构设计
首先创建组件文件夹components/down-rain,目录结构如下:
bash
components/
└─ down-rain/
   ├── index.js         // 逻辑层
   ├── index.wxml       // 视图层
   ├── index.wxss       // 样式层
   ├── index.json       // 配置文件
2.2 组件核心代码实现
以下是组件的完整实现:
javascript
Component({
  properties: {
    // 数量
    petalCount: { type: Number, value: 60 },
    //  大小
    petalSize: { type: Array, value: [3, 8] },
    // 下落速度
    speed: { type: Number, value: 2 },
    // 风力影响
    wind: { type: Number, value: 0.3 },
  },

  data: {
    canvasWidth: 0,
    canvasHeight: 0,
    ctx: null,
    animationTimer: null,
    petals: []
  },

  lifetimes: {
    attached() {
      this.initCanvas();
    },
    detached() {
      this.stopAnimation();
    }
  },

  methods: {
    // 初始化Canvas
    async initCanvas() {
      const query = this.createSelectorQuery();
      query.select('.canvas').boundingClientRect();
      const { windowWidth, windowHeight } = wx.getSystemInfoSync();
      const canvas = wx.createCanvasContext('downCanvas', this);

      this.setData({
        canvasWidth: windowWidth,
        canvasHeight: windowHeight,
        ctx: canvas,
        petals: this.createPetals()
      });

      this.startAnimation();
    },

    // 创建花瓣数组 - 修改:从随机位置开始下落
    createPetals() {
      const { petalCount, petalSize } = this.properties;
      const { canvasWidth, canvasHeight } = this.data;
      const vanishLine = canvasHeight * 2 / 3; // 消失线位置

      return Array(petalCount).fill().map(() => {
        // 随机生成初始位置,y可以在画布上方
        const y = Math.random() * canvasHeight * 1.5 - canvasHeight * 0.5;
        return {
          x: Math.random() * canvasWidth,
          y,
          size: petalSize[0] + Math.random() * (petalSize[1] - petalSize[0]),
          speed: 0.5 + Math.random() * this.properties.speed,
          angle: Math.random() * Math.PI * 2,
          wind: (Math.random() - 0.5) * this.properties.wind,
          alpha: 0.5 + Math.random() * 0.5,
          startY: y, // 记录起始Y坐标用于计算消失
          visible: y < vanishLine // 初始可见性判断
        };
      });
    },

    // 开始动画
    startAnimation() {
      this.data.animationTimer = setInterval(() => {
        this.updatePetals();
        this.drawPetals();
      }, 30);
    },

    // 停止动画
    stopAnimation() {
      if (this.data.animationTimer) {
        clearInterval(this.data.animationTimer);
      }
    },

    // 更新位置
    updatePetals() {
      const { canvasWidth, canvasHeight, petals } = this.data;
      const vanishLine = canvasHeight * 2 / 3;

      this.setData({
        petals: petals.map(petal => {
          petal.y += petal.speed;
          petal.x += Math.sin(petal.angle) * petal.wind;
          petal.angle += 0.02;

          // 计算与消失线的距离比例
          const distanceRatio = Math.max(0, (petal.y - vanishLine) / (canvasHeight - vanishLine));

          // 超过消失线后逐渐消失
          if (distanceRatio > 0) {
            petal.alpha = Math.max(0, petal.alpha * (1 - distanceRatio));
            petal.visible = petal.alpha > 0;
          } else {
            petal.visible = true;
            petal.alpha = 0.5 + Math.random() * 0.5; // 重置透明度
          }

          // 完全消失后重置位置
          if (!petal.visible || petal.y > canvasHeight) {
            return {
              x: Math.random() * canvasWidth,
              y: -10, // 从顶部重新开始
              size: petal.size, // 保持原有大小
              speed: 0.5 + Math.random() * this.properties.speed,
              angle: Math.random() * Math.PI * 2,
              wind: petal.wind, // 保持原有风力影响
              alpha: 0.5 + Math.random() * 0.5,
              startY: -10,
              visible: true
            };
          }

          return petal;
        })
      });
    },

    // 绘制
    drawPetals() {
      const { ctx, petals } = this.data;
      ctx.clearRect(0, 0, this.data.canvasWidth, this.data.canvasHeight);
      petals.forEach(petal => {
        if (petal.visible) {
          ctx.beginPath();
          ctx.arc(petal.x, petal.y, petal.size, 0, Math.PI * 2);
          ctx.fillStyle = `rgba(255, 192, 203, ${petal.alpha})`;
          ctx.fill();
        }
      });

      ctx.draw(false);
    },
  }
});
2.3 视图层实现
xml
<canvas class="canvas" canvas-id="downCanvas"></canvas>2.4 样式层实现
css
.canvas {
  position: fixed;
  top: 0;
  left: 0;
  width: 100%;
  height: 100%;
  pointer-events: none;
  z-index: 999;
}
三、页面调用与集成
3.1 页面配置
在需要调用的界面的json文件处引入组件
javascript
{
  "usingComponents": {
    "down-rain": "/components/down-rain/index"
  },
  "navigationStyle": "custom"
}
3.2 页面布局
xml
<down-rain petalCount="50" speed="5"></down-rain>四、总结与拓展
本文通过组件化设计实现了微信小程序中基于Canvas 的飘落泡泡的效果。实际项目中,可根据活动预算和性能要求选择合适的实现方案:
(1)对性能要求高、视觉要求低的场景推荐使用 Canvas 方案
(2)对视觉效果要求高、预算充足的场景推荐使用图片方案
编写不易,谢谢点赞+收藏+关注,后续更新更多示例呦~