目录
[二、ChangeNotifier 的基本用法](#二、ChangeNotifier 的基本用法)
[三、结合Flutter UI 使用](#三、结合Flutter UI 使用)
[四、结合 Provider 的高级用法](#四、结合 Provider 的高级用法)
[五、ChangeNotifier 的优势与注意事项](#五、ChangeNotifier 的优势与注意事项)
[5.1 优势](#5.1 优势)
[5.2 注意事项](#5.2 注意事项)
[六、与 ValueNotifier 的比较](#六、与 ValueNotifier 的比较)
前言
在 Flutter 开发中,ChangeNotifier 是一个强大的状态管理工具,位于 package:flutter/foundation.dart 中,广泛用于实现响应式 UI 更新。它通过提供监听者管理和通知机制,帮助开发者在状态变化时通知相关的 UI 组件。
本文将详细介绍ChangeNotifier 的用法,包括其基本概念、实现方式、实际应用场景,以及与 Provider 等工具的结合方式。
一、什么是ChangeNotifier
ChangeNotifier 是一个 mixin 类,实现了 Listenable 接口,用于管理状态并通知注册的监听者(VoidCallback 类型)。它允许开发者定义复杂的状态逻辑,并在状态变化时通过 notifyListeners 方法触发 UI 更新。ChangeNotifier 是 Flutter 响应式编程的核心,适合需要管理多字段状态或自定义通知逻辑的场景。
ChangeNotifier的核心特征如下:
- 监听者管理:通过
addListener和removeListener管理监听者列表。 - 通知机制:通过
notifyListeners通知所有监听者状态变化。 - 销毁支持:提供
dispose方法清理资源,防止内存泄漏。 - 调试友好:内置调试支持(如
debugAssertNotDisposed),帮助发现错误。
二、ChangeNotifier 的基本用法
ChangeNotifier通常通过mixin的方式混入自定义类,用于管理状态。
以下是一个简单的计数器示例,展示其基本用法:
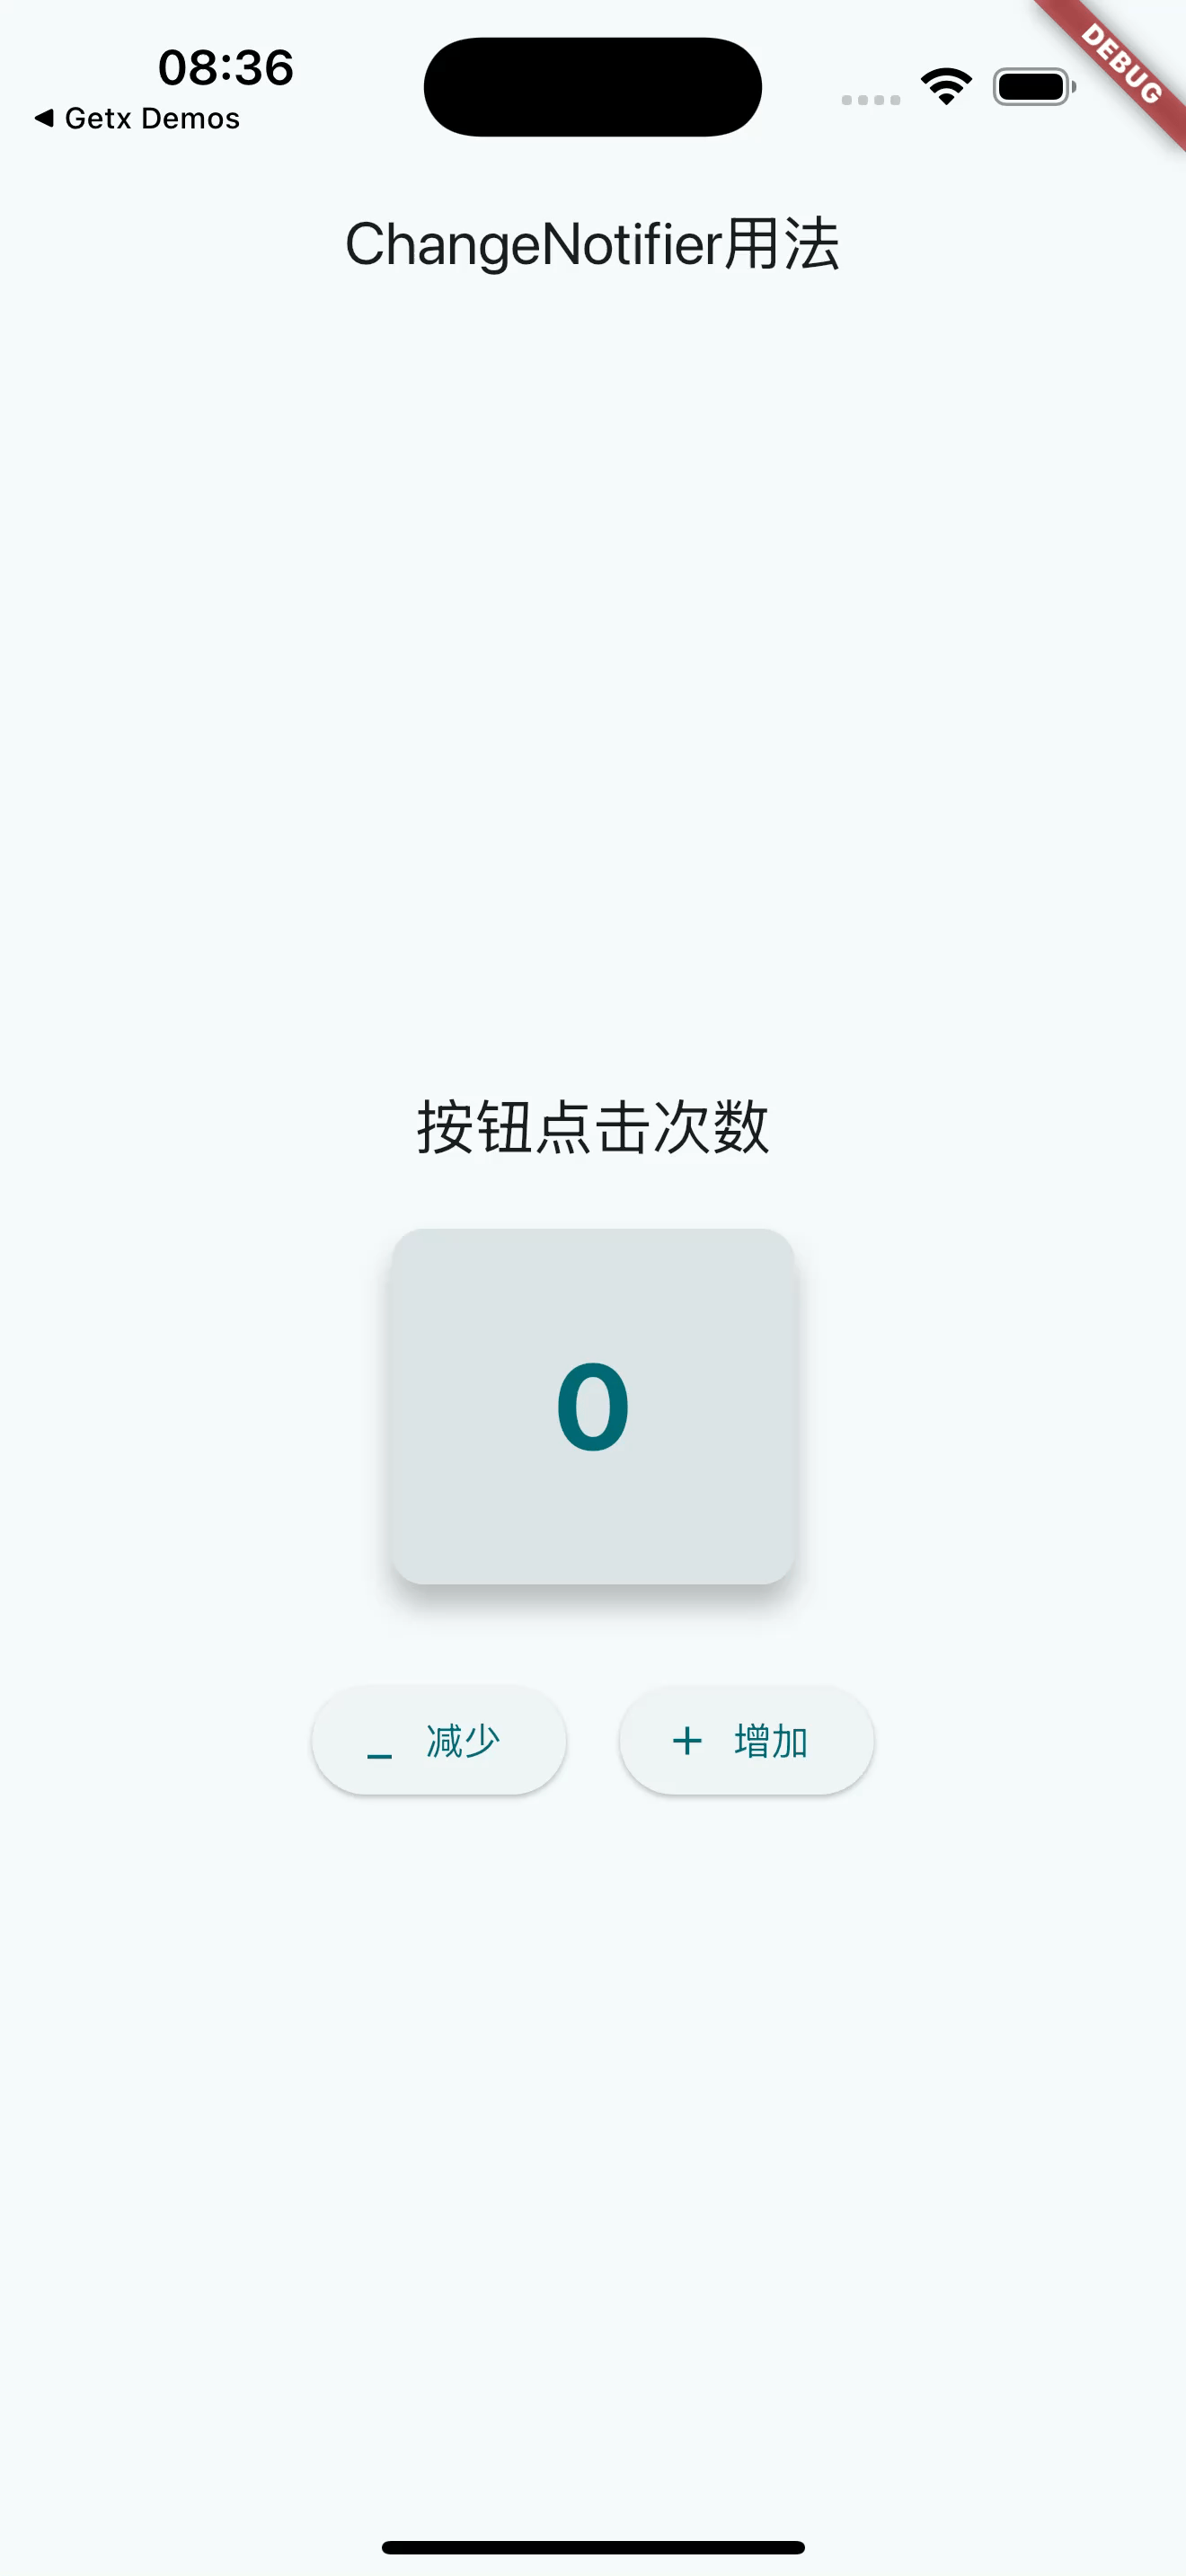
图1.计时器实例
import 'package:flutter/material.dart';

void main() {
  runApp(const MyApp());
}

class MyApp extends StatelessWidget {
  const MyApp({super.key});

  @override
  Widget build(BuildContext context) {
    return MaterialApp(
      title: 'Flutter Demo',
      theme: ThemeData(
        colorScheme: ColorScheme.fromSeed(seedColor: Colors.blue),
        useMaterial3: true,
      ),
      home: const MyHomePage(title: 'ChangeNotifier 用法示例'),
    );
  }
}

class MyHomePage extends StatefulWidget {
  const MyHomePage({super.key, required this.title});
  final String title;

  @override
  State<MyHomePage> createState() => _MyHomePageState();
}

class _MyHomePageState extends State<MyHomePage> {
  final counter = Counter();

  void listener() {
    setState(() {}); // 触发 UI 更新
  }

  @override
  void initState() {
    super.initState();
    counter.addListener(listener);
  }

  @override
  void dispose() {
    counter.removeListener(listener);
    counter.dispose(); // 清理 Counter 资源
    super.dispose();
  }

  @override
  Widget build(BuildContext context) {
    return Scaffold(
      appBar: AppBar(
        title: Text(widget.title),
        backgroundColor: Theme.of(context).colorScheme.primaryContainer,
      ),
      body: Center(
        child: Padding(
          padding: const EdgeInsets.all(16.0),
          child: Column(
            mainAxisAlignment: MainAxisAlignment.center,
            children: [
              Text(
                '按钮点击次数',
                style: Theme.of(context).textTheme.headlineSmall?.copyWith(
                  fontWeight: FontWeight.bold,
                  color: Theme.of(context).colorScheme.primary,
                ),
              ),
              const SizedBox(height: 20),
              Card(
                elevation: 8,
                shape: RoundedRectangleBorder(
                  borderRadius: BorderRadius.circular(12),
                ),
                color: Theme.of(context).colorScheme.surfaceVariant,
                child: Padding(
                  padding: const EdgeInsets.symmetric(vertical: 40, horizontal: 60),
                  child: Text(
                    '${counter.count}',
                    style: Theme.of(context).textTheme.displayMedium?.copyWith(
                      fontWeight: FontWeight.bold,
                      color: Theme.of(context).colorScheme.onSurfaceVariant,
                    ),
                  ),
                ),
              ),
              const SizedBox(height: 30),
              Row(
                mainAxisAlignment: MainAxisAlignment.center,
                children: [
                  ElevatedButton.icon(
                    onPressed: counter.decrement, // 直接调用方法,无需 setState
                    icon: const Icon(Icons.remove),
                    label: const Text('减少'),
                    style: ElevatedButton.styleFrom(
                      padding: const EdgeInsets.symmetric(horizontal: 16, vertical: 12),
                    ),
                  ),
                  const SizedBox(width: 20),
                  ElevatedButton.icon(
                    onPressed: counter.increment, // 直接调用方法,无需 setState
                    icon: const Icon(Icons.add),
                    label: const Text('增加'),
                    style: ElevatedButton.styleFrom(
                      padding: const EdgeInsets.symmetric(horizontal: 16, vertical: 12),
                    ),
                  ),
                ],
              ),
            ],
          ),
        ),
      ),
    );
  }
}

class Counter with ChangeNotifier {
  int _count = 0;

  int get count => _count;

  void increment() {
    _count++;
    notifyListeners();
  }

  void decrement() {
    if (_count > 0) { // 防止计数变为负数
      _count--;
      notifyListeners();
    }
  }

}- 说明 :
Counter类通过with ChangeNotifier混入通知功能。_count是私有状态,countgetter 提供外部访问。increment和decrement修改状态后调用notifyListeners,触发监听者回调。
三、结合Flutter UI 使用
在 Flutter 应用中,ChangeNotifier 通常与 UI 组件结合,通过监听状态变化自动更新界面。以下是一个完整的计数器应用,展示如何在 Flutter 中使用 ChangeNotifier。
下面是一个计时器的例子:
import 'package:flutter/material.dart';
import 'package:provider/provider.dart';

void main() {
  runApp(
    ChangeNotifierProvider(
      create: (_) => Counter(),
      child: const MyApp(),
    ),
  );
}

class MyApp extends StatelessWidget {
  const MyApp({super.key});

  @override
  Widget build(BuildContext context) {
    return MaterialApp(
      title: 'Flutter Demo',
      theme: ThemeData(
        colorScheme: ColorScheme.fromSeed(seedColor: Colors.white),
      ),
      home: const MyHomePage(title: 'ChangeNotifier用法'),
    );
  }
}

class MyHomePage extends StatelessWidget {
  const MyHomePage({super.key, required this.title});
  final String title;

  @override
  Widget build(BuildContext context) {
    final counter = context.watch<Counter>();

    return Scaffold(
      appBar: AppBar(
        title: Text(title),
      ),
      body: Center(
        child: Padding(
          padding: const EdgeInsets.all(16.0),
          child: Column(
            mainAxisAlignment: MainAxisAlignment.center,
            children: [
              Text(
                '按钮点击次数',
                style: Theme.of(context).textTheme.titleLarge,
              ),
              const SizedBox(height: 20),
              Card(
                elevation: 8,
                shape: RoundedRectangleBorder(
                  borderRadius: BorderRadius.circular(12),
                ),
                color: Theme.of(context).colorScheme.surfaceVariant,
                child: Padding(
                  padding: const EdgeInsets.symmetric(vertical: 40, horizontal: 60),
                  child: Text(
                    '${counter.count}',
                    style: Theme.of(context).textTheme.displayMedium?.copyWith(
                      color: Theme.of(context).colorScheme.primary,
                      fontWeight: FontWeight.bold,
                    ),
                  ),
                ),
              ),
              const SizedBox(height: 30),
              Row(
                mainAxisAlignment: MainAxisAlignment.center,
                children: [
                  ElevatedButton.icon(
                    onPressed: counter.decrement,
                    icon: const Icon(Icons.minimize),
                    label: const Text('减少'),
                  ),
                  const SizedBox(width: 20),
                  ElevatedButton.icon(
                    onPressed: counter.increment,
                    icon: const Icon(Icons.add),
                    label: const Text('增加'),
                  ),
                ],
              ),
            ],
          ),
        ),
      ),
    );
  }
}

class Counter with ChangeNotifier {
  int _count = 0;

  int get count => _count;

  void increment() {
    _count++;
    notifyListeners();
  }

  void decrement() {
    if (_count > 0) { // 防止计数变为负数
      _count--;
      notifyListeners();
    }
  }
}-
依赖 :需要添加
provider包到pubspec.yaml:dependencies: provider: ^6.1.5 -
说明 :
- 使用
ChangeNotifierProvider提供Counter实例,注入到 widget 树。 Consumer监听Counter的变化,自动重建显示计数的Text。- 点击"+"或"-"按钮调用
increment或decrement,触发notifyListeners,更新 UI。
- 使用
四、结合 Provider 的高级用法
ChangeNotifier 常与 provider 包结合,用于更复杂的状态管理。以下是一个管理用户信息的示例,展示多字段状态管理。
用户信息管理:
import 'package:flutter/material.dart';
import 'package:provider/provider.dart';

class UserModel with ChangeNotifier {
  String _name = 'Anonymous';
  int _age = 0;

  String get name => _name;
  int get age => _age;

  void updateName(String newName) {
    _name = newName;
    notifyListeners();
  }

  void updateAge(int newAge) {
    _age = newAge;
    notifyListeners();
  }
}

void main() {
  runApp(const MyApp());
}

class MyApp extends StatelessWidget {
  const MyApp({super.key});

  @override
  Widget build(BuildContext context) {
    return MaterialApp(
      title: 'UserModel 示例',
      theme: ThemeData(primarySwatch: Colors.green, useMaterial3: true),
      home: ChangeNotifierProvider(
        create: (_) => UserModel(),
        child: const UserPage(),
      ),
    );
  }
}

class UserPage extends StatelessWidget {
  const UserPage({super.key});

  @override
  Widget build(BuildContext context) {
    final userModel = context.read<UserModel>();
    return Scaffold(
      appBar: AppBar(title: const Text('用户信息')),
      body: Padding(
        padding: const EdgeInsets.all(16.0),
        child: Column(
          crossAxisAlignment: CrossAxisAlignment.start,
          children: [
            Consumer<UserModel>(
              builder: (context, user, child) {
                return Text(
                  '姓名: ${user.name}, 年龄: ${user.age}',
                  style: const TextStyle(fontSize: 20),
                );
              },
            ),
            const SizedBox(height: 20),
            TextField(
              decoration: const InputDecoration(labelText: '输入姓名'),
              onChanged: (value) => userModel.updateName(value),
            ),
            const SizedBox(height: 10),
            Row(
              children: [
                ElevatedButton(
                  onPressed: () => userModel.updateAge(userModel.age + 1),
                  child: const Text('年龄 +1'),
                ),
                const SizedBox(width: 10),
                ElevatedButton(
                  onPressed: () => userModel.updateAge(userModel.age - 1),
                  child: const Text('年龄 -1'),
                ),
              ],
            ),
          ],
        ),
      ),
    );
  }
}- 说明 :
UserModel管理name和age两个字段。TextField更新姓名,按钮更新年龄,每次变化调用notifyListeners。Consumer监听UserModel的变化,实时更新 UI。
五、ChangeNotifier 的优势与注意事项
5.1 优势
- 灵活性:支持管理复杂状态(多字段、自定义逻辑)。
- 响应式:通过
notifyListeners触发 UI 更新,与Provider等工具无缝集成。 - 调试支持:内置
debugAssertNotDisposed,防止销毁后误用。 - 可扩展:通过
mixin方式,易于扩展到自定义类。
5.2 注意事项
-
手动调用 notifyListeners:开发者需明确在状态变化时调用
notifyListeners,否则 UI 不会更新。 -
清理资源:在页面销毁时调用
dispose,避免内存泄漏。例如:class Counter with ChangeNotifier { @override void dispose() { super.dispose(); // 必须调用父类的 dispose } } -
避免递归通知:在
notifyListeners期间移除监听者或调用dispose可能导致错误,需小心处理。 -
性能优化:避免频繁调用
notifyListeners,必要时检查状态是否真正变化。
六、与 ValueNotifier 的比较
ChangeNotifier 和 ValueNotifier 都用于状态管理,但适用场景不同:
- ChangeNotifier :
- 适合复杂状态管理(多字段、自定义通知逻辑)。
- 需手动调用
notifyListeners。 - 更通用,但实现稍复杂。
- ValueNotifier :
- 专注于单一值管理,自动在值变化时通知。
- 更轻量,适合简单场景(如计数器、开关)。
- 继承自
ChangeNotifier,API 更简单。
选择建议:
- 如果只需要管理单一值,使用
ValueNotifier(结合ValueListenableBuilder)。 - 如果需要管理多个字段或复杂逻辑,使用
ChangeNotifier(结合Provider)。
七、实际应用场景
- 表单管理:管理多个输入字段的状态(如登录表单)。
- 复杂 UI 状态:如购物车、用户设置等需要多字段更新的场景。
- 与 Provider 结合:构建大型应用的全局状态管理。
- 动画控制:结合
ChangeNotifier实现自定义动画状态。
八、总结
ChangeNotifier 是 Flutter 中强大的状态管理工具,通过监听者机制实现响应式 UI 更新。它适合管理复杂状态,结合 Provider 和 Consumer 可以轻松集成到 Flutter 应用中。通过合理使用 notifyListeners 和 dispose,开发者可以构建高效、可维护的状态管理逻辑。相比 ValueNotifier,ChangeNotifier 提供更大的灵活性,适合需要自定义通知逻辑的场景。希望本文能帮助你快速上手 ChangeNotifier,并在实际项目中灵活运用!