EC0720/FLINKTASK-TEST-STREAM/demo at master · stevensu1/EC0720
先看测试效果:控制台
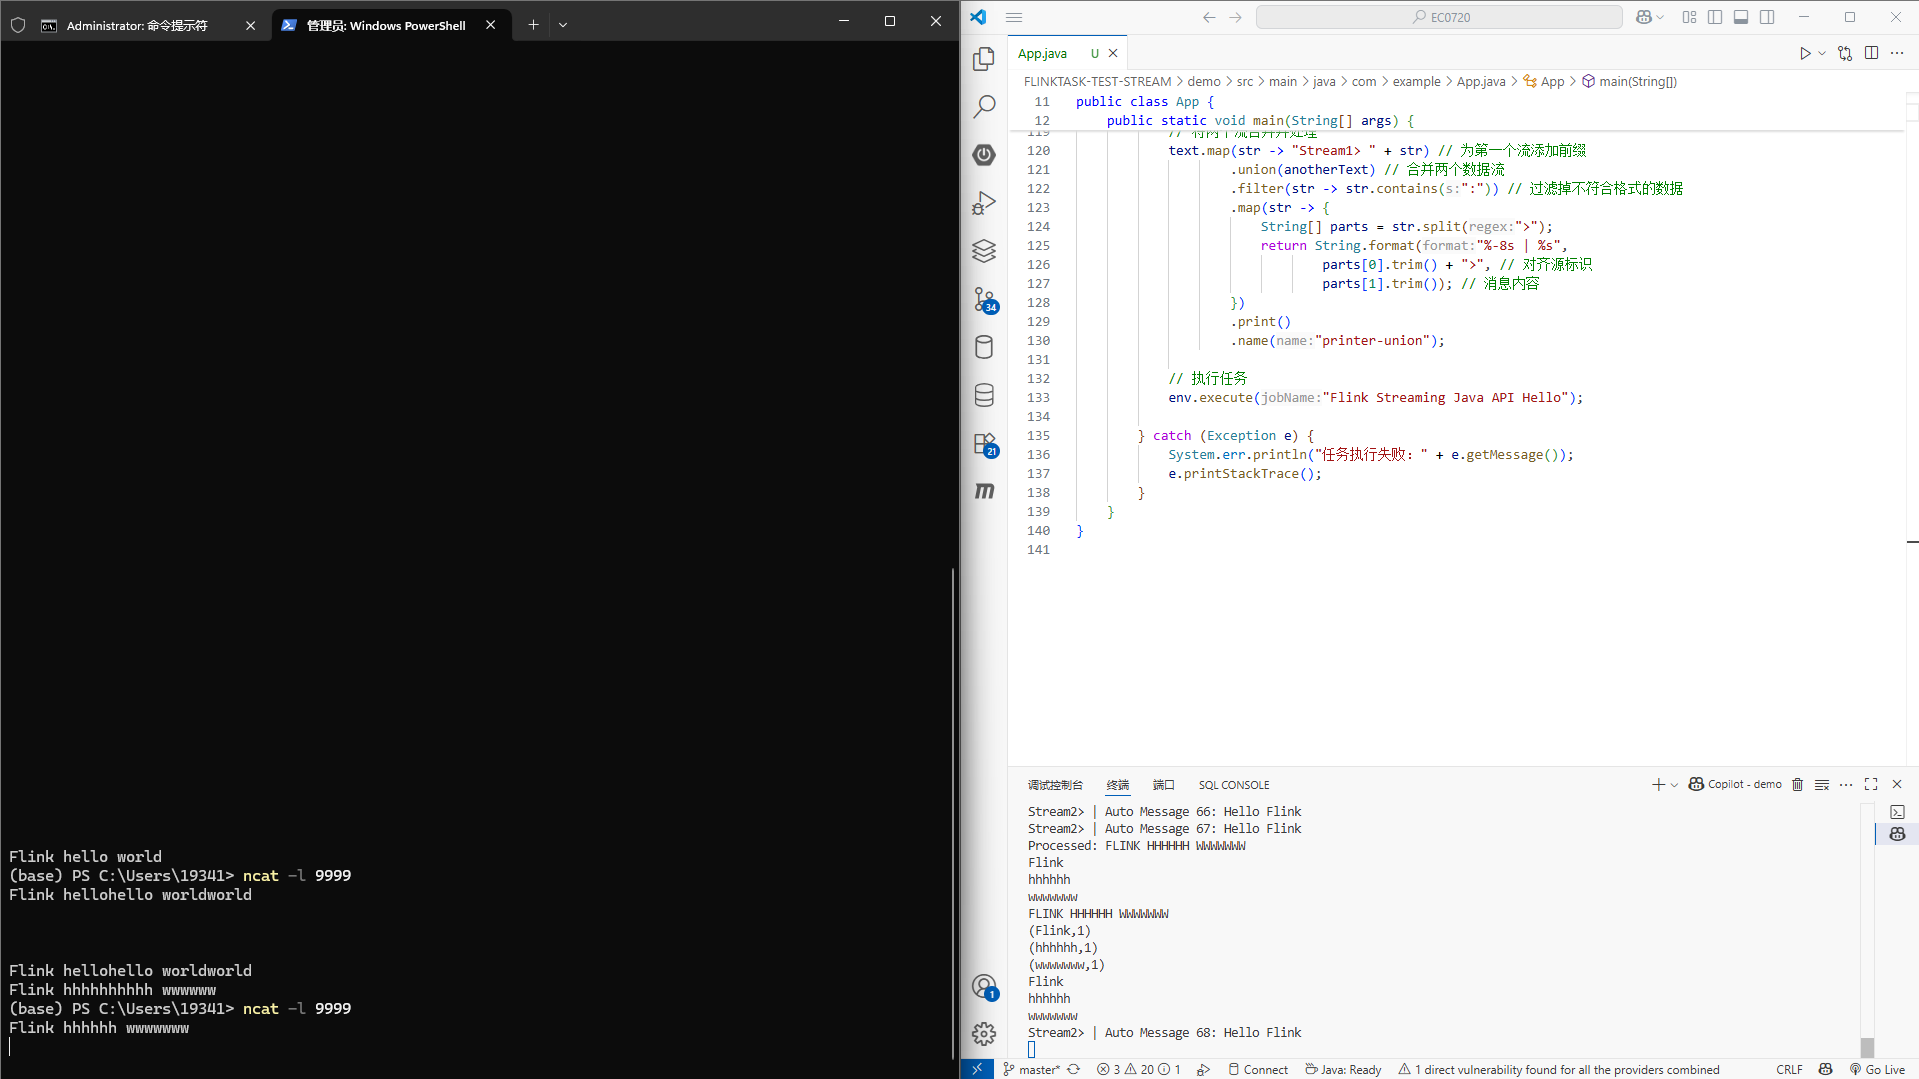
测试效果:监控服务端
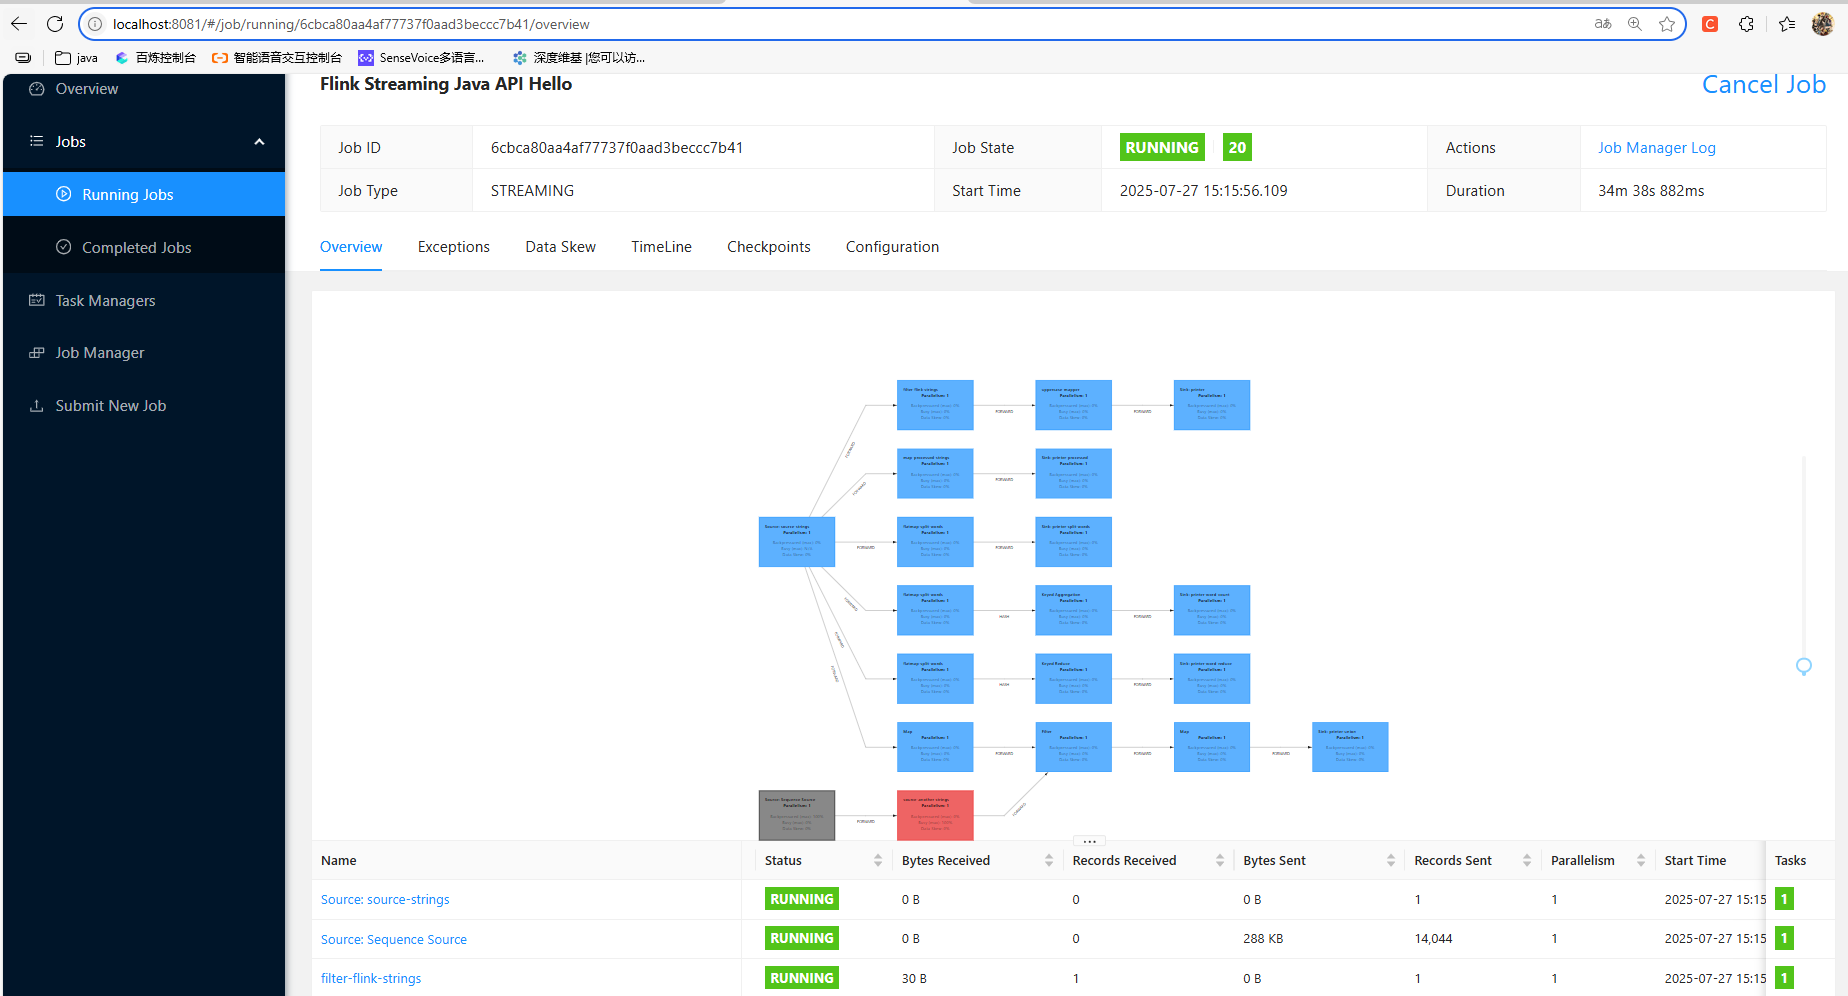
主要的转换算子包括:
转换算子 filter:过滤包含"Flink"的输入
转换算子 map: 将每行数据前添加"Processed: "并转为大写
转换算子 flatMap: 将每行数据拆分为单词
转换算子 sum/keyBy: 按单词分组并计数
转换算子 reduce: 规约合并单词
转换算子 union: 合并两个数据流
主要的代码:
package com.example;

import org.apache.flink.api.common.RuntimeExecutionMode;
import org.apache.flink.api.common.functions.FlatMapFunction;
import org.apache.flink.api.java.tuple.Tuple2;
import org.apache.flink.configuration.Configuration;
import org.apache.flink.streaming.api.environment.StreamExecutionEnvironment;
import org.apache.flink.streaming.api.datastream.DataStream;
import org.apache.flink.util.Collector;

public class App {
    public static void main(String[] args) {
        try {
            // 创建本地配置
            Configuration conf = new Configuration();

            // Web UI 配置
            conf.setString("rest.bind-port", "8081"); // 设置Web UI端口
            conf.setString("rest.bind-address", "0.0.0.0"); // 绑定所有网络接口
            conf.setString("rest.address", "localhost"); // 设置Web UI地址
            conf.setString("rest.enable", "true"); // 启用REST服务
            conf.setString("web.submit.enable", "true"); // 允许通过Web UI提交作业
            conf.setString("web.upload.dir", System.getProperty("java.io.tmpdir")); // 设置上传目录
            conf.setString("web.access-control-allow-origin", "*"); // 允许跨域访问

            // 使用配置创建支持Web UI的执行环境
            StreamExecutionEnvironment env = StreamExecutionEnvironment.createLocalEnvironmentWithWebUI(conf);

            // 设置为流处理模式
            env.setRuntimeMode(RuntimeExecutionMode.STREAMING);

            // 基本配置
            env.setParallelism(1); // 设置并行度为1
            env.disableOperatorChaining(); // 禁用算子链,使执行更清晰

            // 禁用检查点,因为是简单的演示程序
            env.getCheckpointConfig().disableCheckpointing();

            // 创建周期性的数据源
            DataStream<String> text = env
                    .socketTextStream("localhost", 9999) // 从socket读取数据
                    .name("source-strings")
                    .setParallelism(1);

            // 转换算子 filter:过滤包含"Flink"的输入
            text.filter(line -> line.contains("Flink"))
                    .name("filter-flink-strings")
                    .setParallelism(1)
                    .map(String::toUpperCase)
                    .name("uppercase-mapper")
                    .setParallelism(1)
                    .print()
                    .name("printer");

            // 转换算子 map: 将每行数据前添加"Processed: "并转为大写
            text.map(line -> "Processed: " + line.toUpperCase())
                    .name("map-processed-strings")
                    .setParallelism(1)
                    .print()
                    .name("printer-processed");

            // 转换算子 flatMap: 将每行数据拆分为单词
            text.flatMap(new FlatMapFunction<String, String>() {
                @Override
                public void flatMap(String line, Collector<String> out) {
                    for (String word : line.split(" ")) {
                        out.collect(word);
                    }
                }
            }).name("flatmap-split-words")
                    .setParallelism(1)
                    .print()
                    .name("printer-split-words");

            // 转换算子 keyBy: 按单词分组并计数
            text.flatMap(new FlatMapFunction<String, Tuple2<String, Integer>>() {
                @Override
                public void flatMap(String line, Collector<Tuple2<String, Integer>> out) {
                    for (String word : line.split(" ")) {
                        out.collect(new Tuple2<>(word, 1));
                    }
                }
            }).name("flatmap-split-words")
                    .setParallelism(1)
                    .keyBy(tuple -> tuple.f0) // 按单词分组
                    .sum(1) // 计算每个单词的出现次数
                    .print()
                    .name("printer-word-count");

            // 转换算子 reduce: 规约合并单词
            text.flatMap(new FlatMapFunction<String, String>() {
                @Override
                public void flatMap(String line, Collector<String> out) {
                    for (String word : line.split(" ")) {
                        out.collect(word);
                    }
                }
            }).name("flatmap-split-words")
                    .setParallelism(1)
                    .keyBy(word -> word) // 按单词分组
                    .reduce((word1, word2) -> word1 + ", " + word2) // 合并单词
                    .print()
                    .name("printer-word-reduce");

            // 转换算子 union: 合并两个数据流
            DataStream<String> anotherText = env
                    .fromSequence(1, Long.MAX_VALUE) // 持续生成数据
                    .map(i -> {
                        try {
                            Thread.sleep(3000); // 每3秒生成一条消息
                            return "Stream2> Auto Message " + i + ": Hello Flink";
                        } catch (InterruptedException e) {
                            return "Stream2> Error occurred";
                        }
                    })
                    .name("source-another-strings")
                    .setParallelism(1);

            // 将两个流合并并处理
            text.map(str -> "Stream1> " + str) // 为第一个流添加前缀
                    .union(anotherText) // 合并两个数据流
                    .filter(str -> str.contains(":")) // 过滤掉不符合格式的数据
                    .map(str -> {
                        String[] parts = str.split(">");
                        return String.format("%-8s | %s",
                                parts[0].trim() + ">", // 对齐源标识
                                parts[1].trim()); // 消息内容
                    })
                    .print()
                    .name("printer-union");

            // 执行任务
            env.execute("Flink Streaming Java API Hello");

        } catch (Exception e) {
            System.err.println("任务执行失败:" + e.getMessage());
            e.printStackTrace();
        }
    }
}关于监控服务端集成:REST API |Apache Flink
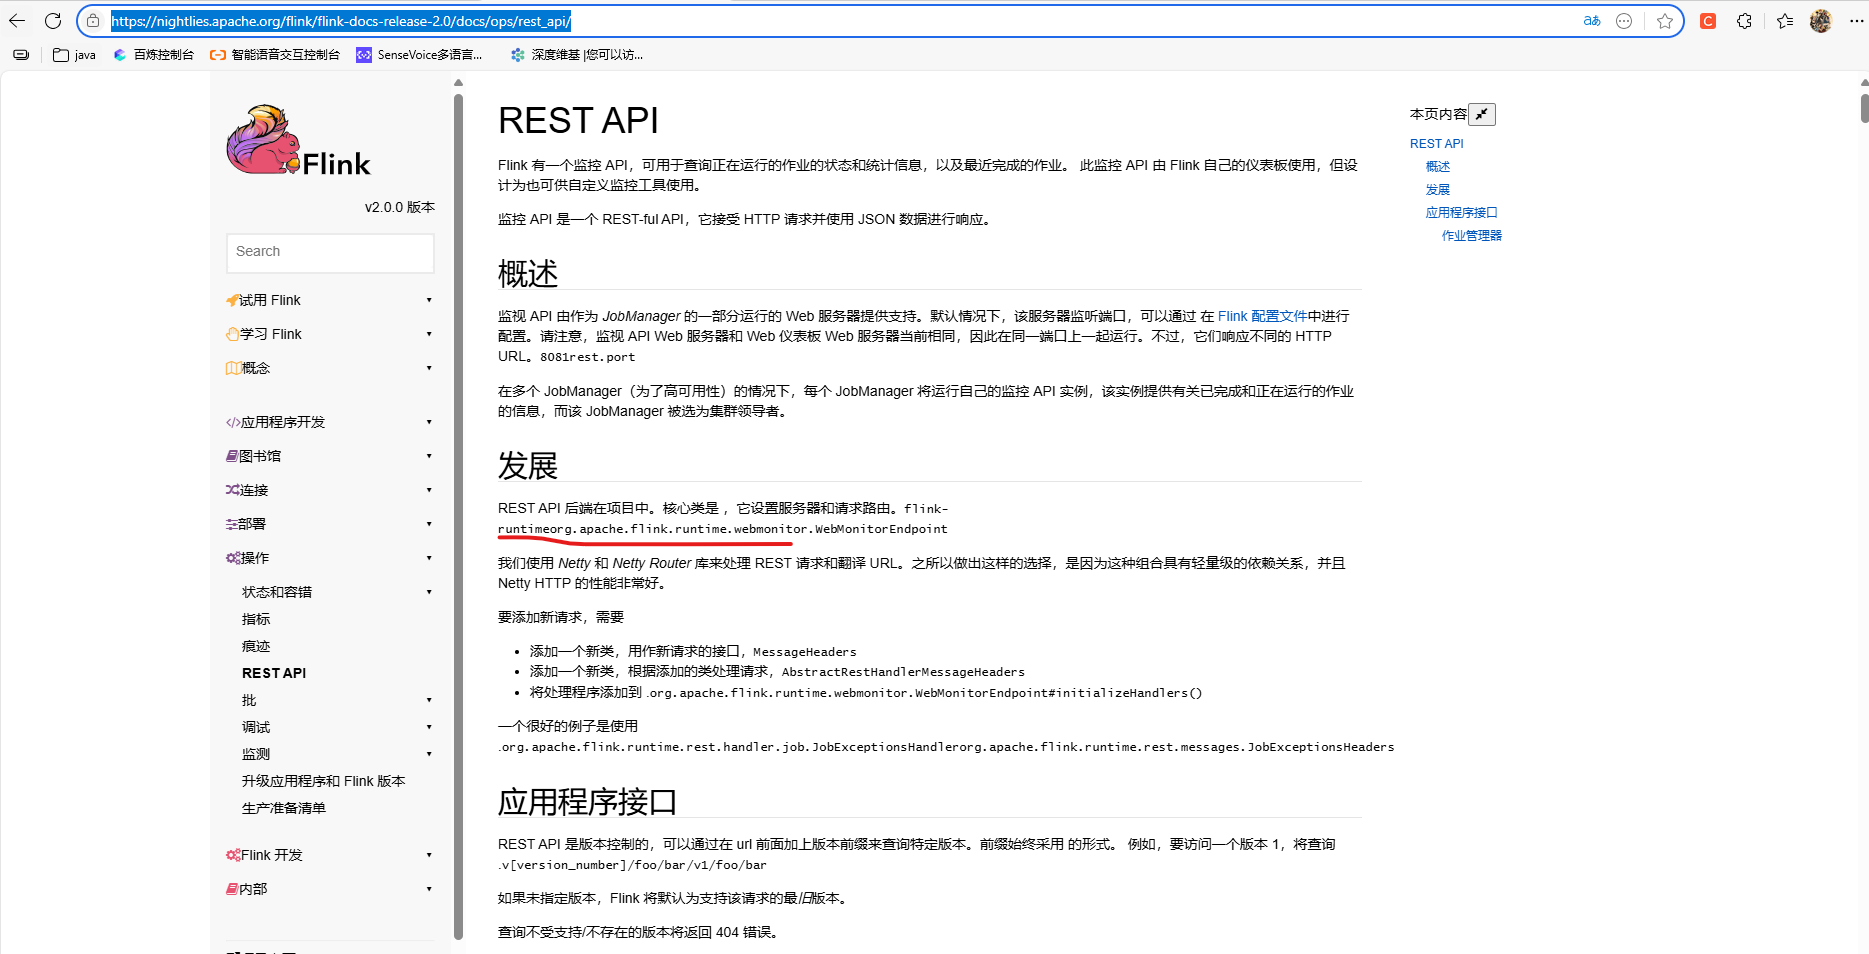
在引入 本地执行UI支持 的依赖后
    <!-- 本地执行UI支持 -->
    <dependency>
      <groupId>org.apache.flink</groupId>
      <artifactId>flink-runtime-web</artifactId>
      <version>${flink.version}</version>
    </dependency>
还需要在构建环境时指定 支持Web UI的执行环境
            // 创建本地配置
            Configuration conf = new Configuration();

            // Web UI 配置
            conf.setString("rest.bind-port", "8081"); // 设置Web UI端口
            conf.setString("rest.bind-address", "0.0.0.0"); // 绑定所有网络接口
            conf.setString("rest.address", "localhost"); // 设置Web UI地址
            conf.setString("rest.enable", "true"); // 启用REST服务
            conf.setString("web.submit.enable", "true"); // 允许通过Web UI提交作业
            conf.setString("web.upload.dir", System.getProperty("java.io.tmpdir")); // 设置上传目录
            conf.setString("web.access-control-allow-origin", "*"); // 允许跨域访问

            // 使用配置创建支持Web UI的执行环境
            StreamExecutionEnvironment env = StreamExecutionEnvironment.createLocalEnvironmentWithWebUI(conf);
同时设置为无界处理 :
          // 设置为流处理模式
            env.setRuntimeMode(RuntimeExecutionMode.STREAMING);
不然以批处理模式的话,程序执行完就会终止Web UI环境,从而无法进入Web UI界面。不过通常都是打包后发布到专门的fink监控服务器执行任务。
下面是完整依赖:
<?xml version="1.0" encoding="UTF-8"?>

<project xmlns="http://maven.apache.org/POM/4.0.0" xmlns:xsi="http://www.w3.org/2001/XMLSchema-instance"
  xsi:schemaLocation="http://maven.apache.org/POM/4.0.0 http://maven.apache.org/xsd/maven-4.0.0.xsd">
  <modelVersion>4.0.0</modelVersion>

  <groupId>com.example</groupId>
  <artifactId>demo</artifactId>
  <version>1</version>

  <name>demo</name>
  <!-- FIXME change it to the project's website -->
  <url>http://www.example.com</url>

  <properties>
    <project.build.sourceEncoding>UTF-8</project.build.sourceEncoding>
    <maven.compiler.source>17</maven.compiler.source>
    <maven.compiler.target>17</maven.compiler.target>
     <flink.version>2.0.0</flink.version>
  </properties>

  <dependencies>
    <!--flink-streaming-java-->
    <dependency>
      <groupId>org.apache.flink</groupId>
      <artifactId>flink-streaming-java</artifactId>
      <version>${flink.version}</version>
    </dependency>

    <!-- Flink Clients -->
    <dependency>
      <groupId>org.apache.flink</groupId>
      <artifactId>flink-clients</artifactId>
      <version>${flink.version}</version>
    </dependency>

    <!-- Flink Table API & SQL -->
    <dependency>
      <groupId>org.apache.flink</groupId>
      <artifactId>flink-table-api-java-bridge</artifactId>
      <version>${flink.version}</version>
    </dependency>

    <!-- 本地执行UI支持 -->
    <dependency>
      <groupId>org.apache.flink</groupId>
      <artifactId>flink-runtime-web</artifactId>
      <version>${flink.version}</version>
    </dependency>

    <!-- 日志支持 -->
    <dependency>
      <groupId>org.slf4j</groupId>
      <artifactId>slf4j-api</artifactId>
      <version>1.7.32</version>
    </dependency>
    <dependency>
      <groupId>ch.qos.logback</groupId>
      <artifactId>logback-classic</artifactId>
      <version>1.2.6</version>
    </dependency>

    <!-- 测试依赖 -->
    <dependency>
      <groupId>junit</groupId>
      <artifactId>junit</artifactId>
      <version>4.11</version>
      <scope>test</scope>
    </dependency>
  </dependencies>

<build>
    <plugins>
        <plugin>
            <groupId>org.apache.maven.plugins</groupId>
            <artifactId>maven-shade-plugin</artifactId>
            <version>3.1.1</version>
            <executions>
                <execution>
                    <phase>package</phase>
                    <goals>
                        <goal>shade</goal>
                    </goals>
                    <configuration>
                        <artifactSet>
                            <excludes>
                                <exclude>com.google.code.findbugs:jsr305</exclude>
                            </excludes>
                        </artifactSet>
                        <filters>
                            <filter>
                                <!-- Do not copy the signatures in the META-INF folder.
                                Otherwise, this might cause SecurityExceptions when using the JAR. -->
                                <artifact>*:*</artifact>
                                <excludes>
                                    <exclude>META-INF/*.SF</exclude>
                                    <exclude>META-INF/*.DSA</exclude>
                                    <exclude>META-INF/*.RSA</exclude>
                                </excludes>
                            </filter>
                        </filters>
                        <transformers>
                            <transformer implementation="org.apache.maven.plugins.shade.resource.ManifestResourceTransformer">
                                <!-- Replace this with the main class of your job -->
                                <mainClass>com.example.App</mainClass>
                            </transformer>
                            <transformer implementation="org.apache.maven.plugins.shade.resource.ServicesResourceTransformer"/>
                        </transformers>
                    </configuration>
                </execution>
            </executions>
        </plugin>
    </plugins>
</build>


</project>
关于本地windows ncat服务器搭建,ncat 是 Nmap 软件包的一部分,所以我们需要安装 Nmap:
-
从官方网站下载 Nmap 安装程序:
- 访问 https://nmap.org/download.html
- 下载 "Latest stable release self-installer" 的 Windows 版本
- 通常文件名类似 "nmap-7.94-setup.exe"
- 打开新的 PowerShell 窗口(以使环境变量生效)
- 运行以下命令来启动 ncat 服务器:ncat -l 9999
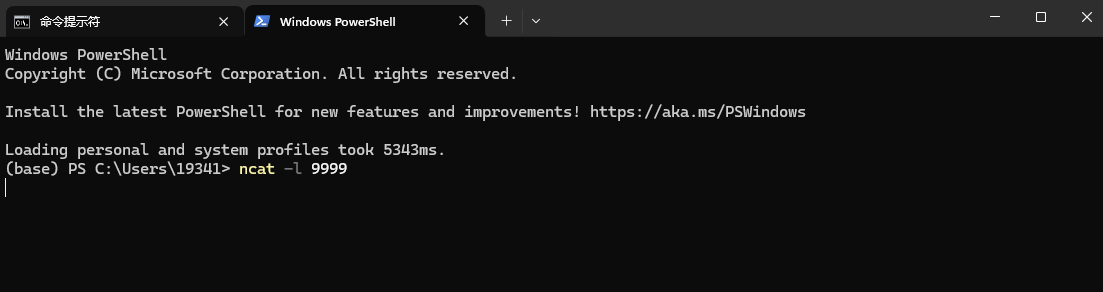
然后在另一个窗口中运行 Flink 程序:跑起来监听9999端口后,就可以在PowerShell 窗口输入对应的内容回车 作为程序的输入了
cd FLINKTASK-TEST-STREAM/demo
mvn clean package
java -jar target/demo-1.jar
关于更多概念,我也在持续学习实践中,比如flink内存模型等,希望大家多支持。