Trae是 ByteDance 推出的 AI 驱动的集成开发环境(IDE)。Trae 是一个下一代 AI 代码编辑器,具有智能代码生成、自然语言交互、图像辅助需求表达等功能。
- 在 Trae IDE 中创建 Spring AI 项目
- 使用 Spring AI 框架创建一个 AI 应用项目
创建一个使用 Spring AI 框架创建简单 AI 应用的完整示例:
Spring AI 项目完整示例
1. 项目结构
css
spring-ai-demo/
├── src/main/java/com/example/springai/
│   ├── SpringAiDemoApplication.java
│   ├── controller/
│   │   └── ChatController.java
│   ├── service/
│   │   └── ChatService.java
│   └── config/
│       └── AiConfig.java
├── src/main/resources/
│   └── application.yml
└── pom.xml
2. pom.xml 配置
xml
<?xml version="1.0" encoding="UTF-8"?>
<project xmlns="http://maven.apache.org/POM/4.0.0"
         xmlns:xsi="http://www.w3.org/2001/XMLSchema-instance"
         xsi:schemaLocation="http://maven.apache.org/POM/4.0.0
         http://maven.apache.org/xsd/maven-4.0.0.xsd">
    <modelVersion>4.0.0</modelVersion>

    <parent>
        <groupId>org.springframework.boot</groupId>
        <artifactId>spring-boot-starter-parent</artifactId>
        <version>3.2.0</version>
        <relativePath/>
    </parent>

    <groupId>com.example</groupId>
    <artifactId>spring-ai-demo</artifactId>
    <version>1.0.0</version>
    <name>Spring AI Demo</name>

    <properties>
        <java.version>17</java.version>
        <spring-ai.version>0.8.1</spring-ai.version>
    </properties>

    <dependencies>
        <!-- Spring Boot Starter Web -->
        <dependency>
            <groupId>org.springframework.boot</groupId>
            <artifactId>spring-boot-starter-web</artifactId>
        </dependency>

        <!-- Spring AI OpenAI -->
        <dependency>
            <groupId>org.springframework.ai</groupId>
            <artifactId>spring-ai-openai-spring-boot-starter</artifactId>
            <version>${spring-ai.version}</version>
        </dependency>

        <!-- Spring AI Ollama (本地 AI 模型支持) -->
        <dependency>
            <groupId>org.springframework.ai</groupId>
            <artifactId>spring-ai-ollama-spring-boot-starter</artifactId>
            <version>${spring-ai.version}</version>
        </dependency>

        <!-- Spring Boot Starter Test -->
        <dependency>
            <groupId>org.springframework.boot</groupId>
            <artifactId>spring-boot-starter-test</artifactId>
            <scope>test</scope>
        </dependency>
    </dependencies>

    <repositories>
        <repository>
            <id>spring-milestones</id>
            <name>Spring Milestones</name>
            <url>https://repo.spring.io/milestone</url>
            <snapshots>
                <enabled>false</enabled>
            </snapshots>
        </repository>
    </repositories>

    <build>
        <plugins>
            <plugin>
                <groupId>org.springframework.boot</groupId>
                <artifactId>spring-boot-maven-plugin</artifactId>
            </plugin>
        </plugins>
    </build>
</project>
3. 应用配置 (application.yml)
yaml
spring:
  application:
    name: spring-ai-demo
  ai:
    openai:
      api-key: ${OPENAI_API_KEY:your-openai-api-key-here}
      chat:
        options:
          model: gpt-3.5-turbo
          temperature: 0.7
          max-tokens: 1000
    ollama:
      base-url: http://localhost:11434
      chat:
        options:
          model: llama2
          temperature: 0.7

server:
  port: 8080

logging:
  level:
    org.springframework.ai: DEBUG
4. 主应用类
java
package com.example.springai;

import org.springframework.boot.SpringApplication;
import org.springframework.boot.autoconfigure.SpringBootApplication;

@SpringBootApplication
public class SpringAiDemoApplication {
    public static void main(String[] args) {
        SpringApplication.run(SpringAiDemoApplication.class, args);
    }
}
5. AI 配置类
java
package com.example.springai.config;

import org.springframework.ai.chat.ChatClient;
import org.springframework.ai.chat.prompt.PromptTemplate;
import org.springframework.ai.openai.OpenAiChatClient;
import org.springframework.ai.openai.api.OpenAiApi;
import org.springframework.beans.factory.annotation.Value;
import org.springframework.context.annotation.Bean;
import org.springframework.context.annotation.Configuration;
import org.springframework.context.annotation.Primary;

@Configuration
public class AiConfig {

    @Value("${spring.ai.openai.api-key}")
    private String openAiApiKey;

    @Bean
    @Primary
    public ChatClient openAiChatClient() {
        var openAiApi = new OpenAiApi(openAiApiKey);
        return new OpenAiChatClient(openAiApi);
    }

    @Bean
    public PromptTemplate systemPromptTemplate() {
        return new PromptTemplate("""
            你是一个友善的AI助手。请用中文回答问题,并保持回答的准确性和有帮助性。
            如果你不确定答案,请诚实地说明。
            """);
    }
}
6. 服务层
java
package com.example.springai.service;
import org.springframework.ai.chat.ChatClient;
import org.springframework.ai.chat.ChatResponse;
import org.springframework.ai.chat.prompt.Prompt;
import org.springframework.ai.chat.prompt.PromptTemplate;
import org.springframework.ai.chat.messages.Message;
import org.springframework.ai.chat.messages.UserMessage;
import org.springframework.ai.chat.messages.SystemMessage;
import org.springframework.stereotype.Service;
import org.springframework.beans.factory.annotation.Autowired;
import java.util.List;
import java.util.Map;
@Service
public class ChatService {
private final ChatClient chatClient;
private final PromptTemplate systemPromptTemplate;
@Autowired
public ChatService(ChatClient chatClient, PromptTemplate systemPromptTemplate) {
this.chatClient = chatClient;
this.systemPromptTemplate = systemPromptTemplate;
}
/**
* 简单聊天
*/
public String simpleChat(String userMessage) {
UserMessage message = new UserMessage(userMessage);
ChatResponse response = chatClient.call(new Prompt(List.of(message)));
return response.getResult().getOutput().getContent();
}
/**
* 带系统提示的聊天
*/
public String chatWithSystem(String userMessage) {
SystemMessage systemMessage = new SystemMessage(systemPromptTemplate.render());
UserMessage userMsg = new UserMessage(userMessage);
List<Message> messages = List.of(systemMessage, userMsg);
ChatResponse response = chatClient.call(new Prompt(messages));
return response.getResult().getOutput().getContent();
}
/**
* 模板化聊天
*/
public String templateChat(String topic, String style) {
PromptTemplate promptTemplate = new PromptTemplate("""
请以{style}的风格,详细介绍{topic}。
要求:
1. 内容准确专业
2. 结构清晰
3. 适合初学者理解
""");
Map<String, Object> model = Map.of(
"topic", topic,
"style", style
);
Prompt prompt = promptTemplate.create(model);
ChatResponse response = chatClient.call(prompt);
return response.getResult().getOutput().getContent();
}
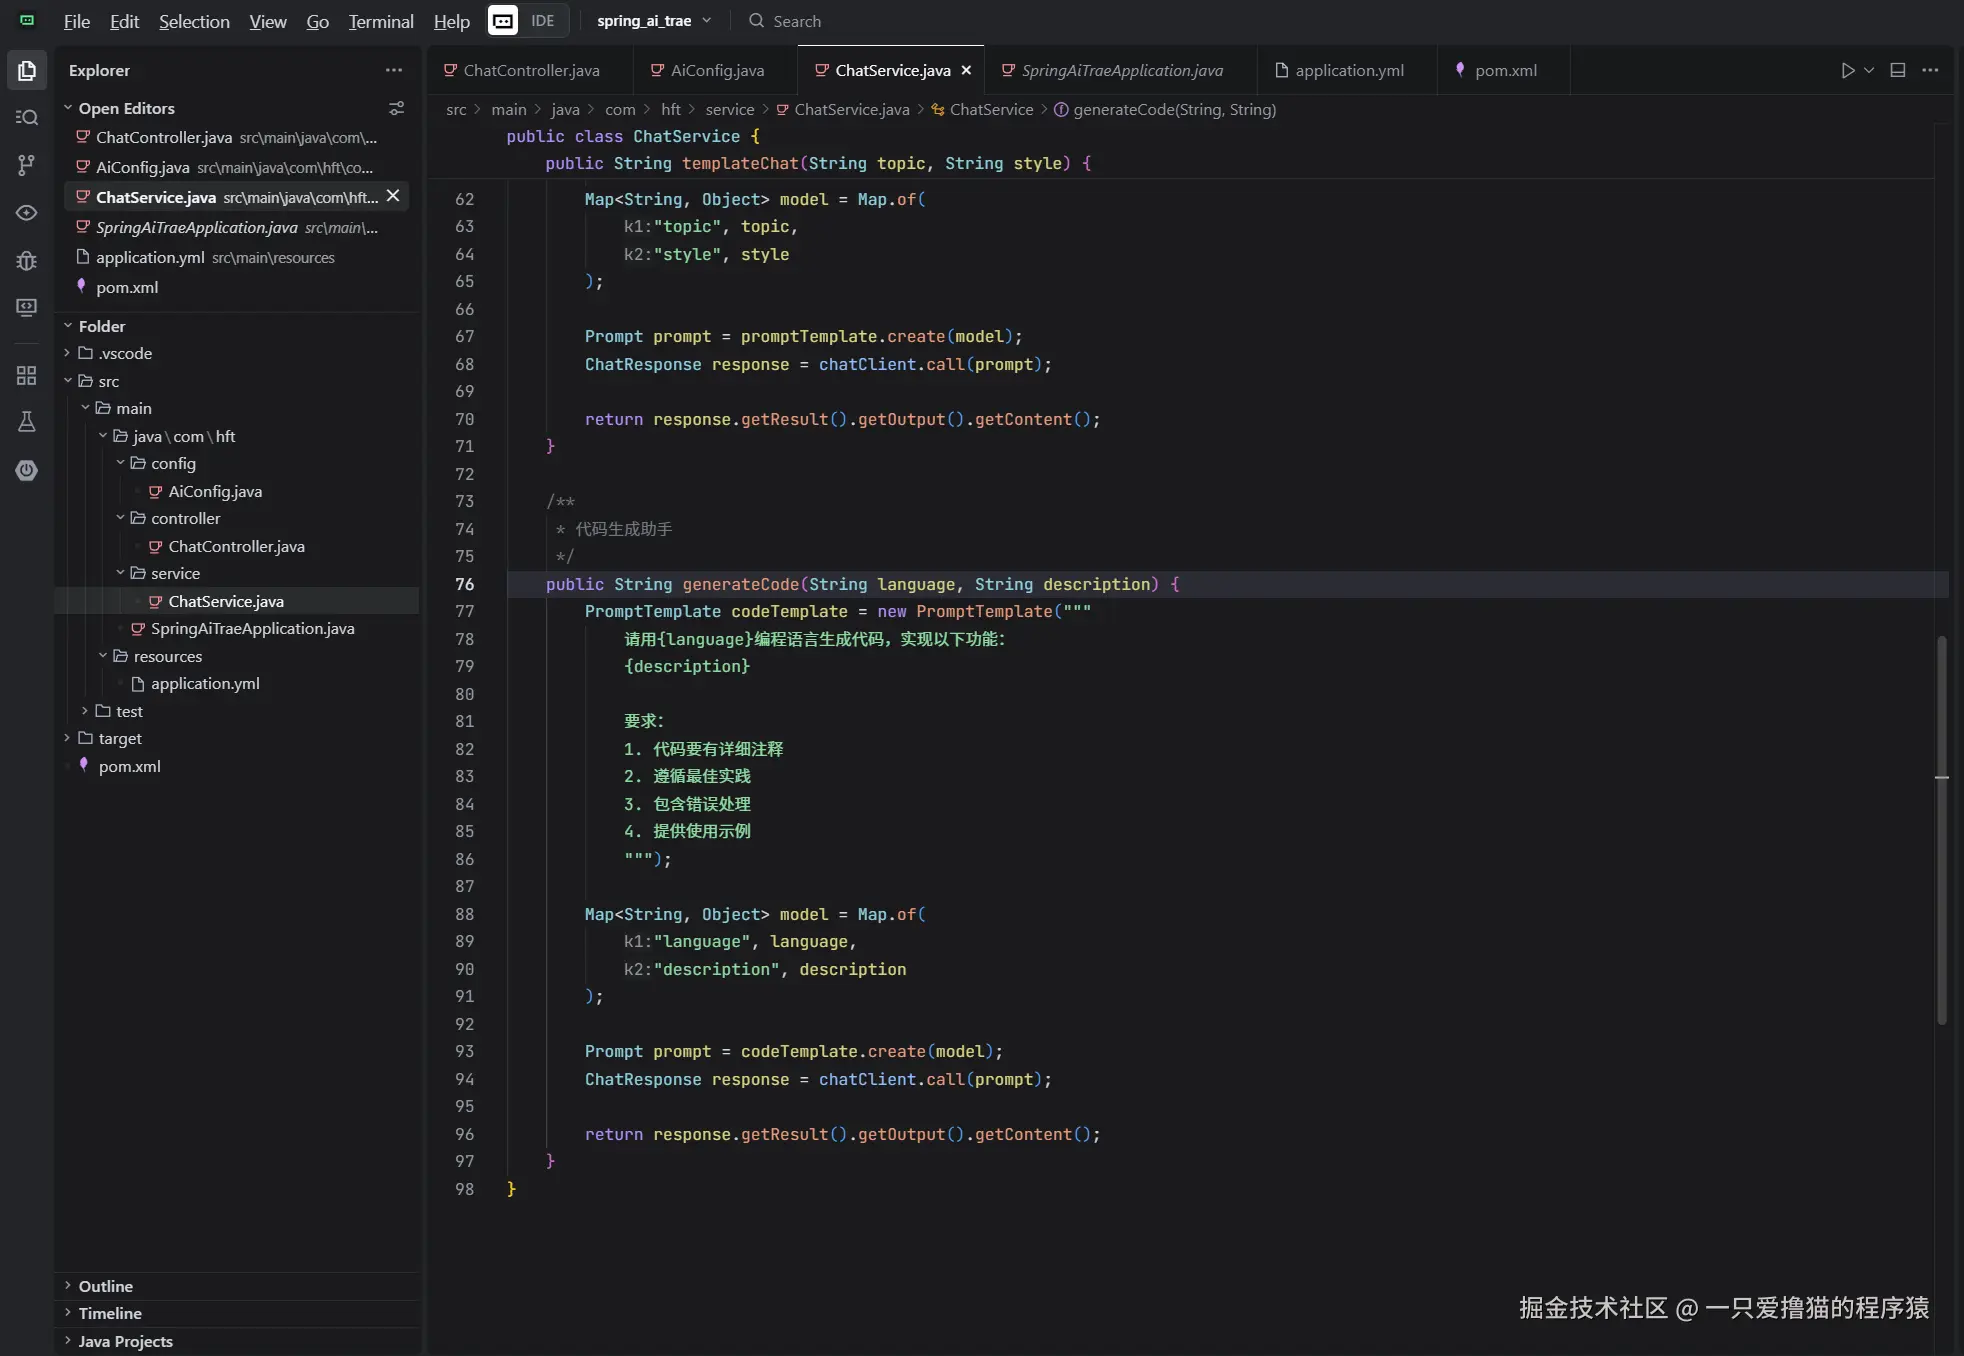
/**
* 代码生成助手
*/
public String generateCode(String language, String description) {
PromptTemplate codeTemplate = new PromptTemplate("""
请用{language}编程语言生成代码,实现以下功能:
{description}
要求:
1. 代码要有详细注释
2. 遵循最佳实践
3. 包含错误处理
4. 提供使用示例
""");
Map<String, Object> model = Map.of(
"language", language,
"description", description
);
Prompt prompt = codeTemplate.create(model);
ChatResponse response = chatClient.call(prompt);
return response.getResult().getOutput().getContent();
}
}7. 控制器层
java
package com.example.springai.controller;

import com.example.springai.service.ChatService;
import org.springframework.beans.factory.annotation.Autowired;
import org.springframework.http.ResponseEntity;
import org.springframework.web.bind.annotation.*;

import java.util.Map;

@RestController
@RequestMapping("/api/chat")
@CrossOrigin(origins = "*")
public class ChatController {

    private final ChatService chatService;

    @Autowired
    public ChatController(ChatService chatService) {
        this.chatService = chatService;
    }

    /**
     * 简单聊天接口
     */
    @PostMapping("/simple")
    public ResponseEntity<Map<String, String>> simpleChat(@RequestBody Map<String, String> request) {
        try {
            String userMessage = request.get("message");
            if (userMessage == null || userMessage.trim().isEmpty()) {
                return ResponseEntity.badRequest()
                    .body(Map.of("error", "消息内容不能为空"));
            }

            String response = chatService.simpleChat(userMessage);
            return ResponseEntity.ok(Map.of(
                "message", userMessage,
                "response", response
            ));
        } catch (Exception e) {
            return ResponseEntity.internalServerError()
                .body(Map.of("error", "处理请求时发生错误: " + e.getMessage()));
        }
    }

    /**
     * 系统提示聊天接口
     */
    @PostMapping("/system")
    public ResponseEntity<Map<String, String>> systemChat(@RequestBody Map<String, String> request) {
        try {
            String userMessage = request.get("message");
            String response = chatService.chatWithSystem(userMessage);
            return ResponseEntity.ok(Map.of(
                "message", userMessage,
                "response", response
            ));
        } catch (Exception e) {
            return ResponseEntity.internalServerError()
                .body(Map.of("error", "处理请求时发生错误: " + e.getMessage()));
        }
    }

    /**
     * 模板聊天接口
     */
    @PostMapping("/template")
    public ResponseEntity<Map<String, String>> templateChat(@RequestBody Map<String, String> request) {
        try {
            String topic = request.get("topic");
            String style = request.get("style");

            if (topic == null || style == null) {
                return ResponseEntity.badRequest()
                    .body(Map.of("error", "topic 和 style 参数不能为空"));
            }

            String response = chatService.templateChat(topic, style);
            return ResponseEntity.ok(Map.of(
                "topic", topic,
                "style", style,
                "response", response
            ));
        } catch (Exception e) {
            return ResponseEntity.internalServerError()
                .body(Map.of("error", "处理请求时发生错误: " + e.getMessage()));
        }
    }

    /**
     * 代码生成接口
     */
    @PostMapping("/code")
    public ResponseEntity<Map<String, String>> generateCode(@RequestBody Map<String, String> request) {
        try {
            String language = request.get("language");
            String description = request.get("description");

            if (language == null || description == null) {
                return ResponseEntity.badRequest()
                    .body(Map.of("error", "language 和 description 参数不能为空"));
            }

            String response = chatService.generateCode(language, description);
            return ResponseEntity.ok(Map.of(
                "language", language,
                "description", description,
                "code", response
            ));
        } catch (Exception e) {
            return ResponseEntity.internalServerError()
                .body(Map.of("error", "处理请求时发生错误: " + e.getMessage()));
        }
    }

    /**
     * 健康检查
     */
    @GetMapping("/health")
    public ResponseEntity<Map<String, String>> health() {
        return ResponseEntity.ok(Map.of(
            "status", "ok",
            "message", "Spring AI 服务运行正常"
        ));
    }
}
8. 使用示例
启动应用后,您可以通过以下方式测试:
简单聊天
bash
curl -X POST http://localhost:8080/api/chat/simple \
  -H "Content-Type: application/json" \
  -d '{"message": "你好,请介绍一下Spring框架"}'
模板聊天
bash
curl -X POST http://localhost:8080/api/chat/template \
  -H "Content-Type: application/json" \
  -d '{"topic": "Spring Boot", "style": "通俗易懂"}'
代码生成
bash
curl -X POST http://localhost:8080/api/chat/code \
  -H "Content-Type: application/json" \
  -d '{"language": "Java", "description": "实现一个简单的用户注册功能"}'
9. 环境配置说明
- OpenAI 配置 :需要设置环境变量
OPENAI_API_KEY - 本地 Ollama 配置:需要先安装并运行 Ollama 服务