PyQt图表PyQtGraph多图光标同步
本文介绍了如何使用PyQt5和PyQtGraph实现多图表光标同步功能。主要内容包括:
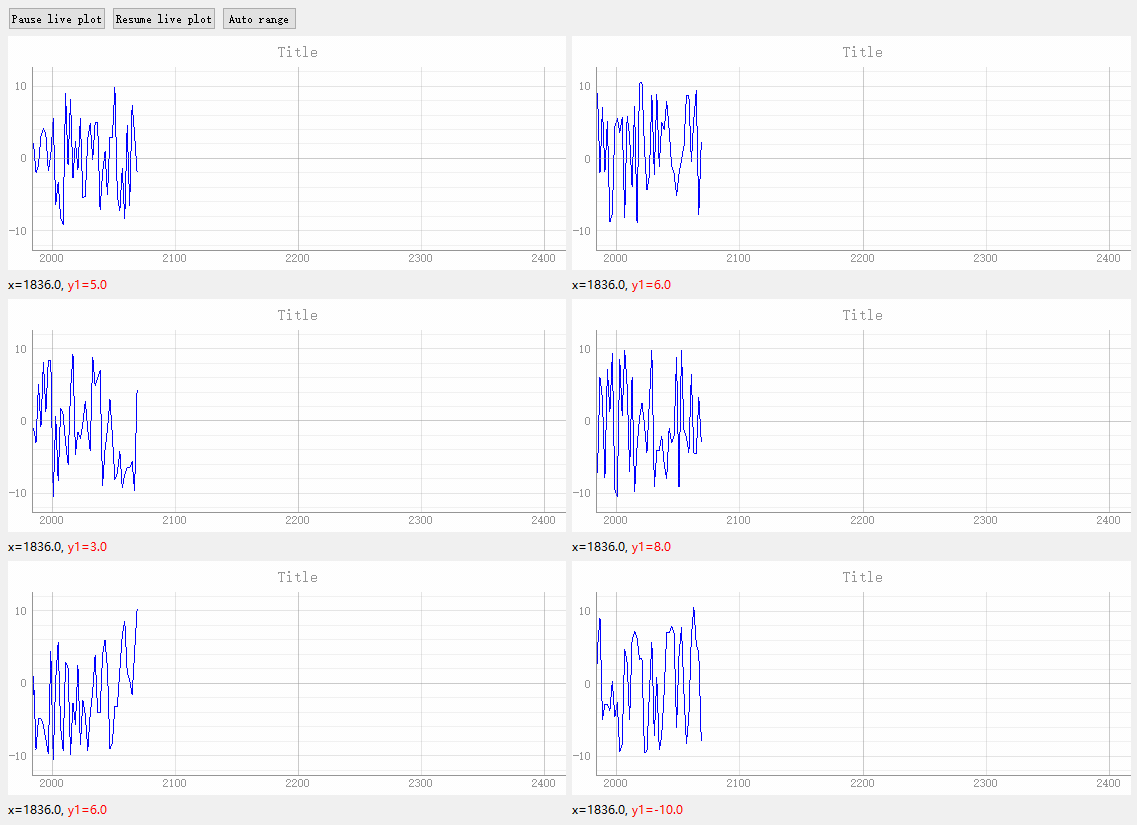
- 创建实时刷新的折线图,使用pglive库实现数据动态更新
- 通过自定义鼠标移动事件处理函数,实现多个图表中十字光标(crosshair)的同步移动
- 在每个图表下方添加标签,实时显示当前光标位置的X/Y坐标值
- 提供暂停/恢复实时绘图和自动缩放范围的按钮控制功能
关键实现要点:
- 使用LivePlotWidget创建实时图表
- 通过DataConnector连接数据源
- 添加InfiniteLine作为十字光标
- 通过sigMouseMoved信号处理鼠标移动事件
- 在多图表间同步光标位置和坐标显示
该方案适用于需要同时监控多个相关数据流的应用场景。
代码:
python
import random
from math import sin, cos
from threading import Thread
from time import sleep

import numpy as np
from PyQt5 import QtGui, QtCore
from PyQt5.QtWidgets import QMainWindow, QApplication, QVBoxLayout, QPushButton, QWidget, QGridLayout, QHBoxLayout, \
    QLabel

import pyqtgraph as pg  # type: ignore
from pglive.kwargs import Crosshair
from pglive.sources.data_connector import DataConnector
from pglive.sources.live_axis_range import LiveAxisRange
from pglive.sources.live_plot import LiveLinePlot
from pglive.sources.live_plot_widget import LivePlotWidget


# from pyqtgraph.examples.crosshair import vLine


class MainWindow(QMainWindow):
    def __init__(self):
        super().__init__()
        self.init_ui()
        self.running = True

    def init_ui(self):
        # 计算窗口的中心位置
        self.resize(800, 600)
        screen = QApplication.instance().primaryScreen()
        screen_geometry = screen.availableGeometry()  # 获取可用屏幕区域的几何形状
        x = (screen_geometry.width() - self.width()) // 2
        y = (screen_geometry.height() - self.height()) // 2
        self.move(x, y)

        main_layout = QVBoxLayout()
        central_widget = QWidget()
        central_widget.setLayout(main_layout)
        self.setCentralWidget(central_widget)
        pause_button = QPushButton("Pause live plot")
        resume_button = QPushButton("Resume live plot")
        auto_button = QPushButton("Auto range")
        btn_layout = QHBoxLayout()
        btn_layout.addWidget(pause_button)
        btn_layout.addWidget(resume_button)
        btn_layout.addWidget(auto_button)
        btn_layout.addStretch(1)
        main_layout.addLayout(btn_layout)

        pause_button.clicked.connect(self.pause_live_plot)
        resume_button.clicked.connect(self.resume_live_plot)
        auto_button.clicked.connect(self.set_auto_scroll)

        # pg.setConfigOption('leftButtonPan', False)
        pg.setConfigOption('antialias', False)
        grid_layout = QGridLayout()
        main_layout.addLayout(grid_layout)

        self.plotwidgets = []
        self.data_connectors = []
        self.vLines = []
        self.hLines = []
        self.plot_labels = []
        for i in range(3):
            for j in range(2):
                plots = self.get_plot()
                grid_layout.addLayout(plots[0], i, j)

                self.data_connectors.append(plots[1])

        Thread(target=self.sin_wave_generator, args=(self.data_connectors,)).start()

    def get_plot(self):
        kwargs = {Crosshair.ENABLED: True,
                  Crosshair.LINE_PEN: pg.mkPen(color="red", width=1),
                  Crosshair.TEXT_KWARGS: {"color": "green"}}
        v_layout = QVBoxLayout()
        plot_widget = LivePlotWidget(title="Title", **kwargs,
                                     x_range_controller=LiveAxisRange(roll_on_tick=200))
        plot_widget.setBackground(QtGui.QColor(255, 255, 255))
        plot_widget.getPlotItem().showGrid(x=True, y=True)
        plot_widget.getPlotItem().hideButtons()
        plot_widget.getPlotItem().setMenuEnabled(False)

        # 设置鼠标模式为矩形选择模式
        plot_widget.getPlotItem().getViewBox().setMouseMode(pg.ViewBox.RectMode)
        plot_curve = LiveLinePlot()
        plot_curve.setPen(pg.mkPen(color="blue", width=1))
        plot_widget.addItem(plot_curve)
        data_connector = DataConnector(plot_curve, max_points=60000, update_rate=10)
        # Thread(target=self.sin_wave_generator, args=(data_connector,)).start()

        vLine = pg.InfiniteLine(angle=90, movable=False, pen=pg.mkPen(color="gray", width=1))
        self.vLines.append(vLine)
        hLine = pg.InfiniteLine(angle=0, movable=False, pen=pg.mkPen(color="gray", width=1))
        self.hLines.append(hLine)
        plot_widget.addItem(vLine, ignoreBounds=True)
        plot_widget.addItem(hLine, ignoreBounds=True)
        plot_widget.sceneObj.sigMouseMoved.connect(self.mouse_moved)
        v_layout.addWidget(plot_widget)

        label = QLabel()
        label.setFont(QtGui.QFont("Microsoft YaHei"))
        v_layout.addWidget(label)
        self.plot_labels.append(label)

        self.plotwidgets.append(plot_widget)
        return v_layout, data_connector

    def mouse_moved(self, pos):
        """鼠标移动事件"""
        mousePoint = self.plotwidgets[0].getPlotItem().getViewBox().mapSceneToView(pos)
        for index, plot_widget in enumerate(self.plotwidgets):
            if plot_widget.sceneObj == self.sender():
                mousePoint = plot_widget.getPlotItem().getViewBox().mapSceneToView(pos)

        for index, plot_widget in enumerate(self.plotwidgets):
            vLine = self.vLines[index]
            hLine = self.hLines[index]
            label = self.plot_labels[index]
            x = int(mousePoint.x())
            x_data = plot_widget.getPlotItem().curves[1].xData
            index = np.where(x_data == x)
            if len(index[0]) > 0:
                y = plot_widget.getPlotItem().curves[1].yData[index[0][0]]
            else:
                y = plot_widget.getPlotItem().curves[1].yData[0]
            label.setText("<span style='font-size: 9pt'>x=%0.1f,   <span style='color: red'>y1=%0.1f</span>"
                          % (x, y))
            vLine.setPos(mousePoint.x())
            hLine.setPos(mousePoint.y())

    def set_auto_scroll(self):
        """设置自动滚动"""
        for index, plot_widget in enumerate(self.plotwidgets):
            plot_widget.manual_range = False
            plot_widget.slot_roll_tick(self.data_connectors[index], 200)
        # self.plot_widget.getPlotItem().enableAutoRange()

    def pause_live_plot(self):
        """暂停实时绘图"""
        for data_connector in self.data_connectors:
            data_connector.paused = True

    def resume_live_plot(self):
        """恢复实时绘图"""
        for data_connector in self.data_connectors:
            data_connector.paused = False

    def sin_wave_generator(self, connectors):
        """Sine wave generator"""
        x = 0
        while True:
            x += 1
            data_point = sin(x * 0.05)
            # Callback to plot new data point
            for connector in connectors:
                if connector.paused:
                    sleep(0.1)
                    continue
                connector.cb_append_data_point(data_point + random.randint(-10, 10), x)
            sleep(0.05)

    def cos_wave_generator(self, connector):
        """Cosine wave generator"""
        x = 0
        while self.running:
            if connector.paused:
                sleep(0.01)
                continue
            x += 1
            data_point = cos(x * 0.05)
            # Callback to plot new data point
            connector.cb_append_data_point(data_point, x)
            sleep(0.01)