DeepSeek 作为一款强大的 AI 开发工具,能够显著提升开发效率,尤其是在代码生成、错误检测和性能优化方面表现出色。本文将手把手教你如何在 Android Studio 中接入 DeepSeek,并充分发挥其潜力,让你在开发过程中事半功倍,下面介绍怎么接入。
一、前期准备
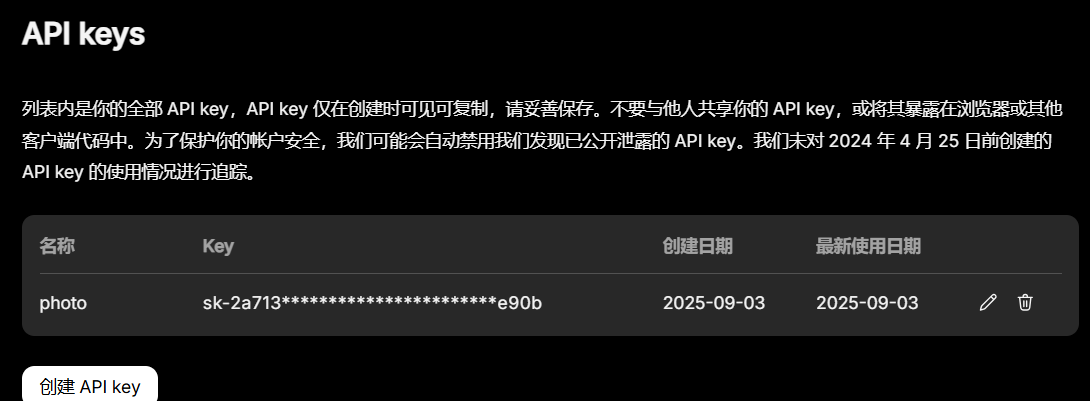
首先去DeepSeek注册账号,然后充值十块钱进去测试,并创建key,需要记住保存该key,否则下次需要重新创建
二、功能实现
1. manifest添加网络权限
java
<uses-permission android:name="android.permission.INTERNET">2.添加布局
html
<?xml version="1.0" encoding="utf-8"?>
<androidx.appcompat.widget.LinearLayoutCompat xmlns:android="http://schemas.android.com/apk/res/android"
    xmlns:app="http://schemas.android.com/apk/res-auto"
    xmlns:tools="http://schemas.android.com/tools"
    android:id="@+id/main"
    android:layout_width="match_parent"
    android:layout_height="match_parent"
    android:orientation="vertical"
    tools:context=".MainActivity">

    <ScrollView
        android:layout_width="match_parent"
        android:layout_height="0dp"
        android:layout_weight="1">

        <!-- 使用水平 LinearLayout 包含 ImageView 和 EditText -->
        <androidx.appcompat.widget.LinearLayoutCompat
            android:layout_width="match_parent"
            android:layout_height="wrap_content"
            android:orientation="horizontal"
            android:padding="8dp">

            <!-- 左侧的图片 -->
            <androidx.appcompat.widget.AppCompatImageView
                android:layout_width="wrap_content"
                android:layout_height="wrap_content"
                android:layout_gravity="top"
                 />

            <!-- 右侧的 EditText -->
            <androidx.appcompat.widget.AppCompatEditText
                android:id="@+id/result"
                android:layout_width="0dp"
                android:layout_height="wrap_content"
                android:layout_weight="1"
                android:background="@null"
                android:gravity="top"
                android:hint="请等待AI分析解答..."
                android:inputType="textMultiLine"
                android:minHeight="200dp"
                android:paddingStart="8dp"
                android:scrollbars="vertical"
                tools:ignore="RtlSymmetry" /> <!-- 文本与图片之间的间距 -->
        </androidx.appcompat.widget.LinearLayoutCompat>
    </ScrollView>

    <View
        android:layout_width="match_parent"
        android:layout_height="50dp" />

    <ProgressBar
        android:id="@+id/loading"
        android:visibility="gone"
        android:layout_gravity="center"
        android:layout_width="wrap_content"
        android:layout_height="wrap_content"/>

    <!-- 底部输入部分 -->
    <androidx.appcompat.widget.LinearLayoutCompat
        android:layout_width="match_parent"
        android:layout_height="wrap_content"
        android:orientation="vertical">

        <androidx.appcompat.widget.AppCompatEditText
            android:id="@+id/et_input"
            android:layout_width="match_parent"
            android:layout_height="200dp"
            android:gravity="top"
            android:hint="请输入要发送的内容"
            android:inputType="textMultiLine" />

        <androidx.appcompat.widget.AppCompatButton
            android:id="@+id/send"
            android:layout_width="wrap_content"
            android:layout_height="wrap_content"
            android:layout_gravity="center"
            android:text="发送" />
    </androidx.appcompat.widget.LinearLayoutCompat>


</androidx.appcompat.widget.LinearLayoutCompat>
3.请求数据
请求的数据,json格式
html
{
  "messages": [
    {
      "content": "You are a helpful assistant",
      "role": "system"
    },
    {
      "content": "Hi",
      "role": "user"
    }
  ],
  "model": "deepseek-chat",
  "frequency_penalty": 0,
  "max_tokens": 4096,
  "presence_penalty": 0,
  "response_format": {
    "type": "text"
  },
  "stop": null,
  "stream": false,
  "stream_options": null,
  "temperature": 1,
  "top_p": 1,
  "tools": null,
  "tool_choice": "none",
  "logprobs": false,
  "top_logprobs": null
}content就是我们要搜索的内容,
model就是我们使用的训练模型,
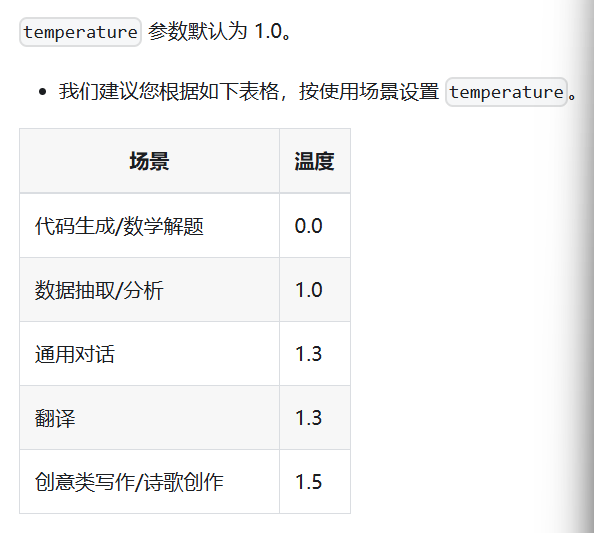
temperature是我们要使用的场景
4.build.gradle配置
Kotlin
 implementation 'com.squareup.okhttp3:okhttp:4.9.3'
    implementation 'com.fasterxml.jackson.core:jackson-databind:2.20.0' //JSON 数据处理
    implementation 'com.google.code.gson:gson:2.13.1' //JSON 序列化/反序列化
5.返回数据,后续请求成功后可以按照这个去解析
html
{
  "id": "string",
  "choices": [
    {
      "finish_reason": "stop",
      "index": 0,
      "message": {
        "content": "string",
        "reasoning_content": "string",
        "tool_calls": [
          {
            "id": "string",
            "type": "function",
            "function": {
              "name": "string",
              "arguments": "string"
            }
          }
        ],
        "role": "assistant"
      },
      "logprobs": {
        "content": [
          {
            "token": "string",
            "logprob": 0,
            "bytes": [
              0
            ],
            "top_logprobs": [
              {
                "token": "string",
                "logprob": 0,
                "bytes": [
                  0
                ]
              }
            ]
          }
        ],
        "reasoning_content": [
          {
            "token": "string",
            "logprob": 0,
            "bytes": [
              0
            ],
            "top_logprobs": [
              {
                "token": "string",
                "logprob": 0,
                "bytes": [
                  0
                ]
              }
            ]
          }
        ]
      }
    }
  ],
  "created": 0,
  "model": "string",
  "system_fingerprint": "string",
  "object": "chat.completion",
  "usage": {
    "completion_tokens": 0,
    "prompt_tokens": 0,
    "prompt_cache_hit_tokens": 0,
    "prompt_cache_miss_tokens": 0,
    "total_tokens": 0,
    "completion_tokens_details": {
      "reasoning_tokens": 0
    }
  }
}
6.代码实现
这个配置会一次行返回所有结果,如果需要直接返回,像网页那样一字一字打印显示,需要设置
params"stream" = true,然后再处理数据流即可,拼接数据可以使用
val stringBuffer = StringBuffer(),具体可以自行实现,KEY就是官网申请的API key,替换成自己的即可。
java
private var params: HashMap<String, Any?> = HashMap()
// 构建 messages 列表
private var messages: MutableList<HashMap<String, Any?>> = ArrayList()
private var message: HashMap<String, Any?> = HashMap()
private val client = OkHttpClient.Builder()
.connectTimeout(60, TimeUnit.SECONDS)
.readTimeout(60, TimeUnit.SECONDS)
.writeTimeout(60, TimeUnit.SECONDS)
.build()
private fun request() {
binding.loading.visibility = View.VISIBLE
val content: String = binding.etInput.getText().toString()
message["content"] = content
message["role"] = "user"
messages.add(message)
// 填充 params
params["messages"] = messages
params["model"] = "deepseek-chat"
params["frequency_penalty"] = 0
params["max_tokens"] = 2048
params["presence_penalty"] = 0
// 嵌套对象 response_format
val responseFormat: MutableMap<String, Any> = HashMap()
responseFormat["type"] = "text"
params["response_format"] = responseFormat
// 其他字段
params["stop"] = null
params["stream"] = false
params["stream_options"] = null
params["temperature"] = 1.3
params["top_p"] = 1
params["tools"] = null
params["tool_choice"] = "none"
params["logprobs"] = false
params["top_logprobs"] = null
val mediaType: MediaType? = "application/json".toMediaTypeOrNull()
val objectMapper = ObjectMapper()
var jsonString1: String? = null
try {
jsonString1 = objectMapper.writerWithDefaultPrettyPrinter().writeValueAsString(params)
} catch (e: JsonParseException) {
throw RuntimeException(e)
}
val body: RequestBody = jsonString1.toRequestBody(mediaType)
val request = Request.Builder()
.url("https://api.deepseek.com/chat/completions")
.method("POST", body)
.addHeader("Content-Type", "application/json")
.addHeader("Accept", "application/json")
.addHeader("Authorization", "Bearer $KEY")
.build();
val time = System.currentTimeMillis()
client.newCall(request).enqueue(object : Callback {
override fun onFailure(call: Call, e: IOException) {
LogUtils.i(TAG,"onFailure =${e.message}")
binding.loading.visibility = View.GONE
}
override fun onResponse(call: Call, response: Response) {
if (response.body==null){
LogUtils.i(TAG,"onResponse body is null")
launchMain {
binding.loading.visibility = View.GONE
}
return
}
//onResponseCall(call,response)
try {
val jsonString = response.body?.string()
LogUtils.i(TAG,"onResponse body=${System.currentTimeMillis() - time}")
val jsonObject = JsonParser.parseString(jsonString).asJsonObject
val choices = jsonObject.get("choices").asJsonArray
val choices0 = choices[0].asJsonObject
val message1 = choices0.get("message").asJsonObject
val result = message1.get("content").asString
LogUtils.i(TAG,"onResponse result=${result} jsonString=$jsonString")
launchMain {
binding.result.setText(result)
binding.loading.visibility = View.GONE
}
}catch (e:Exception){
LogUtils.i(TAG,"onResponse result=${e.message}")
launchMain {
binding.loading.visibility = View.GONE
}
}
}
})
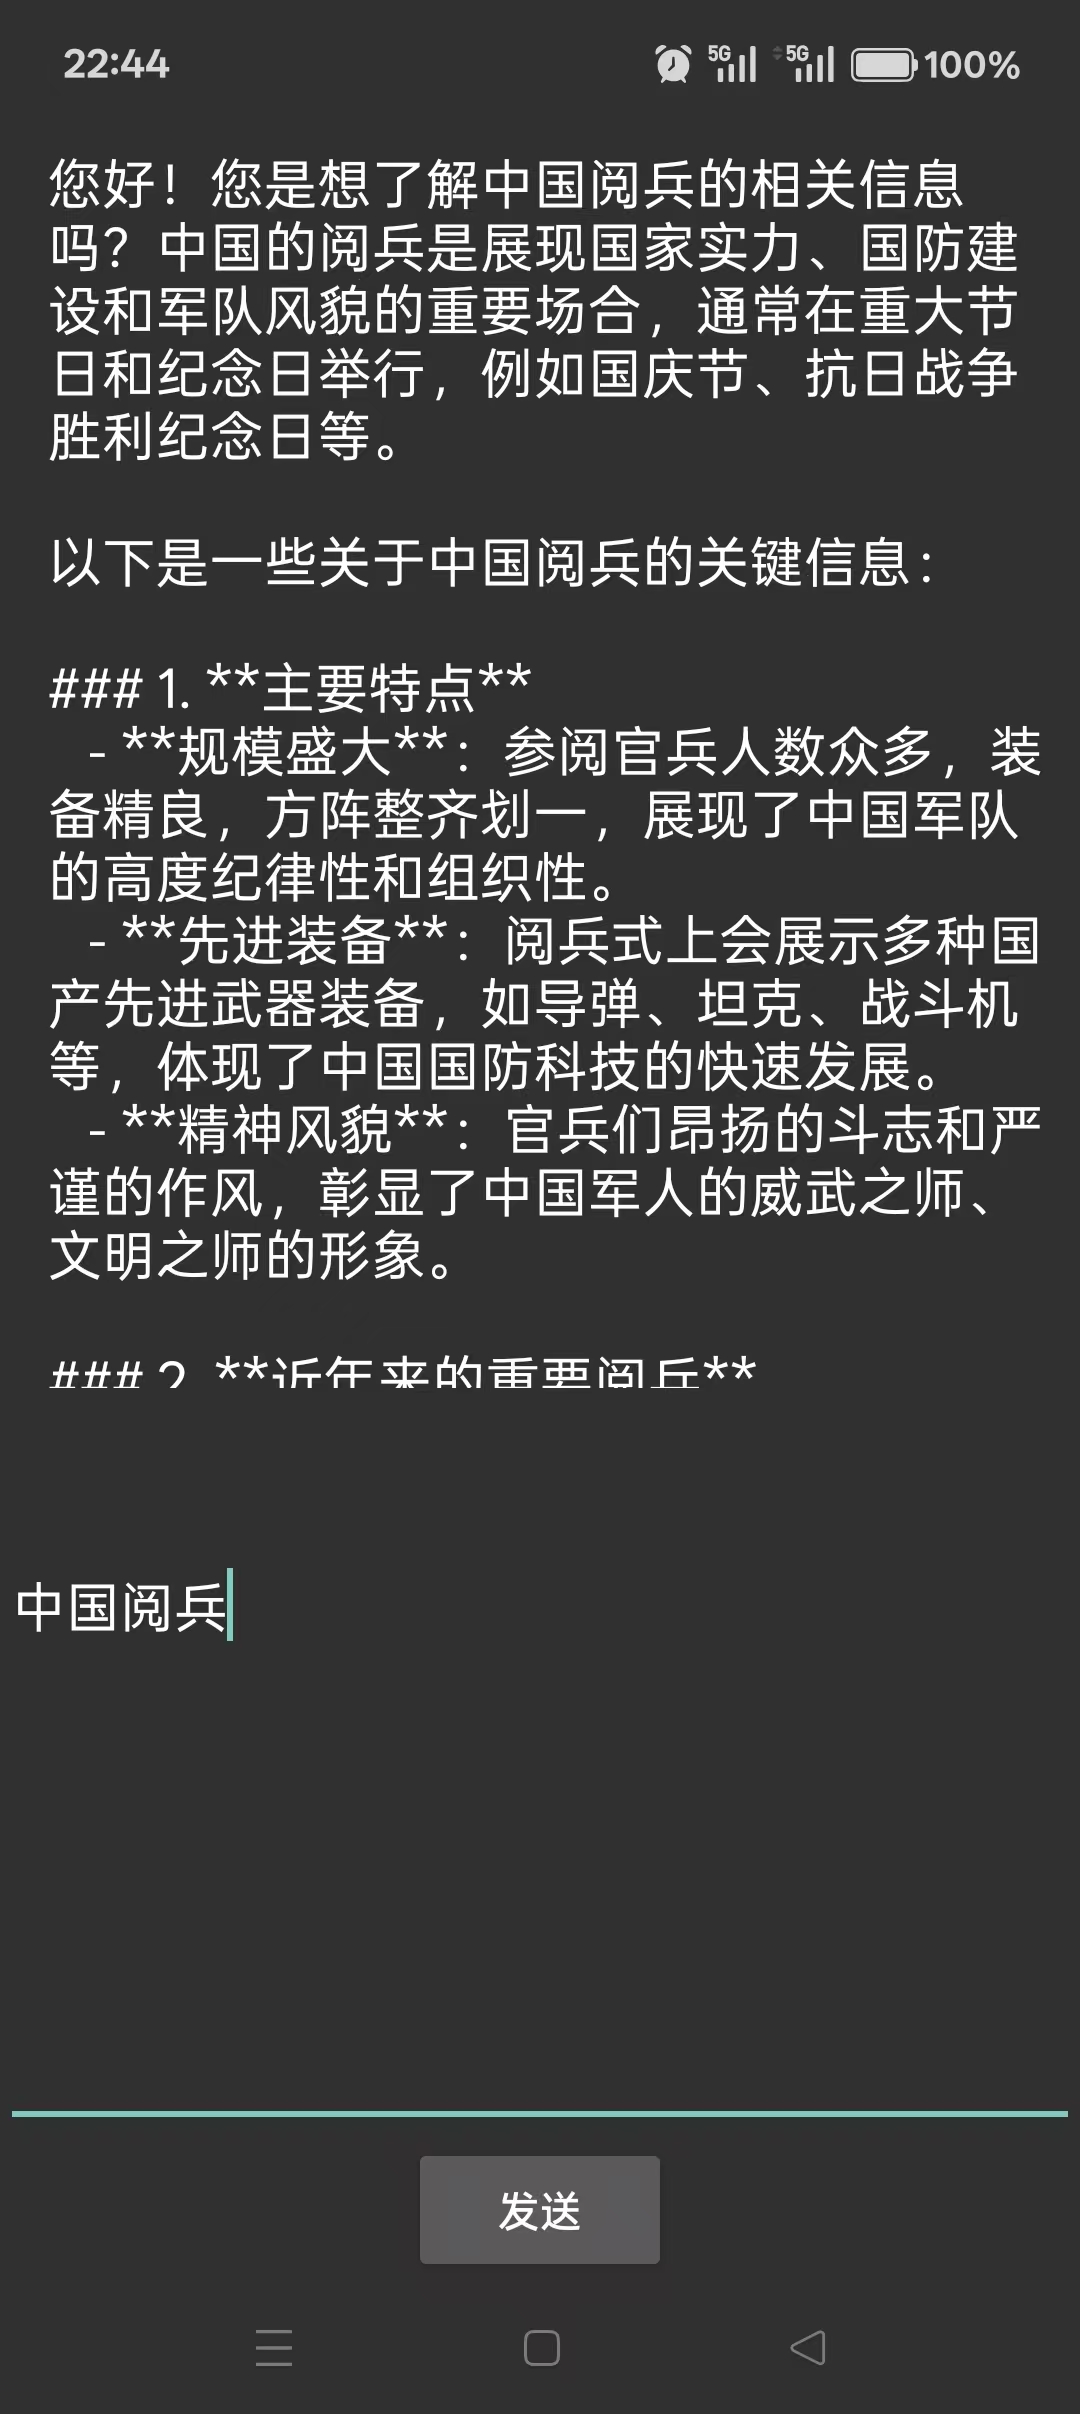
}最后贴上效果,这样就可以让自己app集成deepseek,有问题也可以留言探讨。