文章目录
kylinv10sp3
| 操作系统 | 版本 | 源 |
|---|---|---|
| kylin | v10sp3 | 默认 |
yum安装1.21
步骤1:yum安装nginx
shell
#1.yum安装nginx
yum list |grep nginx
yum install -y nginx
步骤2:启动nginx
shell
systemctl enable --now nginx.service
systemctl is-active nginx.service
步骤3:防火墙放行80端口
shell
ss -tulnp |grep 80
firewall-cmd --add-port=80/tcp --permanent
firewall-cmd --reload
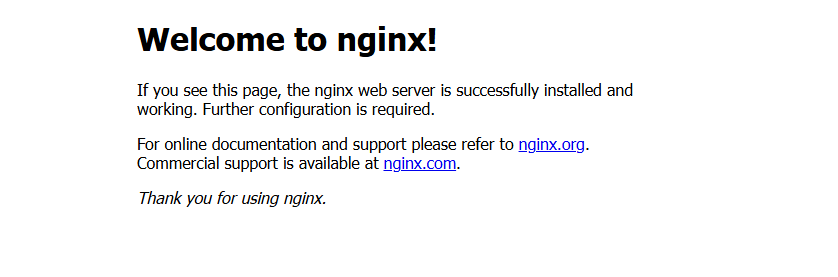
#IP:80 访问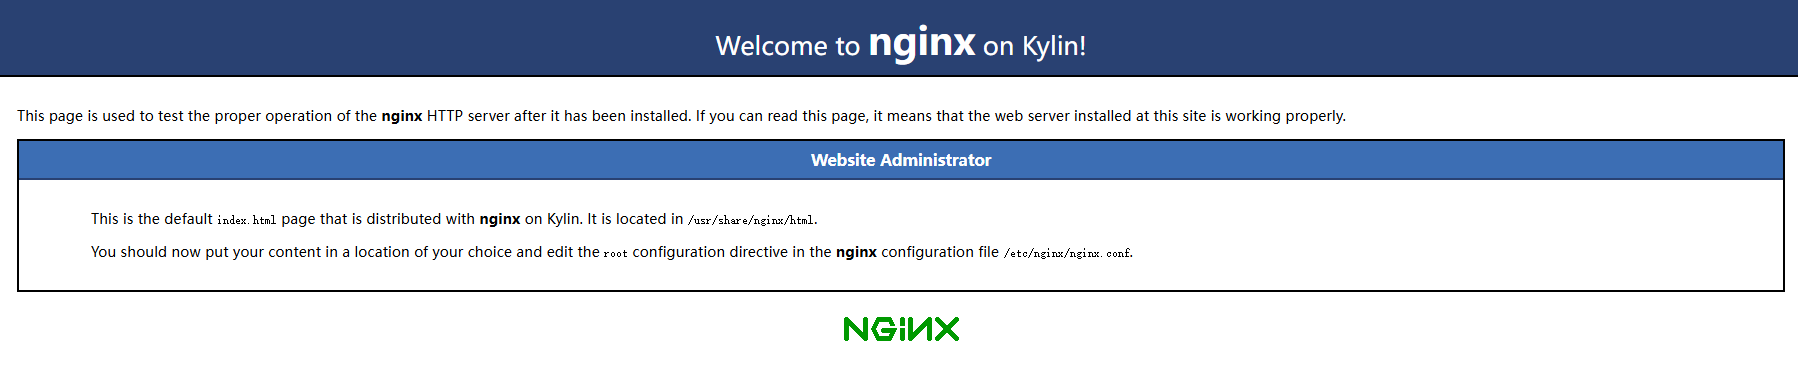
编译安装1.28
下载地址:nginx:下载
步骤1:下载nginx依赖包
shell
yum install -y gcc-c++ make \
               pcre pcre-devel \
               zlib zlib-devel \
               openssl openssl-devel \
               wget
步骤2:下载Nginx1.28的编译包
shell
#1.创建下载目录存放二进制包
mkdir -p /download ; wget https://nginx.org/download/nginx-1.28.0.tar.gz -O /download/nginx-1.28.0.tar.gz
#2.解压并进入编译包中
cd /download/
tar -zxf nginx-1.28.0.tar.gz
cd nginx-1.28.0

#编译包说明
auto(文件夹):编译配置核心脚本集
CHANGES(文件):核心作用:记录从早期版本到 1.28.0 的所有 英文变更记录
               包括新特性、bug 修复、性能优化、兼容性调整等
CHANGES.ru(文件):俄语更新日志记录内容和CHANGES一样
CODE_OF_CONDUCT.md(文件):Nginx 开源项目的 "贡献者行为规范"
                           定义了开发者、贡献者在参与项目时需遵守的准则
conf(文件夹):配置文件模板
configure(脚本):编译前配置入口
contrib(文件夹):辅助工具集,存放 Nginx 官方提供的 辅助工具和脚本
CONTRIBUTING.md(文件):贡献指南
html(文件夹):默认网页根目录模板
LICENSE(文件):开源许可证
man(文件夹):手册文档
README.md(文件):项目说明文档,不知道依赖是什么可以在这里查看编译依赖
SECURITY.md(文件):安全说明
src(文件夹):核心源代码
步骤3:编译安装nginx
shell
#1.创建nginx系统用户缩小nginx服务权限范围
groupadd -r nginx
useradd -r -g nginx -M -s /sbin/nologin nginx
#2.编译前的配置,指定安装目录,指定用户,开启/关闭功能
./configure \
--prefix=/usr/local/nginx-1.28.0/ \
--user=nginx \
--group=nginx \
--with-http_ssl_module \
--with-http_v2_module \
--with-stream \
--with-http_stub_status_module
#编译模块说明(官方文档)
https://nginx.org/en/docs/

#3.编译 源代码-->可执行文件(命令)
make  -j `nproc`  && echo $?  #-j用于编译安装加速 nproc命令获取核心数

#4.安装 创建目录,复制文件
make install  && echo $?
步骤4:配置软链接和nginx环境变量
shell
#1.设置软链接简化路径
ln -s /usr/local/nginx-1.28.0/ /usr/local/nginx
#2.设置nginx环境变量
echo 'export PATH=${PATH}:/usr/local/nginx/sbin' >> /etc/profile
source  /etc/profile
nginx -v
步骤5:给nginx配置系统服务并开启nginx
shell
#1.给Nginx配置系统服务
cat > /usr/lib/systemd/system/nginx.service <<'EOF'

[Unit]
Description=NGINX Web Server
After=network.target

[Service]
Type=forking
ExecStart=/usr/local/nginx/sbin/nginx
ExecReload=/usr/local/nginx/sbin/nginx -s reload
ExecStop=/usr/local/nginx/sbin/nginx -s quit
PIDFile=/usr/local/nginx/logs/nginx.pid

[Install]
WantedBy=multi-user.target
EOF

#2.重新加载系统服务配置文件 开启nginx
systemctl daemon-reload
systemctl enable nginx --now

#3.查看nginx状态
systemctl is-active  nginx
#4.放行nginx端口
firewall-cmd --add-port=80/tcp --permanent
firewall-cmd --reload
#5.浏览器访问
ip:80
ubuntu2204
| 操作系统 | 版本 | 源 |
|---|---|---|
| Ubuntu | 2204 | 清华源 |
apt安装1.18
步骤1:给Ubuntu2204配置清华源
shell
#1.sed修改/etc/apt/sources.list 文件并备份
sed -i_bak 's/cn.archive.ubuntu.com/mirrors.tuna.tsinghua.edu.cn/g' /etc/apt/sources.list
#2.执行apt update 生成本地软件包缓存,如果不执行则下载软件失败. 因为修改了sources.list文件.
apt update
步骤2:apt安装nginx
shell
[root@ubuntu2204-csq ~]# apt install -y nginx
[root@ubuntu2204-csq ~]# nginx -v
nginx version: nginx/1.18.0 (Ubuntu)
步骤3:启动nginx
shell
systemctl enable --now nginx步骤4:防火墙放行80端口
shell
ufw allow 80/tcp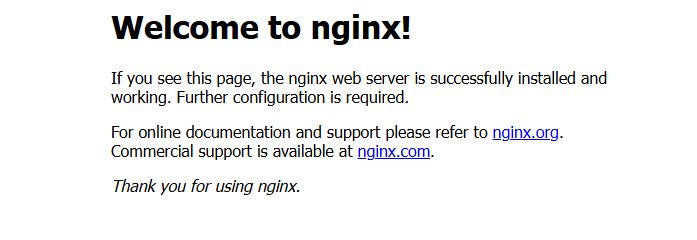
编译安装1.28
下载地址:[nginx:下载](https://nginx.org/en/download.html)(https://nginx.org/download/)
步骤1:给Ubuntu2204配置清华源
shell
#1.sed修改/etc/apt/sources.list 文件并备份
sed -i_bak 's/cn.archive.ubuntu.com/mirrors.tuna.tsinghua.edu.cn/g' /etc/apt/sources.list
#2.执行apt update 生成本地软件包缓存,如果不执行则下载软件失败. 因为修改了sources.list文件.
apt update
步骤2:下载nginx依赖包
shell
apt install -y build-essential \
                    libpcre3 libpcre3-dev \
                    zlib1g zlib1g-dev \
                    libssl-dev \
                    wget
#build-essential:提供 gcc、make 等基础编译工具
#libpcre3 / libpcre3-dev:支持正则匹配(如 rewrite 模块)
#zlib1g / zlib1g-dev:提供 gzip 压缩功能
#libssl-dev:开启 HTTPS/SSL 支持
#wget:用于下载源码包
#如果不知道依赖可以查看README.MD文件
步骤2:下载nginx1.28的编译包
shell
#1.创建下载目录存放二进制包
mkdir -p /download ; wget https://nginx.org/download/nginx-1.28.0.tar.gz -O /download/nginx-1.28.0.tar.gz
#2.解压并进入编译包中
cd /download/
tar -zxf nginx-1.28.0.tar.gz
cd nginx-1.28.0

#编译包说明
auto(文件夹):编译配置核心脚本集
CHANGES(文件):核心作用:记录从早期版本到 1.28.0 的所有 英文变更记录
               包括新特性、bug 修复、性能优化、兼容性调整等
CHANGES.ru(文件):俄语更新日志记录内容和CHANGES一样
CODE_OF_CONDUCT.md(文件):Nginx 开源项目的 "贡献者行为规范"
                           定义了开发者、贡献者在参与项目时需遵守的准则
conf(文件夹):配置文件模板
configure(脚本):编译前配置入口
contrib(文件夹):辅助工具集,存放 Nginx 官方提供的 辅助工具和脚本
CONTRIBUTING.md(文件):贡献指南
html(文件夹):默认网页根目录模板
LICENSE(文件):开源许可证
man(文件夹):手册文档
README.md(文件):项目说明文档,不知道依赖是什么可以在这里查看编译依赖
SECURITY.md(文件):安全说明
src(文件夹):核心源代码
步骤3:编译安装Nginx
编译安装三步骤:
- 配置./configure 指定安装目录
- 编译 make (源代码==>二进制文件(命令))
- 安装make install 创建目录,复制文件,复制命令
shell
#1.创建Nginx用户
groupadd -r nginx
useradd -r -g nginx -M -s /sbin/nologin nginx
#2.编译前的配置,指定安装目录,指定用户,开启/关闭功能
./configure \
--prefix=/usr/local/nginx-1.28.0/ \
--user=nginx \
--group=nginx \
--with-http_ssl_module \
--with-http_v2_module \
--with-stream \
--with-http_stub_status_module
#编译模块说明(官方文档)
https://nginx.org/en/docs/

#3.编译 源代码-->可执行文件(命令)
make  -j `nproc`  && echo $?  #-j用于编译安装加速 nproc命令获取核心数

#4.安装 创建目录,复制文件
make install  && echo $?
步骤4:配置软链接和Nginx环境变量
shell
#1.设置软链接简化路径
ln -s /usr/local/nginx-1.28.0/ /usr/local/nginx
#2.设置nginx环境变量
echo 'export PATH=${PATH}:/usr/local/nginx/sbin' >> /etc/environment
source  /etc/environment
nginx -v
步骤5:给nginx配置系统服务并开启nginx
shell
#1.给Nginx配置系统服务
cat > /usr/lib/systemd/system/nginx.service <<'EOF'

[Unit]
Description=NGINX Web Server
After=network.target

[Service]
Type=forking
ExecStart=/usr/local/nginx/sbin/nginx
ExecReload=/usr/local/nginx/sbin/nginx -s reload
ExecStop=/usr/local/nginx/sbin/nginx -s quit
PIDFile=/usr/local/nginx/logs/nginx.pid

[Install]
WantedBy=multi-user.target
EOF

#2.重新加载系统服务配置文件 开启nginx
systemctl daemon-reload
systemctl enable nginx --now

#3.查看nginx状态
systemctl is-active  nginx
#4.放行nginx端口
ufw allow 80/tcp
#5.浏览器访问
ip:80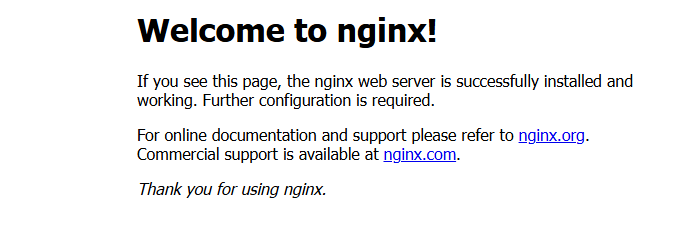
rocky9.3
| 操作系统 | 版本 | 源 |
|---|---|---|
| rocky | 9.3 | 默认 |
yum安装
yum安装1.20
步骤1:yum安装nginx
shell
#1.yum安装nginx
yum list |grep nginx
yum install -y nginx
步骤2:启动nginx
shell
systemctl enable --now nginx.service
systemctl is-active nginx.service
步骤3:防火墙放行80端口
shell
ss -tulnp |grep 80
firewall-cmd --add-port=80/tcp --permanent
firewall-cmd --reload
#IP:80 访问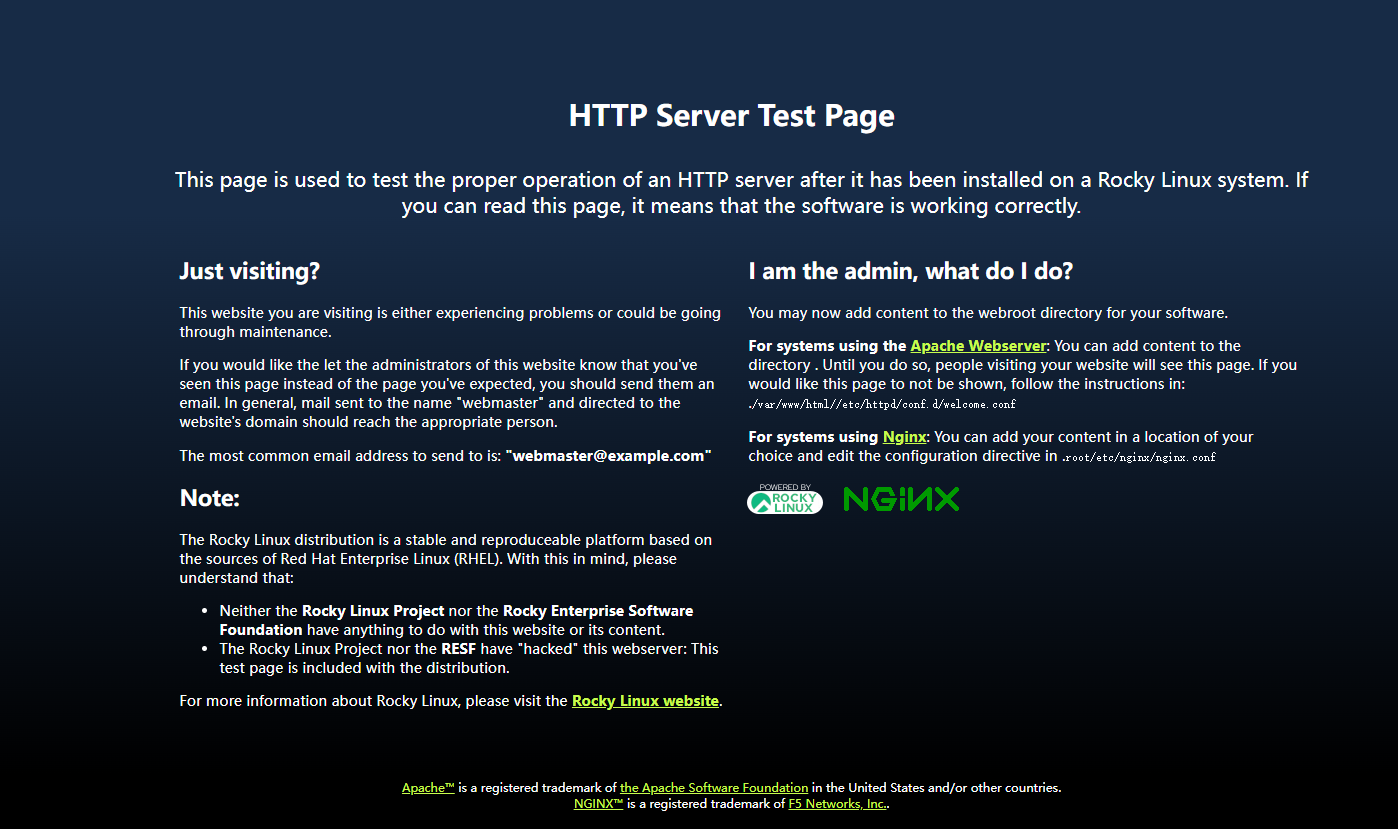
编译安装1.28
下载地址:nginx:下载
步骤1:下载nginx依赖包
shell
yum install -y gcc-c++ make \
               pcre pcre-devel \
               zlib zlib-devel \
               openssl openssl-devel \
               wget
步骤2:下载Nginx1.28的编译包
shell
#1.创建下载目录存放二进制包
mkdir -p /download ; wget https://nginx.org/download/nginx-1.28.0.tar.gz -O /download/nginx-1.28.0.tar.gz
#2.解压并进入编译包中
cd /download/
tar -zxf nginx-1.28.0.tar.gz
cd nginx-1.28.0

#编译包说明
auto(文件夹):编译配置核心脚本集
CHANGES(文件):核心作用:记录从早期版本到 1.28.0 的所有 英文变更记录
               包括新特性、bug 修复、性能优化、兼容性调整等
CHANGES.ru(文件):俄语更新日志记录内容和CHANGES一样
CODE_OF_CONDUCT.md(文件):Nginx 开源项目的 "贡献者行为规范"
                           定义了开发者、贡献者在参与项目时需遵守的准则
conf(文件夹):配置文件模板
configure(脚本):编译前配置入口
contrib(文件夹):辅助工具集,存放 Nginx 官方提供的 辅助工具和脚本
CONTRIBUTING.md(文件):贡献指南
html(文件夹):默认网页根目录模板
LICENSE(文件):开源许可证
man(文件夹):手册文档
README.md(文件):项目说明文档,不知道依赖是什么可以在这里查看编译依赖
SECURITY.md(文件):安全说明
src(文件夹):核心源代码
步骤3:编译安装nginx
shell
#1.创建nginx系统用户缩小nginx服务权限范围
groupadd -r nginx
useradd -r -g nginx -M -s /sbin/nologin nginx
#2.编译前的配置,指定安装目录,指定用户,开启/关闭功能
./configure \
--prefix=/usr/local/nginx-1.28.0/ \
--user=nginx \
--group=nginx \
--with-http_ssl_module \
--with-http_v2_module \
--with-stream \
--with-http_stub_status_module
#编译模块说明(官方文档)
https://nginx.org/en/docs/

#3.编译 源代码-->可执行文件(命令)
make  -j `nproc`  && echo $?  #-j用于编译安装加速 nproc命令获取核心数

#4.安装 创建目录,复制文件
make install  && echo $?
步骤4:配置软链接和nginx环境变量
shell
#1.设置软链接简化路径
ln -s /usr/local/nginx-1.28.0/ /usr/local/nginx
#2.设置nginx环境变量
echo 'export PATH=${PATH}:/usr/local/nginx/sbin' >> /etc/profile
source  /etc/profile
nginx -v
步骤5:给nginx配置系统服务并开启nginx
shell
#1.给Nginx配置系统服务
cat > /usr/lib/systemd/system/nginx.service <<'EOF'

[Unit]
Description=NGINX Web Server
After=network.target

[Service]
Type=forking
ExecStart=/usr/local/nginx/sbin/nginx
ExecReload=/usr/local/nginx/sbin/nginx -s reload
ExecStop=/usr/local/nginx/sbin/nginx -s quit
PIDFile=/usr/local/nginx/logs/nginx.pid

[Install]
WantedBy=multi-user.target
EOF

#2.重新加载系统服务配置文件 开启nginx
systemctl daemon-reload
systemctl enable nginx --now

#3.查看nginx状态
systemctl is-active  nginx
#4.放行nginx端口
firewall-cmd --add-port=80/tcp --permanent
firewall-cmd --reload
#5.浏览器访问
ip:80