文章目录
- [Nginx 服务器](#Nginx 服务器)
- 项目实战:ecshop
Nginx 服务器
Nginx是一款高性能的HTTP和反向代理服务器,能够选择高效的epoll、kqueue、eventport最为网络I/O模型,在高连接并发的情况下,能够支持高达5万个并发连接数的响应,而内存、CPU等系统资源消耗却非常低,运行非常稳定。
安装 nginx
bash
#安装
[root@server ~ 16:50:51]# yum install -y nginx
#开机自启动
[root@server ~ 09:40:11]# systemctl enable nginx.service --now
Created symlink from /etc/systemd/system/multi-user.target.wants/nginx.service to /usr/lib/systemd/system/nginx.service.
虚拟主机
同一个web服务器提供多个站点。
根据名称
bash
[root@server ~ 16:51:26]# vim /etc/nginx/nginx.conf

[root@server ~ 17:02:15]# cd /etc/nginx/

[root@server nginx 17:04:10]# cp nginx.conf conf.d/vhost.conf
[root@server nginx 17:05:19]# ls
conf.d                  koi-utf             scgi_params
default.d               koi-win             scgi_params.default
fastcgi.conf            mime.types          uwsgi_params
fastcgi.conf.default    mime.types.default  uwsgi_params.default
fastcgi_params          nginx.conf          vhost.conf
fastcgi_params.default  nginx.conf.default  win-utf

[root@server nginx 17:05:35]# vim conf.d/vhost.conf
server {
    charset utf-8;
    index = index.html;
    autoindex on;
    listen       80;
    listen       [::]:80;
    server_name  www1.dcr.cloud;
    root         /nginx/www1;

}


server {
    charset utf-8;
    index = index.html;
    autoindex on;
    listen       80;
    listen       [::]:80;
    server_name  www2.dcr.cloud;
    root         /nginx/www2;

}

[root@server nginx 17:08:36]# cd
[root@server ~ 17:12:27]# mkdir /nginx/www{1,2} -p
[root@server ~ 17:12:51]# echo www1.dcr.cloud > /nginx/www1/index.html
[root@server ~ 17:13:25]# echo www2.dcr.cloud > /nginx/www2/index.html
[root@server ~ 17:13:35]# systemctl start nginx.service

#客户端查询
[root@client ~ 09:20:34]# vim /etc/hosts
[root@client ~ 09:21:36]# tail -n 2 /etc/hosts
10.1.8.10 server.dcr.cloud server www1.dcr.cloud www2.dcr.cloud
10.1.8.11 client.dcr.cloud client

[root@client ~ 09:21:49]# curl http://www1.dcr.cloud/
www1.dcr.cloud
[root@client ~ 09:23:49]# curl http://www2.dcr.cloud/
www2.dcr.cloud
charset utf-8; 支持中文显示
index = index.html; 默认主界面是index.html
autoindex on; 支持网页目录
根据 port
bash
[root@server ~ 09:31:13]# vim /etc/nginx/conf.d/vhost-port.conf
[root@server ~ 09:32:36]# cat /etc/nginx/conf.d/vhost-port.conf
server {
    charset utf-8;
    index = index.html;
    autoindex on;
    listen       8081;
    server_name  www.dcr.cloud;
    root         /nginx/8081;

}


server {
    charset utf-8;
    index = index.html;
    autoindex on;
    listen       8082;
    server_name  www.dcr.cloud;
    root         /nginx/8082;

}

[root@server ~ 09:32:54]# mkdir /nginx/808{1,2}
[root@server ~ 09:34:06]# echo www.dcr.cloud > /nginx/8081/index.html
[root@server ~ 09:34:49]# echo www.dcr.cloud > /nginx/8082/index.html
[root@server ~ 09:34:56]# systemctl restart nginx.service

#客户端增加域名
[root@client ~ 09:36:12]# vim /etc/hosts
[root@client ~ 09:36:35]# tail -n 2 /etc/hosts
10.1.8.10 server.dcr.cloud server www1.dcr.cloud www2.dcr.cloud www.dcr.cloud
10.1.8.11 client.dcr.cloud client
#检验
[root@client ~ 09:36:39]# curl http://www.dcr.cloud:8081
www.dcr.cloud
[root@client ~ 09:36:45]# curl http://www.dcr.cloud:8082
www.dcr.cloud
必须在客户端/etc/hosts里将域名和ip对应写出,否则客户端无法通过用域名访问
配置SSL/TLS
生成证书
bash
#生成私钥
[root@server ~ 10:30:00]# openssl genrsa -out www.key 2048
Generating RSA private key, 2048 bit long modulus
............................................................................+++
..............................................................................................................................................................+++
e is 65537 (0x10001)

#生成请求文件csr
[root@server ~ 10:30:56]# openssl req -new -key www.key -out www.csr -subj "/C=CN/ST=JS/L=NJ/O=LM/OU=DEVOPS/CN=www.dcr.cloud/emailAddress=dcr@dcr.cloud"

#使用自己的私钥对请求文件签名,以生成证书
[root@server ~ 10:31:22]# openssl x509 -req -days 3650 -in www.csr -signkey www.key -out www.crt
Signature ok
subject=/C=CN/ST=JS/L=NJ/O=LM/OU=DEVOPS/CN=www.dcr.cloud/emailAddress=dcr@dcr.cloud
Getting Private key
配置站点
bash
#新建文件存放私钥,证书
[root@server ~ 10:15:53]# mkdir /etc/ssl/certs/www.dcr.cloud
#将www.crt  www.csr  www.key 移动到目录
[root@server ~ 10:31:50]# mv www* /etc/ssl/certs/www.dcr.cloud/
[root@server ~ 10:32:16]# ls /etc/ssl/certs/www.dcr.cloud/
www.crt  www.csr  www.key


#配置站点
[root@server ~ 10:22:31]# cp /etc/nginx/nginx.conf /etc/nginx/conf.d/www.dcr.cloud-ssl.conf
[root@server ~ 10:32:26]# vim /etc/nginx/conf.d/www.dcr.cloud-ssl.conf

[root@server ~ 10:35:54]# cat /etc/nginx/conf.d/www.dcr.cloud-ssl.conf
server {
    listen       443 ssl http2;
    listen       [::]:443 ssl http2;
    server_name  www.dcr.cloud;
    root         /usr/share/nginx/html;

    ssl_certificate "/etc/ssl/certs/www.dcr.cloud/www.crt";
    ssl_certificate_key "/etc/ssl/certs/www.dcr.cloud/www.key";
    }

#重启服务
[root@server ~ 10:34:15]# systemctl restart nginx.service


# 配置HTTP重定向到https
[root@server ~ 11:16:29]# vim /etc/nginx/conf.d/www.dcr.cloud-ssl.conf
#最后添加
# 配置HTTP重定向到https
server {
    listen       80;
    listen       [::]:80;
    server_name  www.dcr.cloud;
    root         /usr/share/nginx/html;
    # 添加重定向
    return       301 https://www.dcr.cloud;
}
[root@server ~ 11:17:25]# systemctl restart nginx.service

#即可实现从访问http://www.dcr.cloud 跳转到 https://www.dcr.cloud
bash
#利用命令行查看https
[root@client ~ 10:53:07]# curl https://www.dcr.cloud
curl: (60) Peer's certificate issuer has been marked as not trusted by the user.
More details here: http://curl.haxx.se/docs/sslcerts.html

curl performs SSL certificate verification by default, using a "bundle"
 of Certificate Authority (CA) public keys (CA certs). If the default
 bundle file isn't adequate, you can specify an alternate file
 using the --cacert option.
If this HTTPS server uses a certificate signed by a CA represented in
 the bundle, the certificate verification probably failed due to a
 problem with the certificate (it might be expired, or the name might
 not match the domain name in the URL).
If you'd like to turn off curl's verification of the certificate, use
 the -k (or --insecure) option.

#-k免认证
[root@client ~ 11:23:43]# curl -k https://www.dcr.cloud
ssl web site
支持动态脚本
使用PHP
php-fpm : 负责接收web程序发来的php代码
php :负责解析和执行php代码,并将结果返回给php-fpm
php-fpm :将结果返回给web程序,web程序将结果返回给客户端
bash
#安装PHP和php-fpm,建议把其他的扩展包一起安装
[root@server ~ 11:21:38]# yum install -y php php-fpm
#建议把其他的拓展包一起安装
[root@server ~ 11:29:23]# yum install -y php-gd php-common php-pear php-mbstring php-mcrypt

#查看版本
[root@server ~ 11:38:50]# php -v
PHP 5.4.16 (cli) (built: Apr  1 2020 04:07:17)
Copyright (c) 1997-2013 The PHP Group
Zend Engine v2.4.0, Copyright (c) 1998-2013 Zend Technologies

# 测试 php 是否正常
[root@server ~ 11:39:01]# echo "<?php echo 'PHP Test Page'.\"\n\"; ?>" > php_test.php
[root@server ~ 11:41:12]# php php_test.php
PHP Test Page

# 准备测试页,使用phpinfo查看详细信息
[root@server ~ 11:41:26]# echo "<?php phpinfo(); ?>" > /usr/share/nginx/html/info.php
[root@server ~ 11:42:41]# mv php_test.php /usr/share/nginx/html/
#将测试php的文件也放入

#启动php-fpm
[root@server ~ 11:53:46]# systemctl start php-fpm.service


#编译配置文件
[root@server ~ 11:47:59]# vim /etc/nginx/conf.d/www.dcr.cloud-ssl.conf
[root@server ~ 11:55:43]# cat /etc/nginx/conf.d/www.dcr.cloud-ssl.conf
server {
    listen       443 ssl http2;
    listen       [::]:443 ssl http2;
    server_name  www.dcr.cloud;
    root         /usr/share/nginx/html;

    ssl_certificate "/etc/ssl/certs/www.dcr.cloud/www.crt";
    ssl_certificate_key "/etc/ssl/certs/www.dcr.cloud/www.key";


   # add into the [server] section
    location ~ \.php$ {
        try_files $uri =404;
        fastcgi_pass 127.0.0.1:9000;
        fastcgi_index index.php;
        fastcgi_param SCRIPT_FILENAME $document_root$fastcgi_script_name;
        include fastcgi_params;
    }

}

# 配置HTTP重定向到https
server {
    listen       80;
    listen       [::]:80;
    server_name  www.dcr.cloud;
    root         /usr/share/nginx/html;
    # 添加重定向
    return       301 https://www.dcr.cloud;
}

[root@server ~ 11:55:37]# systemctl restart nginx

#浏览器访问网站测试
https://www.dcr.cloud/info.php
windows访问域名,需要先在C:\Windows\System32\drivers\etc\hosts 里加入网址对应的域名
反向代理
客户端访问代理服务器,代理服务器会将客户端请求发送给真实服务器。
反向代理实现了隐藏内部服务器。
角色说明
-
代理服务器 proxy 10.1.8.20
-
真实服务器 server 10.1.8.10
代理服务器配置
bash
#安装nginx
[root@proxy ~ 15:59:48]# yum install -y nginx
#配置域名解析
[root@proxy ~ 16:00:29]# vim /etc/hosts
[root@proxy ~ 16:17:46]# cat /etc/hosts
127.0.0.1   localhost localhost.localdomain localhost4 localhost4.localdomain4
::1         localhost localhost.localdomain localhost6 localhost6.localdomain6
10.1.8.10 www.dcr.cloud
#启动nginx服务
[root@proxy ~ 16:00:58]# systemctl enable nginx --now
Created symlink from /etc/systemd/system/multi-user.target.wants/nginx.service to /usr/lib/systemd/system/nginx.service.

#关闭或者增加防火墙服务
[root@proxy ~ 16:08:25]# systemctl status firewalld.service
● firewalld.service - firewalld - dynamic firewall daemon
   Loaded: loaded (/usr/lib/systemd/system/firewalld.service; disabled; vendor preset: enabled)
   Active: inactive (dead)
     Docs: man:firewalld(1)

[root@proxy ~ 16:08:47]# vim /etc/nginx/conf.d/proxy.conf
server {
        listen      80 default_server;
        listen      [::]:80 default_server;
        server_name _;
        root         /usr/share/nginx/html;


        location /proxy/ {
            proxy_pass http://www.dcr.cloud/;
            #当访问本机/proxy/ 时,跳转到www.dcr.cloud
        }
    }

#重启服务
[root@proxy ~ 16:10:49]# systemctl restart nginx.service
在C:Windows\System32\drivers\etc\hosts 中加入域名解析 : 10.1.8.20 ecshop.dcr.cloud 即可通过访问http://ecshop.dcr.cloud/proxy/ 或者 http://10.1.8.20/proxy/ 经过反向代理跳转到http://www.dcr.cloud
补充欢迎界面
bash
[root@proxy ~ 17:03:24]# vim /etc/nginx/conf.d/proxy.conf
[root@proxy ~ 17:26:04]# cat /etc/nginx/conf.d/proxy.conf
server {
        listen      80 default_server;
        listen      [::]:80 default_server;
        server_name _;
        root         /usr/share/nginx/html;


        location /proxy/ {
            proxy_pass http://www.dcr.cloud/;
        }

        #新增
        location /welcome/ {
            proxy_pass http://10.1.8.20:8081/;
        }
    }

    #新增根据端口的虚拟机
server {
        listen     8081;
        server_name _;
        root       /usr/share/nginx/8081/;
    }
windows浏览器访问ecshop.dcr.cloud:8081 即可
项目实战:ecshop
ecshop 介绍
ECShop多场景在线商城。
ecshop安装
准备LNMP环境
准备nginx
bash
[root@server ~ 14:56:01]# yum install -y nginx
[root@server ~ 14:56:36]# systemctl enable nginx.service --now
准备Mariadb
bash
[root@server ~ 15:02:23]# yum install -y mariadb-server
[root@server ~ 15:02:47]# systemctl enable mariadb --now

# 安全初始化
# 设置root密码为redhat
# 删除匿名用户
# 删除测试数据库
[root@server ~ 15:03:34]# mysql_secure_installation
#直接回车即可
准备PHP
bash
[root@server ~ 14:59:47]# yum install -y php php-fpm
[root@server ~ 14:59:58]# systemctl enalbe php-fpm.service

[root@server ~ 15:05:16]# yum install -y php-gd php-common php-pear php-mbstring php-mcrypt php-mysqlnd
# 安装站点需要的各种扩展包

#配置虚拟主机
[root@server ~ 15:11:05]# vim /etc/nginx/conf.d/vhost-www.dcr.cloud.conf
server {
    listen       80;
    listen       [::]:80;
    server_name  www.dcr.cloud;
    root         /usr/share/nginx/html;
    index index.php;
    location ~ \.php$ {
        try_files $uri =404;
        fastcgi_pass 127.0.0.1:9000;
        fastcgi_index index.php;
        fastcgi_param SCRIPT_FILENAME $document_root$fastcgi_script_name;
        include fastcgi_params;
    }
}

#重启nginx
[root@server ~ 15:11:21]# systemctl restart nginx

#准备php测试界面
[root@server ~ 15:11:31]# echo "<?php echo 'PHP Test Page'.\"\n\"; ?>" > /usr/share/nginx/html/test.php

#客户端测试
[root@server ~ 15:12:31]# curl http://www.laoma.cloud/test.php
PHP Test Page
准备数据库
bash
[root@server ~ 13:37:40]# mysql
Welcome to the MariaDB monitor.  Commands end with ; or \g.
Your MariaDB connection id is 8
Server version: 5.5.68-MariaDB MariaDB Server

Copyright (c) 2000, 2018, Oracle, MariaDB Corporation Ab and others.

Type 'help;' or '\h' for help. Type '\c' to clear the current input statement.
#创建ecshop库
MariaDB [(none)]> create database ecshop;
Query OK, 1 row affected (0.00 sec)
#将所有ecshop库所有权限给ecshop用户
MariaDB [(none)]> grant all privileges on ecshop.* to ecshop identified by '123';
Query OK, 0 rows affected (0.00 sec)

MariaDB [(none)]> flush privileges;
Query OK, 0 rows affected (0.00 sec)

MariaDB [(none)]> exit
Bye

#分步进行:
[root@ecshop ~]# mysql -u root -p123
MariaDB [(none)]> CREATE DATABASE ecshop;
MariaDB [(none)]> CREATE USER ecshop@localhost IDENTIFIED BY '123';
MariaDB [(none)]> GRANT ALL PRIVILEGES ON ecshop.* TO ecshop@localhost;
MariaDB [(none)]> FLUSH PRIVILEGES;
MariaDB [(none)]> exit
准备ecshop站点
bash
[root@server ~ 14:31:03]# yum install -y wget
[root@server ~ 15:00:13]# wget http://192.168.49.100/01.softwares/ECShop_V4.1.20_UTF8.zip
#下载压缩包
#解压压缩包
[root@server ~ 15:00:39]# unzip ECShop_V4.1.20_UTF8.zip
#将初始nginx里的浏览的界面移走
[root@server ~ 15:00:55]# mv /usr/share/nginx/html/ /usr/share/nginx/html.ori
#将ecshop界面移动到/usr/share/nginx/html
[root@server ~ 15:01:13]# cp -a ECShop_V4.1.20_UTF8_release20250416/source/ecshop /usr/share/nginx/html
#修改目录权限,使nginx能操作
[root@server ~ 15:02:37]# chown nginx:nginx -R /usr/share/nginx/html
# 修改 php-fpm运行用户身份
[root@server ~ 15:06:05]# vim /etc/php-fpm.d/www.conf
修改:
#user=apache
user=nginx
#group=apache
group=nginx
#修改权限
[root@server ~ 15:09:42]# chown nginx:nginx -R /var/lib/php/
#修改配置文件后重启
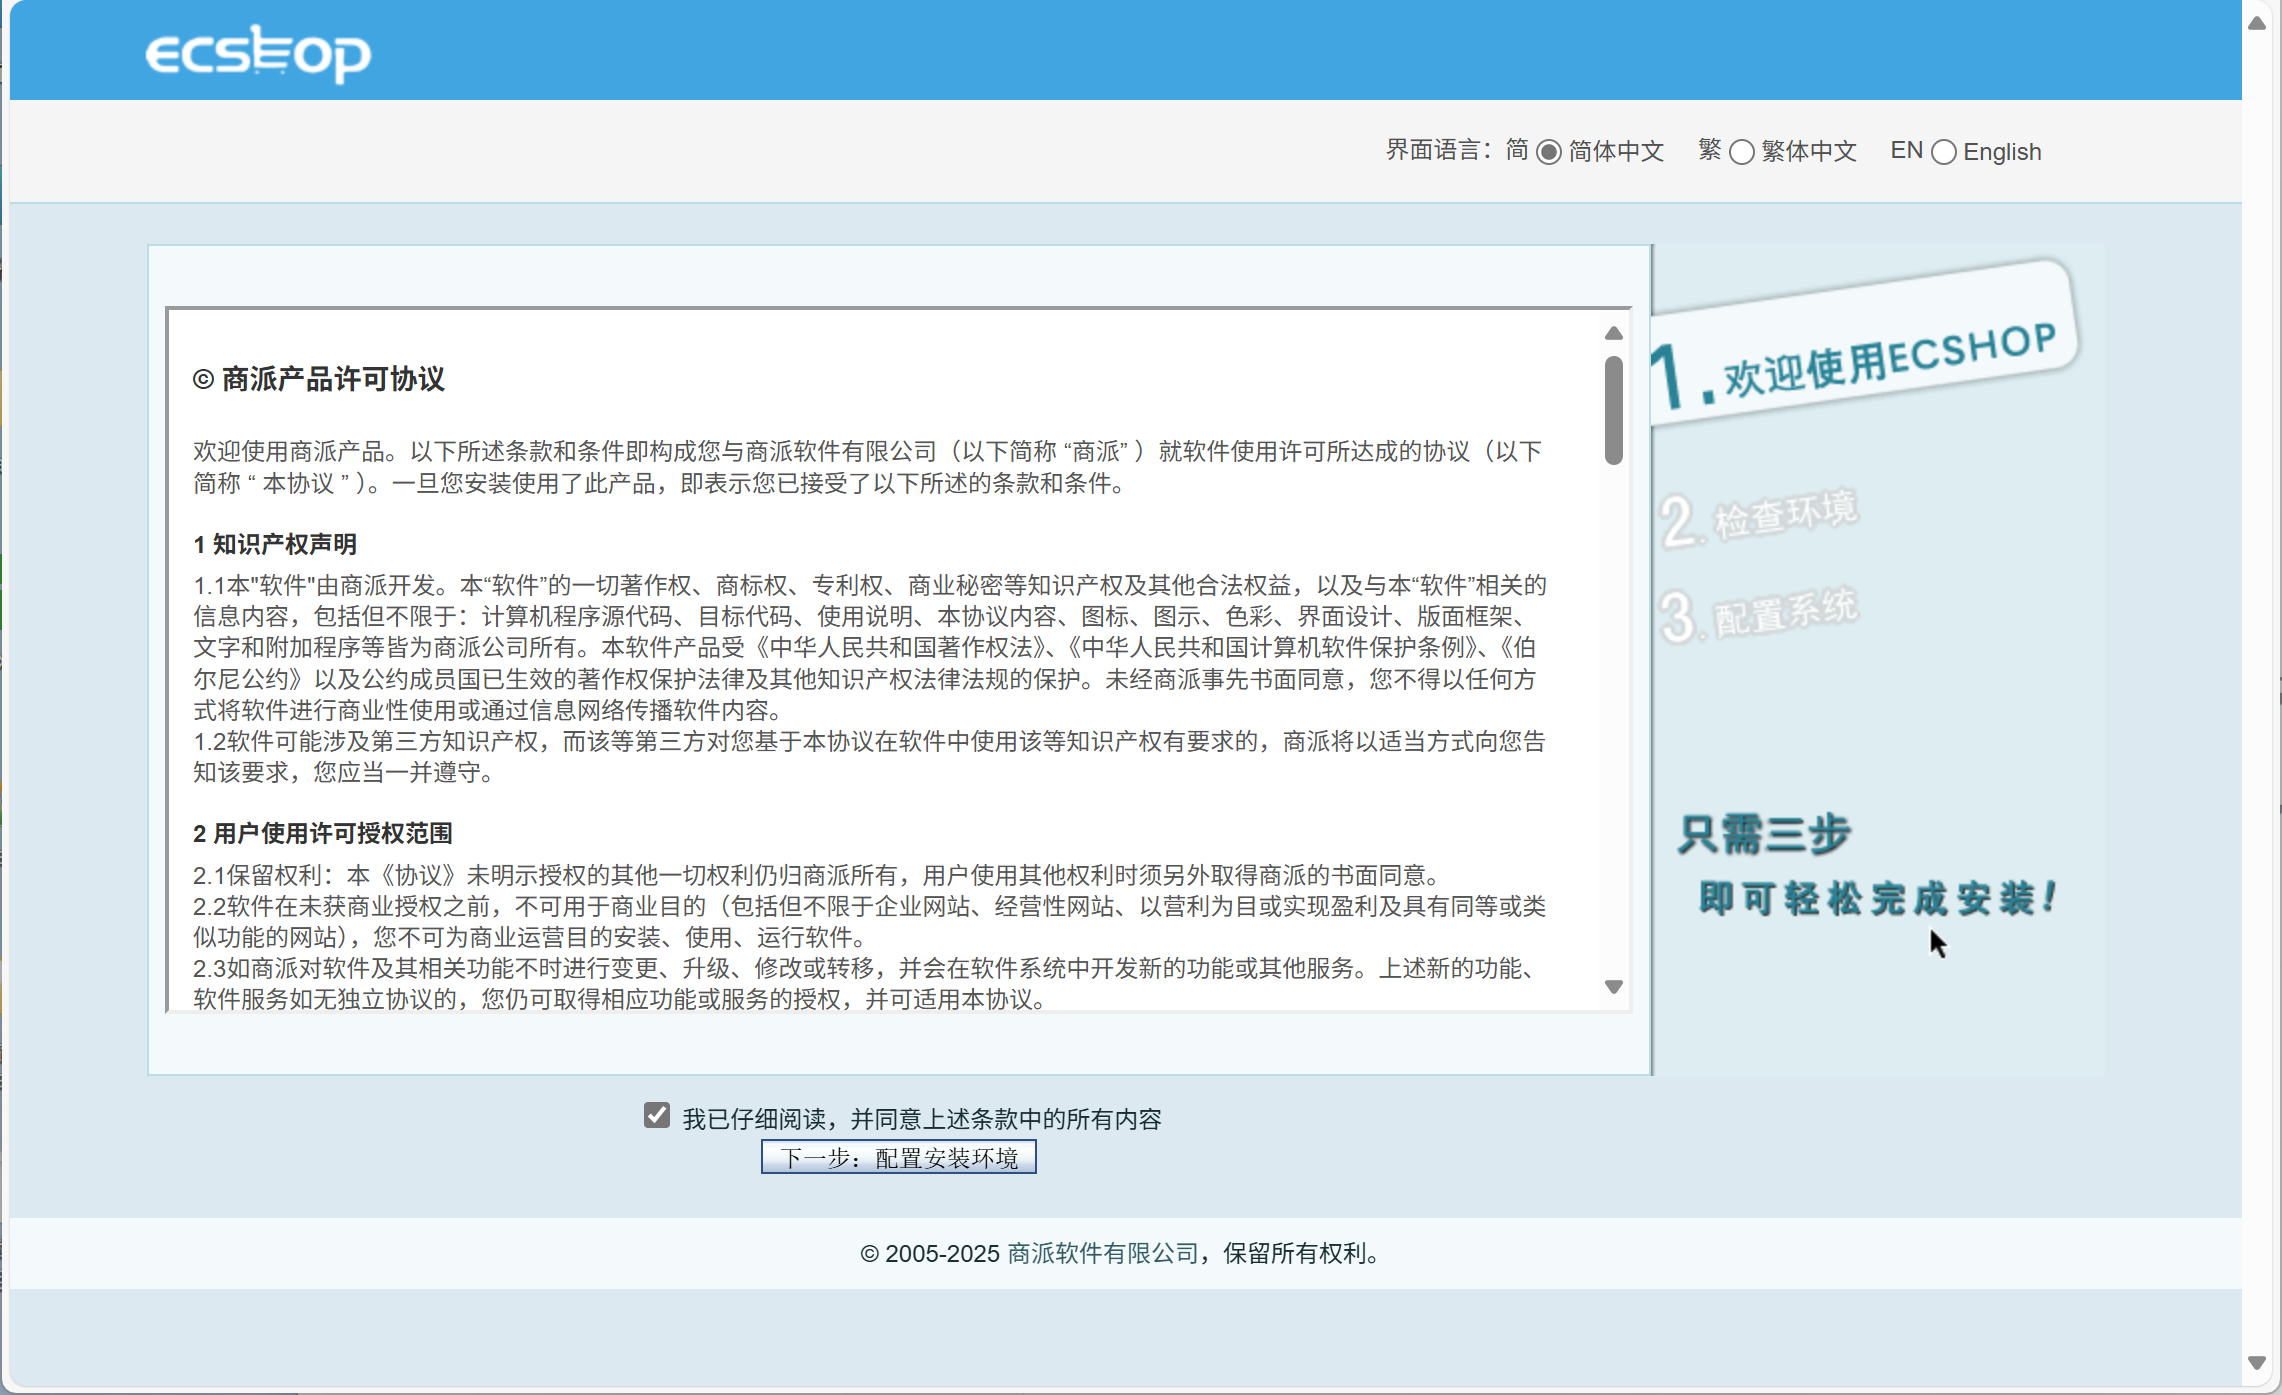
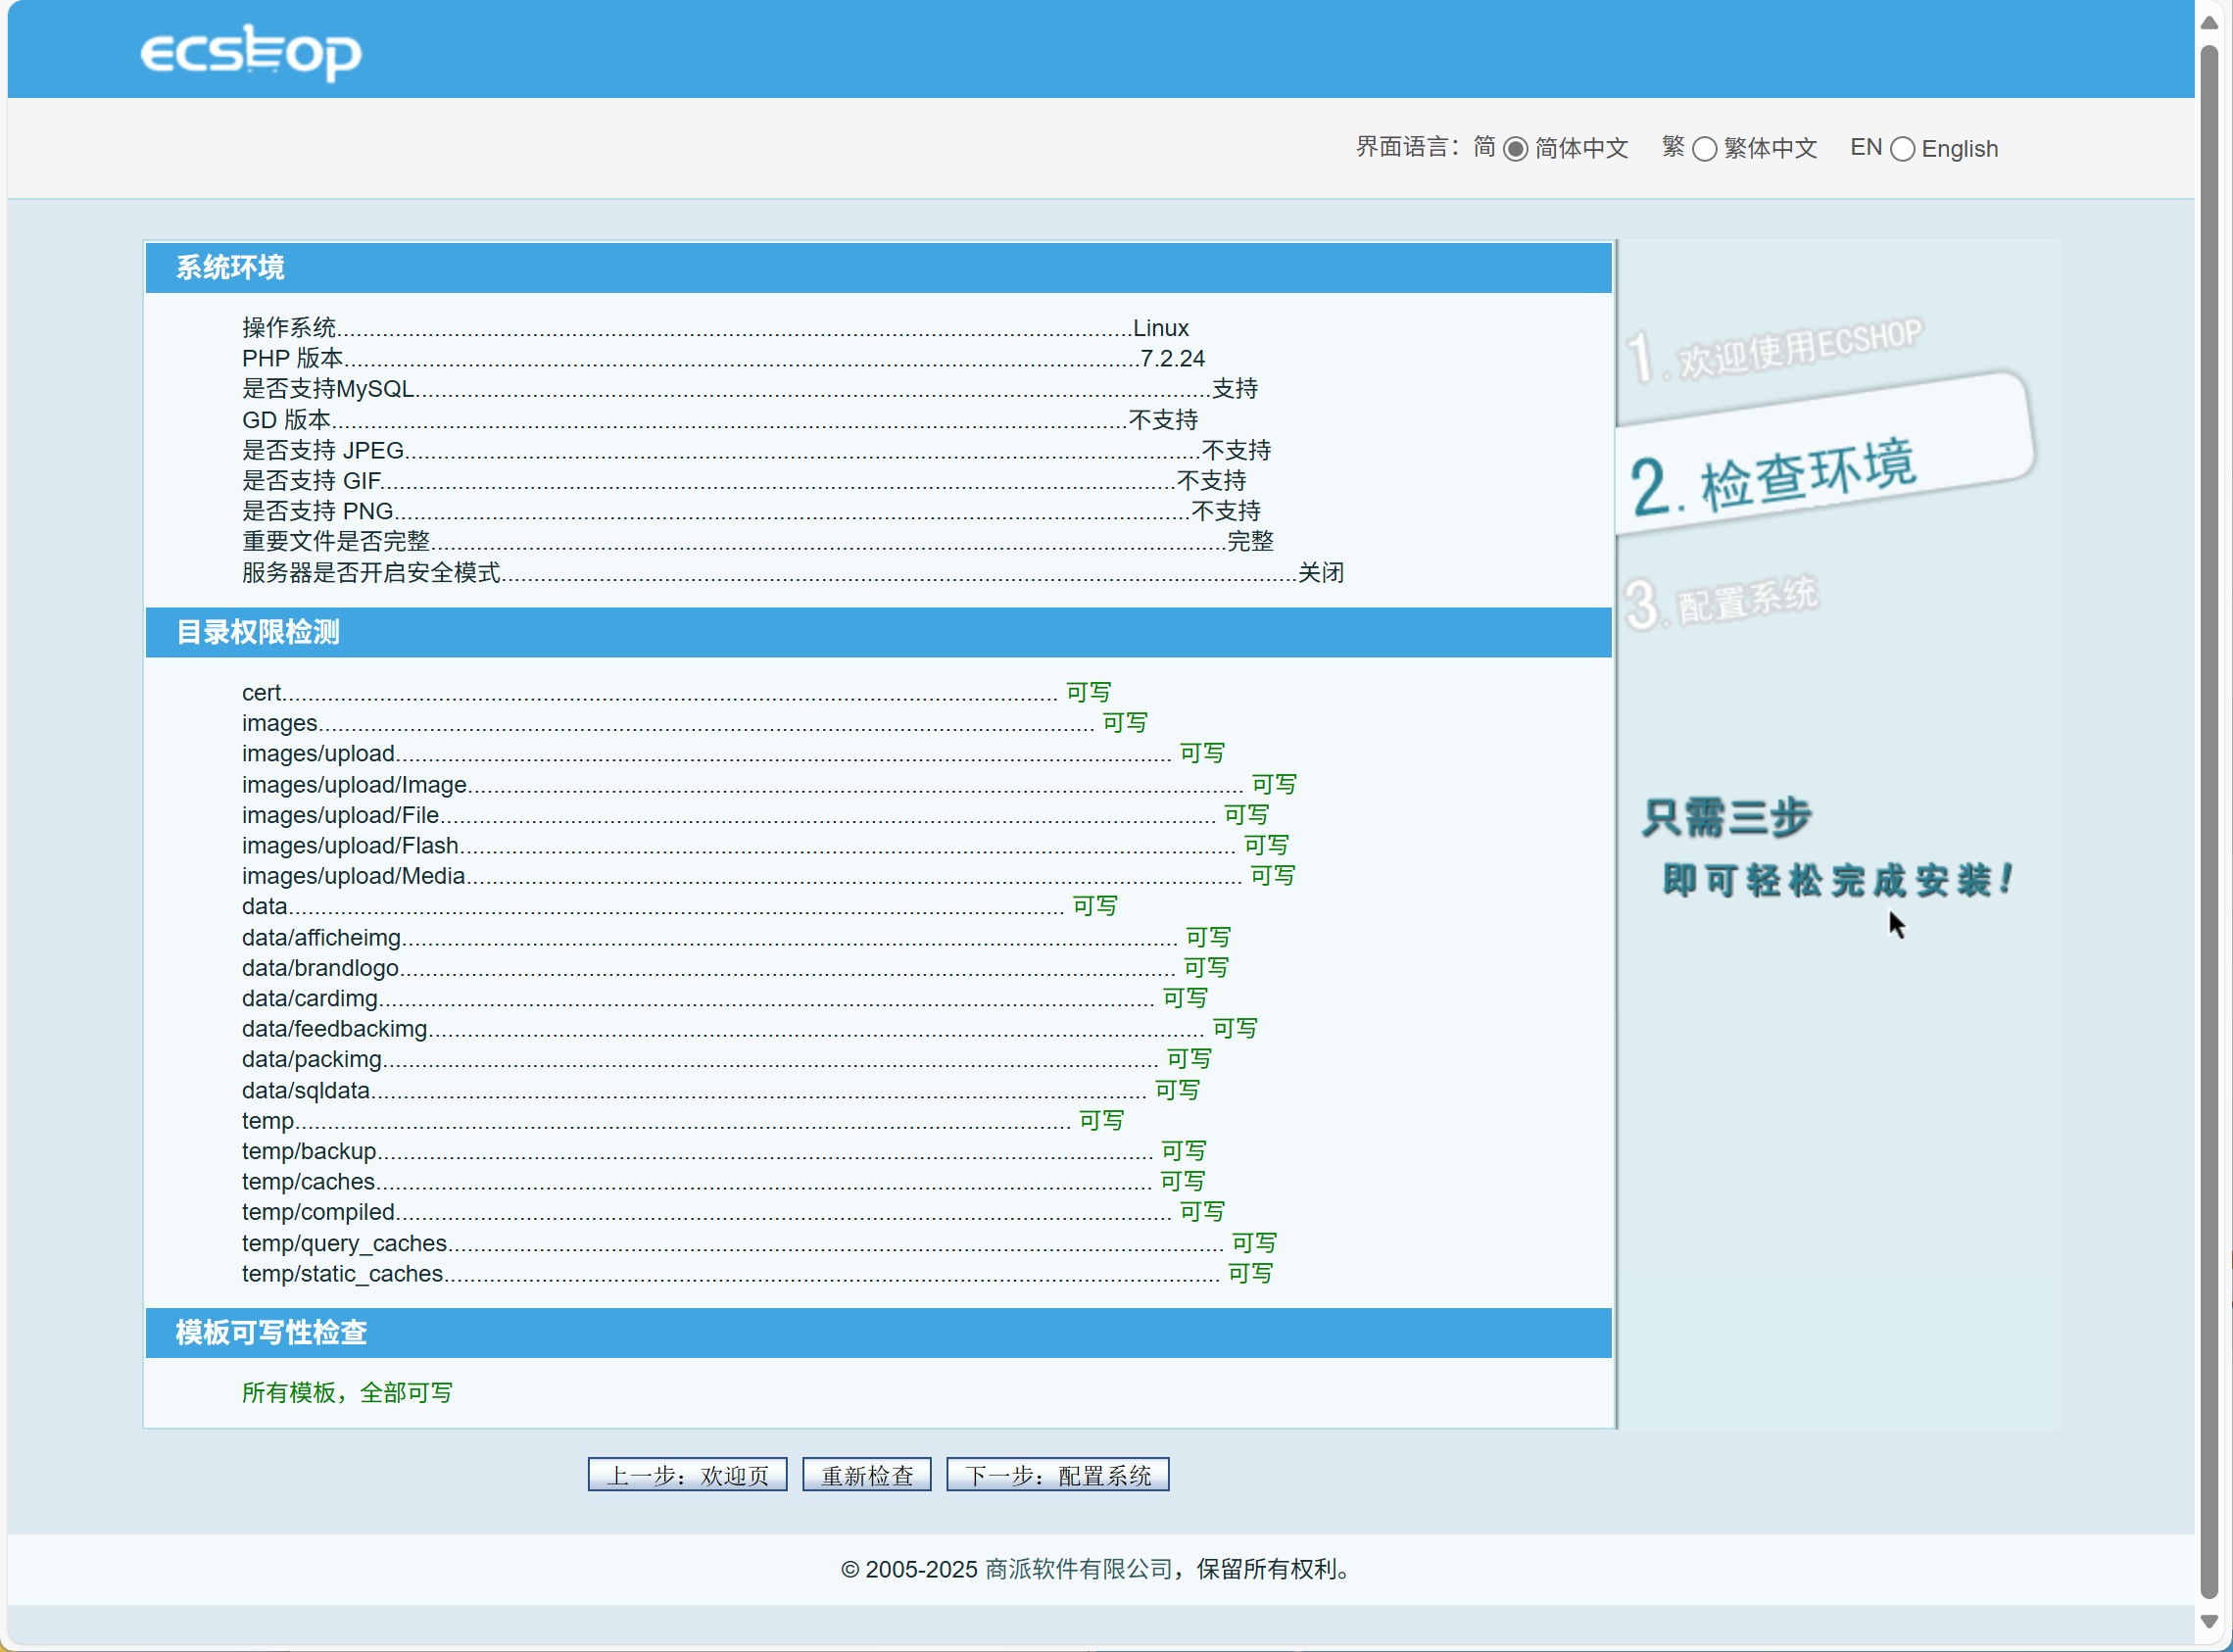
[root@server ~ 15:13:39]# systemctl restart php-fpm nginx配置过程
客户端登录 http://www.dcr.cloud
时区选择UTC

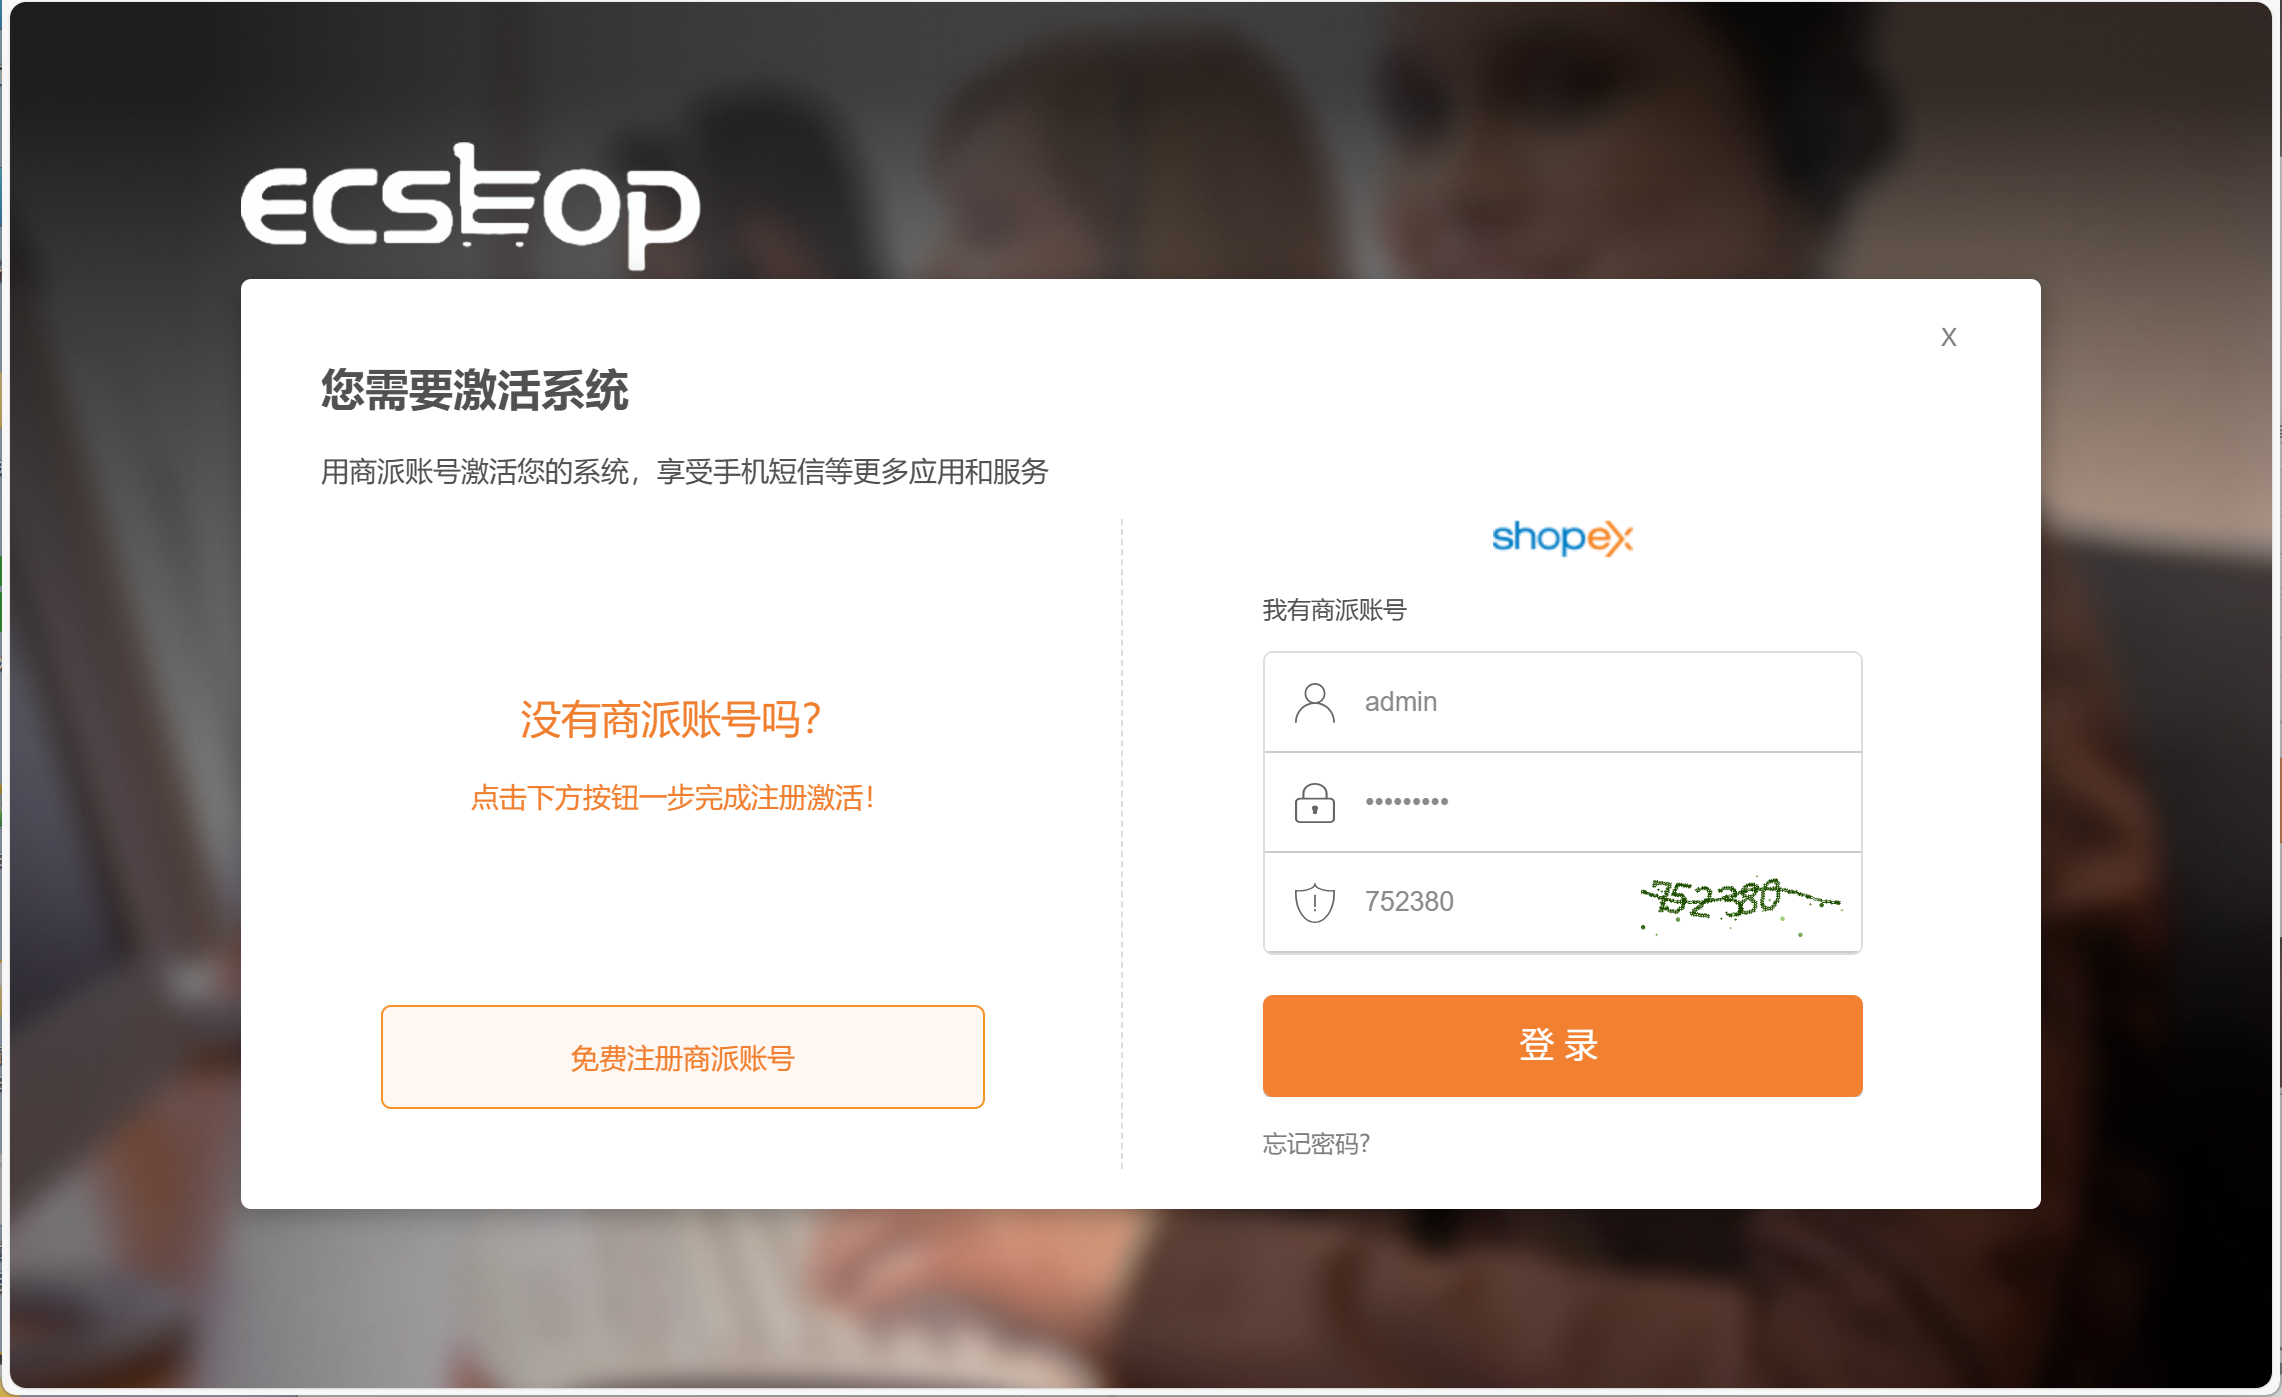
激活系统,享受更多服务。不激活也可以使用。关闭网页。
商城首页 http://www.dcr.cloud
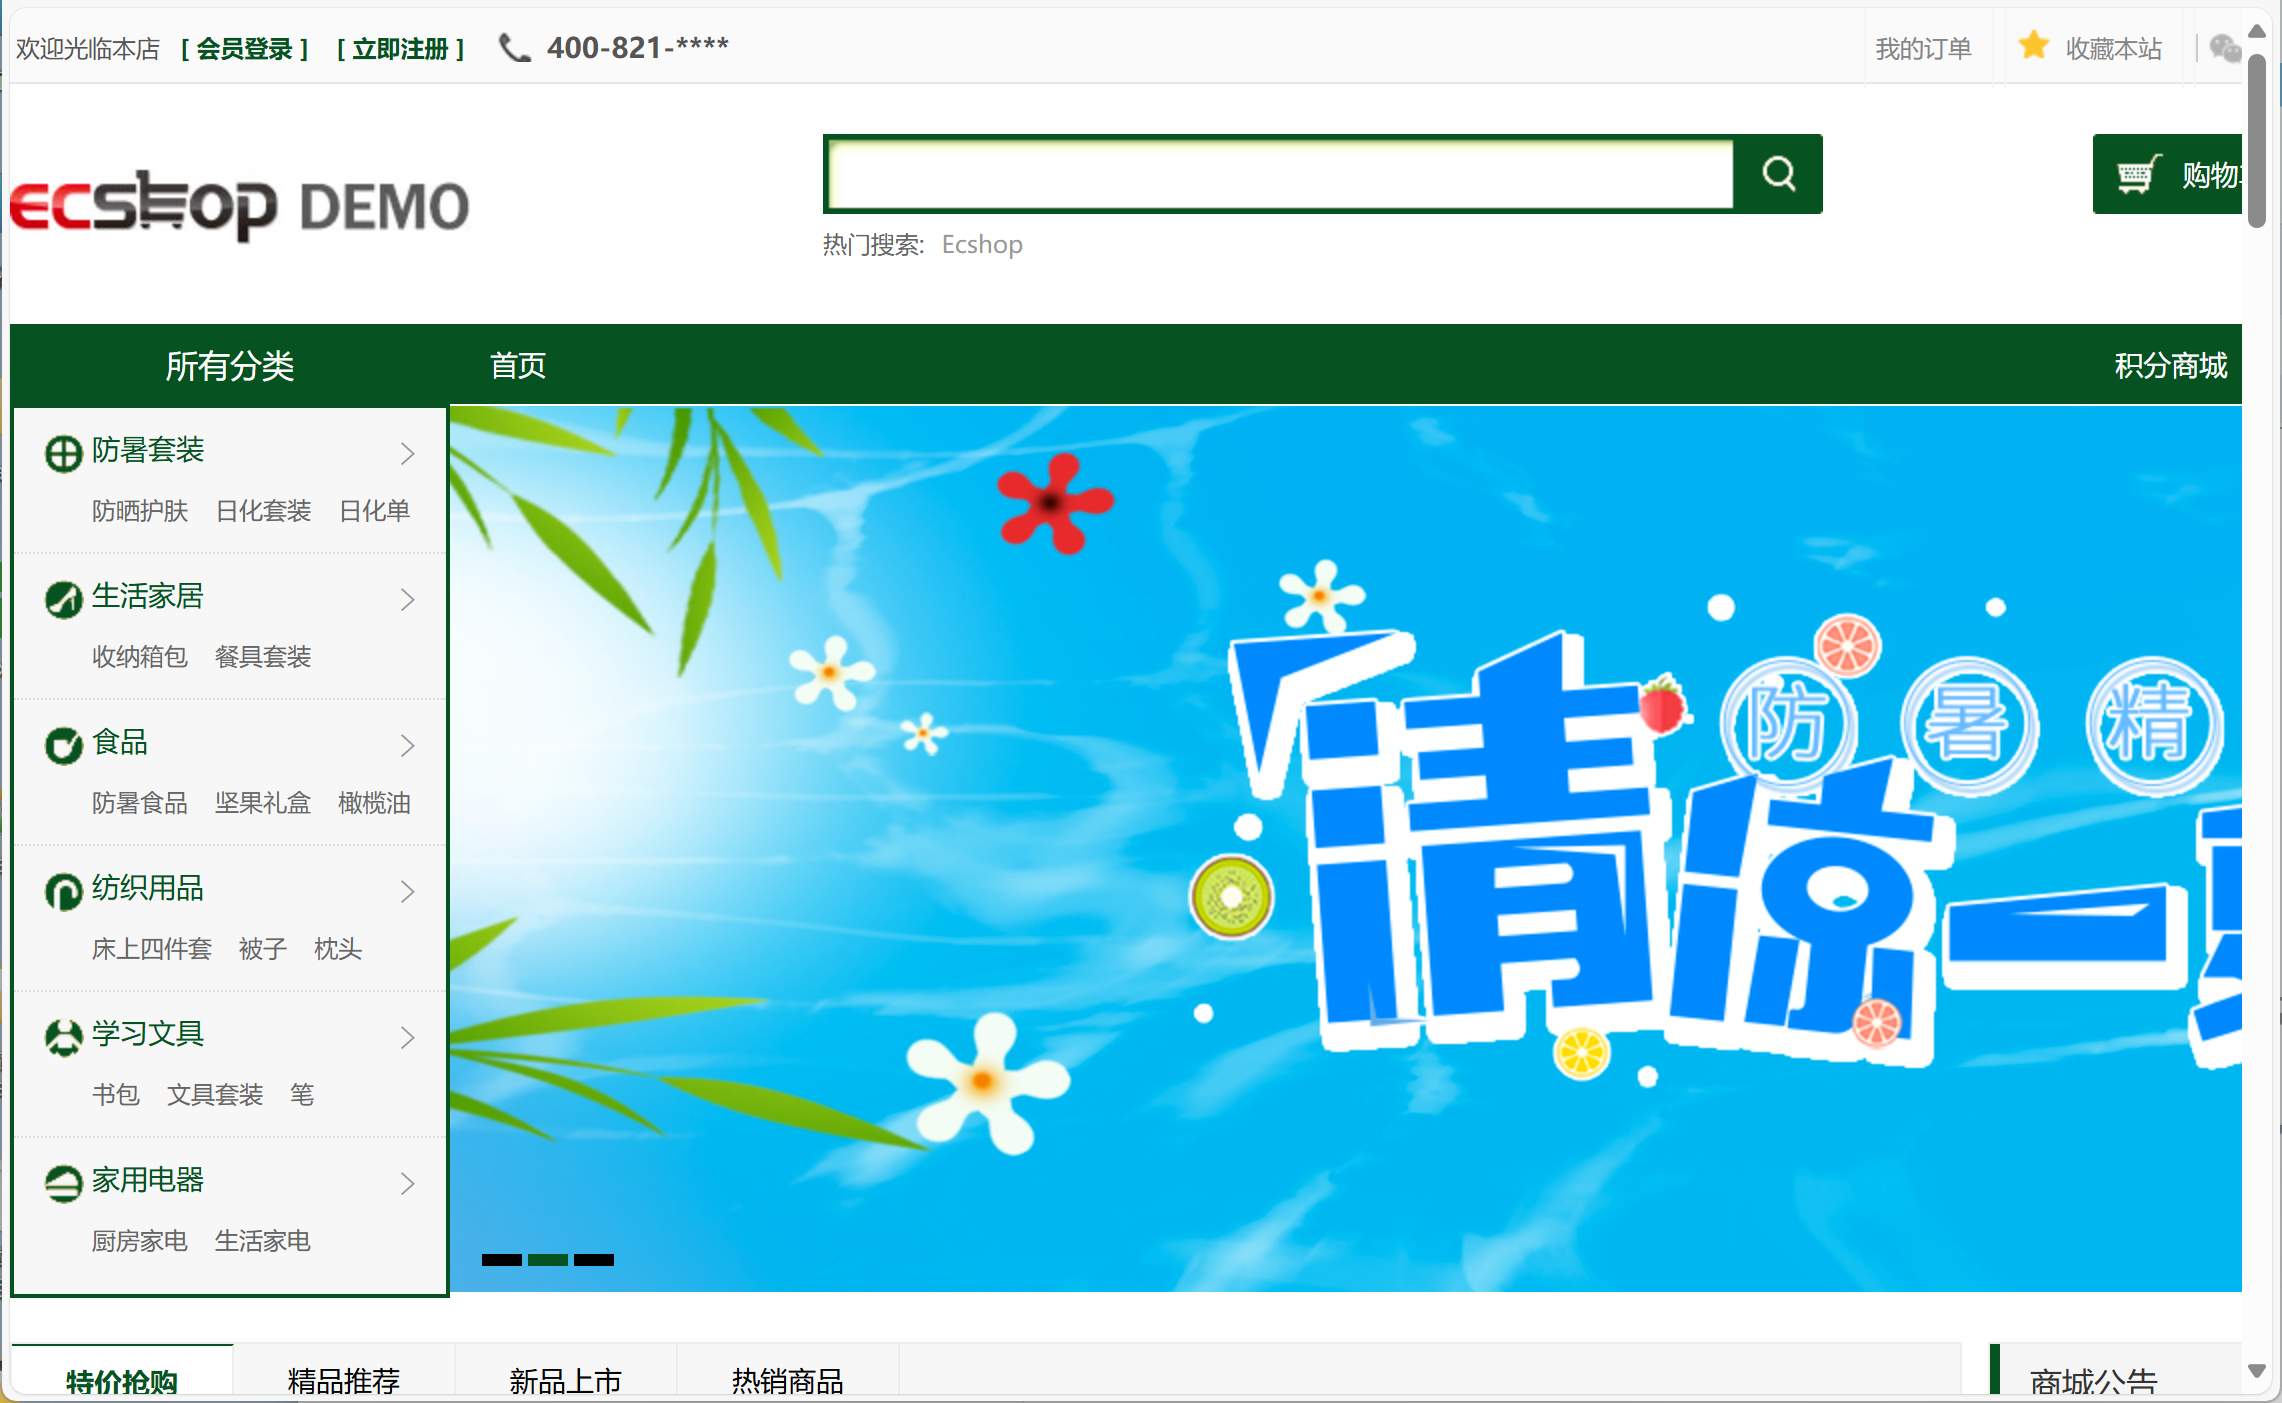
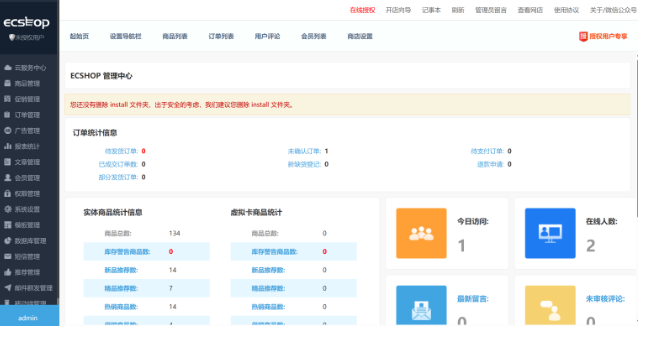
商城管理后台 http://www.dcr.cloud/admin
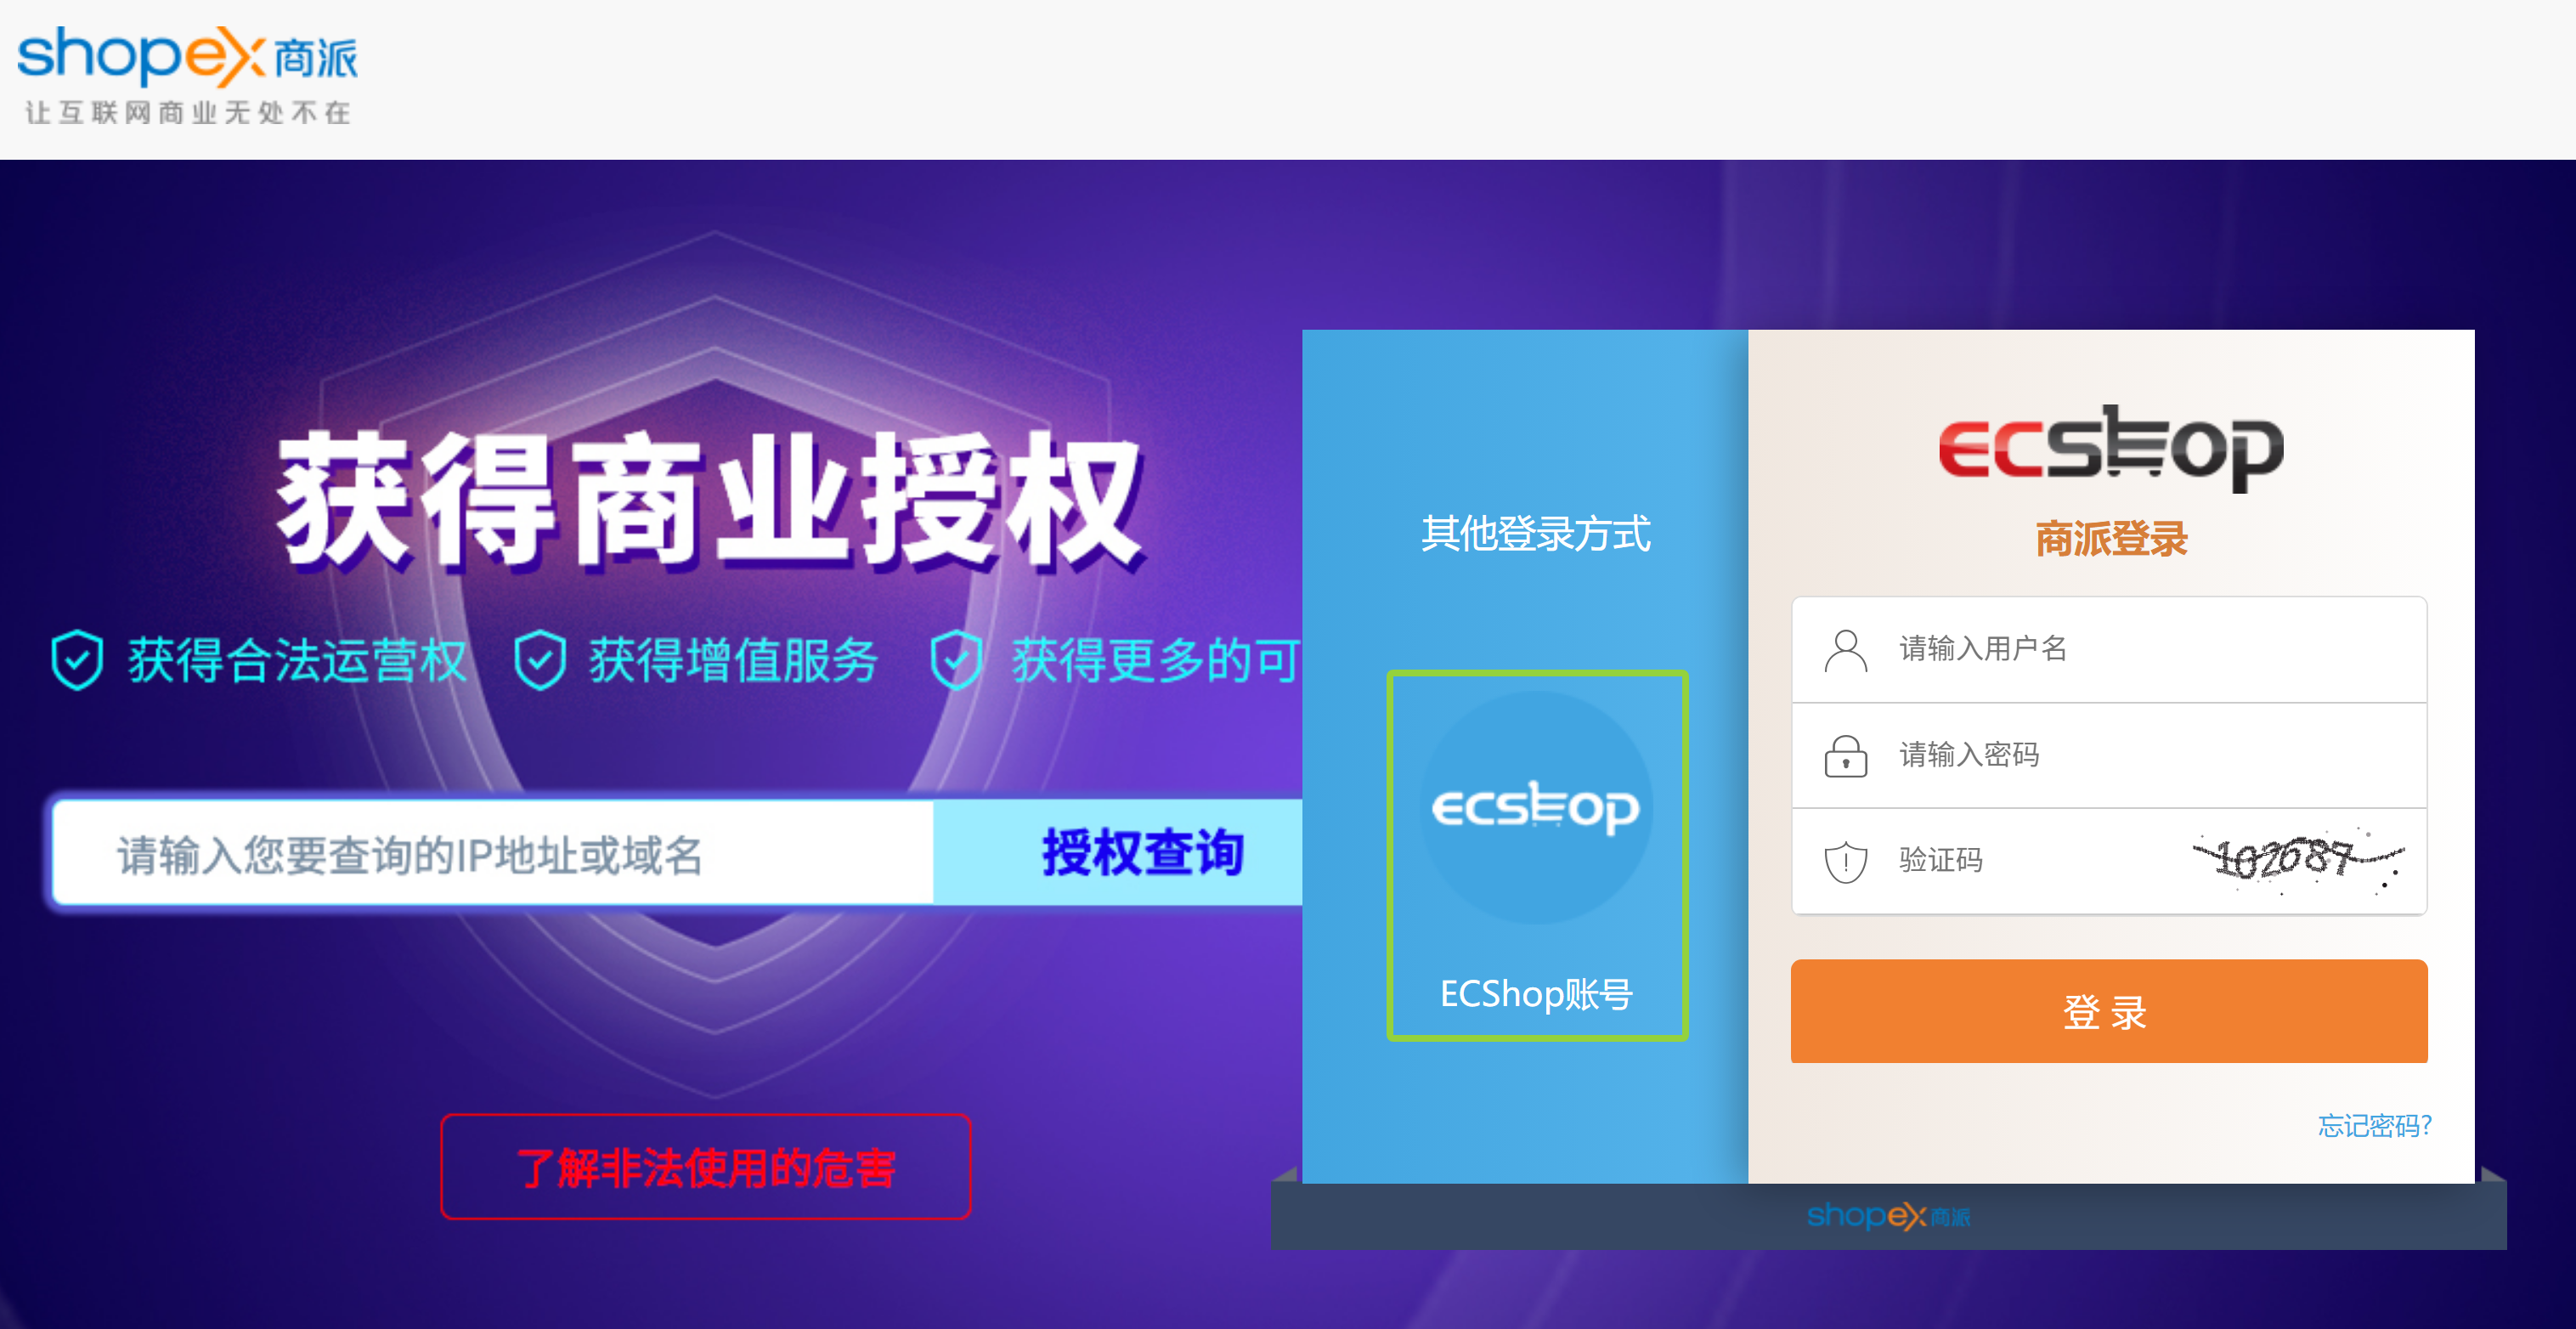
使用ecshop账户登录

登录后界面如下: