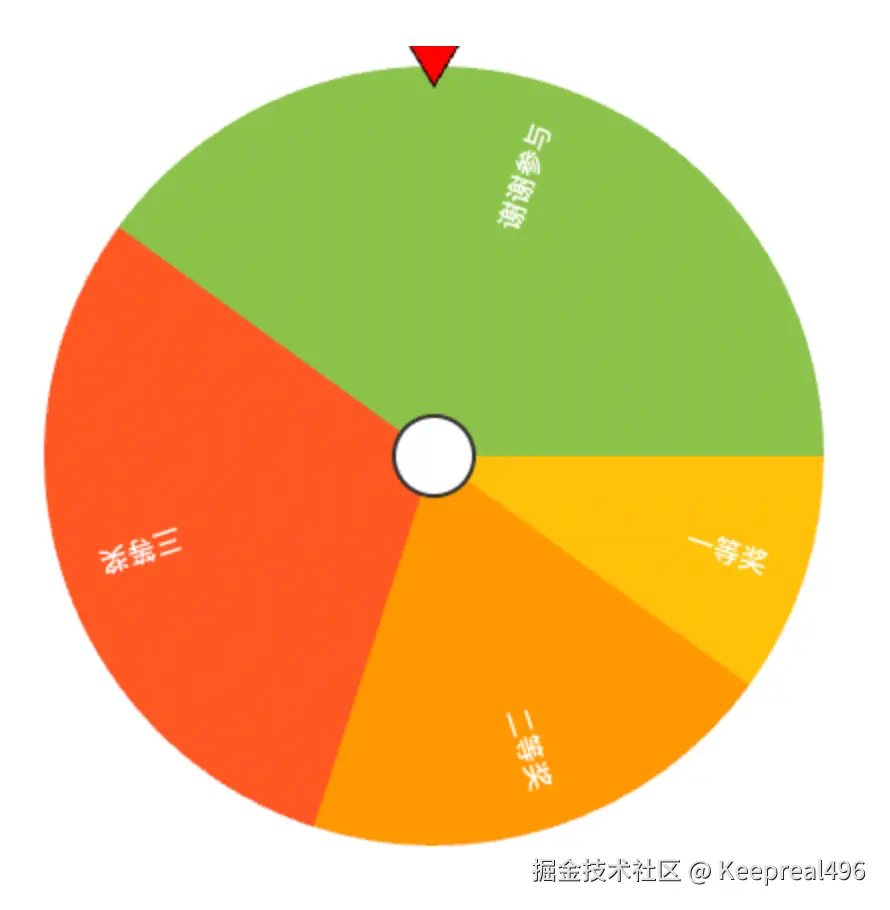
转盘绘制过程详解
转盘的绘制是通过 HTML5 Canvas API 来实现的,主要包含以下几个部分:
1. 初始化画布
javascript
const canvas = canvasRef.value;
if (!canvas) return;

const ctx = canvas.getContext('2d');
const centerX = canvas.width / 2;
const centerY = canvas.height / 2;
const radius = Math.min(centerX, centerY) - 10;

ctx.clearRect(0, 0, canvas.width, canvas.height);
这部分代码:
- 获取 canvas 元素的引用
- 获取 2D 绘图上下文
ctx - 计算画布的中心点
centerX和centerY - 计算转盘的半径
radius(取画布宽高中较小值的一半,再减去 10 像素的边距) - 清空整个画布,准备绘制新的内容
2. 绘制旋转的扇形区域
javascript
// 保存当前状态
ctx.save();

// 旋转整个画布
ctx.translate(centerX, centerY);
ctx.rotate((rotationAngle.value * Math.PI) / 180);
ctx.translate(-centerX, -centerY);

// 绘制每个扇形
prizeAngles.value.forEach((prize) => {
  const startAngle = (prize.startAngle * Math.PI) / 180;
  const endAngle = (prize.endAngle * Math.PI) / 180;

  ctx.beginPath();
  ctx.moveTo(centerX, centerY);
  ctx.arc(centerX, centerY, radius, startAngle, endAngle);
  ctx.closePath();

  ctx.fillStyle = prize.color;
  ctx.fill();

  // 绘制奖品名称
  ctx.save();
  ctx.translate(centerX, centerY);
  const textAngle = startAngle + (endAngle - startAngle) / 2;
  ctx.rotate(textAngle);
  ctx.textAlign = 'right';
  ctx.fillStyle = '#fff';
  ctx.font = 'bold 14px Arial';
  ctx.fillText(prize.name, radius - 20, 5);
  ctx.restore();
});

// 恢复状态
ctx.restore();
这部分代码实现了转盘的旋转和扇形区域的绘制:
-
旋转处理:
ctx.save()保存当前绘图状态,以便后续恢复- 通过
translate和rotate方法实现整个转盘的旋转效果 - 先将坐标系原点移到画布中心,旋转指定角度,再将原点移回原位置
-
绘制扇形:
- 遍历每个奖品,根据其起始角度和结束角度绘制扇形
ctx.beginPath()开始一个新的路径ctx.moveTo(centerX, centerY)将绘图点移到圆心ctx.arc()绘制圆弧,从起始角度到结束角度ctx.closePath()闭合路径,形成扇形- 使用奖品的颜色填充扇形
-
绘制奖品名称:
- 再次保存绘图状态
- 将坐标系原点移到圆心
- 计算文本角度(扇形的中间位置)
- 旋转坐标系,使文本沿着扇形的半径方向排列
- 设置文本对齐方式、颜色和字体
- 绘制文本,位置在距离边缘 20 像素处
- 恢复绘图状态
-
恢复初始状态:
ctx.restore()恢复到最初保存的状态,取消旋转效果
注意事项
save()和restore()必须成对使用,否则可能导致状态栈混乱。- 可以多次调用
save(),每次调用会将当前状态压入栈顶,restore()则从栈顶弹出最近的状态(先进后出)。
3. 绘制指针(倒三角形)
javascript
// 绘制倒三角形指针
ctx.beginPath();
// 指针底部中心点
const pointerBaseY = centerY - radius - 15;
// 绘制倒三角形
ctx.moveTo(centerX, pointerBaseY + 25); // 指针尖端,指向转盘
ctx.lineTo(centerX - 15, pointerBaseY); // 左上角
ctx.lineTo(centerX + 15, pointerBaseY); // 右上角
ctx.closePath();

// 填充和描边
ctx.fillStyle = 'red';
ctx.fill();
ctx.strokeStyle = '#000';
ctx.lineWidth = 1;
ctx.stroke();
这部分代码绘制了一个指向转盘的倒三角形指针:
- 定义指针底部中心点的位置,位于转盘上方
- 绘制倒三角形的三个点:
- 尖端点:指向转盘
- 左上角点:位于底部左侧
- 右上角点:位于底部右侧
- 使用红色填充三角形
- 添加黑色边框,使指针更加明显
4. 绘制中心圆
javascript
// 绘制中心圆
ctx.beginPath();
ctx.arc(centerX, centerY, 20, 0, Math.PI * 2);
ctx.fillStyle = '#fff';
ctx.fill();
ctx.strokeStyle = '#333';
ctx.lineWidth = 2;
ctx.stroke();
这部分代码在转盘中心绘制了一个白色圆形,带有深灰色边框:
- 在画布中心绘制一个完整的圆(从 0 到 2π)
- 半径为 20 像素
- 使用白色填充
- 添加深灰色边框,线宽为 2 像素
动画实现
转盘的旋转动画是通过 animateWheel 函数实现的,它使用 requestAnimationFrame 在每一帧更新 rotationAngle,然后重新绘制转盘,从而产生旋转效果。
js
// 旋转转盘的动画
const animateWheel = () => {
  // 每帧旋转的角度
  rotationAngle.value += 10;

  // 保持角度在0-360之间
  if (rotationAngle.value >= 360) {
    rotationAngle.value -= 360;
  }

  drawWheel();

  if (props.isSpinning) {
    animationFrameId = requestAnimationFrame(animateWheel);
  }
};
大功告成: