多线程案例
- 单例模式
- 阻塞队列
- 线程池
-
- ThreadPoolExecutor
- [ExecutorService 和 Executors](#ExecutorService 和 Executors)
- 定时器
单例模式
单例模式是保证一个类程序中,只存在唯一一个实例,不会创建多个实例
实现方式有多种,但是"饿汉"和"懒汉"这两种方式最常用
饿汉式
java
//饿汉式
class Singleton{
    //成为类的成员
    private static Singleton instance  = new Singleton();
    //构造方法设置成私有
    private Singleton(){

    }
    //类的方法
    public static Singleton getInstance(){
        return instance;
    }
}
public class demo19 {
    public static void main(String[] args) {
        Singleton s1 = Singleton.getInstance();
        Singleton s2 = Singleton.getInstance();
        System.out.println(s1 == s2);
    }
}
此时两个获取的是相同对象
上面这个虽然是单线程下的代码,但是其在多线程下也是线程安全的 ,因为这里只只会new 一次对象,并且后面都是使用getInstance方法进行读取,并没有修改操作,所以这里在多线程下也是安全的
饿汉式要点
1.使用类静态变量表示对象
2.只通过一个静态方法获取对象
3.将其构造方法变成私有,防止new新对象
懒汉式
懒汉式是在获取对象的时候才进行初始化,并且这里也是只初始化一次
java
//单线程下懒汉式
class SingletonLazy{
    private static SingletonLazy instance = null;

    //将其构造方法私有
    private SingletonLazy(){

    }
    //获取方法
    public static SingletonLazy getInstance(){
        if(instance == null){
            instance = new SingletonLazy();
        }
        return instance;
    }
}
public class demo20 {
    public static void main(String[] args) {
        System.out.println(SingletonLazy.getInstance() == SingletonLazy.getInstance());
    }
}
但是这个和饿汉不同,这里会在这个getInstace方法中初始化,在多线程下可能会这样就可能会出现线程安全问题,所以其是线程不安全的
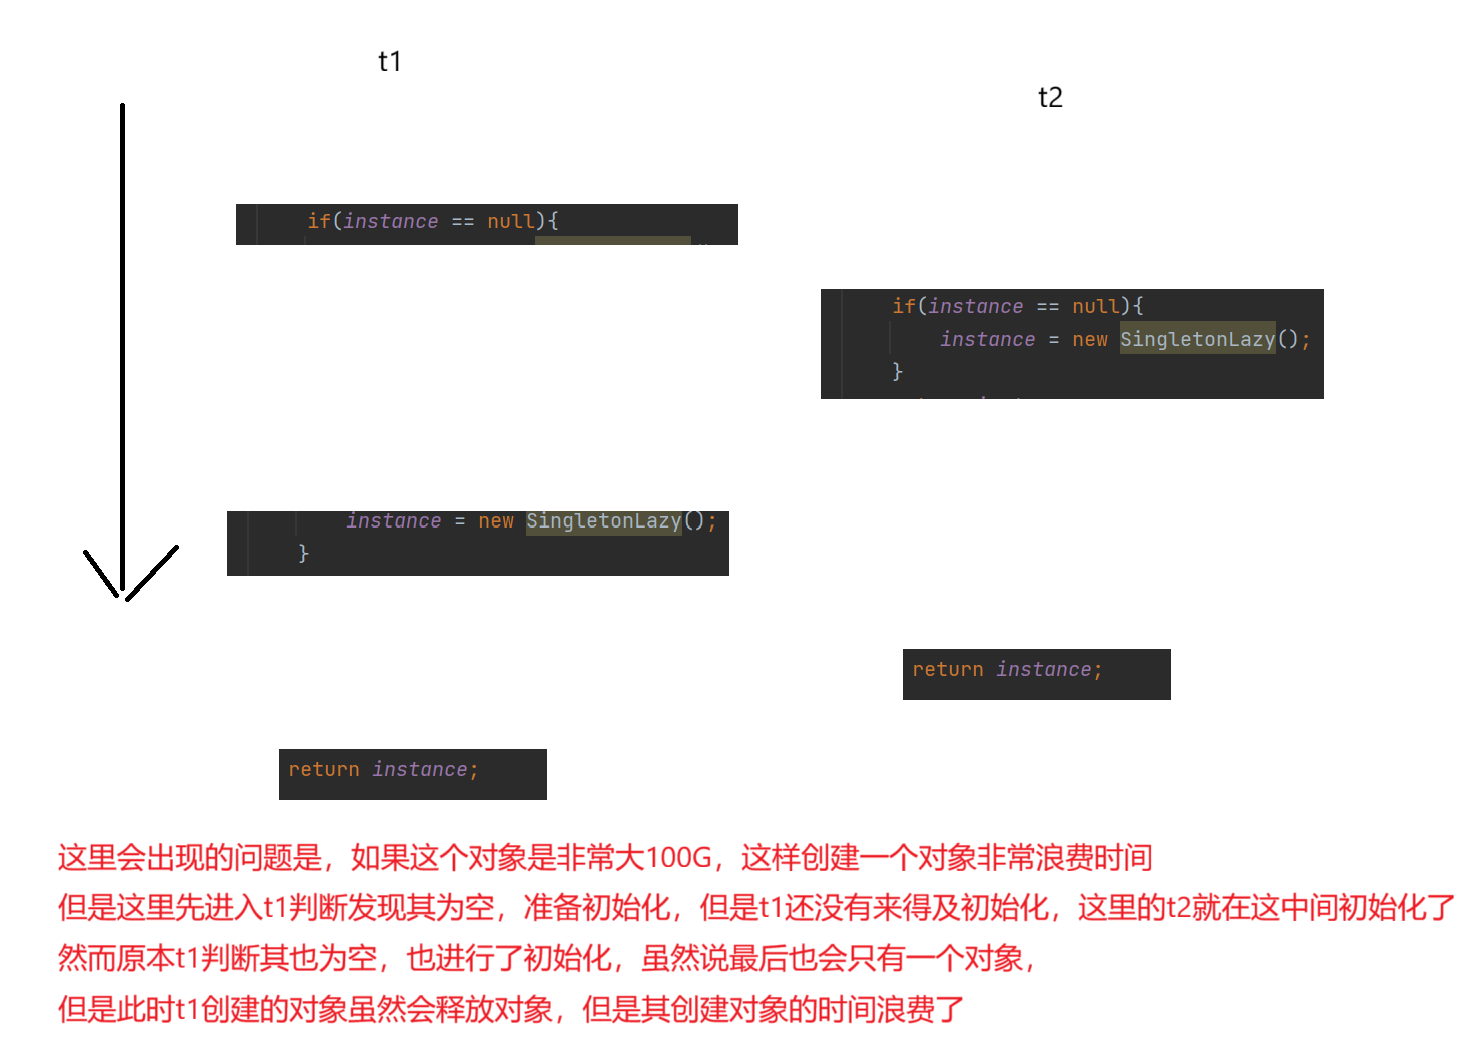
优化
此时可以对其加锁,将这个判断和初始化放一起
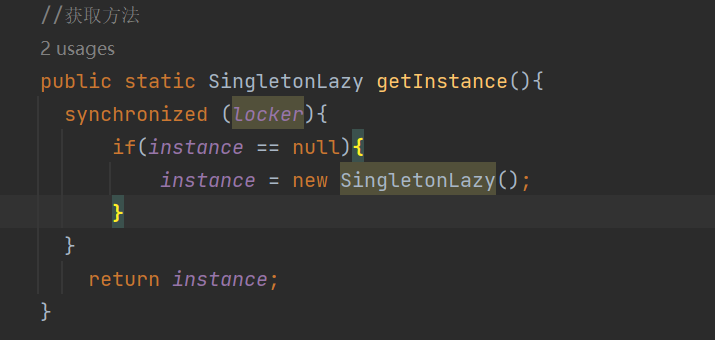
但是此时就会出现另一个问题,加锁是非常浪费时间的,但是这里只会初始化一次,但是这里每次获取对象都会进行加锁 ,
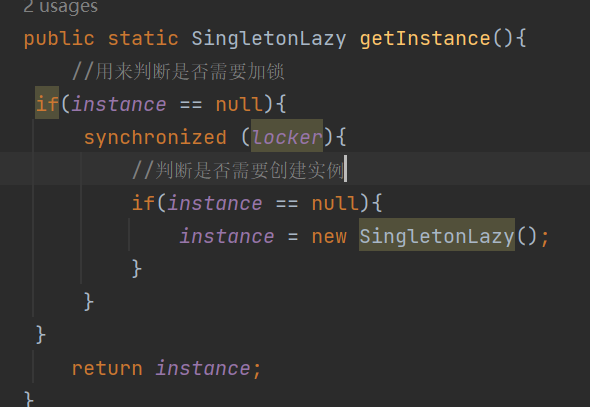
因此可以使用两个if分别表示不同含义,外层是判断是否需要加锁创建
内层是判断是否需要创建实例
但是这样仍然有问题,指令重排序 的问题,代码经过编译器优化可能会导致一些指令的执行顺序改变,这样会出现问题
java
 instance = new SingletonLazy();
 这个简单的一行代码,对应大概三个指令
 1.分配内存
 2.针对空间内存进行初始化
 3.内存首地址赋值给变量
 这里如果将2和3顺序被编译器优化改变可能会出现指令重排序问题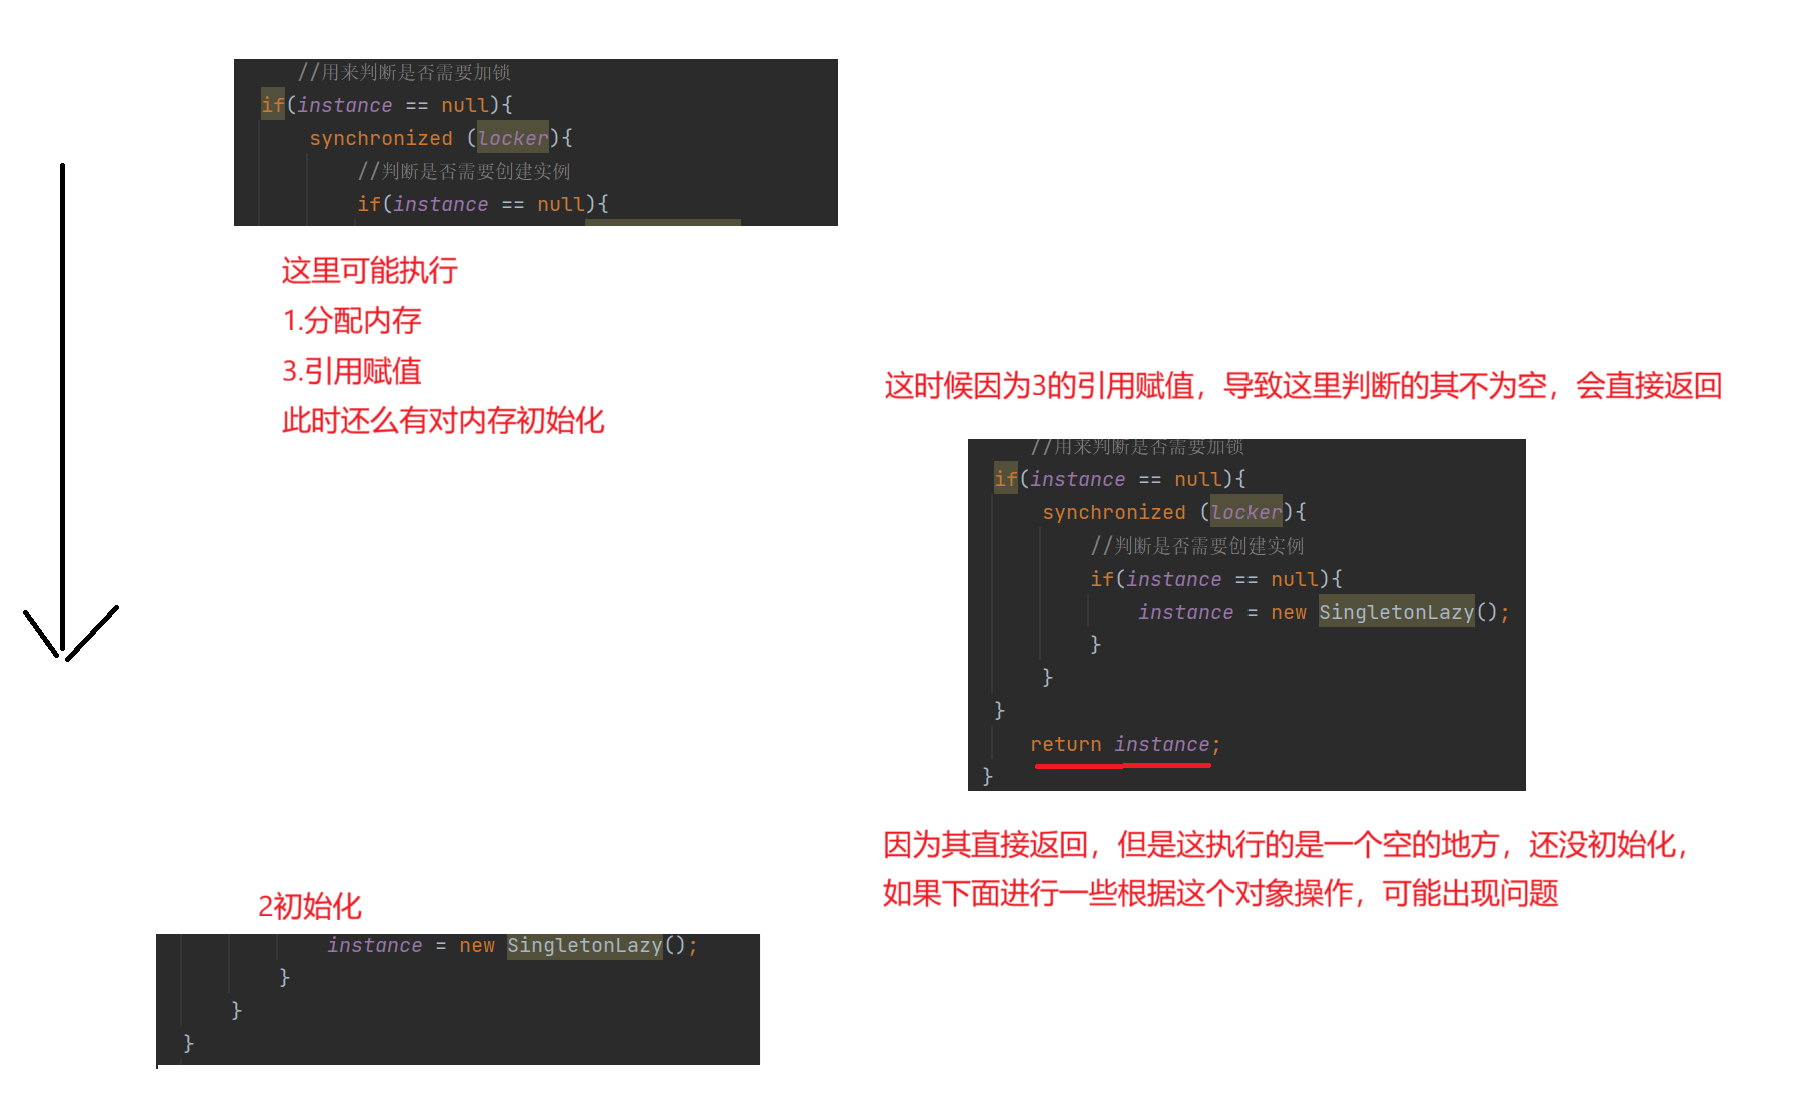
因此这里可以使用volatile来修饰那个变量即可
java
//多线程下懒汉式
class SingletonLazy{
    private volatile static SingletonLazy instance = null;
    private static Object locker = new Object();
    //将其构造方法私有
    private SingletonLazy(){

    }
    //获取方法
    public static SingletonLazy getInstance(){
        //用来判断是否需要加锁
     if(instance == null){
         synchronized (locker){
             //判断是否需要创建实例
             if(instance == null){
                 instance = new SingletonLazy();
             }
         }
     }
        return instance;
    }
}
public class demo20 {
    public static void main(String[] args) {
        System.out.println(SingletonLazy.getInstance() == SingletonLazy.getInstance());
    }
}
懒汉式要点
1.初始化时候要进行加锁
2.要使用volatile 修饰instance ,防止指令重排序
3.内外两层if判断instance 是否为空,外层是判断是否需要加锁,内层是判断是否要初始化
阻塞队列
阻塞队列 是一种特殊的队列,仍然满足先进先出 ,并且其是线性安全的,它特殊在1.队列满的时候,继续入队列,就会发生阻塞,只有其他线程取走元素,其才可以正常入队列
2.当队列为空的时候不可以出队列,除非其他线程插入元素
像"生产者消费者模型"就使用阻塞队列
生产者消费者模型
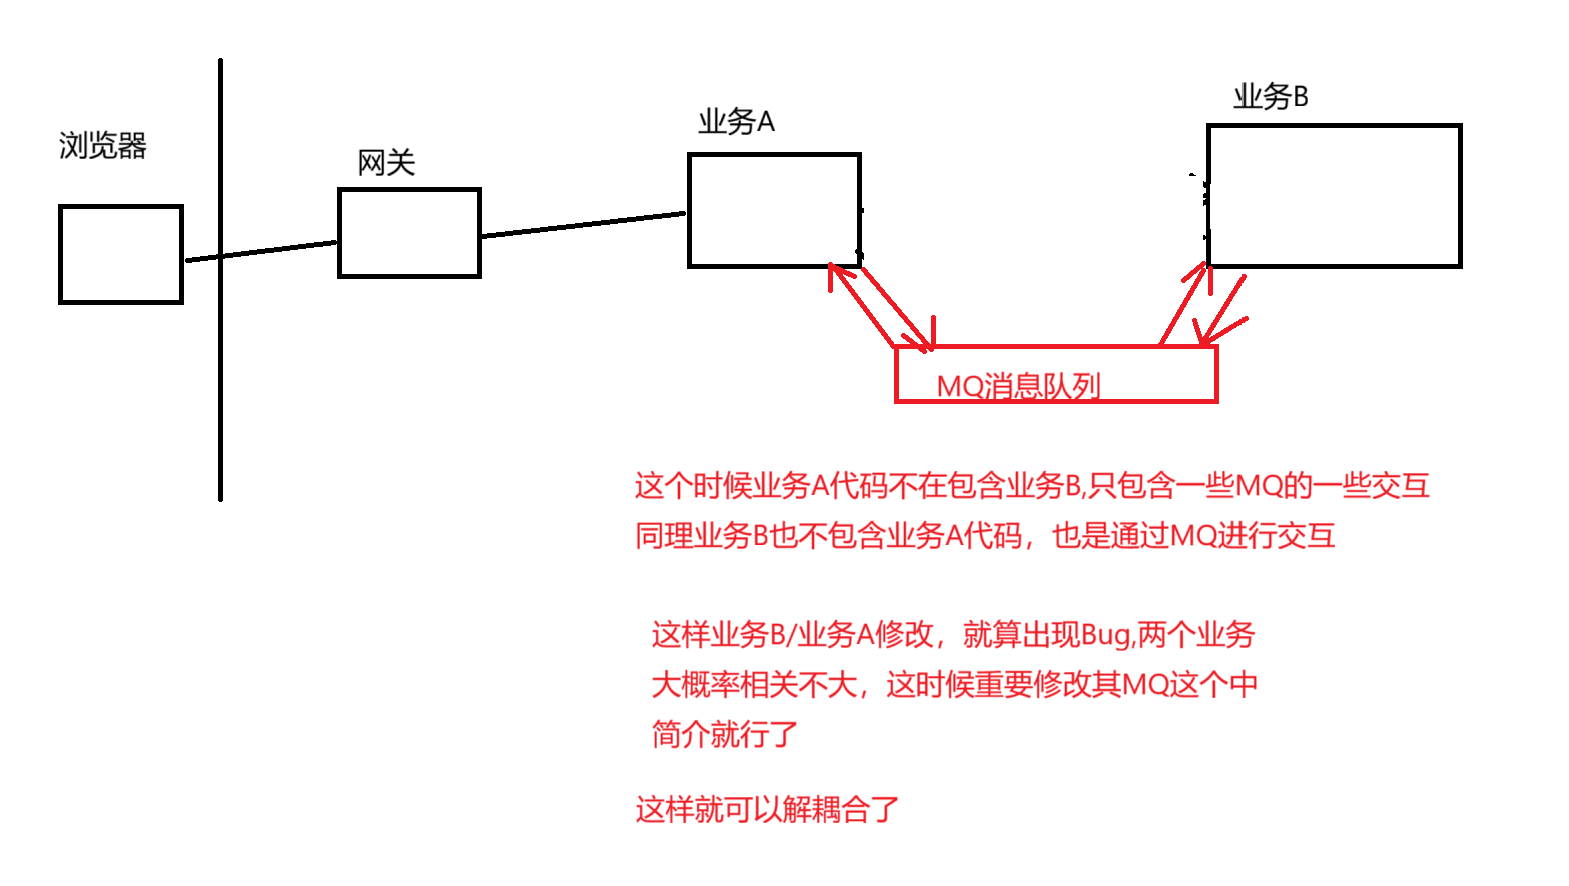
1.阻塞队列可以解耦合
2.阻塞队列相当于一个缓冲区,平衡生产者和消费者的处理能力(削峰填谷)
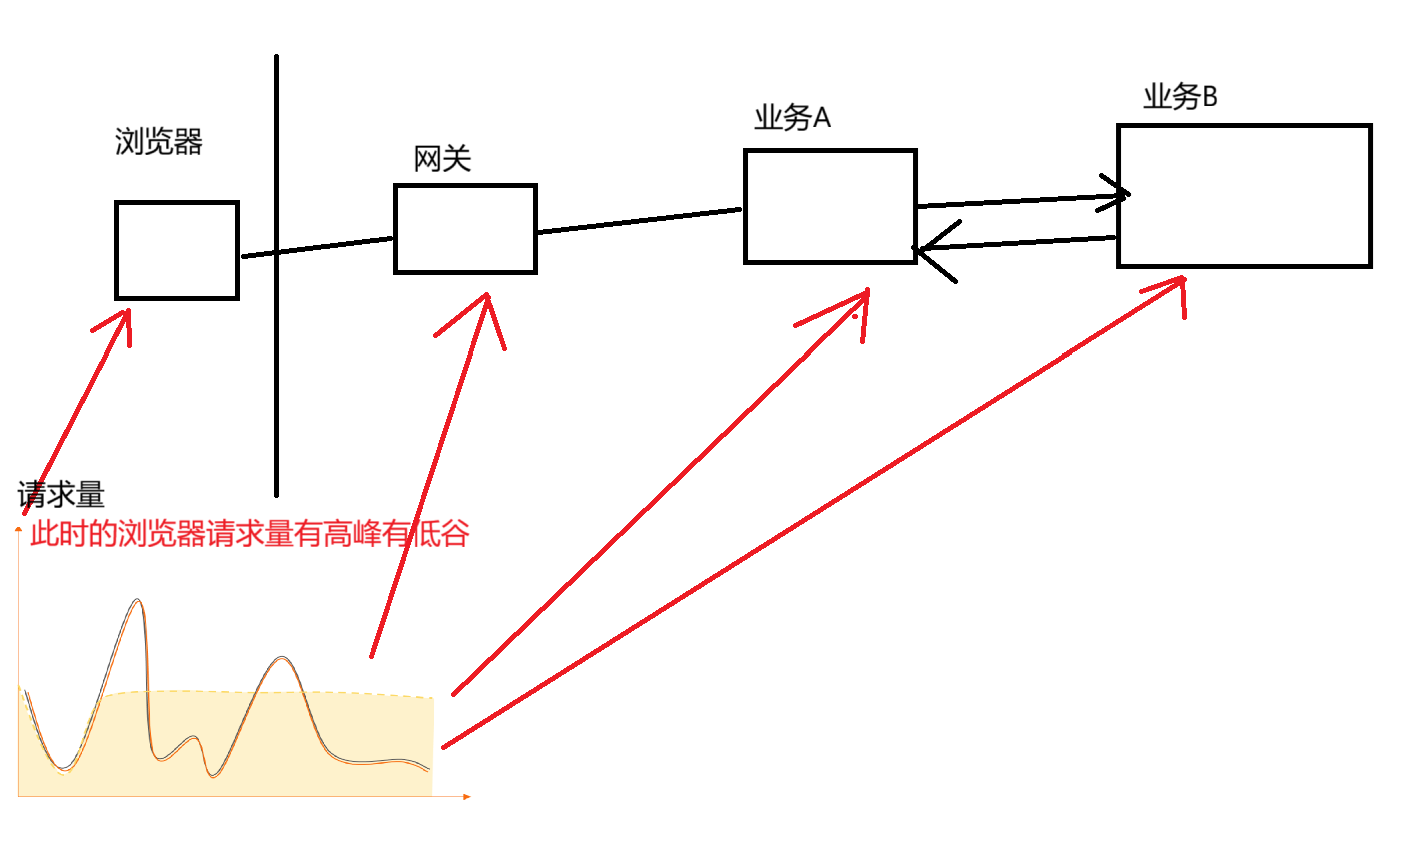
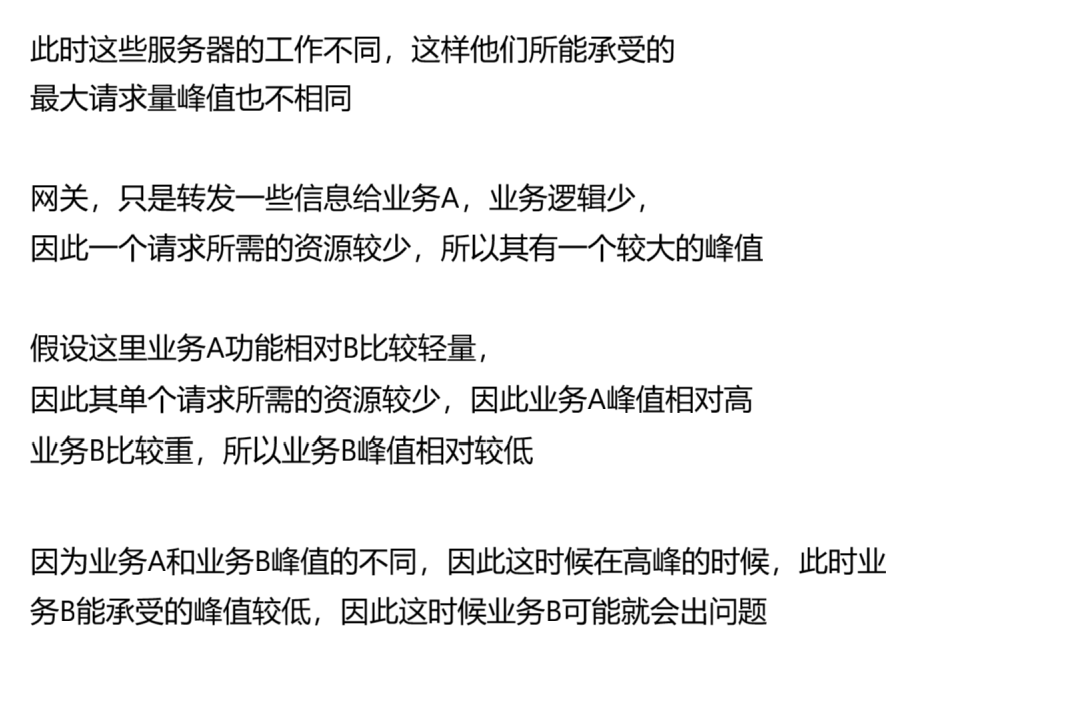
正因为服务器请求量使不断变化的,有高峰有低谷,但是这些业务有峰值高低不同,因此这可能会使一个业务崩溃
因此这里就可以使用阻塞队列作为"缓冲区"
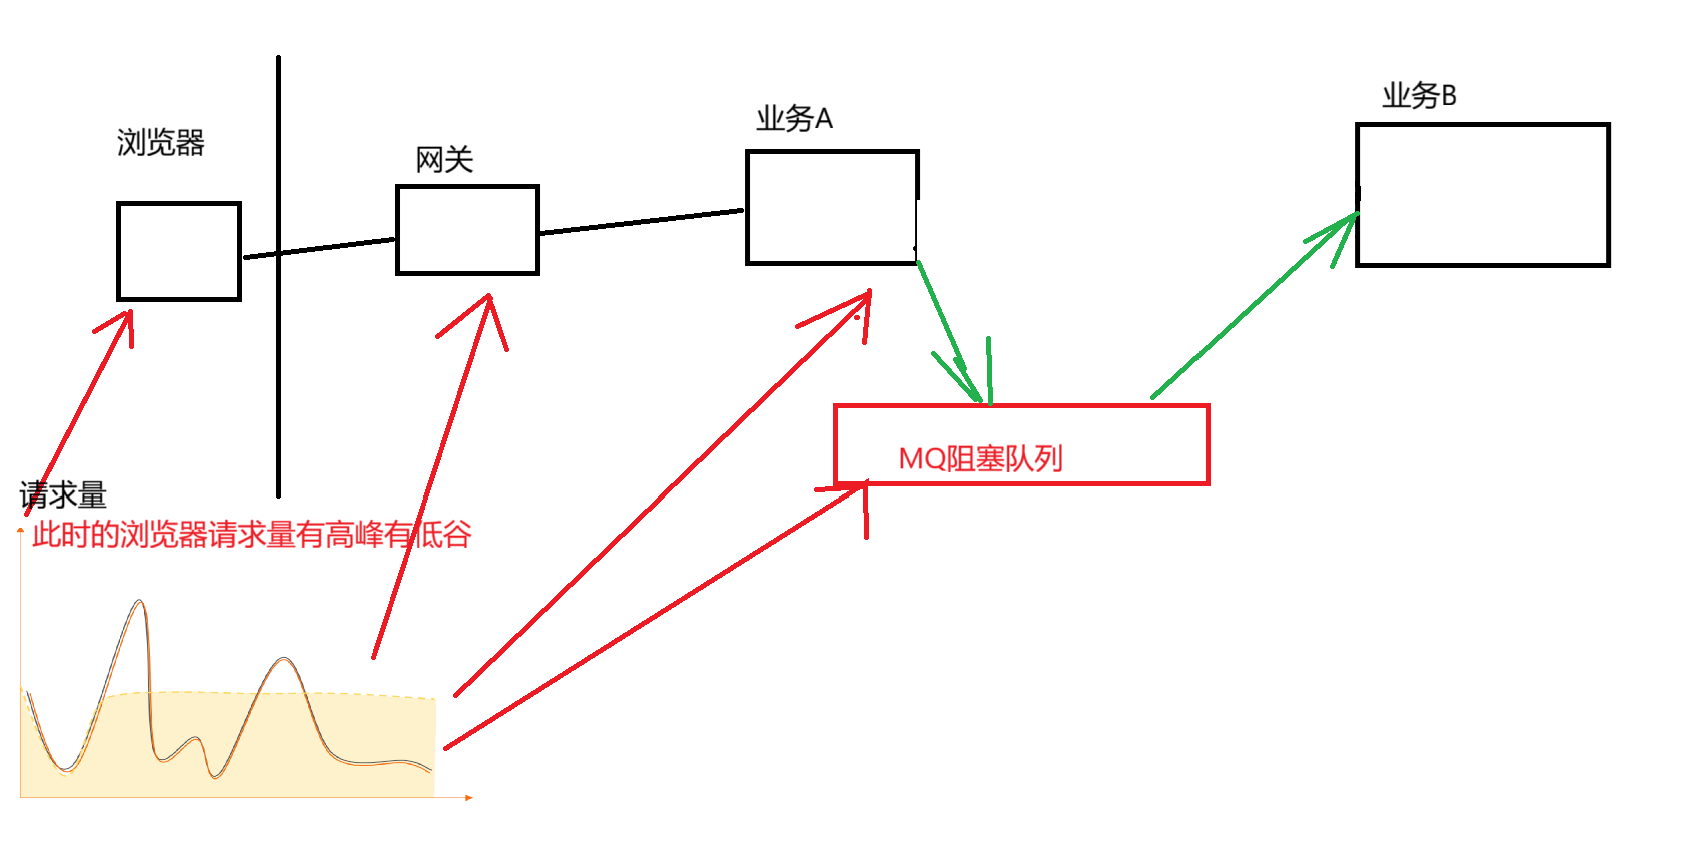
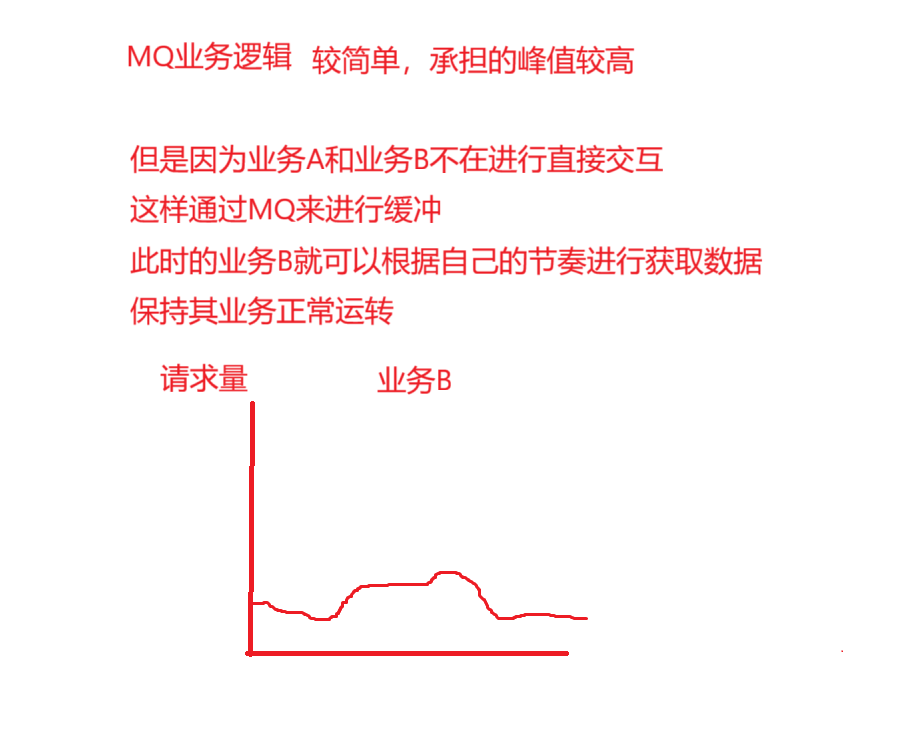
有了MQ阻断队列进行缓存 ,业务B可以根据自己节奏来获取数据,这样业务就可以正常运行,并且MQ阻塞队列能承受的峰值还是很大的
但是生产者消费者模型更适合"异步"操作
像这里和同步:A请求B,A会一直等到B的结果,拿到结果才会做其他事情
异步:A请求B ,A发完请求就不等了,B结果好了再通知A
BlockingQueue

BlockingQueue使一个接口继承Queue,其有可以根据数组、链表和堆(优先级队列)进行实例化对象
java
public class demo21 {
    public static void main(String[] args) throws InterruptedException {
    //基于链表
        BlockingQueue<Integer> blockingQueue = new LinkedBlockingQueue<>();
        //基于数组,必须给其初始化大小
        BlockingQueue<Integer> blockingQueue1 = new ArrayBlockingQueue<>(1);
        //基于堆(优先级队列)
        BlockingQueue<Integer> blockingQueue2 = new PriorityBlockingQueue<>();

        //入队列
        blockingQueue.put(1);
        //出队列
        System.out.println(blockingQueue.take());
    }
}
java
public class demo22 {
    public static void main(String[] args) {
        BlockingQueue<Long> queue = new ArrayBlockingQueue<>(100);
        Thread t1 = new Thread(() ->{
           long n = 0;
           while (true){
               try {
                   queue.put(n);
                   System.out.println("生产了:" + n);
                   n++;
               } catch (InterruptedException e) {
                   throw new RuntimeException(e);
               }
           }
        });

        Thread t2 = new Thread(() ->{
            try {
                queue.take();
                long m = 0;
                while (true){
                    System.out.println("消费了:" + m);
                    m++;
                }
            } catch (InterruptedException e) {
                throw new RuntimeException(e);
            }

        });

        t1.start();
        t2.start();
    }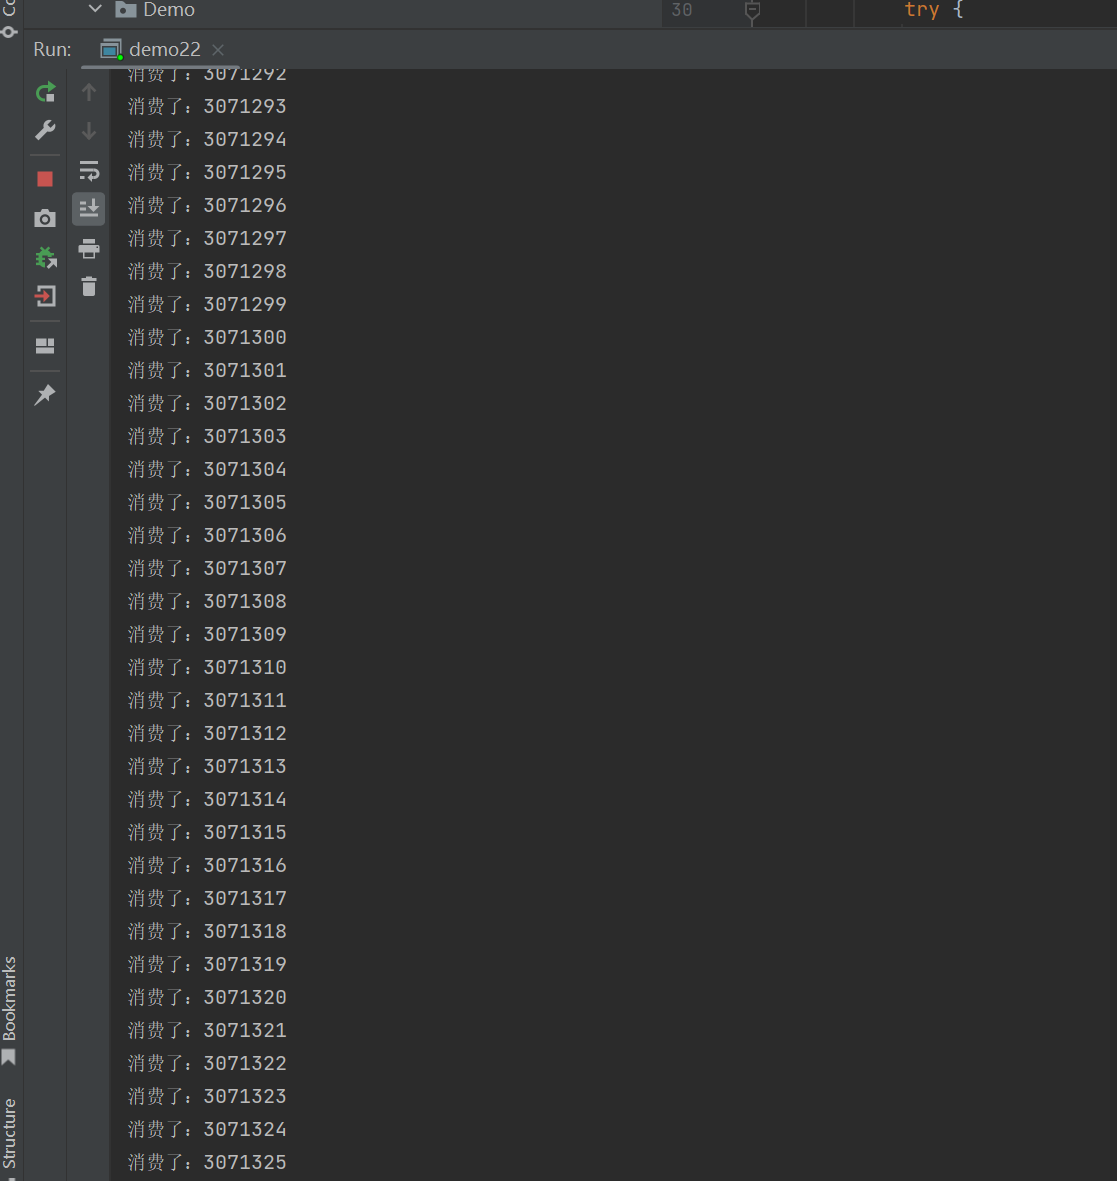
}此时虽然我们给的容量使100,但是这是不断在生产和消费的
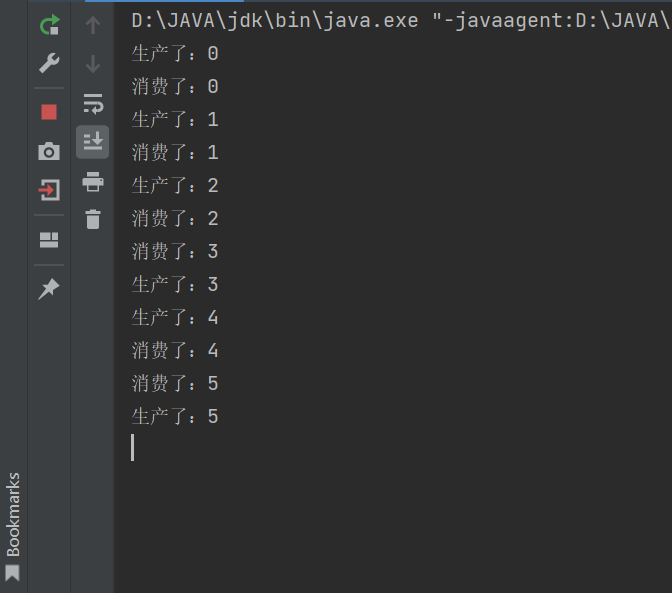
当然可以使用sleep让其线程慢一点
java
public class demo22 {
    public static void main(String[] args) {
        BlockingQueue<Long> queue = new ArrayBlockingQueue<>(100);
        Thread t1 = new Thread(() ->{
           long n = 0;
           while (true){
               try {
                   queue.put(n);
                   System.out.println("生产了:" + n);
                   n++;
                   Thread.sleep(1000);

               } catch (InterruptedException e) {
                   throw new RuntimeException(e);
               }
           }
        });

        Thread t2 = new Thread(() ->{
            try {
                queue.take();
                long m = 0;
                while (true){
                    System.out.println("消费了:" + m);
                    m++;
                    Thread.sleep(1000);
                }
            } catch (InterruptedException e) {
                throw new RuntimeException(e);
            }

        });

        t1.start();
        t2.start();
    }
}
阻塞队列的实现
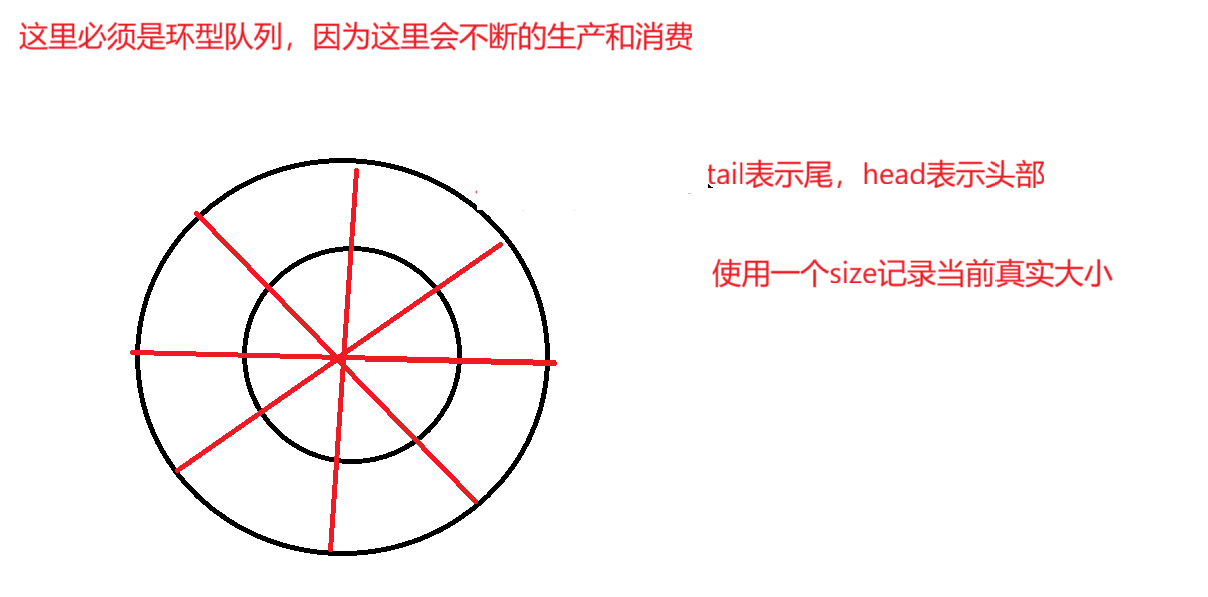
1.这里的size是用来判断其数组是否满
2.这里为了保证线程安全所以要使用到锁
3。因为这里空的时候不可以消费,满的时候不可以生产,这要进行判断并使用wait进行等待,并且使用while判断,因为这样当线程被notify唤醒以后,再一次确认一下条件,再进行执行
java
class MyBlockingQueue{
private int[] data;
private int tail;//尾
private int head;//头
int size;//数组真实长度,判断数组是否满
private static Object locker = new Object();
//构造函数
public MyBlockingQueue(int capacity){
if(capacity <= 0){
return;
}
data = new int[capacity];
}
//put生产
public void put(int e) throws InterruptedException {
synchronized (locker){
//判断其是否已经满了
//使用while这样可以再进行一次判断,当重新获取锁的时候
while (size == data.length){
//此时就要等到,等到消费,才可以继续生产
locker.wait();
}
data[tail] = e;
tail++;
//此时走到了末尾,就要回到起始位置
if(tail >= data.length){
tail = 0;
}
size++;
locker.notify();
}
}
public int take() throws InterruptedException {
synchronized (locker){
while (size == 0){
locker.wait();
}
//取出head元素
int ret = data[head];
head++;
if(head >= data.length){
head = 0;
}
size--;
locker.notify();
return ret;
}
}
}
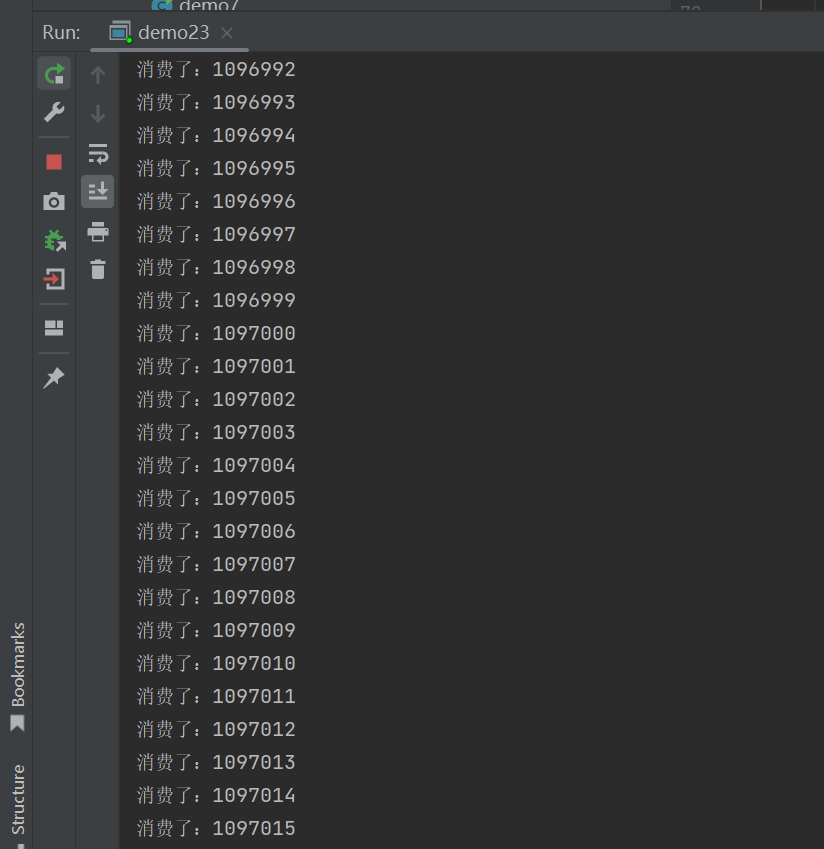
public class demo23 {
public static void main(String[] args) {
MyBlockingQueue queue = new MyBlockingQueue(100);
Thread t1 = new Thread(() ->{
int n = 0;
while (true){
try {
queue.put(n);
System.out.println("生产了:" + n);
n++;
Thread.sleep(1000);
} catch (InterruptedException e) {
throw new RuntimeException(e);
}
}
});
Thread t2 = new Thread(() ->{
try {
queue.take();
long m = 0;
while (true){
System.out.println("消费了:" + m);
m++;
Thread.sleep(1000);
}
} catch (InterruptedException e) {
throw new RuntimeException(e);
}
});
t1.start();
t2.start();
}
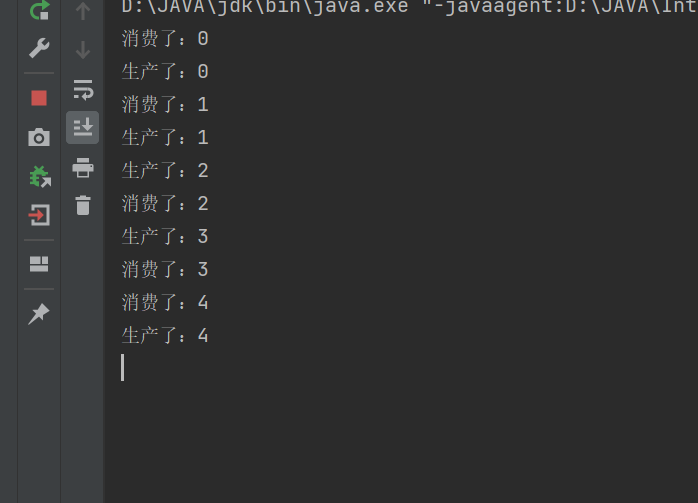
}没使用sleep
生产和消费都用sleep,让其慢一点
线程池
最开始并发编程使用多进程 ,但是发现大量的生产和销毁这样非常浪费时间,因此引入多线程(轻量级进程) ,但是如果业务过多,其线程的生产和销毁也是比较浪费时间的
可以使用线程池的方式来解决,把线程创建好,提前放到一个位置,需要的时候直接从里面取就行,这样比每次从操作系统中创建来的快

因此,这里线程池提前把调用系统api创建好,这样创建Thread对象在一个集合类中,后续如果使用可以直接从这里面取就行,这样就是纯用户态的代码了
ThreadPoolExecutor
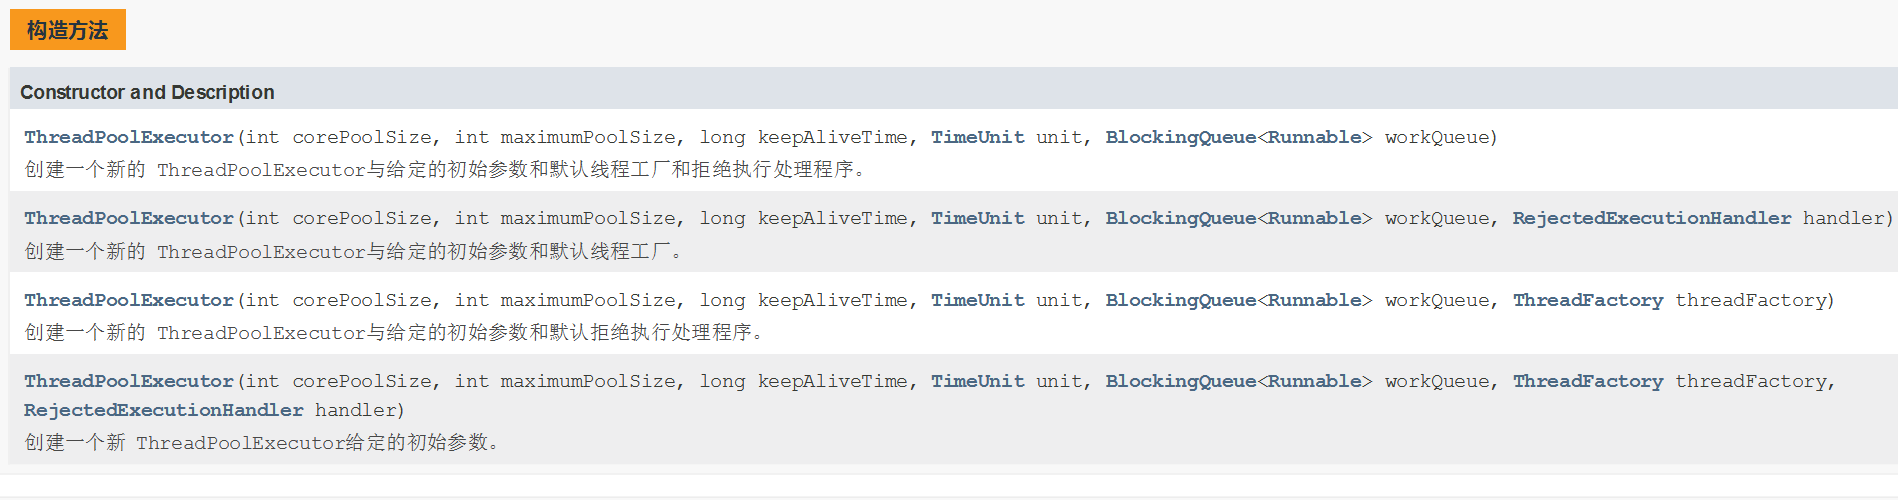
这里我们重点看一下最后一个构造方法
java
ThreadPoolExecutor(int corePoolSize, int maximumPoolSize,
long keepAliveTime, TimeUnit unit,
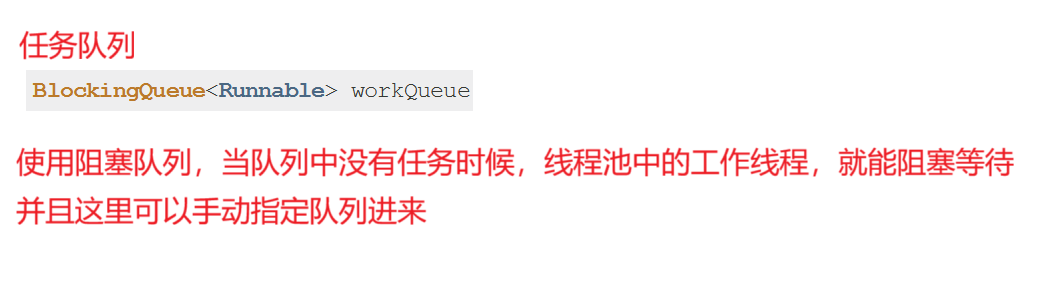
BlockingQueue<Runnable> workQueue,
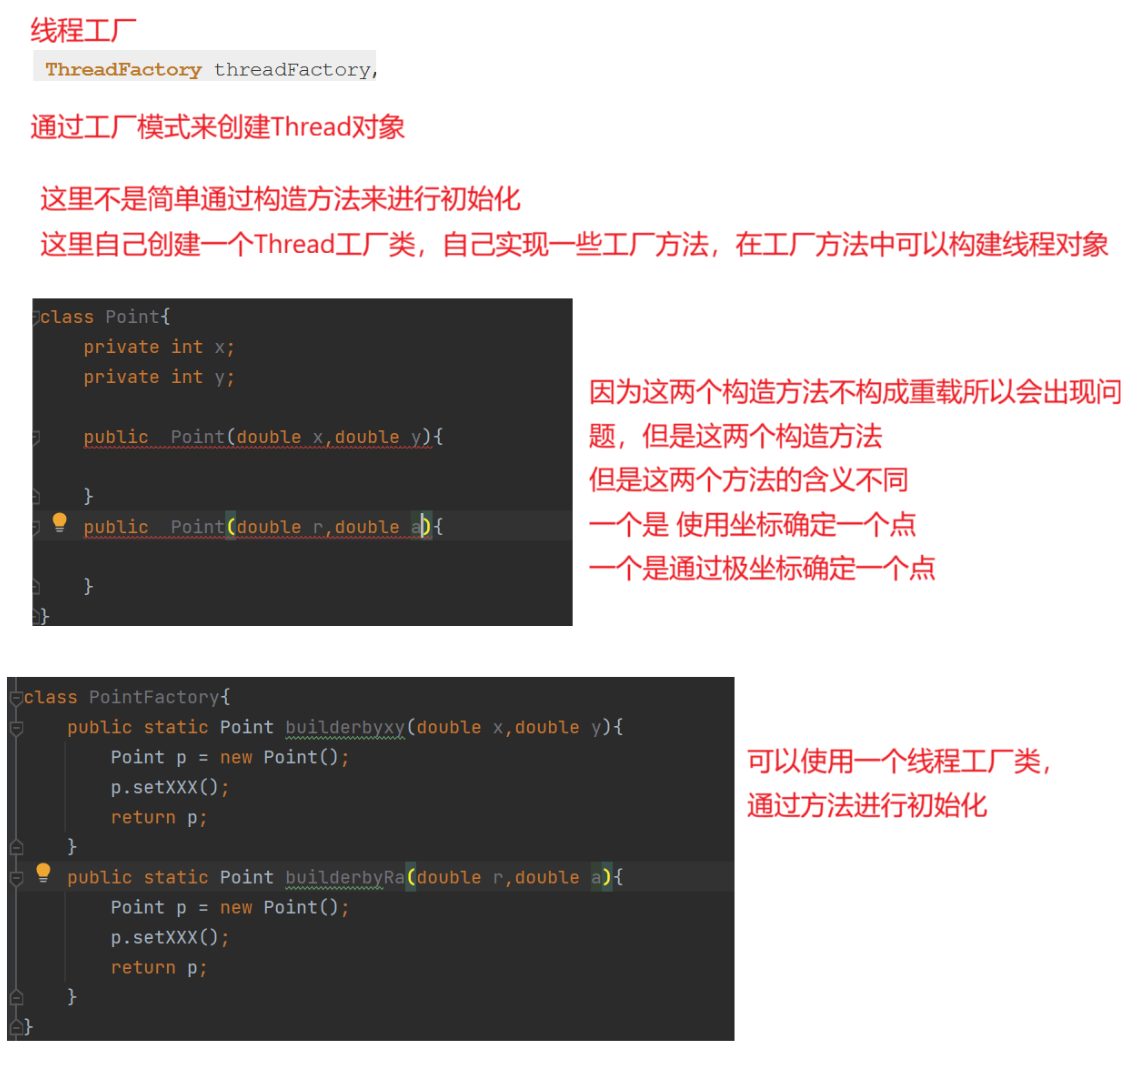
ThreadFactory threadFactory,
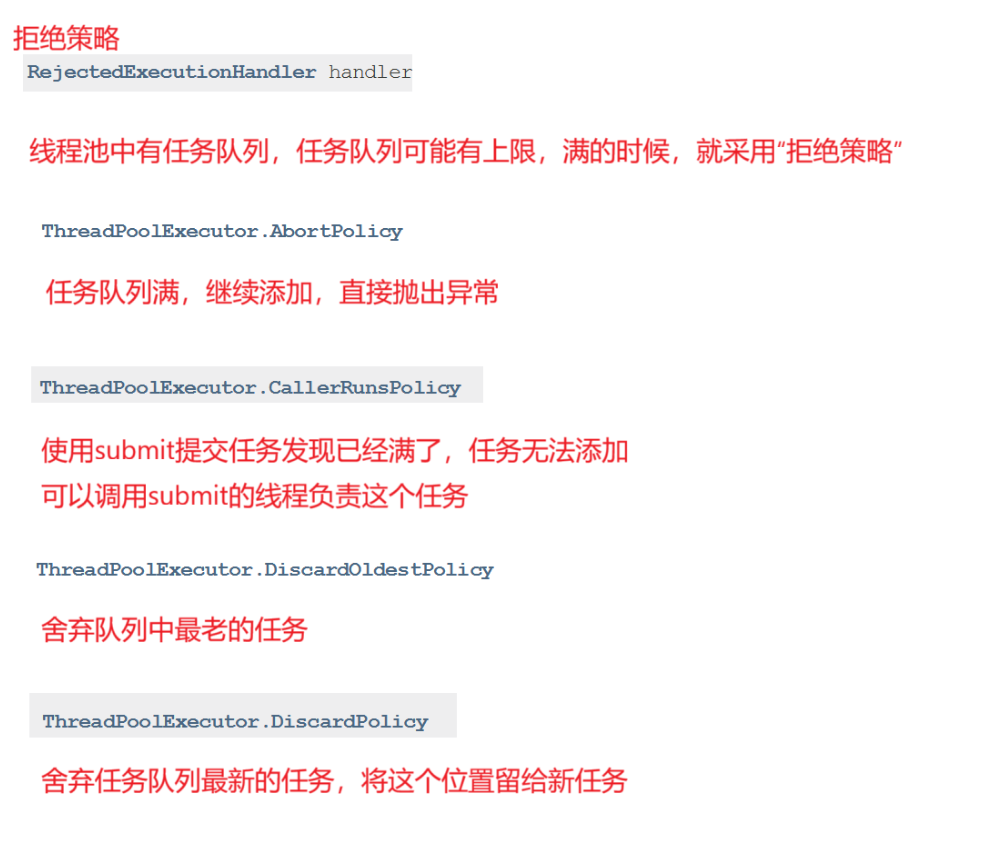
RejectedExecutionHandler handler) 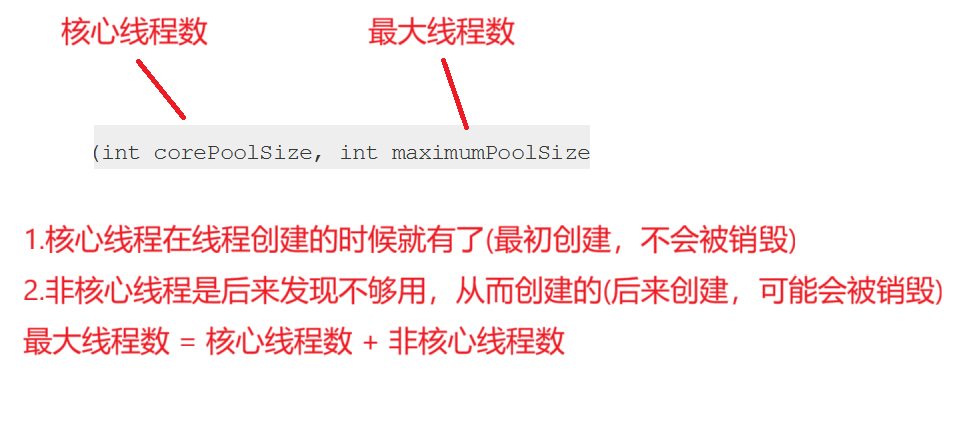
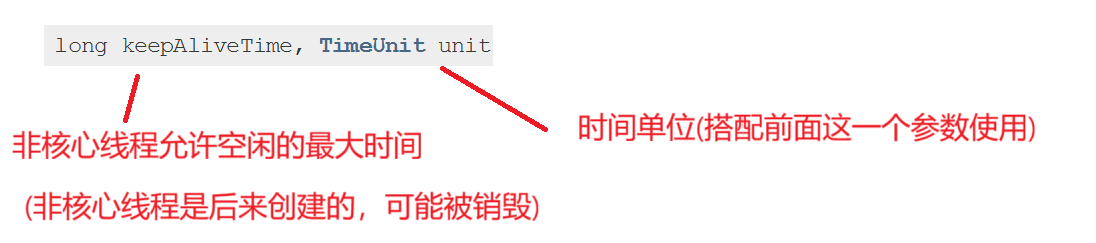
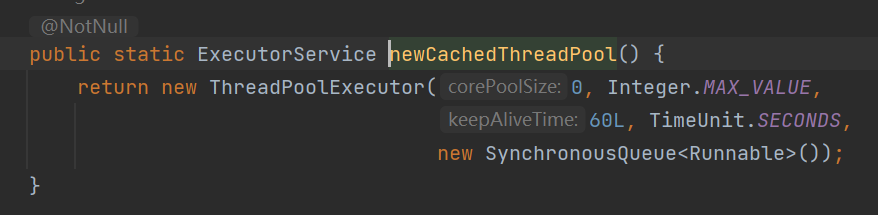
这个构造方法没有核心线程,都是非核心线程,不用指定上限,并且可以自动扩容
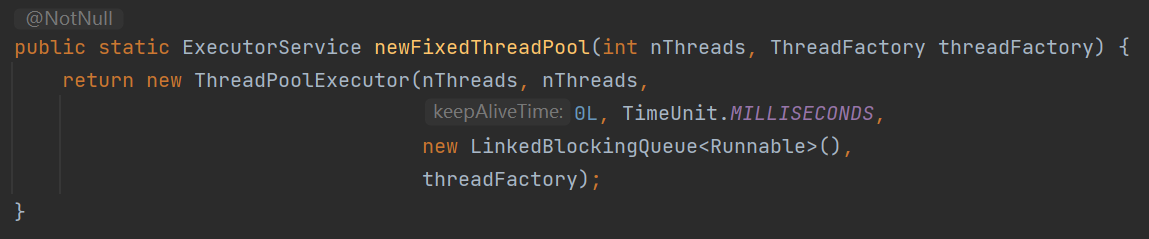
固定线程数量,不会自动扩容/缩容
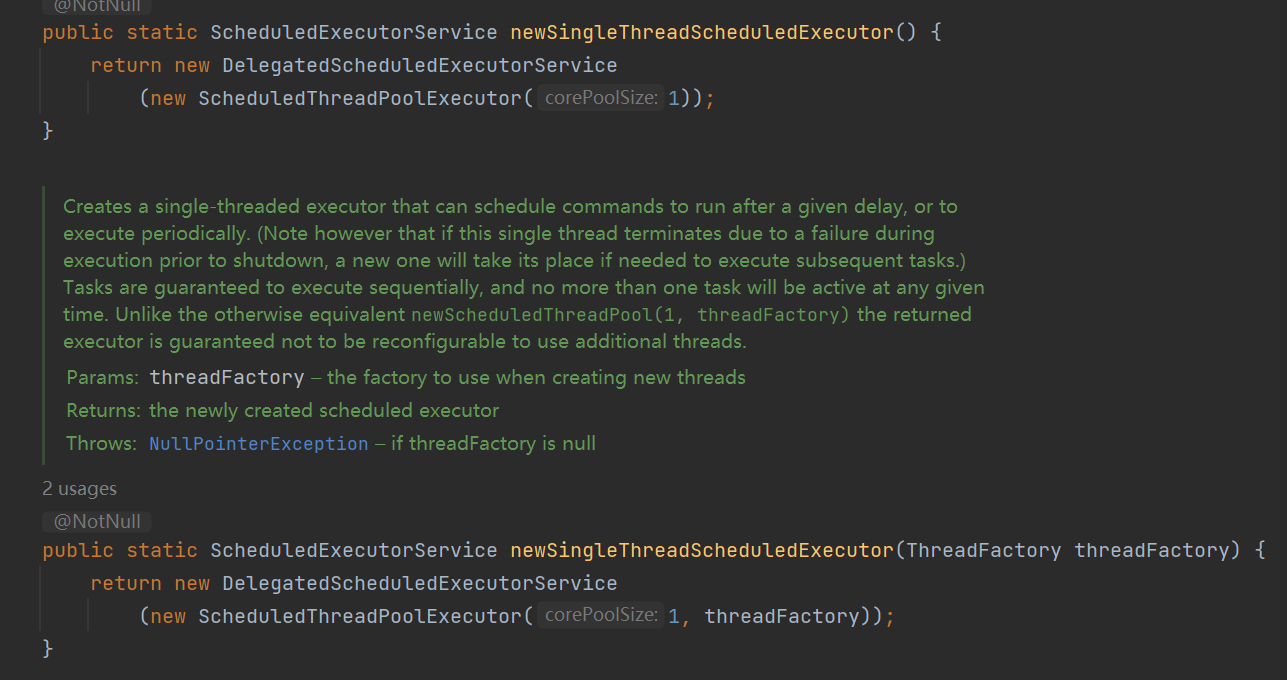
线程不是立即执行,而是在某个时间执行(计时器)
只有一个线程的定时器线程
ExecutorService 和 Executors
java
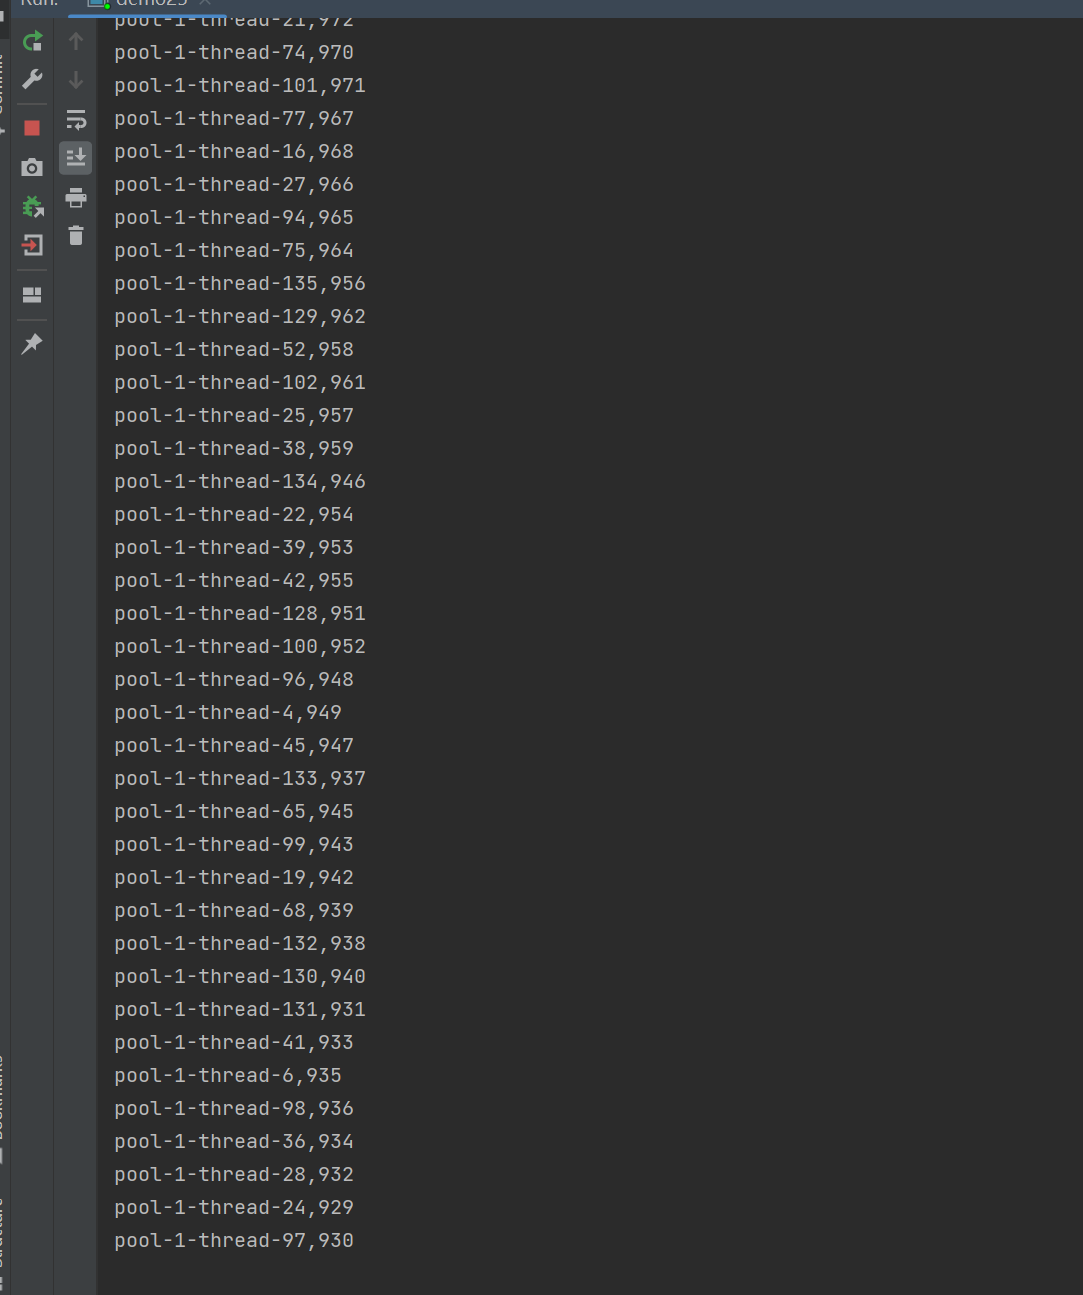
public class demo25 {
    public static void main(String[] args) {
        ExecutorService executorService = Executors.newCachedThreadPool();
        for (int i = 0; i < 1000; i++) {
            final int id = i;
            executorService.submit(new Runnable() {
                @Override
                public void run() {
                    System.out.println(Thread.currentThread().getName() + "," + id);
                }
            });
        }
    }
}
没有上限,并且当一个线程完成以后,其也可以继续参与调度
java
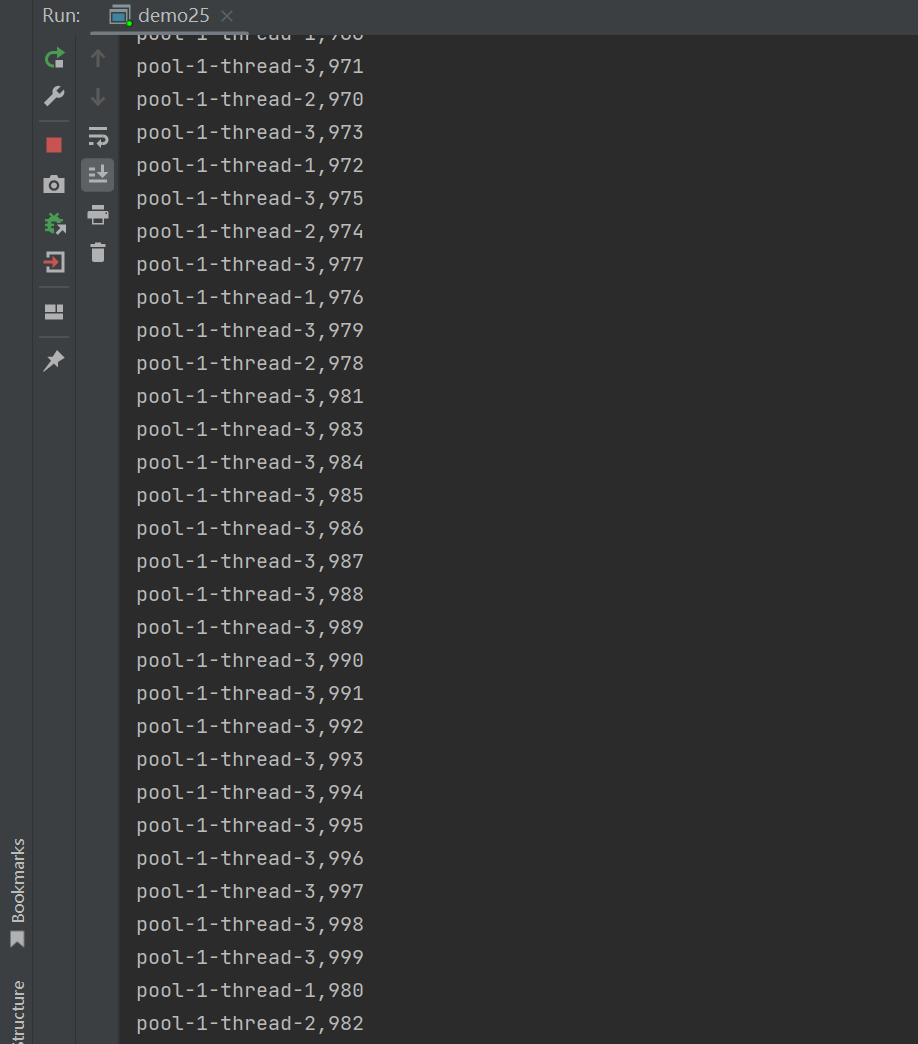
public class demo25 {
    public static void main(String[] args) {
        //ExecutorService executorService = Executors.newCachedThreadPool();
        ExecutorService executorService = Executors.newFixedThreadPool(3);
        for (int i = 0; i < 1000; i++) {
            final int id = i;
            executorService.submit(new Runnable() {
                @Override
                public void run() {
                    System.out.println(Thread.currentThread().getName() + "," + id);
                }
            });
        }
    }
}
固定线程数量

线程池的简单实现
1.这里需要一个BlockingQueue对象存放任务
2.此处固定线程数量
3.此处将线程池设置为后台线程,但这里要让main线程sleep休眠一会,因为可能还没执行前台就结束了
java
class MyThreadPool{
private BlockingQueue<Runnable> queue = new LinkedBlockingQueue<>();
//固定线程数量
public MyThreadPool(int n){
for (int i = 0; i < n; i++) {
Thread t = new Thread(() ->{
try {
while (true){
Runnable task = queue.take();
task.run();
}
} catch (InterruptedException e) {
throw new RuntimeException(e);
}
});
//设置为后台线程,当前台执行完以后,起就会结束
t.setDaemon(true);
t.start();
}
}
//提交任务
public void submit(Runnable task) throws InterruptedException {
queue.put(task);
}
}
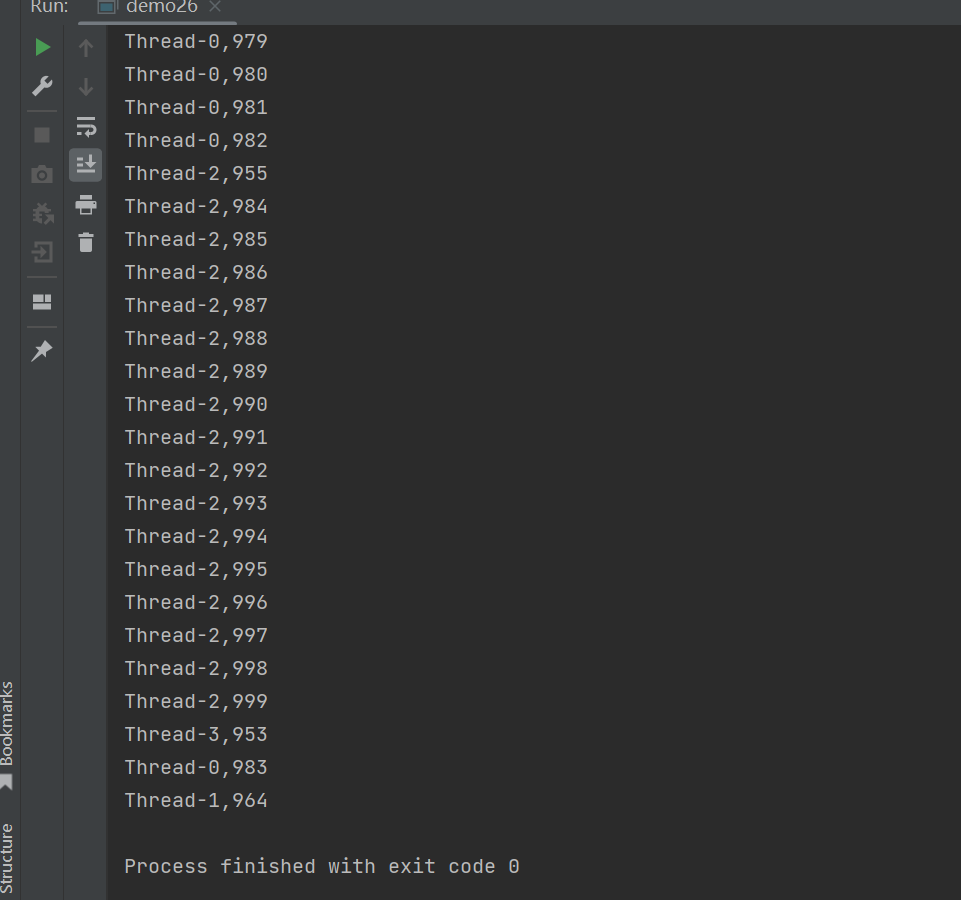
public class demo26 {
public static void main(String[] args) throws InterruptedException {
MyThreadPool pool = new MyThreadPool(4);
for (int i = 0; i < 1000; i++) {
final int id = i;
pool.submit(() ->{
System.out.println(Thread.currentThread().getName() + "," + id);
});
}
Thread.sleep(100);
}
}
定时器
类似一个"闹钟",设定好时间之后,就执行指定代码
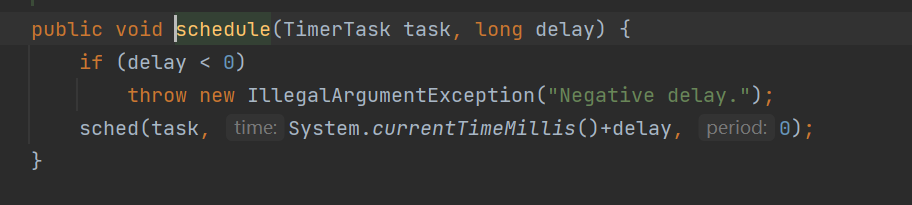
Timer类中有一个核心方法schedule有两个参数
第一个表示执行任务,第二个表示多长时间以后执行
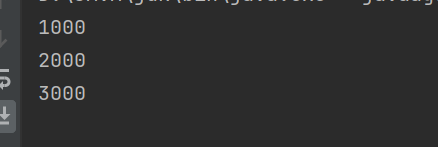
java
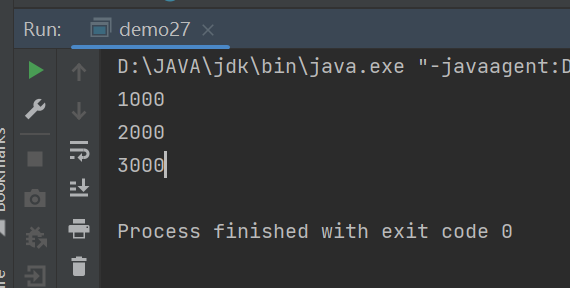
public class demo27 {
    public static void main(String[] args) throws InterruptedException {
        Timer timer = new Timer();
        timer.schedule(new TimerTask() {
            @Override
            public void run() {
                System.out.println("1000");
            }
        },1000);
        timer.schedule(new TimerTask() {
            @Override
            public void run() {
                System.out.println("3000");
            }
        },3000);
        timer.schedule(new TimerTask() {
            @Override
            public void run() {
                System.out.println("2000");
            }
        },2000);

        Thread.sleep(4000);
        timer.cancel();
    }
}
这个Timer类内置是前台线程,因此这里需要使用cancel手动结束程序
实现一个简单的定时器
1.有一个MyTask类用于存放执行的任 务,有任务和时间,有比较方法和执行任务的方法
2.MyTimer类中使用优先级队列 来确保执行顺序,使用BlockingQueue可能会出现死锁问题,因为其内部实现了锁
3.MyTimer构造函数中,使用锁保证线程安全 ,并且这里执行是死循环,因为不知道何时会有任务到时间了,通过时间判断是否要执行
4.如果获取的任务为空,说明队列为空,使用wait等待其schedule中添加方法使唤醒继续执行,并且这里要注意如果不为空,但是没到时间就可以使用wait给他设置一个指定时间,当添加任务时候这个可能需要唤醒
java
//任务类,有任务和时间
class MyTask implements Comparable<MyTask>{
    private Runnable runnable;
    private long time;//表示结束的时间

    MyTask(Runnable runnable,long delay){
        this.runnable = runnable;
        this.time = System.currentTimeMillis() + delay;
    }

    //执行任务
    public void run(){
        runnable.run();
    }

    //获取时间
    public long getTime() {
        return time;
    }

    //比较时间
    @Override
    public int compareTo(MyTask o) {
        return (int)(this.getTime() - o.getTime());
    }
}
class MyTimer{
    //使用一个优先级队列将任务放一起
    private PriorityQueue<MyTask> queue = new PriorityQueue<>();

    private Object locker = new Object();
    public MyTimer(){
        Thread t = new Thread(() ->{
           synchronized (locker){
               try {
                  while (true){
                      //先获取任务
                      MyTask task = queue.peek();
                      while (task == null) {
                          //如果为空就要等待任务插入
                          locker.wait();
                          task = queue.peek();
                      }
                      //判断是否到时间
                      long curTime = System.currentTimeMillis();
                      if(curTime >= task.getTime()){
                          //执行任务,并将这个任务取出
                          task.run();
                          queue.poll();
                      }else{
                          locker.wait(task.getTime() - curTime);
                      }

                  }
               }catch (InterruptedException e) {
                   throw new RuntimeException(e);
               }
           }
        });
        t.start();
    }
    public void schedule(Runnable runnable,long delay){
        synchronized (locker){
            MyTask task = new MyTask(runnable,delay);
            queue.add(task);
            locker.notify();
        }
    }
}
public class demo28 {
    public static void main(String[] args) {
        MyTimer timer = new MyTimer();
        //任务和时间
        timer.schedule(() ->{
            System.out.println(3000);
        },3000);
        timer.schedule(() ->{
            System.out.println(2000);
        },2000);
        timer.schedule(() ->{
            System.out.println(1000);
        },1000);
    }
}