文章目录
neo4j 的安装和使用
安装
windows-community版本的安装教程可以参考文章:https://blog.csdn.net/zt0612xd/article/details/140594778。官网安装教程可点击此处。
简单总结下windows-community 的安装步骤,就两步:
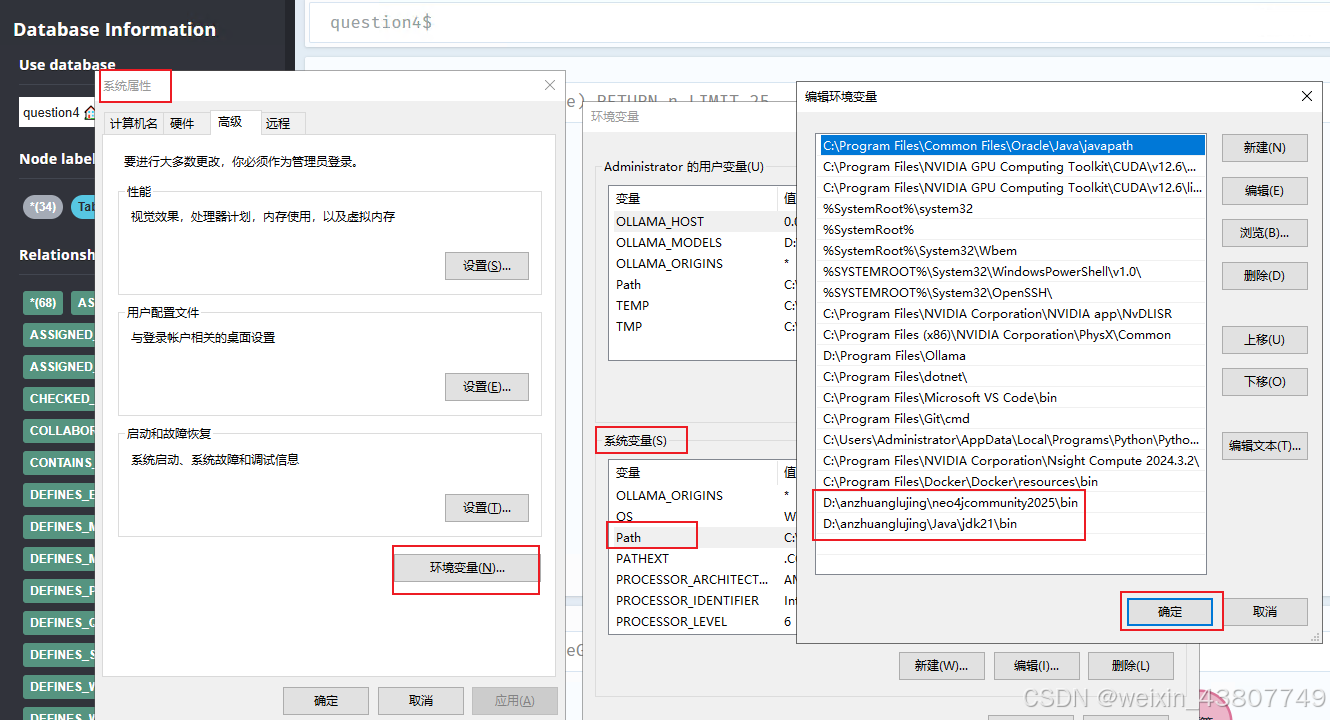
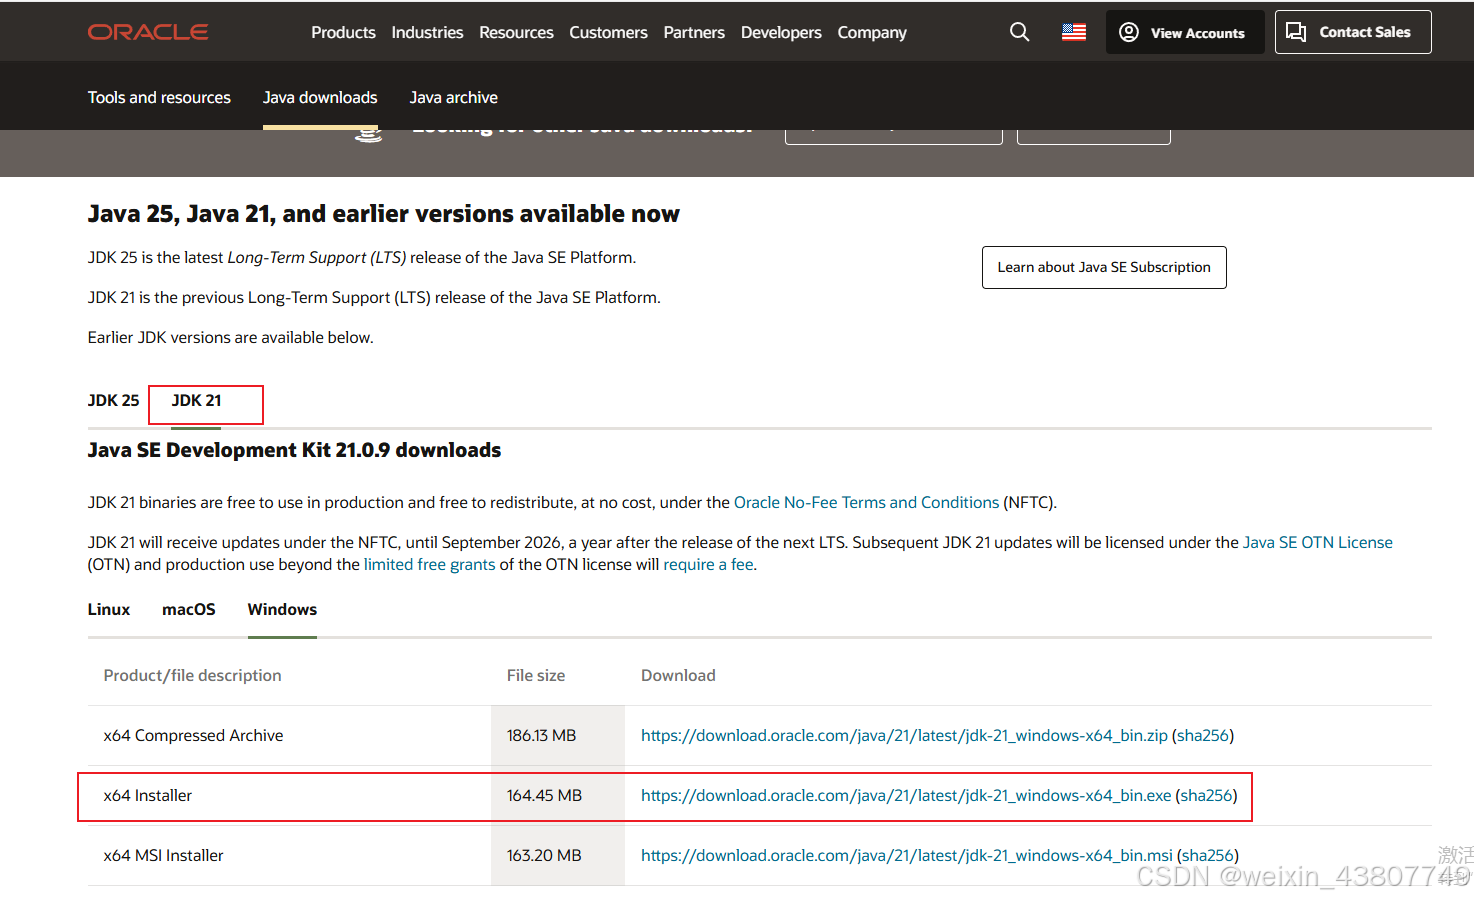
- 安装java JDK 并把bin路径添加到环境变量中。
- 解压windows-community压缩包,也把bin路径添加到环境变量中。
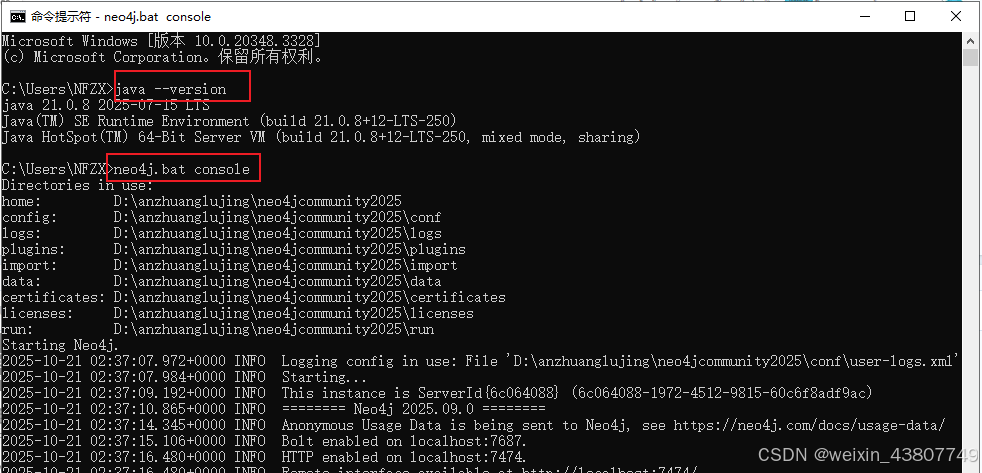
- 在cmd中查看是否设置成功:
bash
java --version
neo4j.bat console成功运行后,访问http://localhost:7474/,进入neo4j登录界面。默认的账号名和密码都是neo4j,第一次登陆后就要强制修改密码。
本文安装的是neo4j-community-2025.09.0-windows版本,对应java的JDK是21版本。(要注意版本对应)
使用
感觉这个社区版很难用,我常用的功能就两个:新建数据库和删除数据库。
-
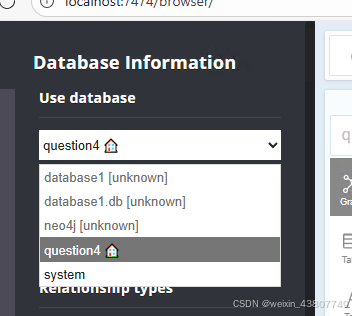
新建数据库
属于纯暴力新建方法;首先找到安装目录下,conf文件中的initial.dbms.default_database=xx ,然后把xx改成你想新建的数据库名,然后重启neo4j,就可以选择了。
-
删除数据库
笔者目前没找到一键删除的方法,只找到了cypher语言删除的方法,并且也删不掉Property keys。。。如果有更好办法的,可以留言分享给大家。 具体删除方法如下:
bash
// 1. 删掉所有关系
MATCH ()-[r]->() DELETE r;

// 2. 删掉所有节点
MATCH (n) DELETE n;

// 3. 删除标签
SHOW INDEXES
DROP CONSTRAINT constraint_638f2b86;
DROP INDEX index_28b18b94;
将1和2直接复制在$中的命令框中并运行即可。

3的话,要先运行SHOW INDEXES,得到一堆constraint_xxx和index_xxx,然后一个个删。。。(喂给ai就行)
- 建立知识图谱
这是最核心的部分。可以参考https://www.bilibili.com/video/BV1uY41167Ha;视频中的素材,是针对医疗的。简单来说,构建过程就两步:第一步,创建实体(nodes),比如disease, drug, food;每个实体,在图中就对应着一个圆圈。第二步,创建实体关系,比如,belongs_to, do_eat, drugs_of,每个关系就对应一条连接线。
langchain_neo4j的安装和使用
本节参考自: https://python.langchain.ac.cn/docs/how_to/graph_constructing/
langchain_neo4j 是基于非结构化文本构建知识图谱的基本方法。构建的图谱随后可用作 RAG 应用程序中的知识库。
安装
bash
pip install --upgrade langchain langchain-neo4j langchain-openai langchain-experimental neo4j第一次运行langchain-neo4j的相关代码时,会遇到报错:
bash
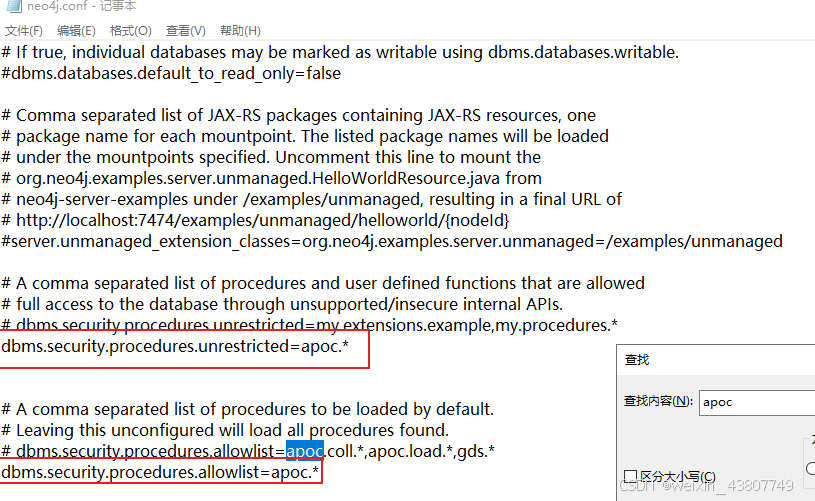
neo4j.exceptions.ClientError: {code: Neo.ClientError.Procedure.ProcedureNotFound} {message: There is no procedure with the name `apoc.merge.node` registered for this database instance. Please ensure you've spelled the procedure name correctly and that the procedure is properly deployed.}因为LangChain 的 Neo4jGraph.add_graph_documents() 默认使用了 APOC 存储过程,但你的 Neo4j 实例 没有启用 APOC 插件。
APOC 是 Neo4j 官方插件,下载压缩包中自带了一个。
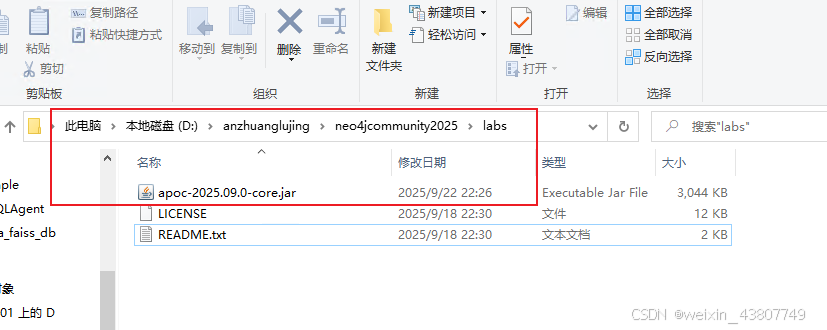
找到你的 Neo4j 安装目录(如 D:\anzhuanglujing\neo4jcommunity2025)。
打开 plugins 文件夹。
把apoc-xxx.jar 文件放入 plugins 文件夹。
配置.conf文件,重启即可。
使用
python
# 参考自: https://python.langchain.ac.cn/docs/how_to/graph_constructing/
import os
from dotenv import load_dotenv
from langchain_openai import ChatOpenAI

from langchain_neo4j import Neo4jGraph
from langchain_experimental.graph_transformers import LLMGraphTransformer
from langchain_core.documents import Document
import asyncio

os.environ["LANGSMITH_TRACING"] = "false"

load_dotenv(dotenv_path=".env")
model = os.getenv("VLLM_MODEL")
base_url = os.getenv("VLLM_BASE_URL")
api_key = os.getenv("VLLM_API_KEY")
llm = ChatOpenAI(model=model, base_url=base_url, api_key=api_key)

os.environ["NEO4J_URI"] = "bolt://localhost:7687"
os.environ["NEO4J_USERNAME"] = "neo4j"
os.environ["NEO4J_PASSWORD"] = "你的密码"

try:
    graph = Neo4jGraph(
        url="bolt://localhost:7687",
        username="neo4j",
        password="你的密码",
        database="question4",
        refresh_schema=False
    )
    # 顺手测一下连通性
    graph.query("RETURN 1 as ok")
except Exception as e:
    print("Neo4j 连接失败 →", e)

async def main():
    text = """
    Marie Curie, born in 1867, was a Polish and naturalised-French physicist and chemist who conducted pioneering research on radioactivity.
    She was the first woman to win a Nobel Prize, the first person to win a Nobel Prize twice, and the only person to win a Nobel Prize in two scientific fields.
    Her husband, Pierre Curie, was a co-winner of her first Nobel Prize, making them the first-ever married couple to win the Nobel Prize and launching the Curie family legacy of five Nobel Prizes.
    She was, in 1906, the first woman to become a professor at the University of Paris.
    """
    documents = [Document(page_content=text)]

    llm_transformer = LLMGraphTransformer(llm=llm)
    graph_documents = await llm_transformer.aconvert_to_graph_documents(documents)
    print(f"Nodes:{graph_documents[0].nodes}")
    print(f"Relationships:{graph_documents[0].relationships}")

    llm_transformer_filtered = LLMGraphTransformer(
        llm=llm,
        allowed_nodes=["Person", "Country", "Organization"],
        allowed_relationships=["NATIONALITY", "LOCATED_IN", "WORKED_AT", "SPOUSE"],
    )
    graph_documents_filtered = await llm_transformer_filtered.aconvert_to_graph_documents(documents)
    print(f"Nodes:{graph_documents_filtered[0].nodes}")
    print(f"Relationships:{graph_documents_filtered[0].relationships}")

    # 有bug, 运行卡住, 因为
    # "The 'node_properties' and 'relationship_properties' parameters "
    # "cannot be used in combination with a LLM that doesn't support "
    # "native function calling."
    # llm_transformer_props = LLMGraphTransformer(
    #     llm=llm,
    #     allowed_nodes=["Person", "Country", "Organization"],
    #     allowed_relationships=["NATIONALITY", "LOCATED_IN", "WORKED_AT", "SPOUSE"],
    #     node_properties=["born_year"],
    # )
    # graph_documents_props = await llm_transformer_props.aconvert_to_graph_documents(
    #     documents
    # )
    # print(f"Nodes:{graph_documents_props[0].nodes}")
    # print(f"Relationships:{graph_documents_props[0].relationships}")

    graph.add_graph_documents(graph_documents_filtered)
    graph.add_graph_documents(graph_documents, baseEntityLabel=True)
    graph.add_graph_documents(graph_documents, include_source=True)

if __name__ == "__main__":
    asyncio.run(main())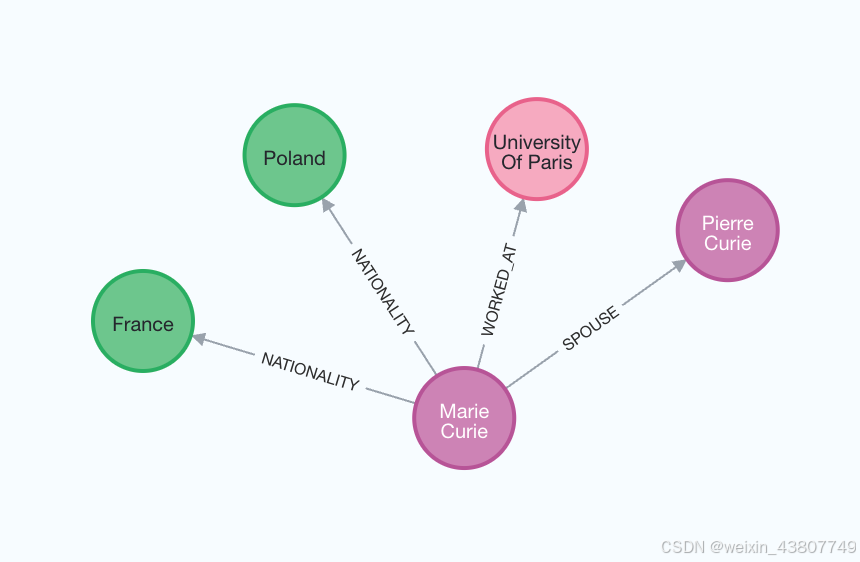
langchain_neo4j工具就是借助LLM的力量,根据一段文本,和定义好的allowed_nodes、allowed_relationships,输入给LLMGraphTransformer,它会提取关键信息,然后构建neo4j语言的知识图谱。
我的实践
最近的需求是想做漂亮一点的可视化界面,所以尝试使用了知识图谱。记录下我的几次知识图谱构建尝试。
尝试1
手动(并非手动)定义Nodes和relationship,并编写一段话,然后采用上面的langchain_neo4j例子构图。从最后构建的图来看,实体是具体的数据,关系是我们提前定义的关系。优点是实体之间的关系比较清晰,缺点是对于大量的数据,这种构建方式很低效。
python
allowed_nodes = [
        # 业务实体节点
        "WorkOrder", "WorkOrderProcess", "Material", "Equipment", "Mold",
        "WorkCenter", "User", "QCProject", "ProcessRoute", "Warehouse",
        "InspectionItem", "Role",
        # 元数据节点
        "Metadata", "UserType", "Status", "WorkCenterCategory", "Unit",
        "BillType", "WHType", "QCCategory", "MoldStatus", "ToolCategory",
        "ProductCategory", "NQReason"
    ]
    allowed_relationships = [
        # 结构关系
        "CONTAINS", "BELONGS_TO", "PART_OF",
        # 使用关系
        "USES", "OPERATES", "UTILIZES",
        # 负责关系
        "RESPONSIBLE_FOR", "CREATED_BY", "INSPECTED_BY",
        # 关联关系
        "ASSOCIATED_WITH", "RELATED_TO", "LINKED_TO",
        # 生产关系
        "PRODUCES", "MANUFACTURES", "PROCESSES",
        # 质检关系
        "HAS_QC_PROJECT", "REQUIRES_INSPECTION", "HAS_CHECK_ITEM",
        # 分类关系
        "CATEGORIZED_AS", "CLASSIFIED_AS", "TYPED_AS"
    ]
    text = """
        生产工单WO2024001由用户张三创建,计划生产产品ABC001。该工单包含三道工序:注塑工序、组装工序和质检工序。
        注塑工序使用设备注塑机001和模具模具A,由操作员李四负责,在工作中心注塑车间进行。
        组装工序在工作中心组装车间进行,使用工具夹具B,由操作员王五负责。
        质检工序需要检查项目尺寸检测和外观检测,由质检员赵六负责。
        产品ABC001属于电子品类,规格为Type-C接口,默认存储在原材料仓库。
        设备注塑机001属于注塑设备类型,当前状态为运行中。
        模具模具A的状态为可用,分类为塑料模具。
        """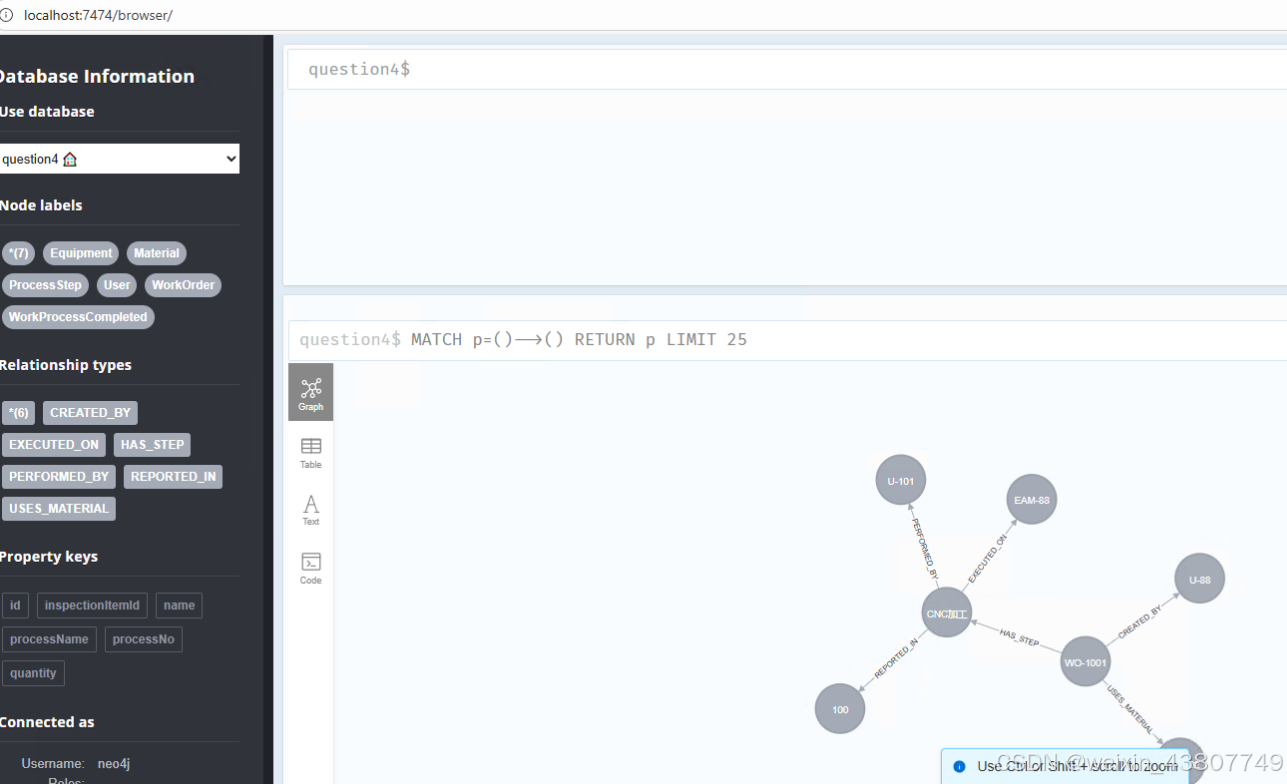
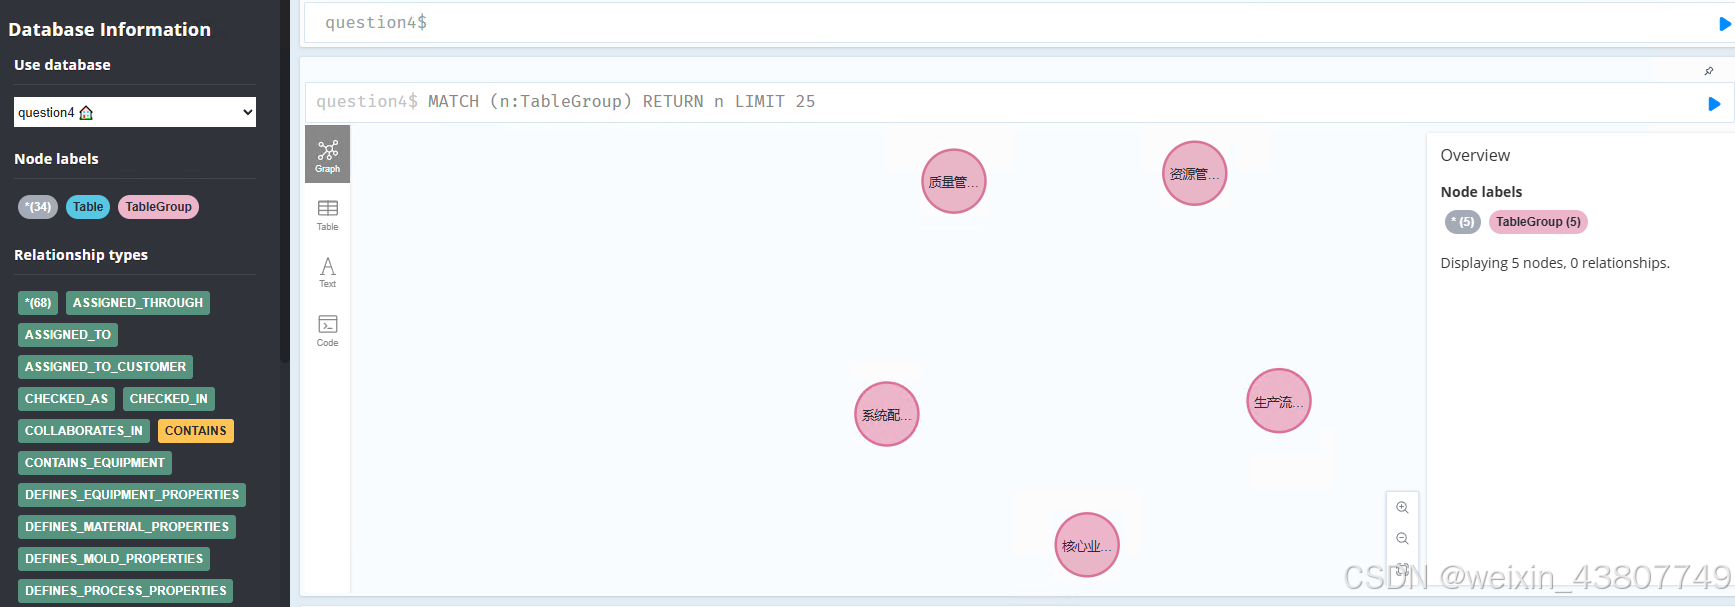
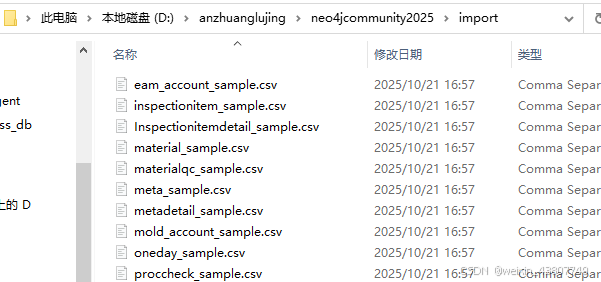
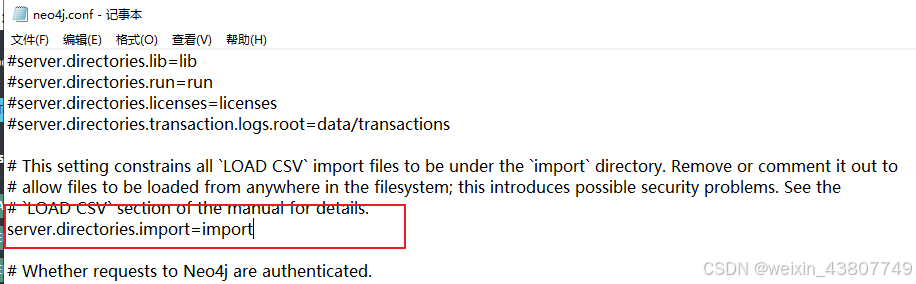
尝试2
这次建立知识图谱的方式是,借助LLM力量,直接编写cypher语言并运行。把要展示的27张sql建表指令,直接给大模型,要求以各个表作为抽象的外层,点击进去可以查看每个表里的具体数据,并且将外键作为关系。最后得到的图,是以表名为节点,外键为关系的图,顶层抽象出了5个类别。如果想关系具体数据,需要将sql表导出成.csv文件,并放在neo4j安装路径中的import文件夹。然后配置conf文件中的文件读取server.directories.import=import。