前提
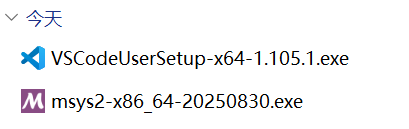
1.下载并安装好VS Code和MinG-w64
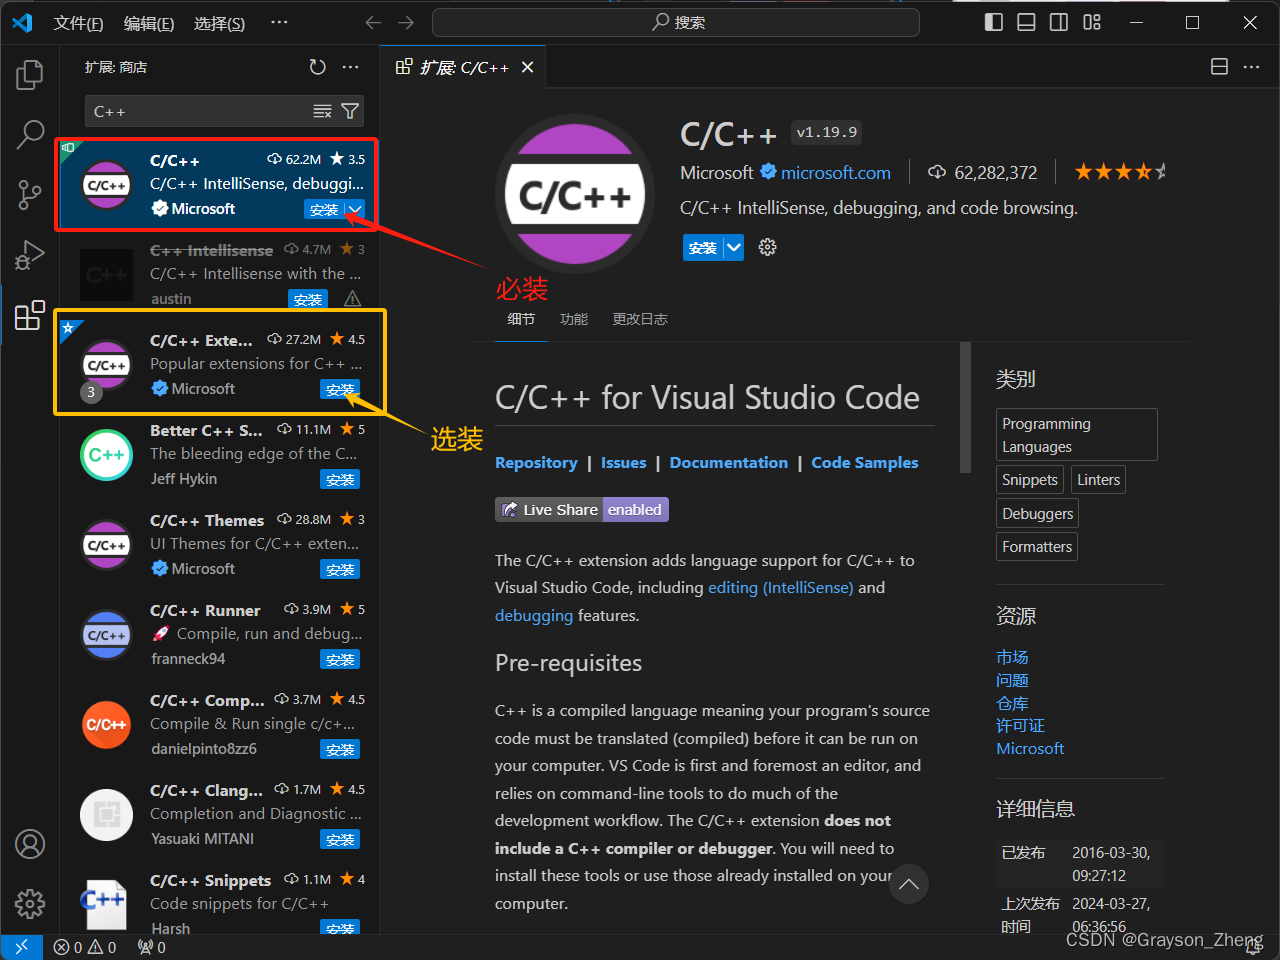
VSCode安装这两个插件即可
2.双击ucrt64.exe,执行以下命令安装 MinGW-w64 工具链
cpp
pacman -S --needed base-devel mingw-w64-ucrt-x86_64-toolchain
//执行后回车,Y回车就行,默认接受所有的安装包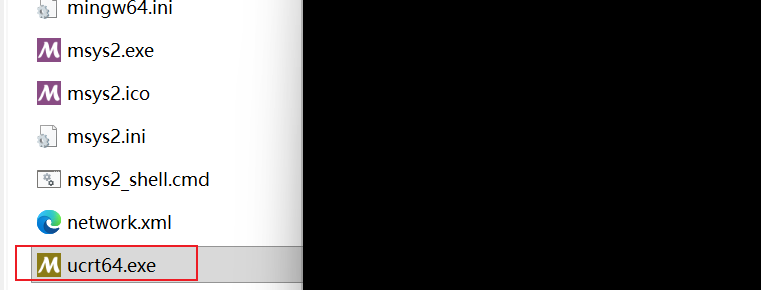
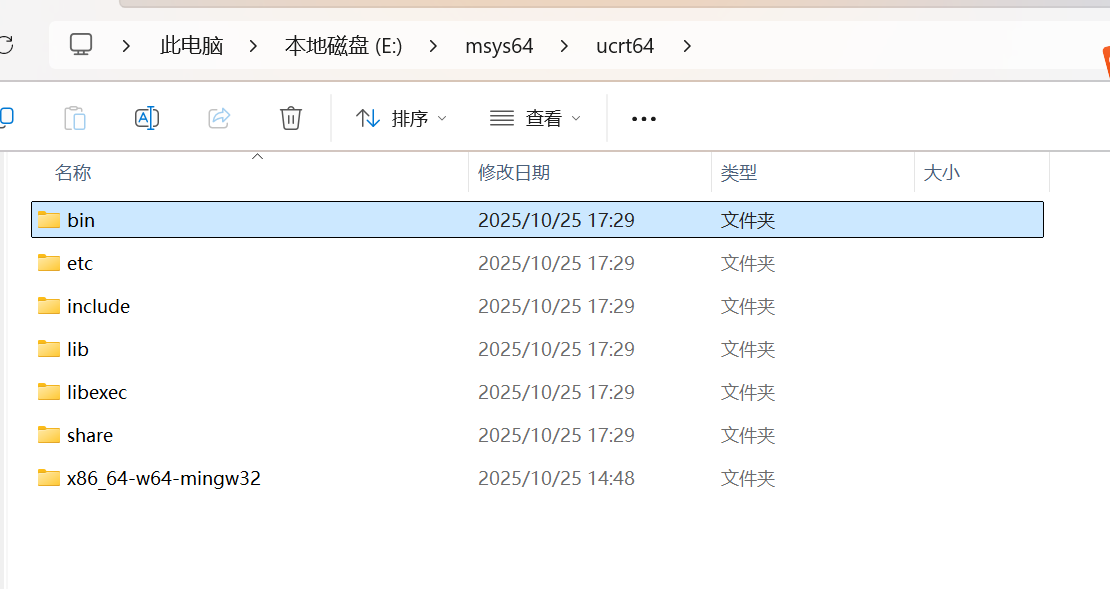
3.安装完成后配置系统环境变量E:\msys64\ucrt64\bin,实际根据自己电脑路径即可。后面VSCode配置json都会用到这个路径。
C单文件调试
目录结构
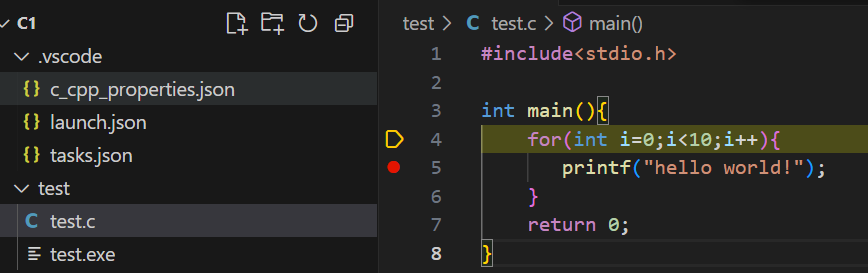
test.c
cpp
#include<stdio.h>

int main(){
    for(int i=0;i<10;i++){
       printf("hello world!");
    }
    return 0;
}
.vscode配置
ctrl+shift+p:快速配置

c_cpp_properties.json
cpp
{
    "configurations": [
        {
            "name": "Win32",
            "includePath": [
                "${workspaceFolder}/**"
            ],
            "defines": [
                "_DEBUG",
                "UNICODE",
                "_UNICODE"
            ],
            "windowsSdkVersion": "10.0.22621.0",
            "compilerPath": "E:\\msys64\\ucrt64\\bin\\gcc.exe",
            "cStandard": "c17",
            "cppStandard": "c++17",
            "intelliSenseMode": "gcc-x64"
        },
        {
            "name": "C++",
            "includePath": [
                "${workspaceFolder}/**"
            ],
            "defines": [
                "_DEBUG",
                "UNICODE",
                "_UNICODE"
            ],
            "windowsSdkVersion": "10.0.22621.0",
            "compilerPath": "E:\\msys64\\ucrt64\\bin\\g++.exe",
            "cStandard": "c17",
            "cppStandard": "c++17",
            "intelliSenseMode": "gcc-x64"
        }
    ],
    "version": 4
}
launch.json
cpp
{
    "version": "0.2.0",
    "configurations": [
        {
            "name": "(gdb) 启动",
            "type": "cppdbg",
            "request": "launch",
            // 1. 修正程序路径:使其与 tasks.json 的输出("-o")一致
            "program": "${fileDirname}\\${fileBasenameNoExtension}.exe",
            "args": [],
            "stopAtEntry": false,
            "cwd": "${fileDirname}",
            "environment": [],
            "externalConsole": false,
            "MIMode": "gdb",
            "miDebuggerPath": "E:\\msys64\\ucrt64\\bin\\gdb.exe",
            // 2. 添加 preLaunchTask:告诉调试器在启动前先运行哪个构建任务
            //    这个值必须与 tasks.json 里的 "label" 一致
            "preLaunchTask": "C/C++: gcc.exe build active file",
            "setupCommands": [
                {
                    "description": "为 gdb 启用整齐打印",
                    "text": "-enable-pretty-printing",
                    "ignoreFailies": true
                },
                {
                    "description": "将反汇编风格设置为 Intel",
                    "text": "-gdb-set disassembly-flavor intel",
                    "ignoreFailures": true
                }
            ]
        }
    ]
}
tasks.json
cpp
{
	"version": "2.0.0",
	"tasks": [
		{
			"type": "cppbuild",
			"label": "C/C++: gcc.exe build active file",
			"command": "E:\\msys64\\ucrt64\\bin\\gcc.exe",
			"args": [
				"-fdiagnostics-color=always",
				"-g",
				"${file}",
				"-o",
				"${fileDirname}\\${fileBasenameNoExtension}.exe"
			],
			"options": {
				"cwd": "${fileDirname}",
				"env": {
					// 添加这个env块,把gcc的路径加到PATH里
					"PATH": "E:\\msys64\\ucrt64\\bin;${env:PATH}"
				}
			},
			"problemMatcher": [
				"$gcc"
			],
			"group": {
				"kind": "build",
				"isDefault": true // 将其设为默认构建任务
			},
			"detail": "compiler: E:\\msys64\\ucrt64\\bin\\gcc.exe"
		}
	]
}
C多文件调试
目录结构
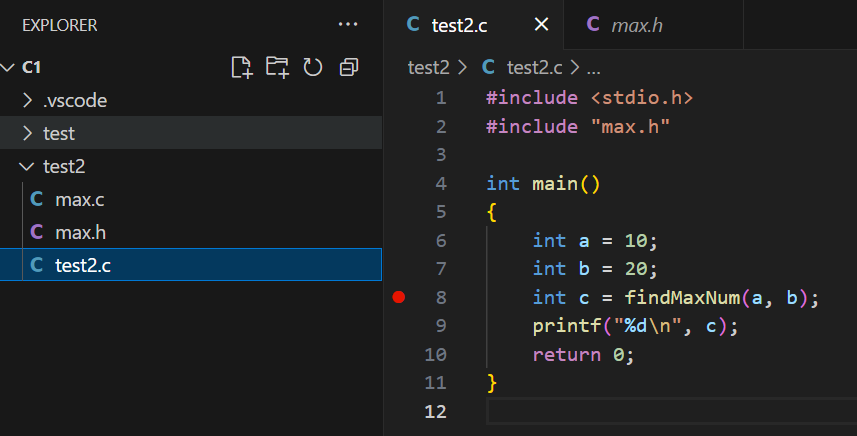
max.h
cpp
#ifndef __MAX_H__
#define __MAX_H__
#include <stdio.h>

int findMaxNum(int num1, int num2);

#endif // __MAX_H__
max.c
cpp
#include "max.h"

int findMaxNum(int num1, int num2)
{
    return num1 > num2 ? num1 : num2;
}
test2.c
cpp
#include <stdio.h>
#include "max.h"

int main()
{
    int a = 10;
    int b = 20;
    int c = findMaxNum(a, b);
    printf("%d\n", c);
    return 0;
}
.vscode配置
c_cpp_properties.json不变
launch.json
cpp
{
    "version": "0.2.0",
    "configurations": [
        {
            "name": "(gdb) 启动",
            "type": "cppdbg",
            "request": "launch",
            // 1. 核心修改:程序路径必须与 tasks.json 的 "-o" 输出路径一致
            "program": "${fileDirname}\\${workspaceRootFolderName}.exe",
            "args": [],
            "stopAtEntry": false,
            "cwd": "${fileDirname}",
            "environment": [],
            "externalConsole": false,
            "MIMode": "gdb",
            "miDebuggerPath": "E:\\msys64\\ucrt64\\bin\\gdb.exe",
            // 2. 核心修改:preLaunchTask 必须与 tasks.json 的 "label" 一致
            "preLaunchTask": "C/C++: gcc.exe build project",
            "setupCommands": [
                {
                    "description": "为 gdb 启用整齐打印",
                    "text": "-enable-pretty-printing",
                    "ignoreFailies": true
                },
                {
                    "description": "将反汇编风格设置为 Intel",
                    "text": "-gdb-set disassembly-flavor intel",
                    "ignoreFailures": true
                }
            ]
        }
    ]
}
tasks.json
cpp
{
	"version": "2.0.0",
	"tasks": [
		{
			"type": "cppbuild",
			// 1. (可选) 更改标签名称,使其更清晰
			"label": "C/C++: gcc.exe build project",
			"command": "E:\\msys64\\ucrt64\\bin\\gcc.exe",
			"args": [
				"-fdiagnostics-color=always",
				"-g",
				// 2. 核心修改:编译当前目录下所有的 .c 文件
				"${fileDirname}\\*.c",
				"-o",
				// 3. 核心修改:输出一个固定的可执行文件名,例如 "C1.exe"
				"${fileDirname}\\${workspaceRootFolderName}.exe"
			],
			"options": {
				"cwd": "${fileDirname}",
				"env": {
					"PATH": "E:\\msys64\\ucrt64\\bin;${env:PATH}"
				}
			},
			"problemMatcher": [
				"$gcc"
			],
			"group": {
				"kind": "build",
				"isDefault": true
			},
			"detail": "compiler: E:\\msys64\\ucrt64\\bin\\gcc.exe"
		}
	]
}
C++单文件调试
目录结构
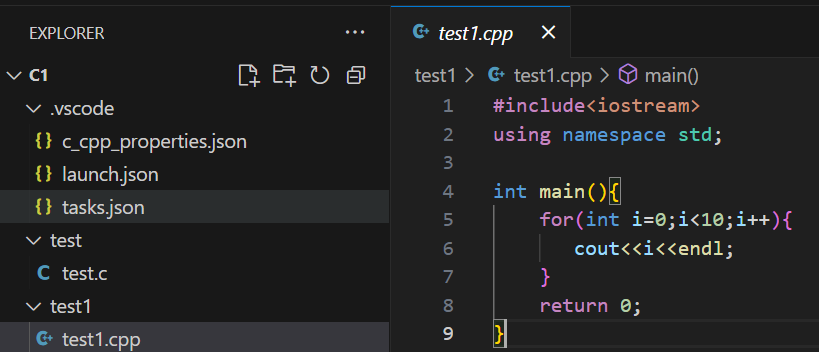
test1.cpp
cpp
#include<iostream>
using namespace std;

int main(){
    for(int i=0;i<10;i++){
       cout<<i<<endl;
    }
    return 0;
}
.vscode配置
c_cpp_properties.json不变
launch.json
cpp
{
    "version": "0.2.0",
    "configurations": [
        {
            // 1. (可选) 修改 name
            "name": "(gdb) C++ 启动",
            "type": "cppdbg",
            "request": "launch",
            // 2. 修改 program 路径,匹配 tasks.json 的输出
            "program": "${fileDirname}\\${fileBasenameNoExtension}.exe",
            "args": [],
            "stopAtEntry": false,
            "cwd": "${fileDirname}",
            "environment": [],
            "externalConsole": false,
            "MIMode": "gdb",
            "miDebuggerPath": "E:\\msys64\\ucrt64\\bin\\gdb.exe",
            // 3. 修改 preLaunchTask,匹配 tasks.json 的 label
            "preLaunchTask": "C/C++: g++.exe build active file",
            "setupCommands": [
                {
                    "description": "为 gdb 启用整齐打印",
                    "text": "-enable-pretty-printing",
                    "ignoreFailies": true
                },
                {
                    "description": "将反汇编风格设置为 Intel",
                    "text": "-gdb-set disassembly-flavor intel",
                    "ignoreFailures": true
                }
            ]
        }
    ]
}
tasks.json
cpp
{
"version": "2.0.0",
"tasks": [
{
"type": "cppbuild",
// 1. 修改 label
"label": "C/C++: g++.exe build active file",
// 2. 修改 command 为 g++.exe
"command": "E:\\msys64\\ucrt64\\bin\\g++.exe",
"args": [
"-fdiagnostics-color=always",
"-g",
// 3. 修改 args,编译当前文件
"${file}",
"-o",
// 4. 修改输出,基于当前文件名
"${fileDirname}\\${fileBasenameNoExtension}.exe"
],
"options": {
"cwd": "${fileDirname}",
"env": {
"PATH": "E:\\msys64\\ucrt64\\bin;${env:PATH}"
}
},
"problemMatcher": [
"$gcc" // $gcc 格式器同样适用于 g++
],
"group": {
"kind": "build",
"isDefault": true
},
// 5. (可选) 修改 detail
"detail": "compiler: E:\\msys64\\ucrt64\\bin\\g++.exe"
}
]
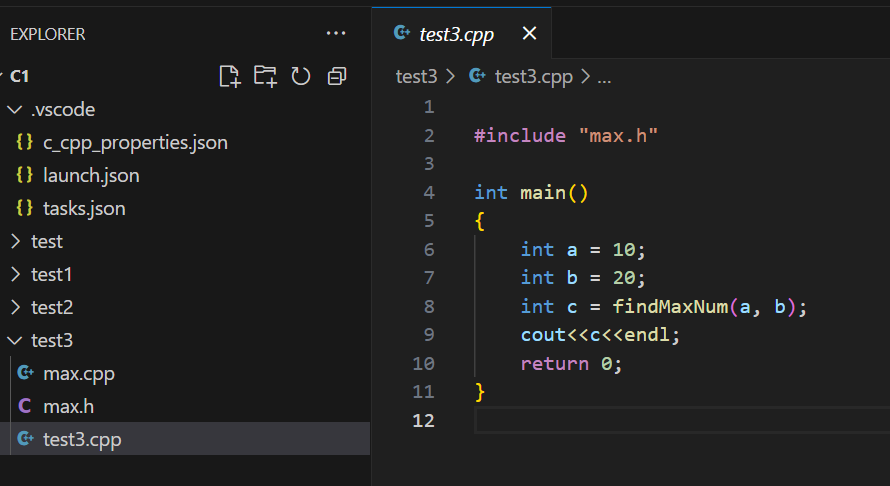
}C++多文件调试
配置主要就是把gcc改成g++
目录结构
max.h
cpp
#ifndef __MAX_H__
#define __MAX_H__
#include<iostream>
using namespace std;

int findMaxNum(int num1, int num2);

#endif // __MAX_H__
max.cpp
cpp
#include "max.h"

int findMaxNum(int num1, int num2)
{
    return num1 > num2 ? num1 : num2;
}
test3.cpp
cpp
#include "max.h"

int main()
{
    int a = 10;
    int b = 20;
    int c = findMaxNum(a, b);
    cout<<c<<endl;
    return 0;
}
.vscode配置
c_cpp_properties.json不变
launch.json
cpp
{
    "version": "0.2.0",
    "configurations": [
        {
            "name": "(gdb) C++ 启动", // 你可以保留之前的名字
            "type": "cppdbg",
            "request": "launch",
            // 1. 核心修改:程序路径必须与 tasks.json 的 "-o" 输出路径一致
            "program": "${fileDirname}\\${workspaceRootFolderName}.exe",
            "args": [],
            "stopAtEntry": false,
            "cwd": "${fileDirname}",
            "environment": [],
            "externalConsole": false,
            "MIMode": "gdb",
            "miDebuggerPath": "E:\\msys64\\ucrt64\\bin\\gdb.exe",
            // 2. 核心修改:preLaunchTask 必须与 tasks.json 的 "label" 一致
            "preLaunchTask": "C/C++: g++.exe build project",
            "setupCommands": [
                {
                    "description": "为 gdb 启用整齐打印",
                    "text": "-enable-pretty-printing",
                    "ignoreFailies": true
                },
                {
                    "description": "将反汇编风格设置为 Intel",
                    "text": "-gdb-set disassembly-flavor intel",
                    "ignoreFailures": true
                }
            ]
        }
    ]
}
tasks.json
cpp
{
"version": "2.0.0",
"tasks": [
{
"type": "cppbuild",
// 1. 修改 label
"label": "C/C++: g++.exe build project",
"command": "E:\\msys64\\ucrt64\\bin\\g++.exe",
"args": [
"-fdiagnostics-color=always",
"-g",
// 2. 核心修改:编译当前目录下所有的 .cpp 文件
"${fileDirname}\\*.cpp",
"-o",
// 3. 核心修改:输出一个固定的可执行文件名
"${fileDirname}\\${workspaceRootFolderName}.exe"
],
"options": {
"cwd": "${fileDirname}",
"env": {
"PATH": "E:\\msys64\\ucrt64\\bin;${env:PATH}"
}
},
"problemMatcher": [
"$gcc"
],
"group": {
"kind": "build",
"isDefault": true
},
"detail": "compiler: E:\\msys64\\ucrt64\\bin\\g++.exe"
}
]
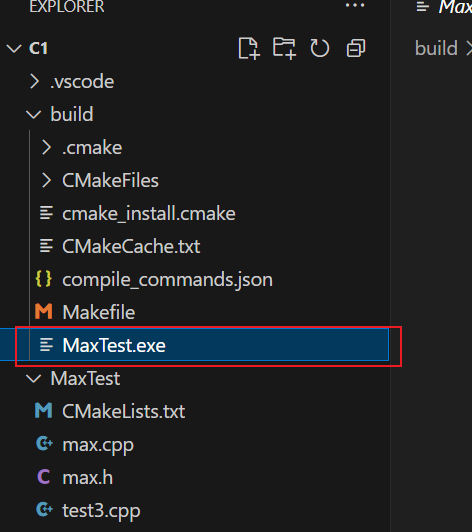
}用CMake构建程序调试
这是管理 C/C++ 项目的标准方式,一旦配置好,它会比 tasks.json 自动化得多,并且在所有平台上(Windows, Linux, macOS)都能工作。以下是在 VSCode 中使用 CMake 自动化编译 test3.cpp, max.cpp 和 max.h 的完整步骤。
完整步骤
第 1 步:安装必备工具
安装 CMake: 你正在使用 MSYS2,可以直接用 pacman 安装 CMake。
- Bash
plain
# 打开你的 MSYS2 UCRT64 终端
pacman -S mingw-w64-ucrt-x86_64-cmake- 安装 VSCode 插件:
- 在 VSCode 中,安装 Microsoft 官方的 CMake Tools 插件。这是在 VSCode 中无缝使用 CMake 的关键,前面装了C/C++的扩展自动会有。
第 2 步:清理旧的 VSCode 配置
CMake 会完全接管编译过程。
- 你可以 删除
**.vscode/tasks.json**文件。你不再需要它了。 - 你需要 **修改 **
**.vscode/launch.json**文件(见第 4 步)。 - c_cpp_properties.json不变
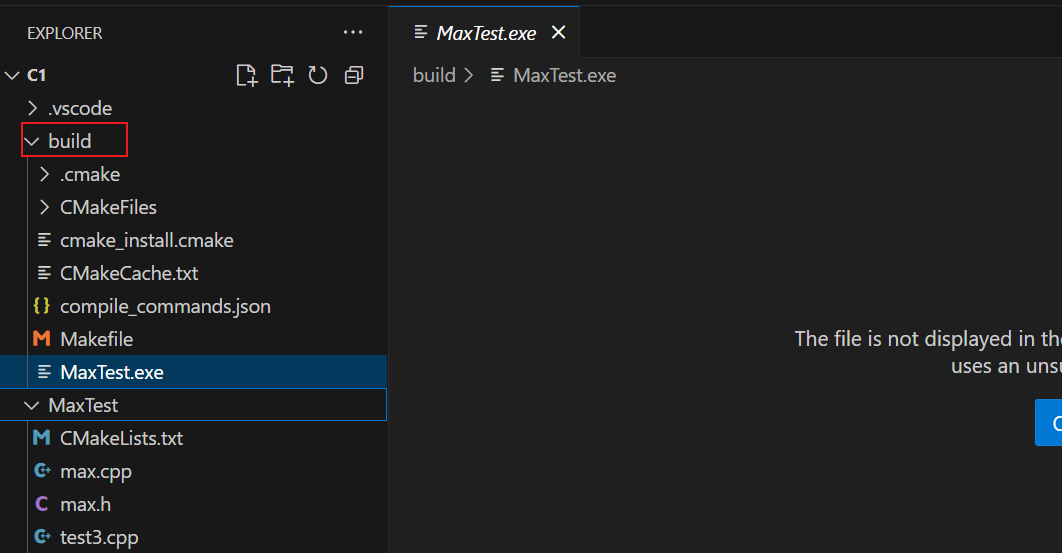
第 3 步:创建 CMakeLists.txt 文件
在你的项目根目录下(与 test3.cpp, max.cpp 和 max.h 放在同一级 ),创建一个名为 CMakeLists.txt 的文件(注意大小写)。
plain
# 设置最低 CMake 版本要求
cmake_minimum_required(VERSION 3.10)

# 设置项目名称 (这也会是你 .exe 文件的默认名称)
# 我根据你的文件名将其命名为 "MaxTest"
project(MaxTest)

# 设置 C++ 标准
set(CMAKE_CXX_STANDARD 17)
set(CMAKE_CXX_STANDARD_REQUIRED True)

# 添加可执行文件
# CMake 会自动从源文件推断并找到 .h 头文件
# 你只需要列出所有的 .cpp 源文件
add_executable(
    ${PROJECT_NAME}  # 目标可执行文件的名字 (即 MaxTest.exe)
    test3.cpp        # 你的 main 文件
    max.cpp          # 其他源文件
)

# 注意:如果你的 .h 文件在单独的 "include" 目录中,
# 你还需要添加 target_include_directories()。
# 但在你的例子中,它们在同一目录,所以不需要。
第 4 步:在 VSCode 中配置和构建
安装好 CMake Tools 插件并创建 CMakeLists.txt 后,重载 VSCode 窗口。
- 配置 (Configure):
- VSCode 的状态栏(底部)现在会显示 CMake 的相关按钮。
- 它可能会弹窗询问 "Would you like to configure...?",点击 "Yes"。
- 它会要求你 "Select a Kit" (选择一个套件)。你应该能看到类似
GCC for ucrt64 ... (E:\msys64\ucrt64\bin\g++.exe)的选项。选择这个 g++.exe 套件。 - 如果没有提示,可以按
Ctrl+Shift+P打开命令面板,输入CMake: Select a Kit来手动选择。如果电脑有多个环境,记得别选错了。
- 构建 (Build):
- 按下
F7(CMake Tools 默认的构建快捷键)。 - 或者,点击状态栏上的 "Build" 按钮。
- CMake 会在你的项目根目录下创建一个
build文件夹,并在里面生成MaxTest.exe。
- 按下
第 5 步:修改 launch.json (用于调试)
现在你需要告诉 VSCode 调试器去哪里找 CMake 生成的 .exe 文件。你不再需要 **preLaunchTask** 了,因为 CMake Tools 插件会确保在调试前自动构建。
**.vscode/launch.json**
plain
{
    "version": "0.2.0",
    "configurations": [
        {
            "name": "(gdb) 启动 (CMake)",
            "type": "cppdbg",
            "request": "launch",

            // 1. 核心修改:程序路径指向 CMake 的构建输出
            // ${PROJECT_NAME} 必须和你 CMakeLists.txt 里的 project() 名称一致
            "program": "${workspaceFolder}/build/MaxTest.exe",

            "args": [],
            "stopAtEntry": false,
            "cwd": "${workspaceFolder}", // 工作目录
            "environment": [],
            "externalConsole": false,
            "MIMode": "gdb",
            "miDebuggerPath": "E:\\msys64\\ucrt64\\bin\\gdb.exe",

            // 2. 核心修改:不再需要 preLaunchTask
            // "preLaunchTask": "..."  <-- 删掉这一行

            "setupCommands": [
                {
                    "description": "为 gdb 启用整齐打印",
                    "text": "-enable-pretty-printing",
                    "ignoreFailures": true
                },
                {
                    "description": "将反汇编风格设置为 Intel",
                    "text": "-gdb-set disassembly-flavor intel",
                    "ignoreFailures": true
                }
            ]
        }
    ]
}
调试 (Debug) :在源代码中打完断点,选中MaxTest.exe按 F5就可以调试了