
目录
[八、绘图 API 概述](#八、绘图 API 概述)
一、概述
⏭️QSS 是仿照 CSS 的引入到 Qt 里面,不过它比 CSS 要简单一些,也能完成许多的工作。如果使用C++代码来设置样式和使用QSS来设置样式产生冲突,此时QSS的优先级更高一些。
⏭️基本语法:
cs
选择器 {
     属性名: 属性值;
}
⏭️选择器:选择某个控件,针对这个控件进行各种属性设置。
⏭️键值对:针对某些样式具体的设置。
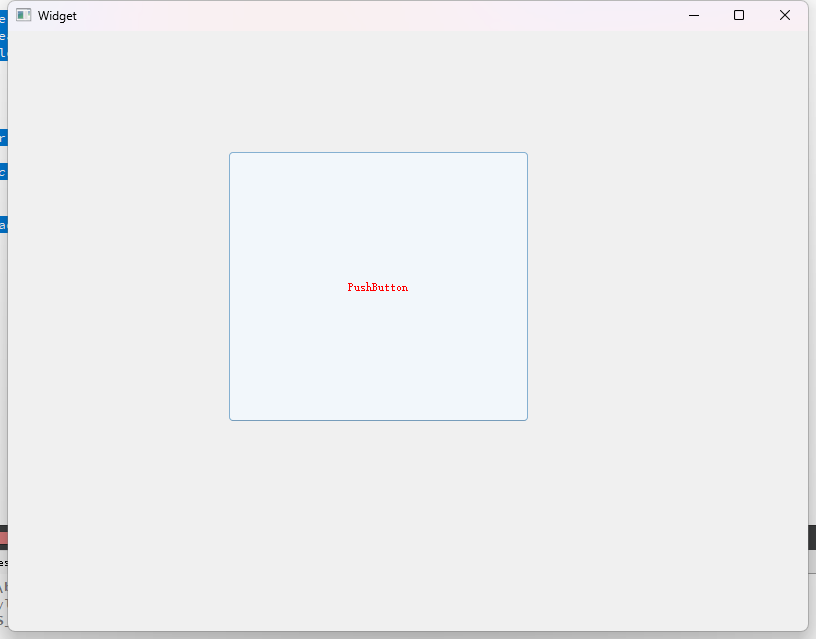
⏭️代码练习:
cpp
#include "widget.h"
#include "ui_widget.h"
Widget::Widget(QWidget *parent)
: QWidget(parent)
, ui(new Ui::Widget)
{
ui->setupUi(this);
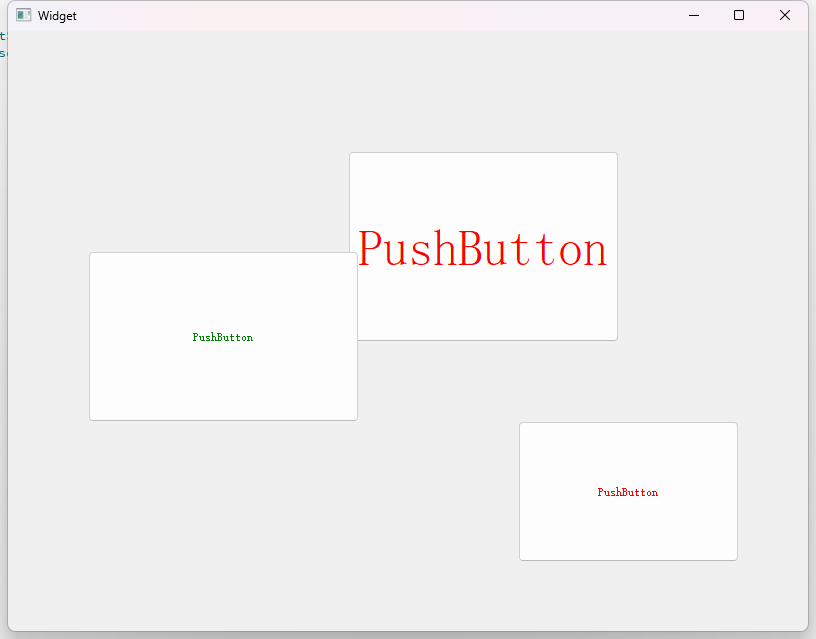
ui->pushButton->setStyleSheet("QPushButton {color:red;}");
}
Widget::~Widget()
{
delete ui;
}
❌️注意:上面实例中我们针对的是这个按钮,所以只会在这个按钮生效,如果我们再拖拽一个按钮进来,此时是不会生效的。如果针对的控件有子控件,子控件也会生效。
二、设置全局样式
⏭️界面上的所有的样式都集中到一起来组织。
⏭️代码实例:
cpp
#include "widget.h"
#include <QApplication>
int main(int argc, char *argv[])
{
QApplication a(argc, argv);
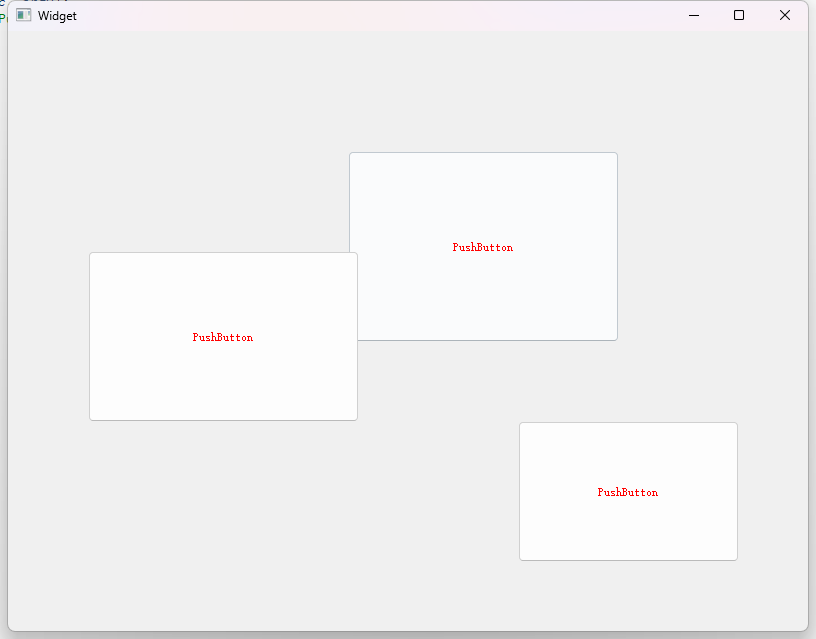
a.setStyleSheet("QPushButton{color:red;}");
Widget w;
w.show();
return a.exec();
}
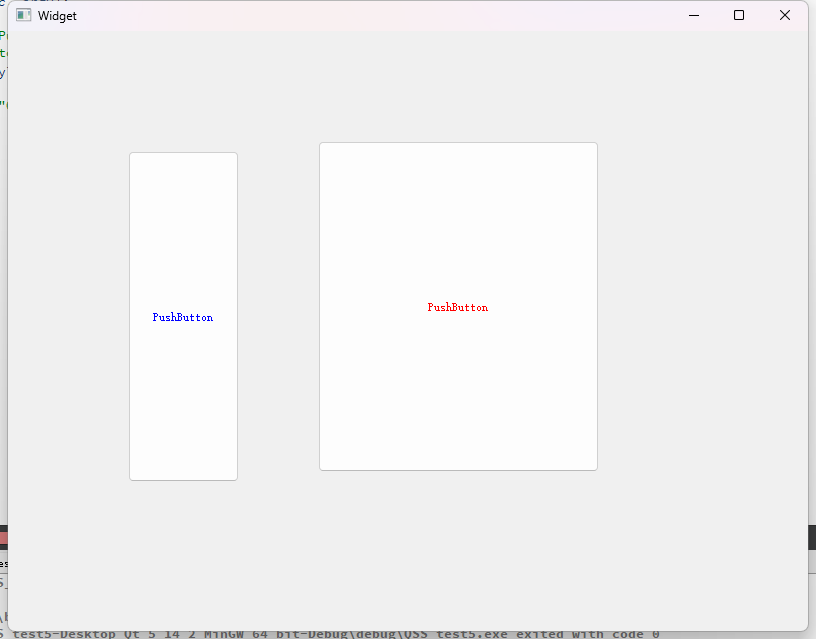
❌️注意:如果设置了全局样式,然后在某个控件里面又设置了其他的样式,此时这两方面的样式会叠加起来。例如:下面的代码实例是基于上面的代码来完成的:
cpp
#include "widget.h"
#include "ui_widget.h"

Widget::Widget(QWidget *parent)
    : QWidget(parent)
    , ui(new Ui::Widget)
{
    ui->setupUi(this);
    ui->pushButton->setStyleSheet("QPushButton{font-size:50px;}");
}

Widget::~Widget()
{
    delete ui;
}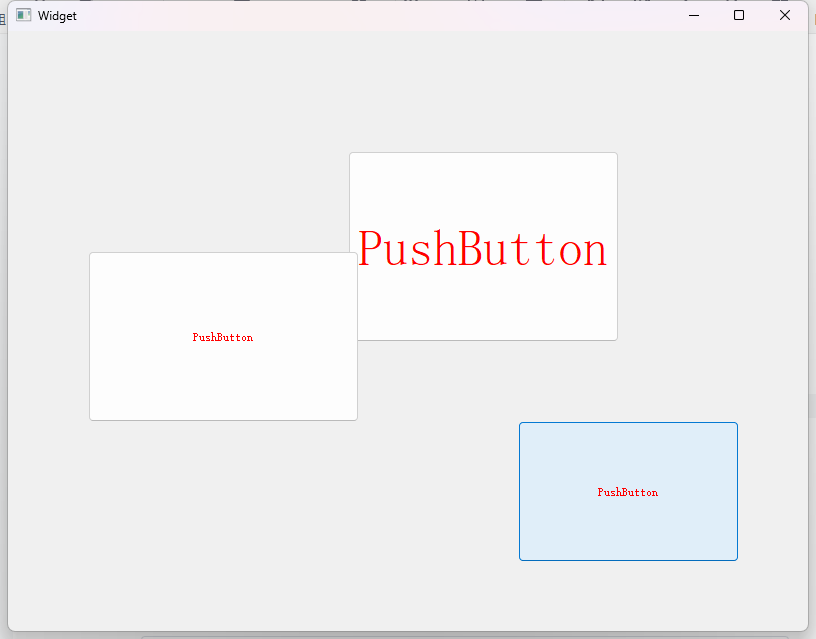
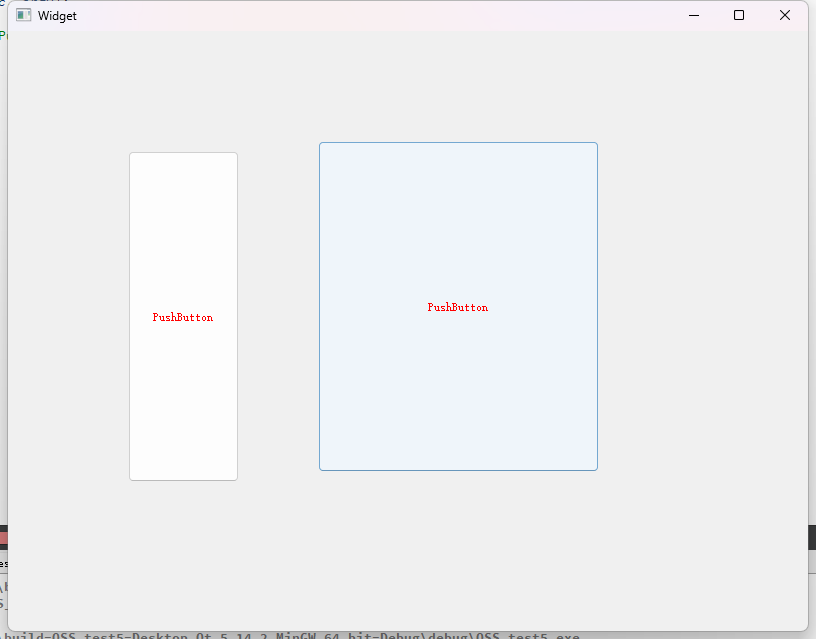
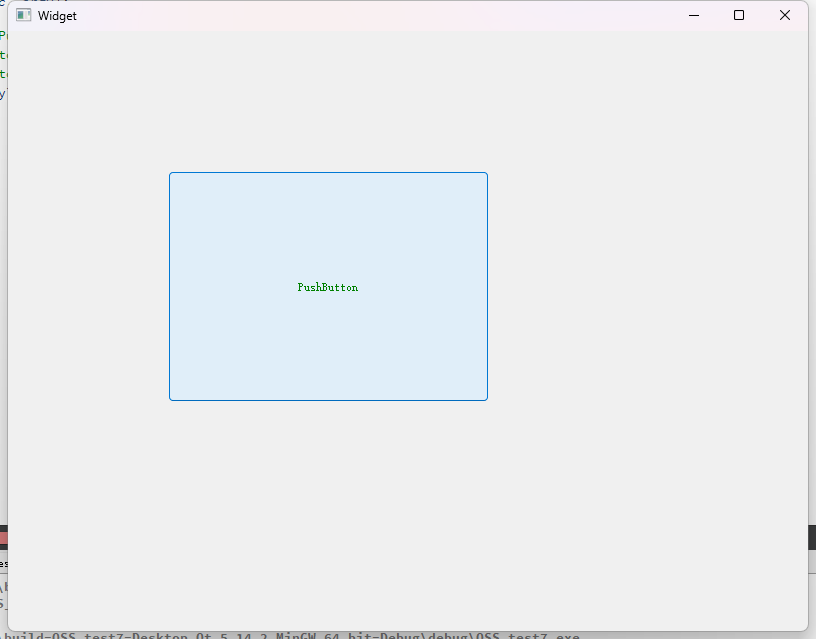
❌️注意:当全局样式和局部样式冲突了,此时局部样式的优先级是高于全局的,会覆盖对于的全局样式,例如:下面的代码也是基于上面的代码来完成的。
cpp
#include "widget.h"
#include "ui_widget.h"
Widget::Widget(QWidget *parent)
: QWidget(parent)
, ui(new Ui::Widget)
{
ui->setupUi(this);
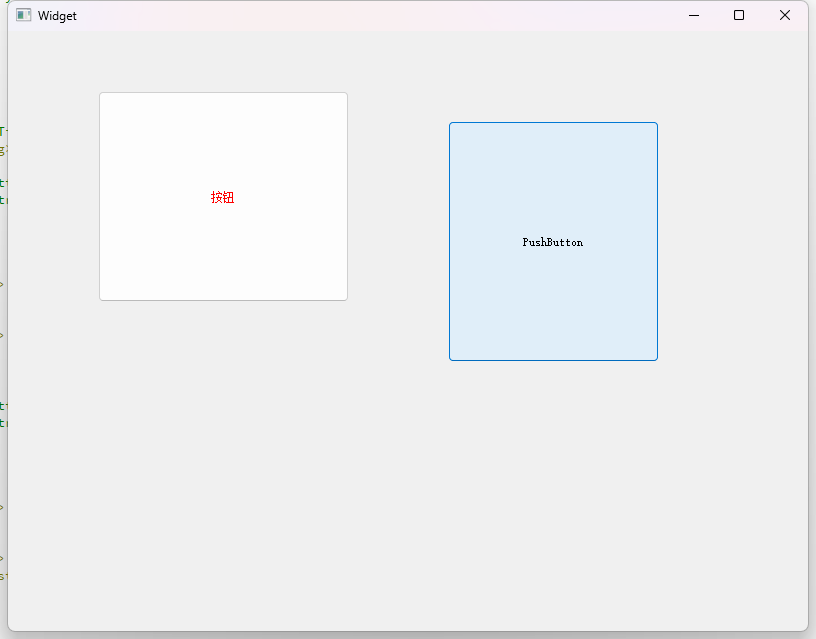
ui->pushButton->setStyleSheet("QPushButton{font-size:50px;}");
ui->pushButton_2->setStyleSheet("QPushButton{color:green;}");
}
Widget::~Widget()
{
delete ui;
}
三、样式代码和C++代码分离
⏭️我们上面把样式代码和C++代码是混合在一起的,如果代码量少这样做也行,但是代码量大的话,此时就需要把样式代码和C++代码进行分离操作的。
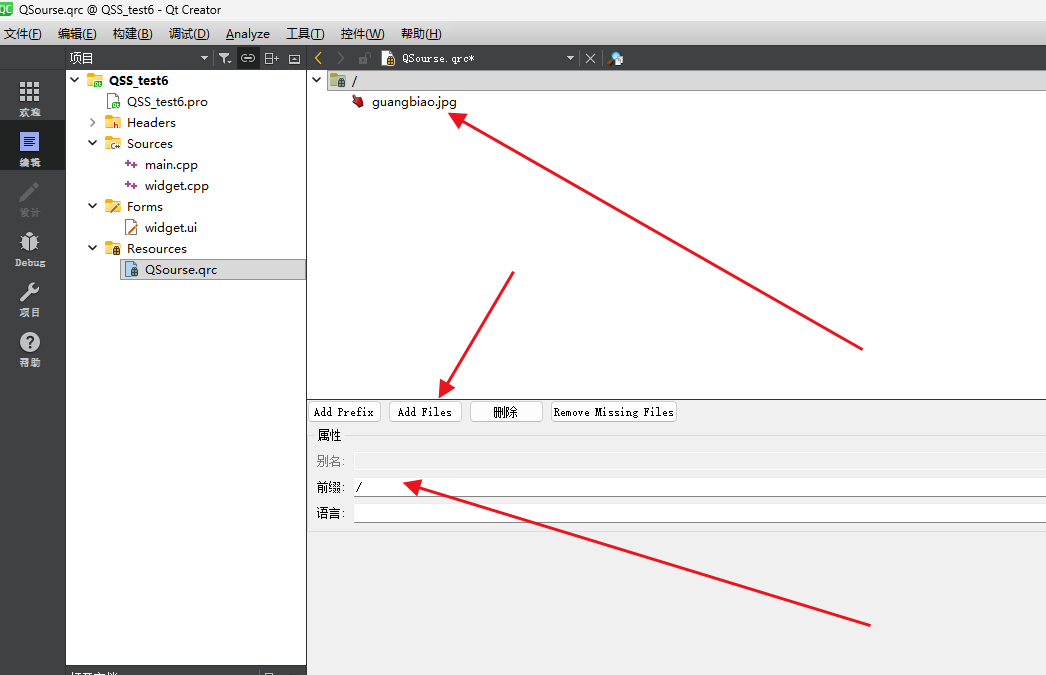
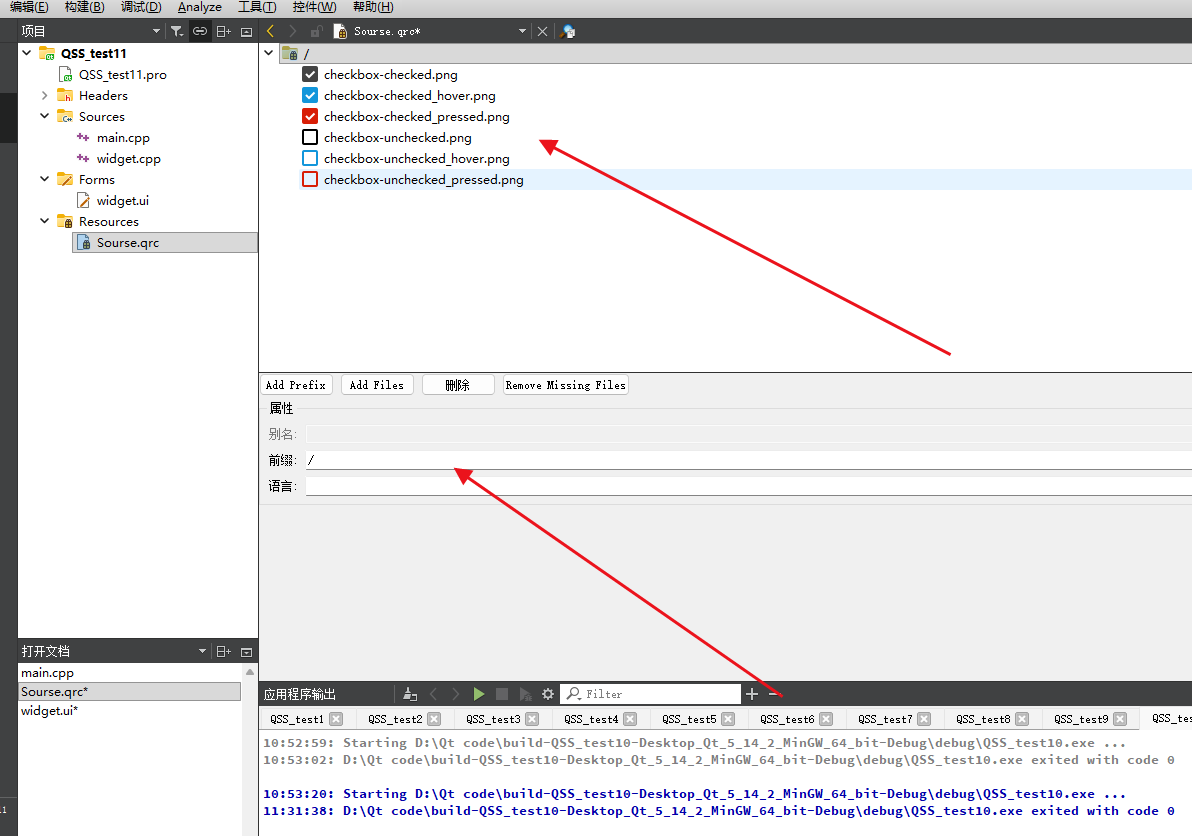
⏭️具体操作:
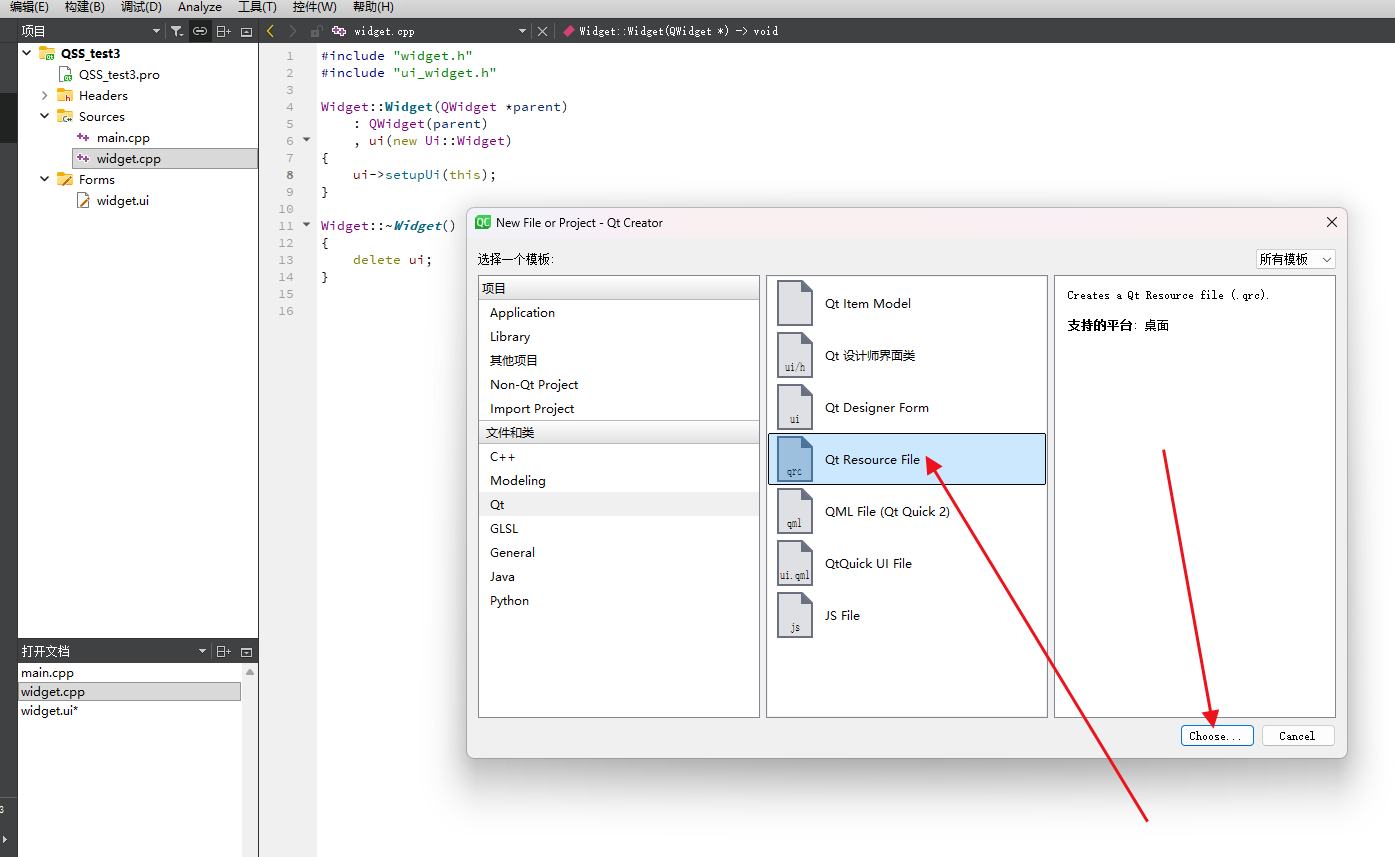
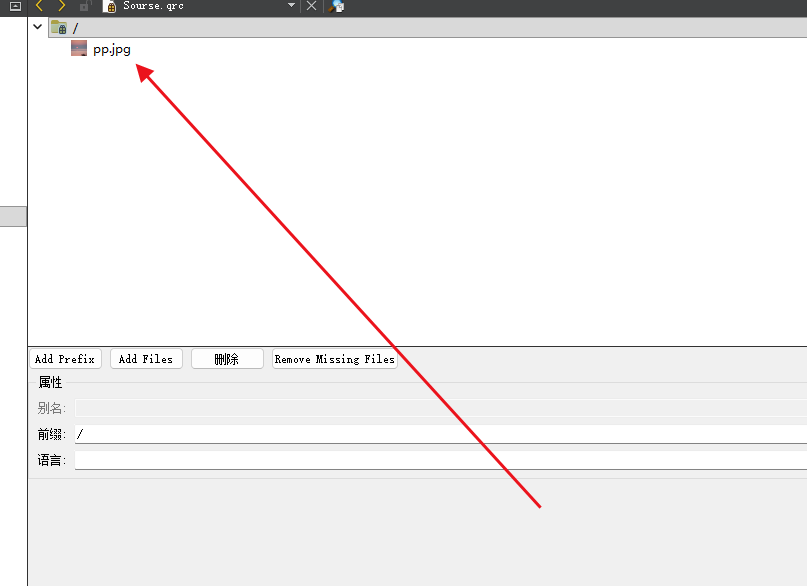
🚩1、创建 qrc 文件,通过 qrc 管理样式文件。
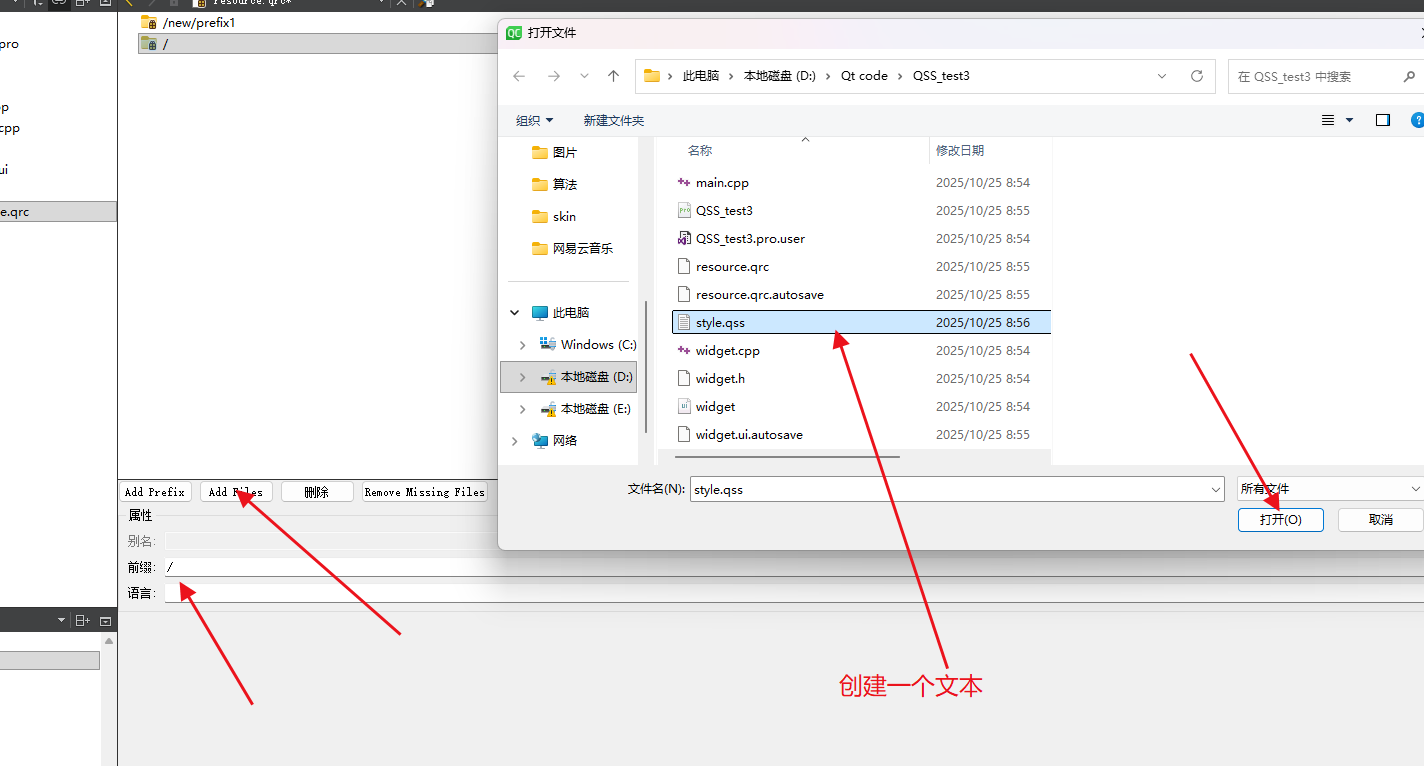
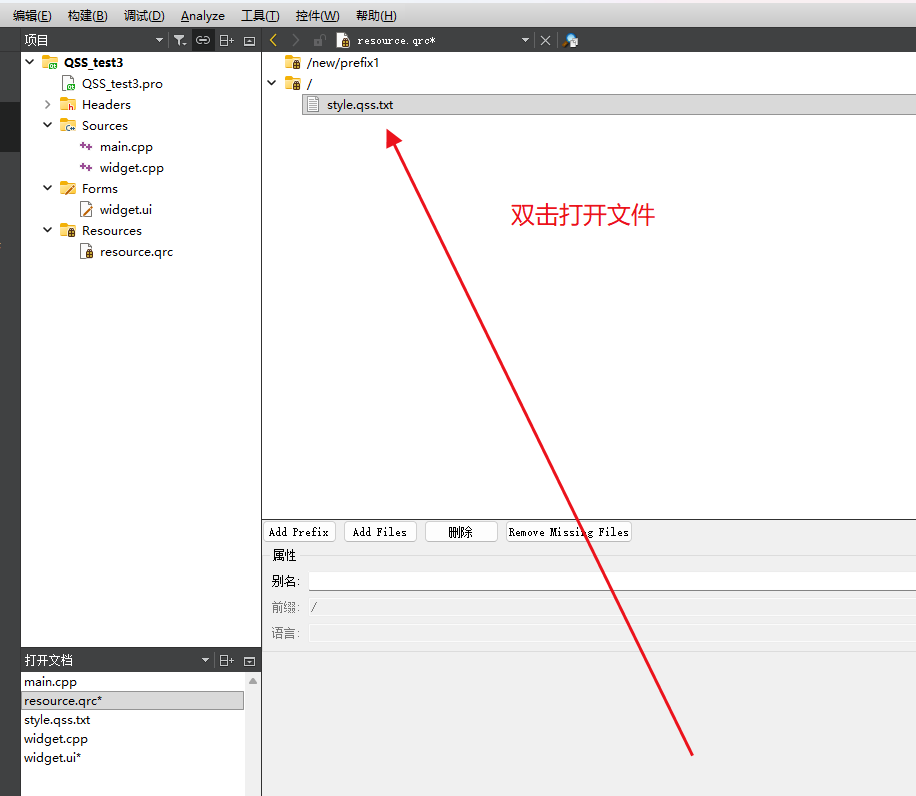
🚩2、编写样式
cpp
#include "widget.h"

#include <QApplication>
#include <QFile>

QString loadQSS()
{
    QFile file(":/style.qss.txt");
    file.open(QFile::ReadOnly);
    QString style = file.readAll();
    file.close();
    return style;
}

int main(int argc, char *argv[])
{
    QApplication a(argc, argv);

    //设置全局样式
    a.setStyleSheet(loadQSS());

    Widget w;
    w.show();
    return a.exec();
}
❌️注意:上面这种方式做个参考就行了,实际开发中还有更简单的方式。
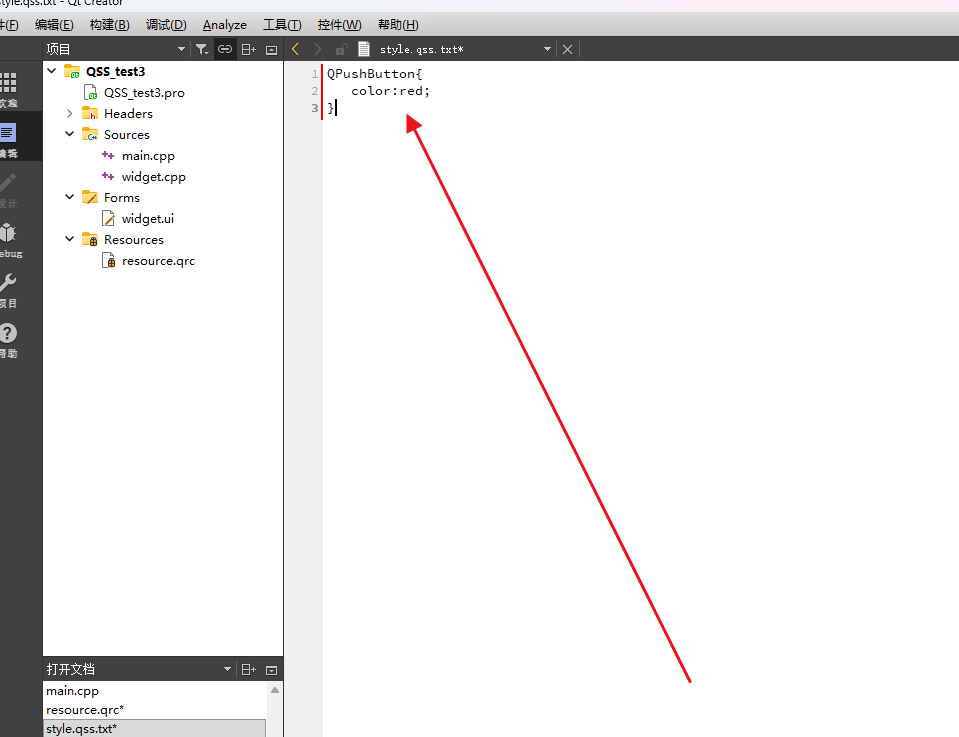
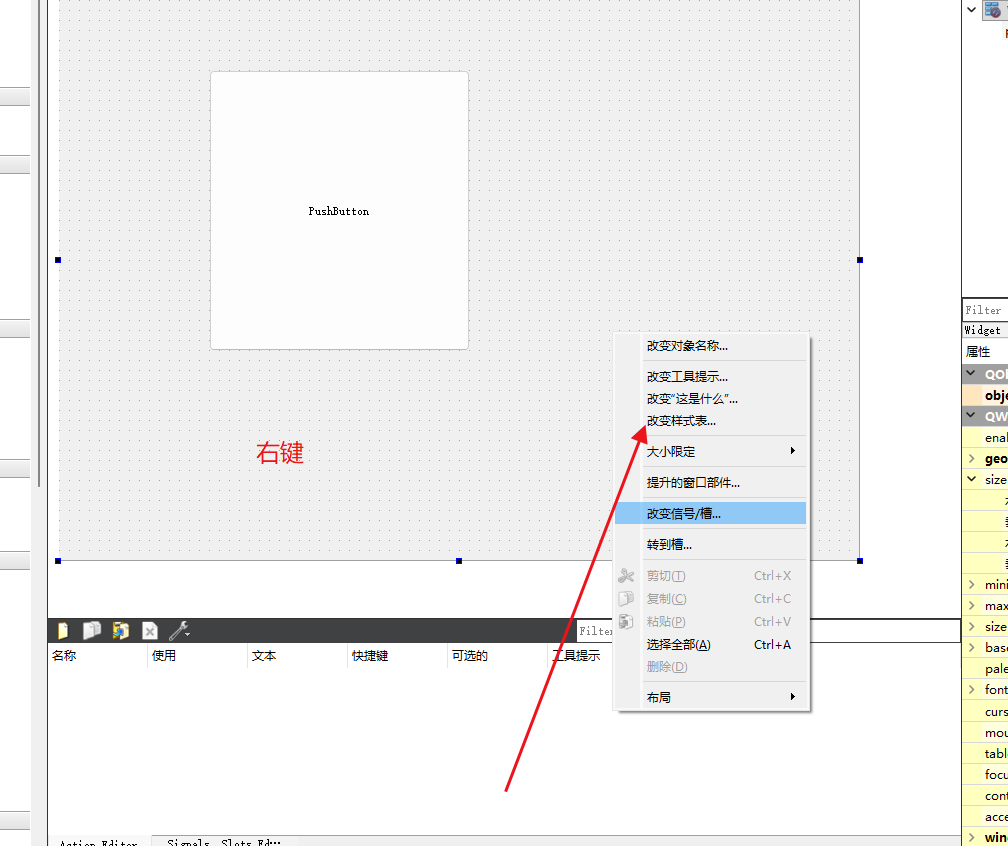
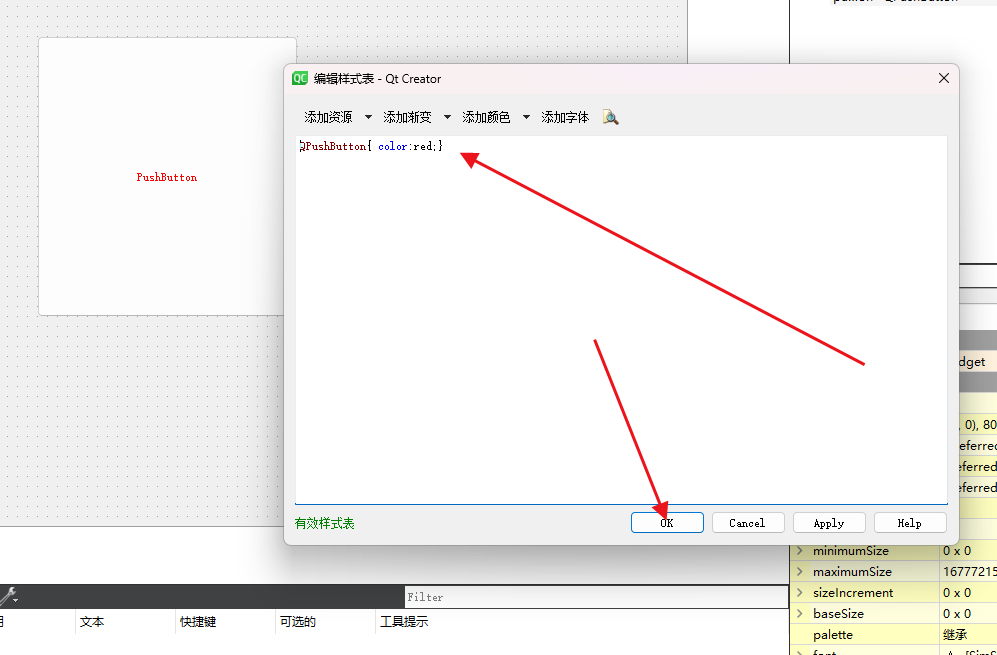
⏭️更简单的方式:
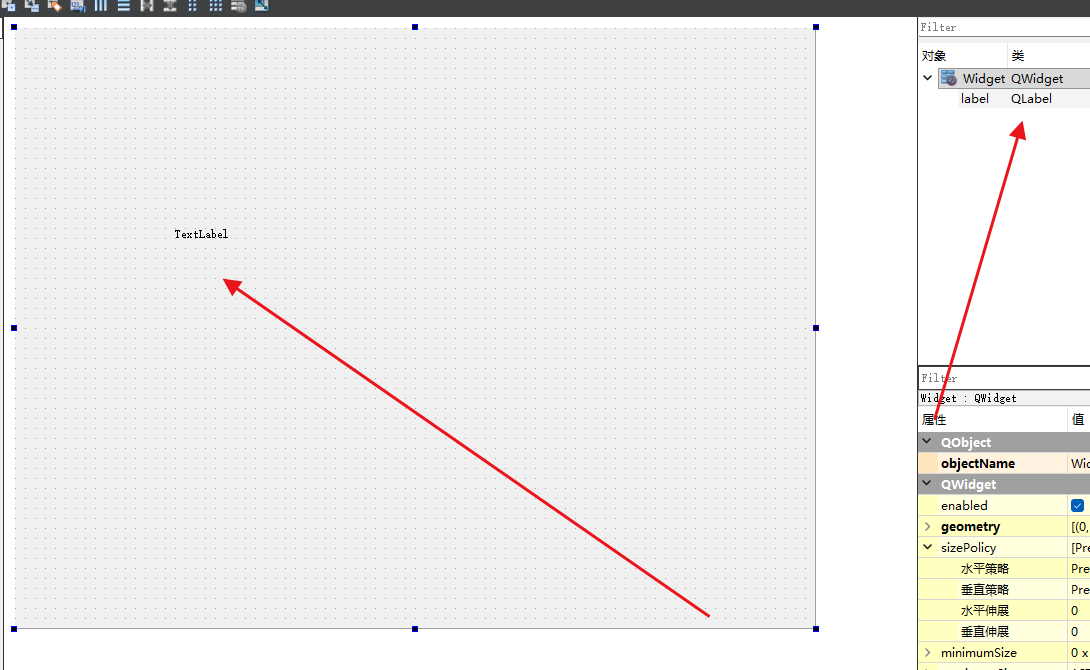
⏭️Qt Designer 中直接集成了这样的功能,允许我们把样式文件直接写到 .ui 文件里面。
四、选择器
⏭️QSS的选择器有以下几种:
|---------------------------|-----------------------------------|--------------------------------------------------------------------|
| 选择器 | 实例 | 说明 |
| 全局选择器 | * | 选择所有的 widget. |
| 类型选择器 (type selector) | QPushButton | 选择所有的 QPushButton 和 其⼦类 的控件. |
| 类选择器 (class selector) | .QPushButton | 选择所有的 QPushButton 的控件. 不会选择⼦ 类. |
| ID 选择器 | #pushButton_2 | 选择 objectName 为 pushButton_2 的控 件. |
| 后代选择器 | QDialog QPushButton | 选择 QDialog 的所有后代(⼦控件, 孙⼦控件等等) 中的 QPushButton. |
| ⼦选择器 | QDialog > QPushButton | 选择 QDialog 的所有⼦控件中的 QPushButton. |
| 并集选择器 | QPushButton, QLineEdit, QComboBox | 选择 QPushButton, QLineEdit, QComboBox 这 三种控件. (即接下来的样式会针对这三种控件都⽣效). |
| 属性选择器 | QPushButtonflat="false" | 选择所有 QPushButton 中, flat 属性为 false 的控 件. |
⏭️大部分我们使用的是三个选择器:类型选择器、ID 选择器、并集选择器。
⏭️类型选择器:
cpp
#include "widget.h"

#include <QApplication>

int main(int argc, char *argv[])
{
    QApplication a(argc, argv);

    a.setStyleSheet("QPushButton{color:red;}");//类型选择器:只要是QPushButton类型的都会生效

    Widget w;
    w.show();
    return a.exec();
}
⏭️ID 选择器:
cpp
#include "widget.h"

#include <QApplication>

int main(int argc, char *argv[])
{
    QApplication a(argc, argv);

    QString style = "QPushButton{color:red;}";
    style += "#pushButton_2{color:blue;}";//ID选择器
    a.setStyleSheet(style);

    Widget w;
    w.show();
    return a.exec();
}
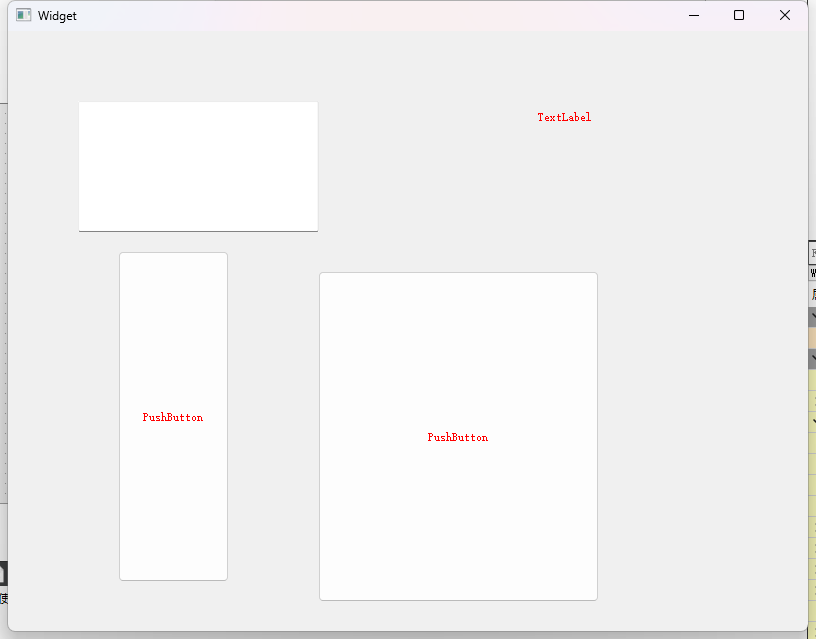
⏭️并集选择器:
cpp
#include "widget.h"

#include <QApplication>

int main(int argc, char *argv[])
{
    QApplication a(argc, argv);

    QString style = "QPushButton,QLineEdit,QLabel{color:red;}";
    a.setStyleSheet(style);
    Widget w;
    w.show();
    return a.exec();
}
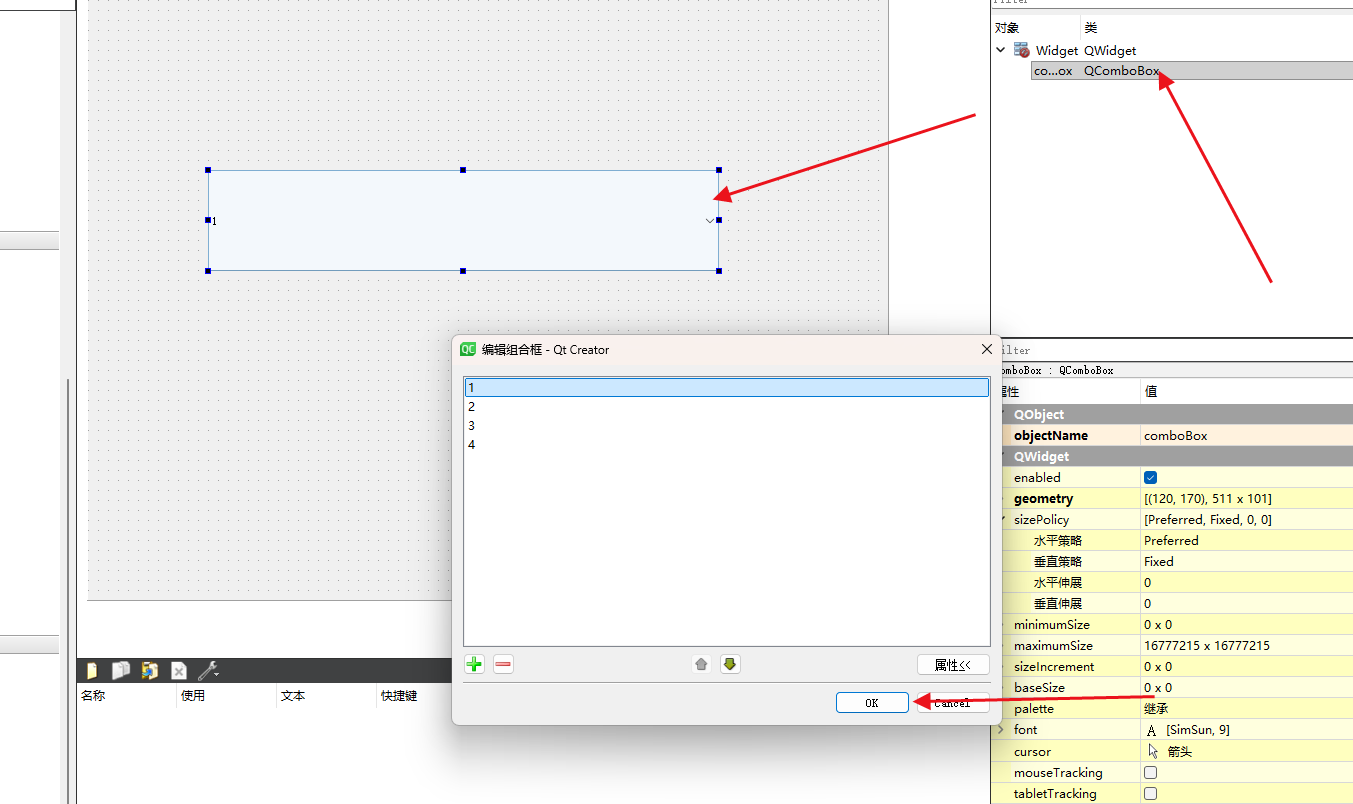
五、子控件选择器
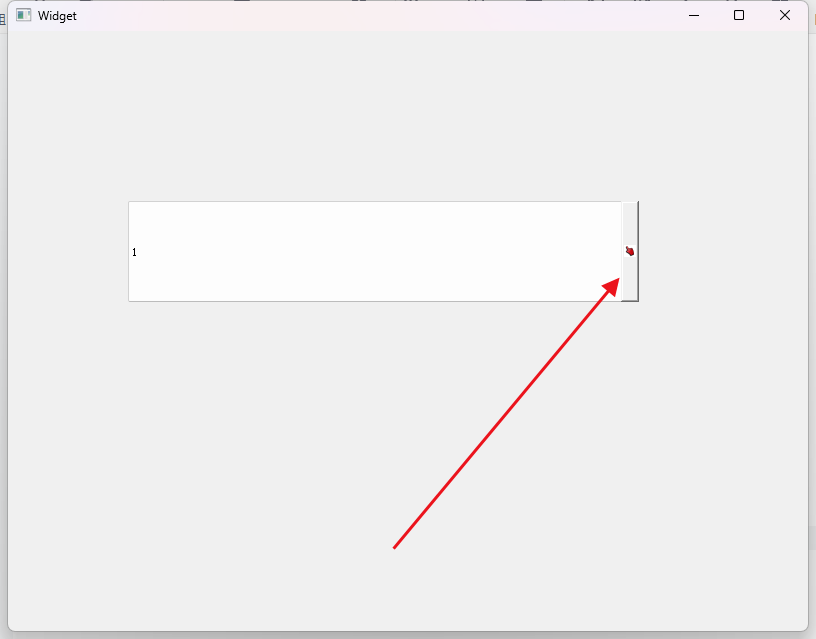
⏭️有些控件内部包含了多个 "⼦控件"。 比如: QComboBox 的下拉后的⾯板,比如: QSpinBox 的上下按钮等。可以通过⼦控件选择器 :: ,针对上述⼦控件进⾏样式设置。
⏭️代码练习:给ComboBox的下拉后的面板设置成其他的图片:
cpp
#include "widget.h"

#include <QApplication>

int main(int argc, char *argv[])
{
    QApplication a(argc, argv);

    QString style = "QComboBox::down-arrow{image:url(:/guangbiao.jpg);}";
    a.setStyleSheet(style);

    Widget w;
    w.show();
    return a.exec();
}
六、伪类选择器
⏭️我们前面介绍的选择器都是选中控件,而伪类选择器选中的是控件的状态。
⏭️常用的伪类选择器:
|------------|-----------|
| 伪类选择器 | 说明 |
| :hover | ⿏标放到控件上 |
| :pressed | ⿏标左键按下时 |
| :focus | 获取输⼊焦点时 |
| :enabled | 元素处于可⽤状态时 |
| :checked | 被勾选时 |
| :read-only | 元素为只读状态时 |
❌️注意:如果在这些伪类选择器冒号前面加上!,代码代表着相反的状态。
⏭️代码练习:
cpp
#include "widget.h"

#include <QApplication>

int main(int argc, char *argv[])
{
    QApplication a(argc, argv);

    QString style = "QPushButton{color:red;}";//默认是红色
    style += "QPushButton:hover{color:green;}";//鼠标放到按钮上面是绿色
    style += "QPushButton:pressed{color:blue;}";//鼠标按下去的蓝色
    a.setStyleSheet(style);

    Widget w;
    w.show();
    return a.exec();
}
七、样式属性
⏭️ Qt 中的样式属性是非常多的,背下来肯定是不可能的,所以不会就去查文档,我们翻阅文档时看到一个 box model ,他是一个盒子模型,来自CSS。
⏭️box model 图片:
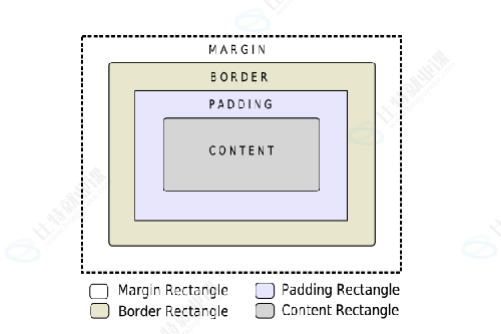
⏭️⼀个遵守盒模型的控件,由上述几个部分构成.
🚩• Content 矩形区域: 存放控件内容。⽐如包含的⽂本/图标等.
🚩• Border 矩形区域: 控件的边框.
🚩• Padding 矩形区域: 内边距. 边框和内容之间的距离.
🚩• Margin 矩形区域: 外边距. 边框到控件 geometry 返回的矩形边界的距离 默认情况下, 外边距, 内边距, 边框宽度都是 0。
⏭️具体解析:例如房子墙的厚度是边框,房子和房子之间的距离就是外边框,内边距就是房子里面的物品和墙之间的距离。
⏭️可以通过⼀些 QSS 属性来设置上述的边距和边框的样式:
|--------------|-----------------------------------------------------|
| QSS属性 | 说明 |
| margin | 设置四个⽅向的外边距. 复合属性. |
| padding | 设置四个⽅向的内边距. 复合属性. |
| border-style | 设置边框样式 |
| border-width | 边框的粗细 |
| border-color | 边框的颜⾊ |
| border | 复合属性,相当于 border-style + border-width + border-color |
❌️注意:复合属性:例如:margin 可以分成四个属性:margin-right 、margin-left、margin-top、margin-bottom。
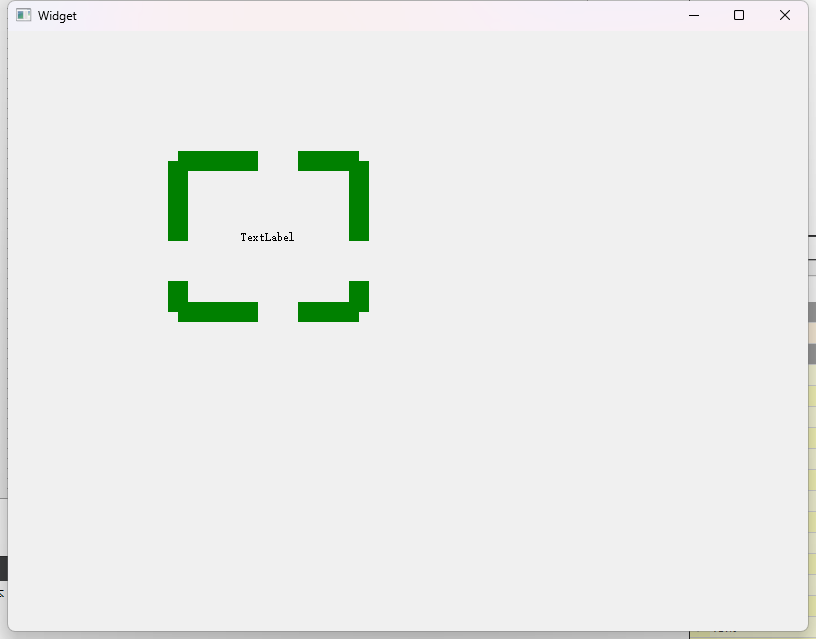
⏭️代码练习1:
cpp
#include "widget.h"

#include <QApplication>

int main(int argc, char *argv[])
{
    QApplication a(argc, argv);

    QString style = "QLabel{border:20px dashed green;padding-left:50px;}";
    a.setStyleSheet(style);
    Widget w;
    w.show();
    return a.exec();
}
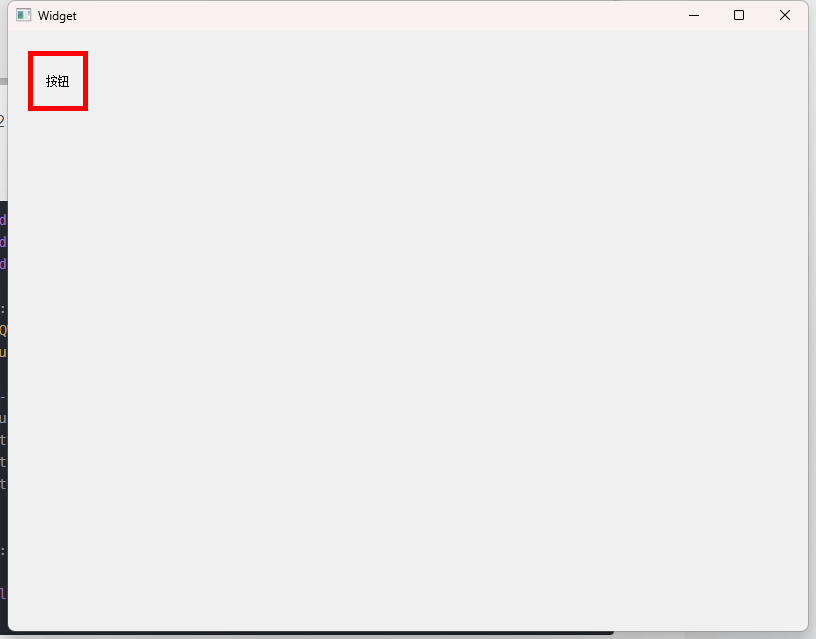
⏭️代码练习2:
cpp
#include "widget.h"
#include "ui_widget.h"
#include <QPushButton>
Widget::Widget(QWidget *parent)
: QWidget(parent)
, ui(new Ui::Widget)
{
ui->setupUi(this);
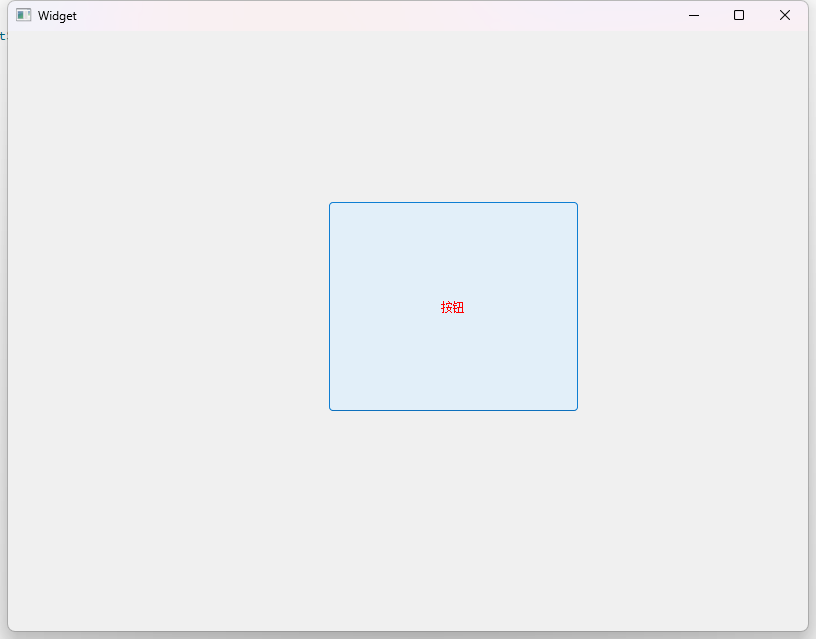
QPushButton* button = new QPushButton(this);
button->setGeometry(0,0,100,100);
button->setText("按钮");
button->setStyleSheet("QPushButton{border:5px solid red; margin:20px;}");
}
Widget::~Widget()
{
delete ui;
}
1)给按钮设置样式
⏭️代码实例:
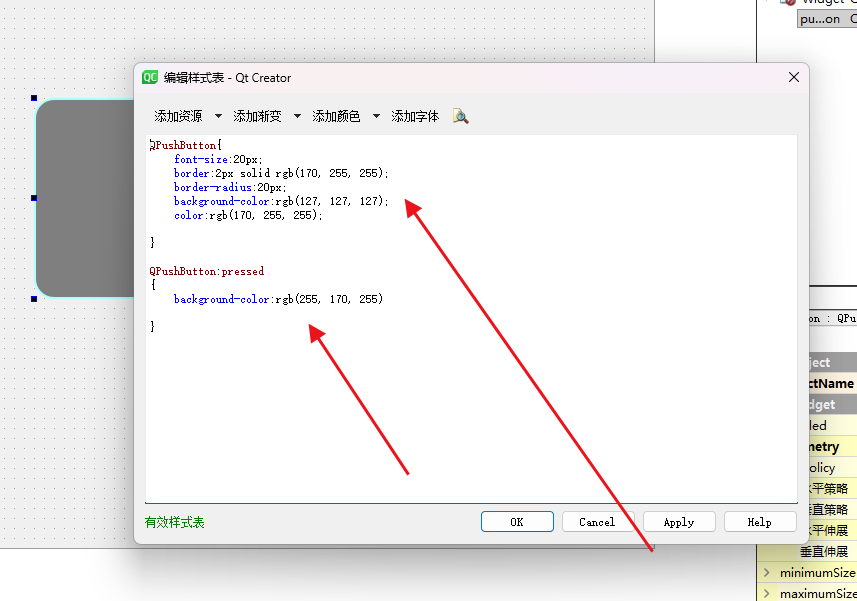
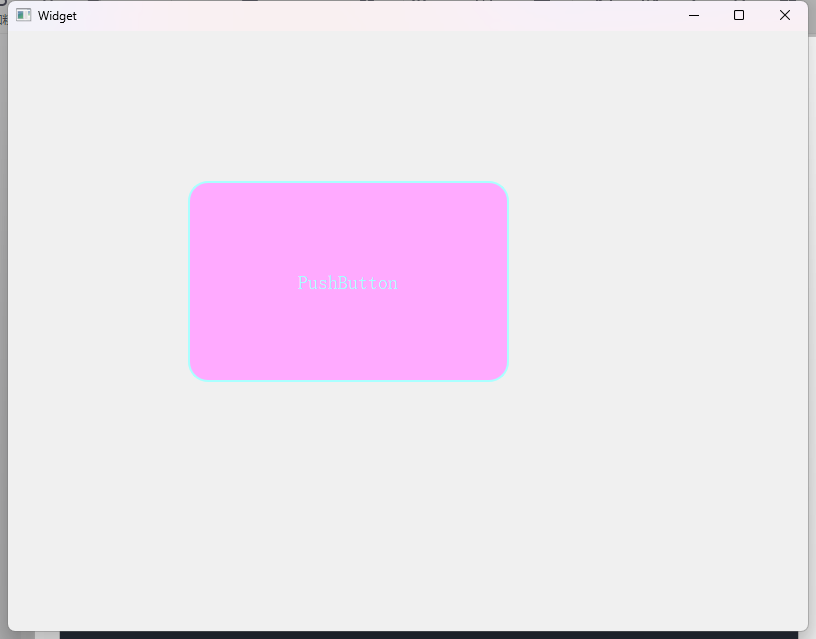
❌️注意:border-radius 是圆角设置。
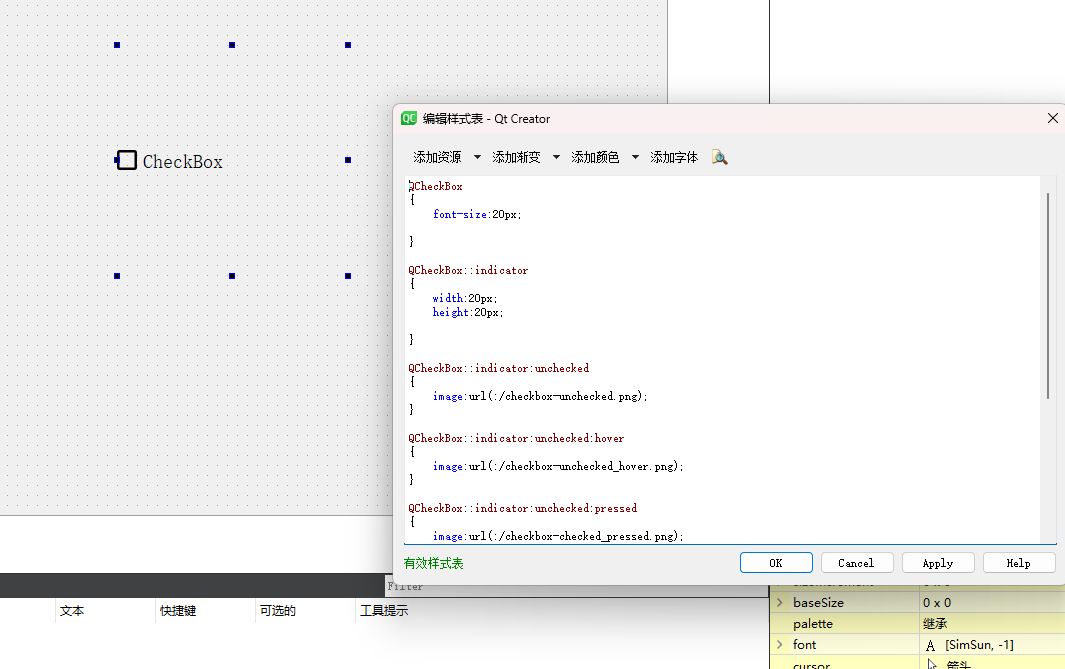
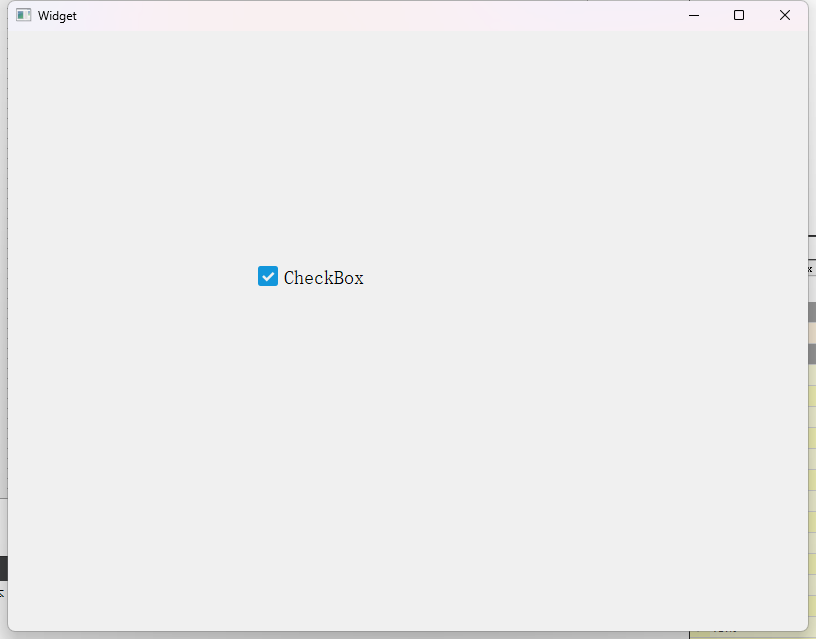
2)给复选框设置样式
⏭️代码练习:
cpp
QCheckBox
{
	font-size:20px;

}

QCheckBox::indicator
{
	width:20px;
	height:20px;

}

QCheckBox::indicator:unchecked
{
	image:url(:/checkbox-unchecked.png);
}

QCheckBox::indicator:unchecked:hover
{
	image:url(:/checkbox-unchecked_hover.png);
}

QCheckBox::indicator:unchecked:pressed
{
	image:url(:/checkbox-checked_pressed.png);
}

QCheckBox::indicator:checked
{
	image:url(:/checkbox-checked.png);
}

QCheckBox::indicator:checked:hover
{
	image:url(:/checkbox-checked_hover.png);
}

QCheckBox::indicator:checked:pressed
{
	image:url(:/checkbox-unchecked_pressed.png);
}
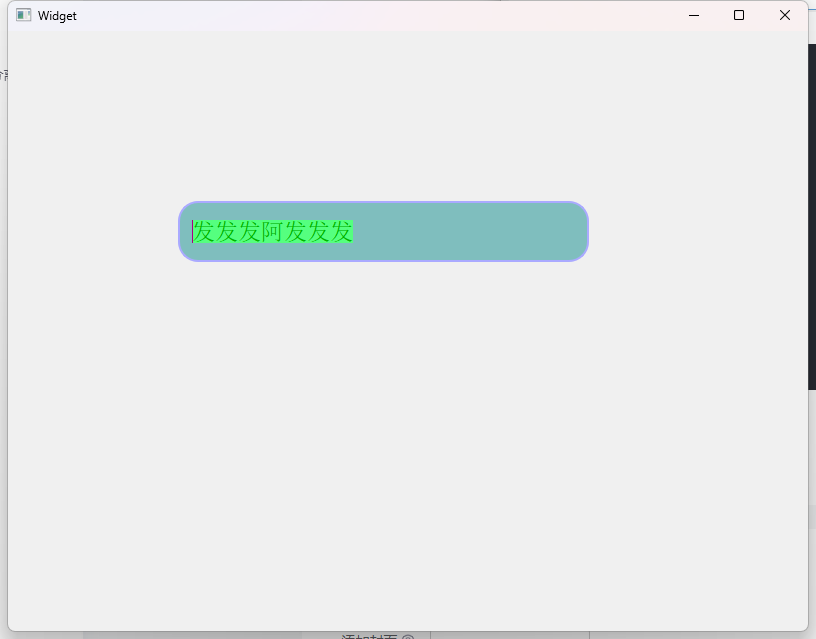
3)给输入框设置样式
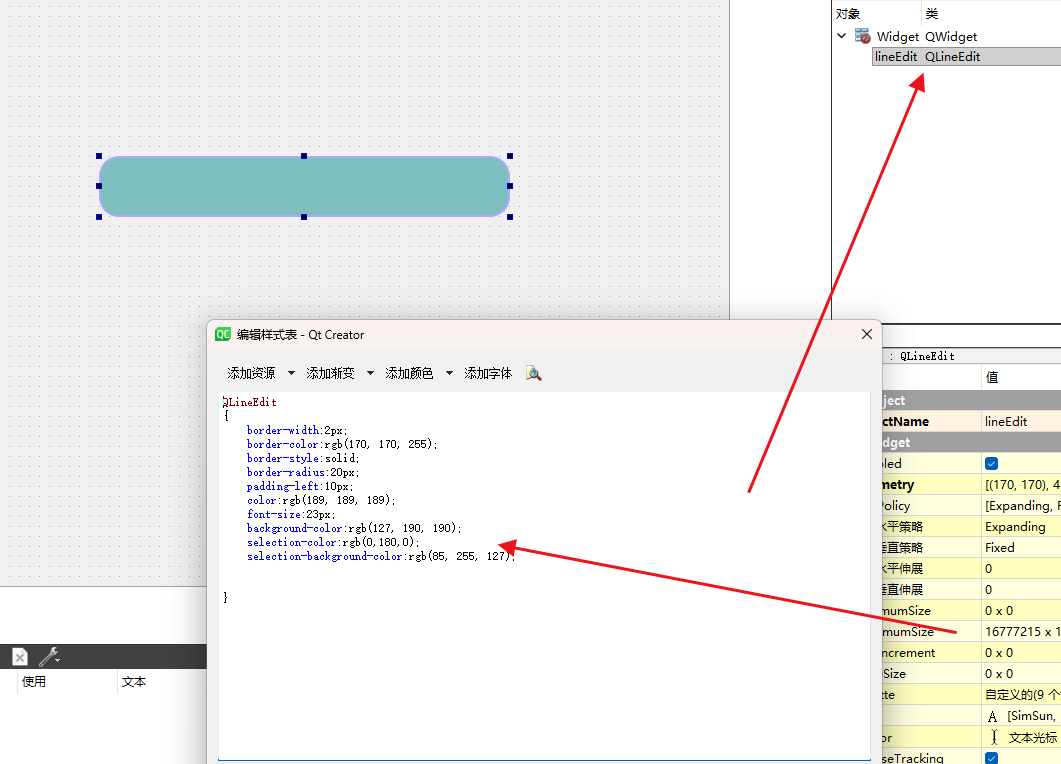
cpp
QLineEdit
{
	border-width:2px;
	border-color:rgb(170, 170, 255);
	border-style:solid;
	border-radius:20px;
	padding-left:10px;
	color:rgb(189, 189, 189);
	font-size:23px;
	background-color:rgb(127, 190, 190);
	selection-color:rgb(0,180,0);
	selection-background-color:rgb(85, 255, 127);


}
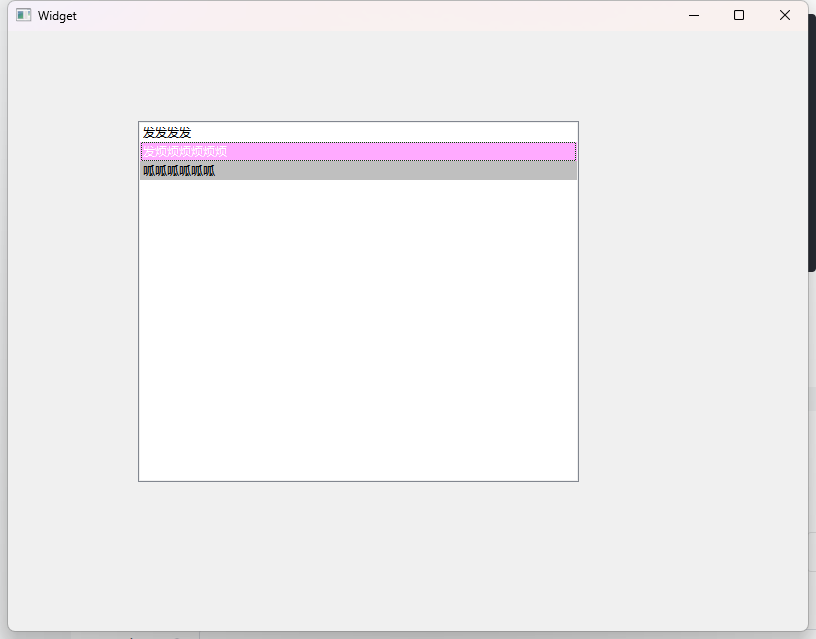
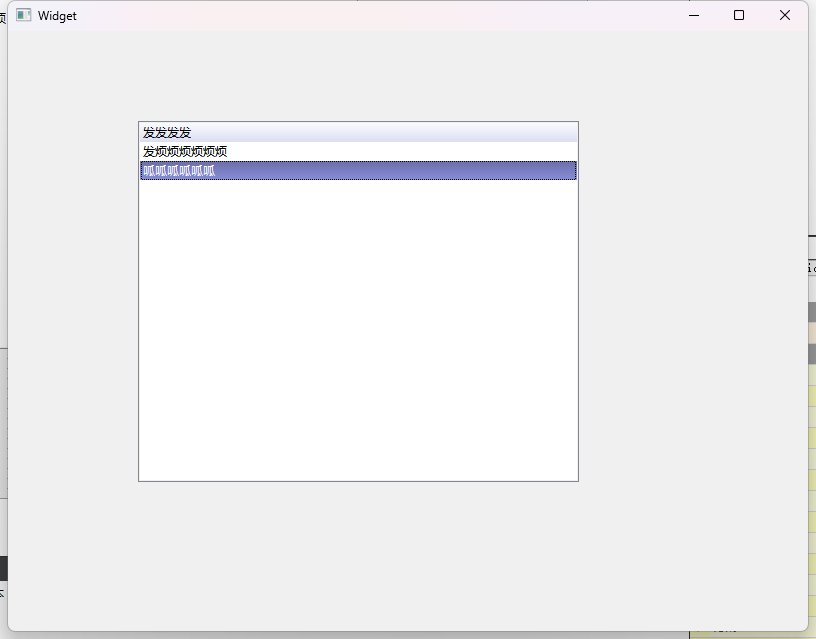
4)给列表框设置样式
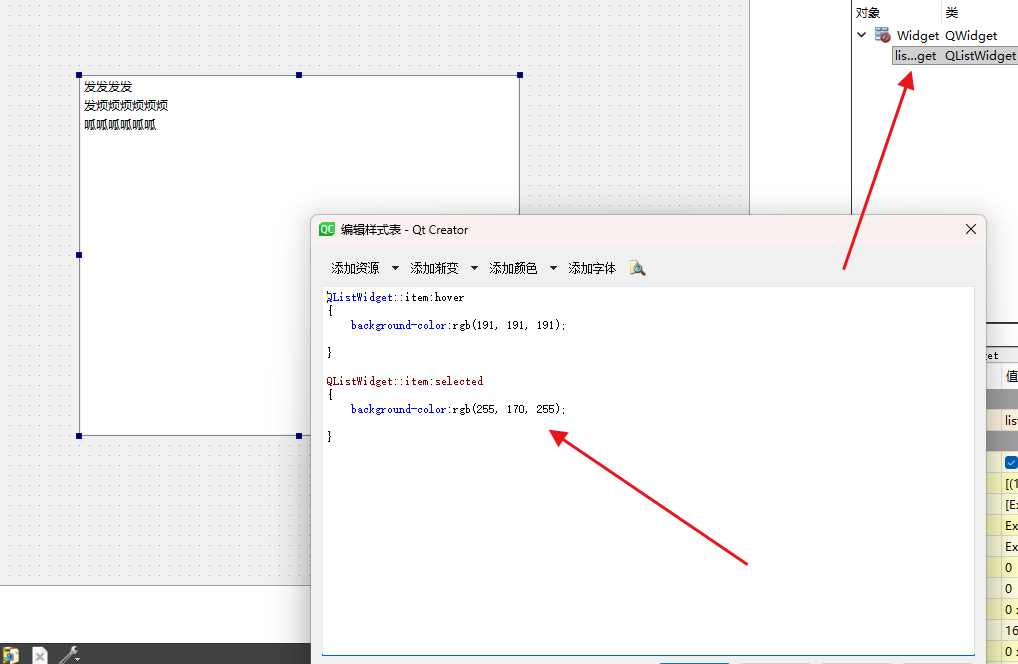
cpp
QListWidget::item:hover
{
	background-color:rgb(191, 191, 191);

}

QListWidget::item:selected
{
	background-color:rgb(255, 170, 255);

}
⏭️上面我们使用的颜色都是纯色,当然我们也可以设置成渐变色。
⏭️此时我们要使用到 qlineargradient 来设置渐变色,这个函数需要六个参数:
⏭️x1:起点的横坐标
⏭️y1:起点的纵坐标
⏭️x2:终点的横坐标
⏭️y2:终点的纵坐标
⏭️stop 0:起始颜色
⏭️stop 1:终点颜色
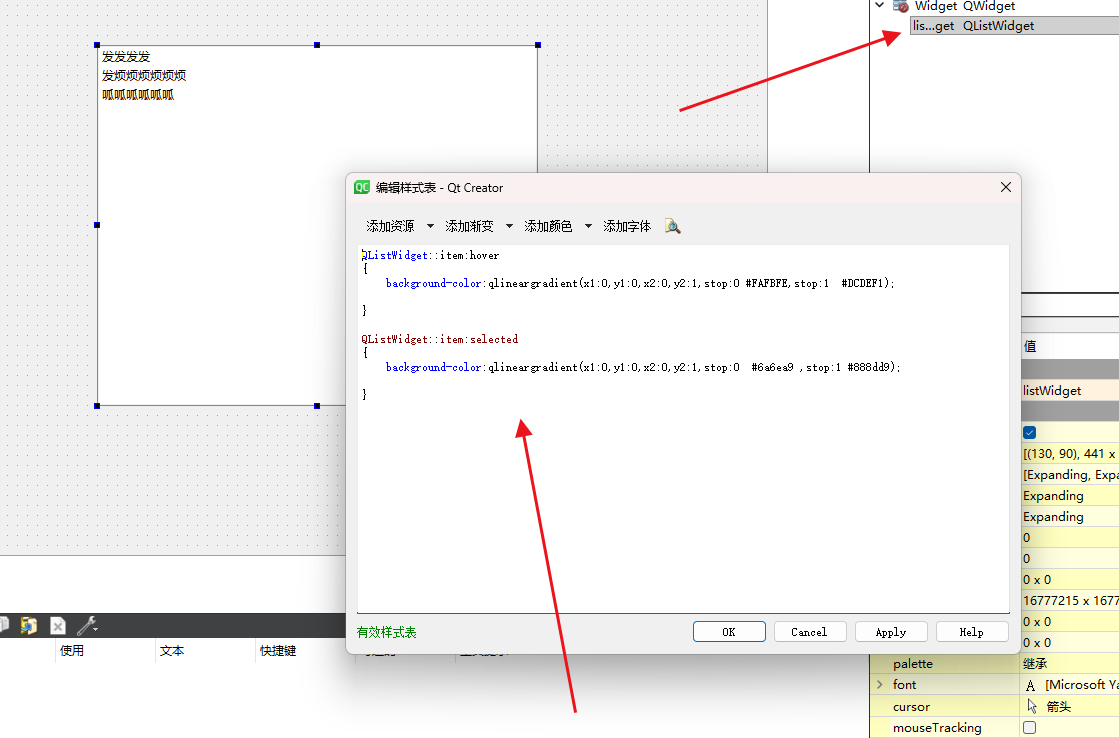
cpp
QListWidget::item:hover
{
	background-color:qlineargradient(x1:0,y1:0,x2:0,y2:1,stop:0 #FAFBFE,stop:1  #DCDEF1);

}

QListWidget::item:selected
{
	background-color:qlineargradient(x1:0,y1:0,x2:0,y2:1,stop:0  #6a6ea9 ,stop:1 #888dd9);

}
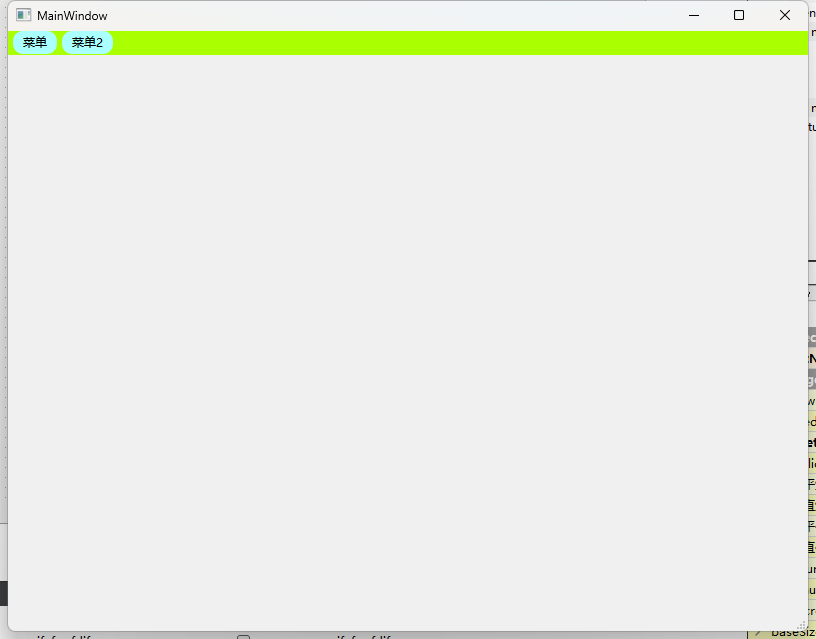
5)给菜单栏设置样式
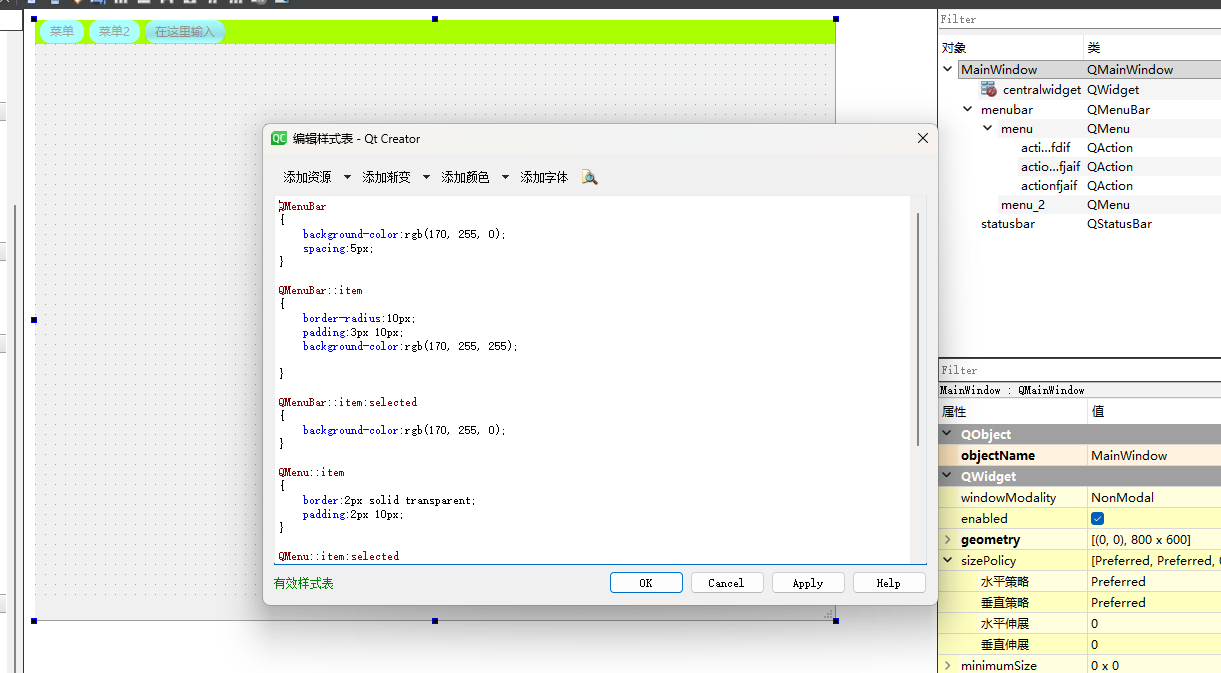
cpp
QMenuBar
{
	background-color:rgb(170, 255, 0);
	spacing:5px;
}

QMenuBar::item
{
	border-radius:10px;
	padding:3px 10px;
	background-color:rgb(170, 255, 255);

}

QMenuBar::item:selected
{
	background-color:rgb(170, 255, 0);
}

QMenu::item
{
	border:2px solid transparent;
 	padding:2px 10px;
}

QMenu::item:selected
{
	border:2px solid red;
}
QMenu::separator
{
	height:2px;
	background-color:green;
	margin:0 5px;
}
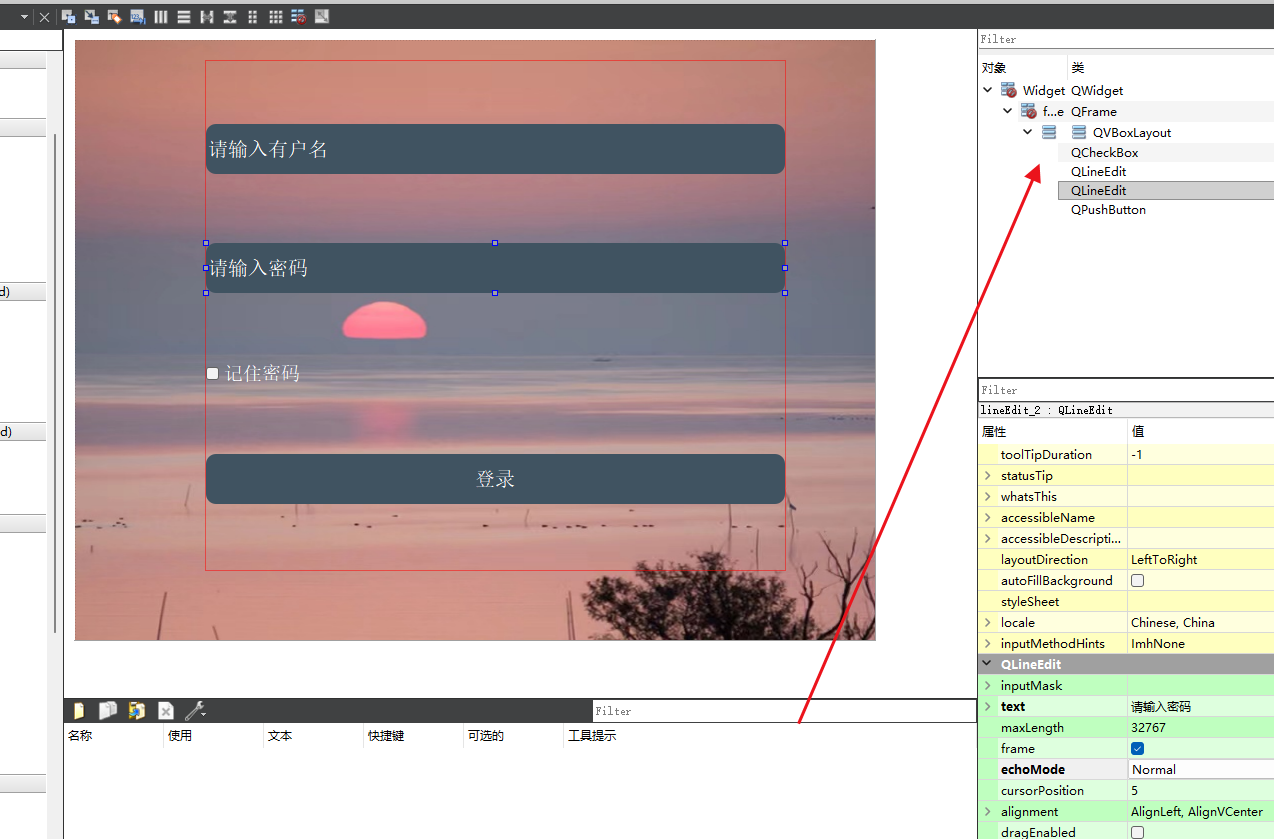
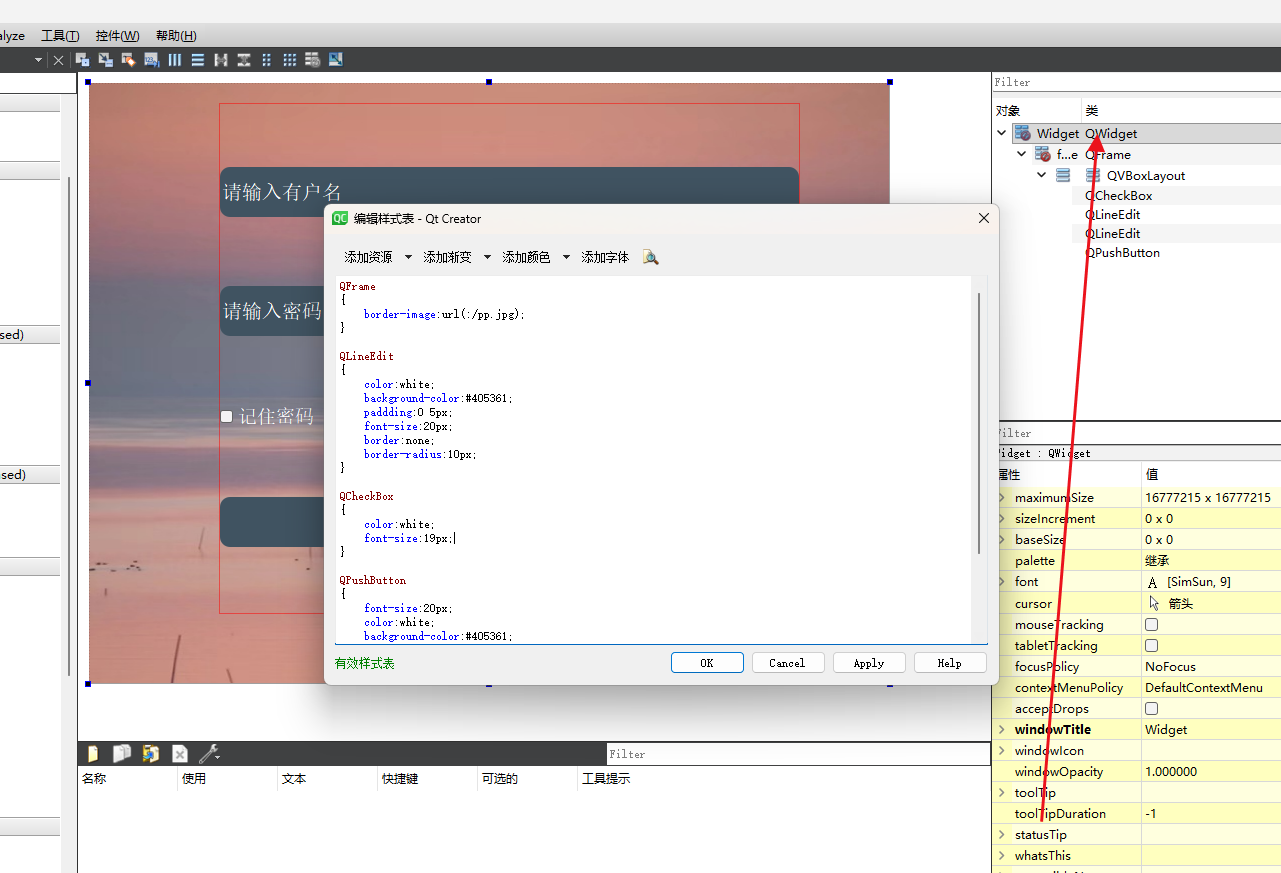
6)实现登录界面
cpp
QFrame
{
	border-image:url(:/pp.jpg);
}

QLineEdit
{
	color:white;
	background-color:#405361;
	paddding:0 5px;
	font-size:20px;
	border:none;
	border-radius:10px;
}

QCheckBox
{
	color:white;
	font-size:19px;
}

QPushButton
{
	font-size:20px;
	color:white;
	background-color:#405361;
	border-radius:10px;
}
QPushButton:pressed
{
	color:blue;
	background-color:red;
}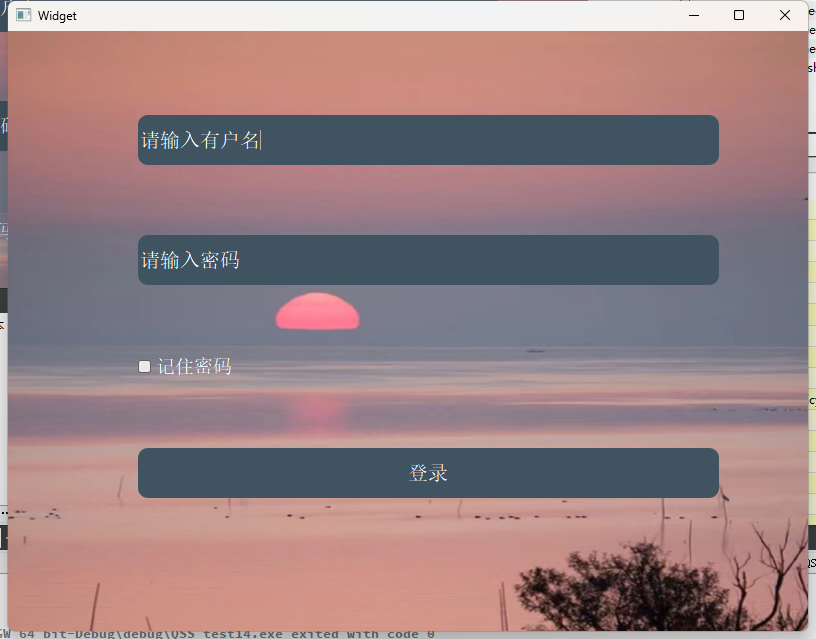
❌️注意:直接给底层窗口设置背景会失效,所以我们可以把这个界面加入到QFrame控件,他是 QWidget 的一个子类。我们除了可以使用 background-color 来设置背景图片,也可以使用 border-image 来设置,我们更加推荐 border-image ,因为他可以随着窗口的变化大小而变化。
八、绘图 API 概述
⏭️前面我们学习的各种控件都是一些常用的控件,Qt已经提前画好了,我们拿过来就能用,那么我们在实际开发中,很有可能现有的控件无法满足我们的需求,这时就需要我们自己 diy 一些控件的,Qt 提供的绘图 API 就能满足我们的需求。
⏭️绘图 API 核⼼类:
|--------------|---------------------------------------------------------------------------------------------------|
| 类 | 说明 |
| QPainter | "绘画者" 或者 "画家". ⽤来绘图的对象, 提供了⼀系列 drawXXX ⽅法, 可以允许我们绘制各种图形. |
| QPaintDevice | "画板". 描述了 QPainter 把图形画到哪个对象上. 像咱们之前⽤过的 QWidget 也 是⼀种 QPaintDevice (QWidget 是 QPaintDevice 的⼦类) . |
| QPen | "画笔". 描述了 QPainter 画出来的线是什么样的. |
| QBrush | "画刷". 描述了 QPainter 填充⼀个区域是什么样的. |
❌️注意:画图相关的操作一般是不会放到QWidget的构造函数中调用,而是Qt提供了一个 painEvent 事件处理函数,在这里进行调用;和他对应的还有一个QPainEvent 事件,这个事件在:1、控件首次创建的时候,2、控件被遮挡的时候,再解除遮挡,3、窗口被最小化,再还原,4、控件大小发生改变的时候,5、主动在代码中调用 repaint 或者 update 触发事件(都是 QWidget 提供的成员函数),的时候被触发。
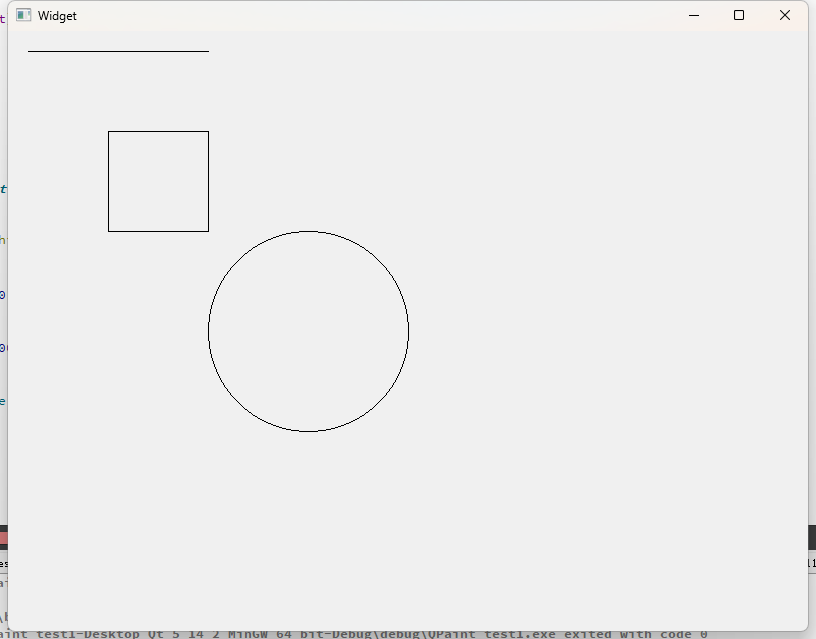
⏭️代码练习1:
cpp
#include "widget.h"
#include "ui_widget.h"
#include <QPainter>


Widget::Widget(QWidget *parent)
    : QWidget(parent)
    , ui(new Ui::Widget)
{
    ui->setupUi(this);
}

Widget::~Widget()
{
    delete ui;
}

void Widget::paintEvent(QPaintEvent *event)
{
    (void)event;
    QPainter painter(this);//this:绘制的设备

    //画一条线段
    painter.drawLine(20,20,200,20);

    //画一个矩形
    painter.drawRect(100,100,100,100);

    //画个圆形
    painter.drawEllipse(200,200,200,200);
}
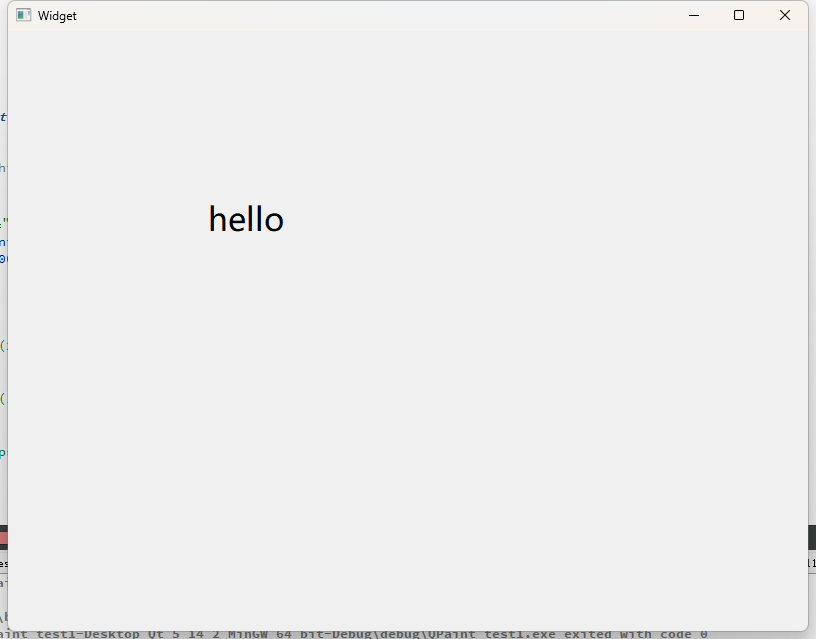
⏭️代码练习2:
cpp
#include "widget.h"
#include "ui_widget.h"
#include <QPainter>


Widget::Widget(QWidget *parent)
    : QWidget(parent)
    , ui(new Ui::Widget)
{
    ui->setupUi(this);
}

Widget::~Widget()
{
    delete ui;
}

void Widget::paintEvent(QPaintEvent *event)
{
    (void)event;
    QPainter painter(this);//this:绘制的设备

    //绘制文本
    QFont font("微软雅黑",24);
    painter.setFont(font);
    painter.drawText(200,200,"hello");

}
⏭️代码练习3:
cpp
#include "widget.h"
#include "ui_widget.h"
#include <QPainter>


Widget::Widget(QWidget *parent)
    : QWidget(parent)
    , ui(new Ui::Widget)
{
    ui->setupUi(this);
}

Widget::~Widget()
{
    delete ui;
}

void Widget::paintEvent(QPaintEvent *event)
{
    (void)event;
    QPainter painter(this);//this:绘制的设备

    QPen pen;
    pen.setColor(QColor(255,0,0));//设置红色的线条
    pen.setWidth(3);//设置线条的粗细
    pen.setStyle(Qt::DashLine);//设置线条的样式
    painter.setPen(pen);

    //画个圆形
    painter.drawEllipse(200,200,200,200);

}
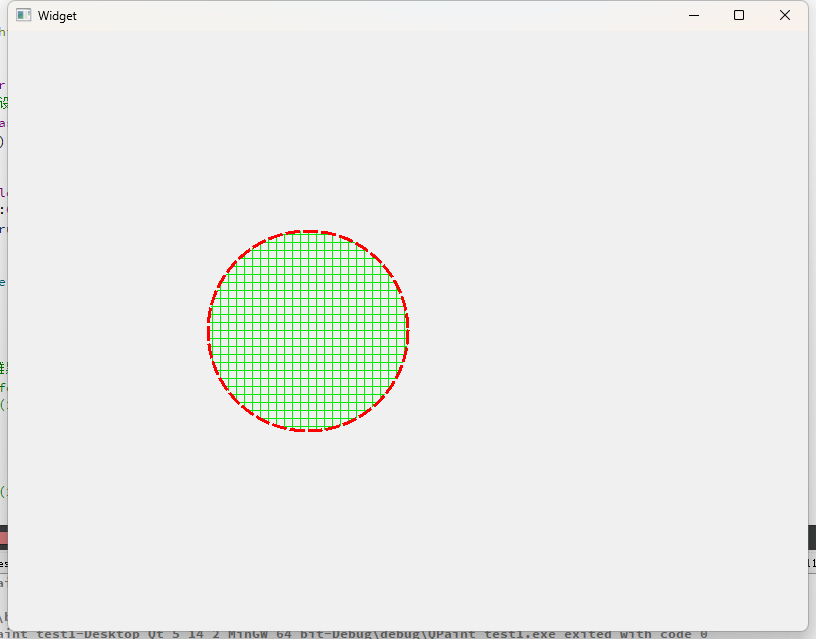
⏭️代码练习4:
cpp
#include "widget.h"
#include "ui_widget.h"
#include <QPainter>


Widget::Widget(QWidget *parent)
    : QWidget(parent)
    , ui(new Ui::Widget)
{
    ui->setupUi(this);
}

Widget::~Widget()
{
    delete ui;
}

void Widget::paintEvent(QPaintEvent *event)
{
    (void)event;
    QPainter painter(this);//this:绘制的设备

    QPen pen;
    pen.setColor(QColor(255,0,0));//设置红色的线条
    pen.setWidth(3);//设置线条的粗细
    pen.setStyle(Qt::DashLine);//设置线条的样式
    painter.setPen(pen);

    QBrush brush;
    brush.setColor(QColor(0,234,0));
    brush.setStyle(Qt::CrossPattern);//设置填充样式
    painter.setBrush(brush);

    //画个圆形
    painter.drawEllipse(200,200,200,200);

}
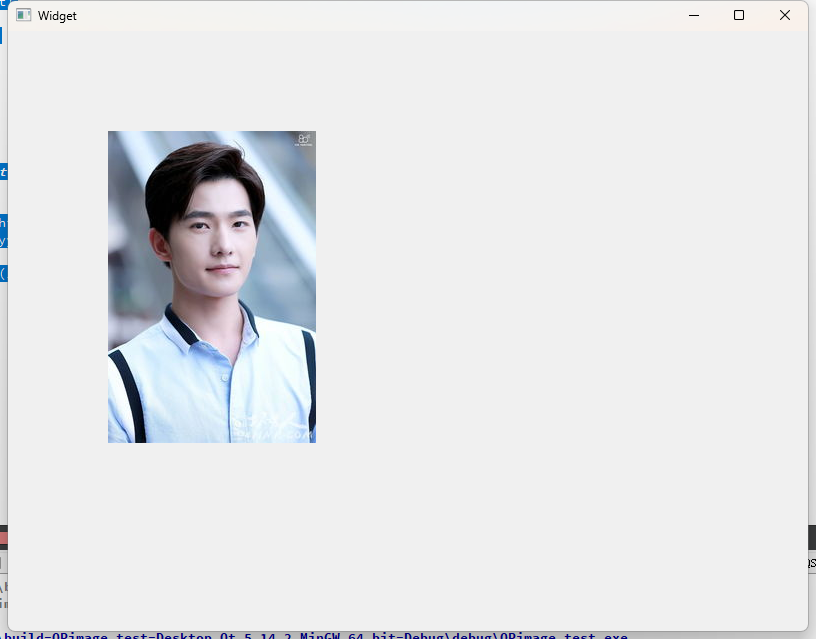
⏭️代码练习5:绘制图片
⏭️Qt 提供了四个类来处理图像数据:QImage、QPixmap、QBitmap 和 QPicture,它们都是常⽤的绘 图设备。其中QImage主要⽤来进⾏ I/O 处理,它对 I/O 处理操作进⾏了优化,⽽且可以⽤来直接访问 和操作像素;QPixmap 主要⽤来在屏幕上显⽰图像,它对在屏幕上显⽰图像进⾏了优化;QBitmap 是 QPixmap 的⼦类,⽤来处理颜⾊深度为1的图像,即只能显⽰⿊⽩两种颜⾊;QPicture ⽤来记录并 重演 QPainter 命令。这⼀节只讲解 QPixmap。
cpp
#include "widget.h"
#include "ui_widget.h"
#include <QPainter>

Widget::Widget(QWidget *parent)
    : QWidget(parent)
    , ui(new Ui::Widget)
{
    ui->setupUi(this);
}

Widget::~Widget()
{
    delete ui;
}

void Widget::paintEvent(QPaintEvent *event)
{
    (void)event;
    QPainter painter(this);
    QPixmap pixmap(":/yy.jpg");

    painter.drawPixmap(100,100,pixmap);
}
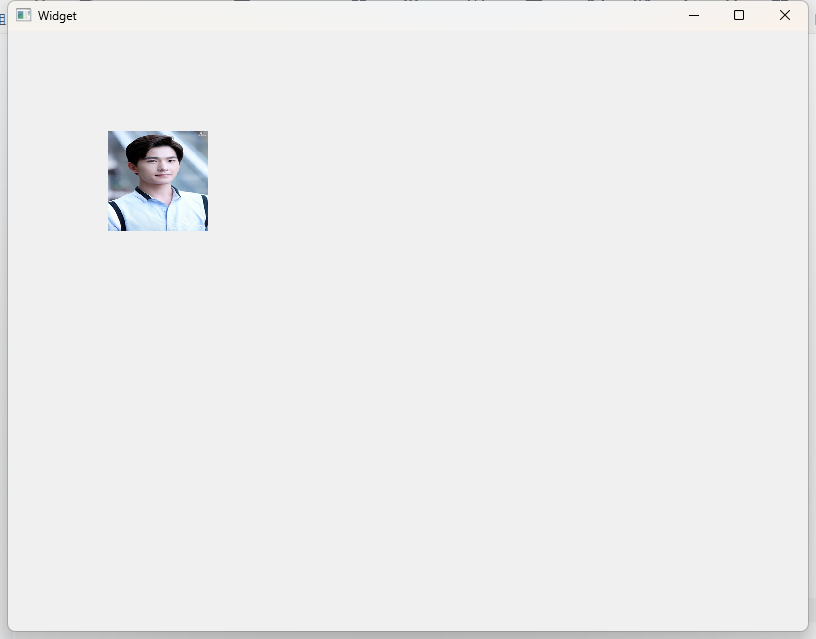
⏭️当然也可以设置图片的缩放:
cpp
#include "widget.h"
#include "ui_widget.h"
#include <QPainter>

Widget::Widget(QWidget *parent)
    : QWidget(parent)
    , ui(new Ui::Widget)
{
    ui->setupUi(this);
}

Widget::~Widget()
{
    delete ui;
}

void Widget::paintEvent(QPaintEvent *event)
{
    (void)event;
    QPainter painter(this);
    QPixmap pixmap(":/yy.jpg");

    painter.drawPixmap(100,100,100,100,pixmap);

}
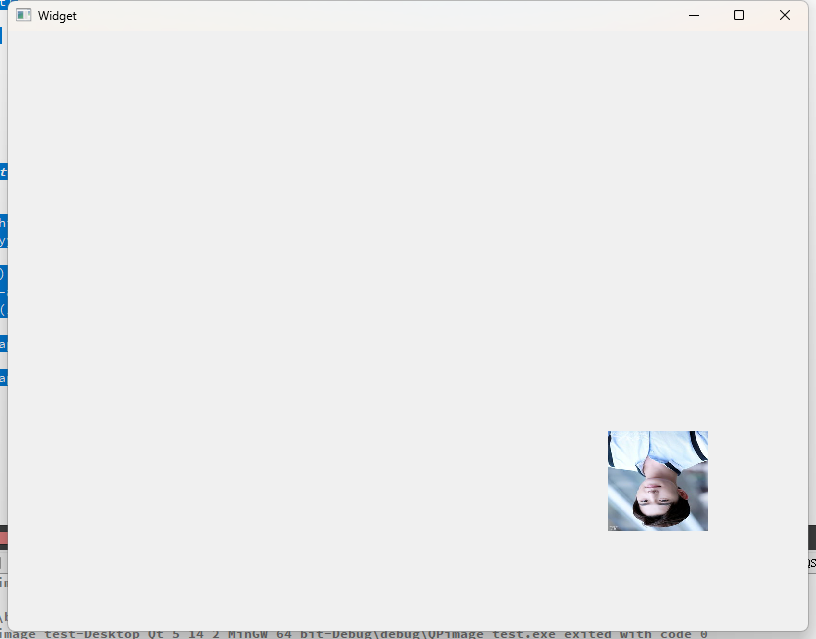
⏭️图片的旋转:
cpp
#include "widget.h"
#include "ui_widget.h"
#include <QPainter>

Widget::Widget(QWidget *parent)
    : QWidget(parent)
    , ui(new Ui::Widget)
{
    ui->setupUi(this);
}

Widget::~Widget()
{
    delete ui;
}

void Widget::paintEvent(QPaintEvent *event)
{
    (void)event;
    QPainter painter(this);
    QPixmap pixmap(":/yy.jpg");

    painter.rotate(180);//此时是以(0,0)点旋转的,把坐标体系也旋转了,所以我们此时是看不到的,所以我们要让他平移一下
    painter.translate(-800,-600);
    painter.drawPixmap(100,100,100,100,pixmap);
}
⏩️哦!对了,各位优秀的程序员觉得我博客给你带来帮助或者让你学到了知识,记得给博主一个关注哦~❤️❤️❤️
⏩️各位博友,下篇博客见🍁🍁🍁