环境:
Linux Mint22
配置jupyter-cpu环境
1、更新系统基础包
bash
sudo apt update && sudo apt install -y python3 python3-venv2、创建虚拟环境
bash
python3 -m venv myenv3、激活环境
bash
source myenv/bin/activate4、安装PyTorch CPU版
bash
pip3 install torch torchvision --index-url https://download.pytorch.org/whl/cpu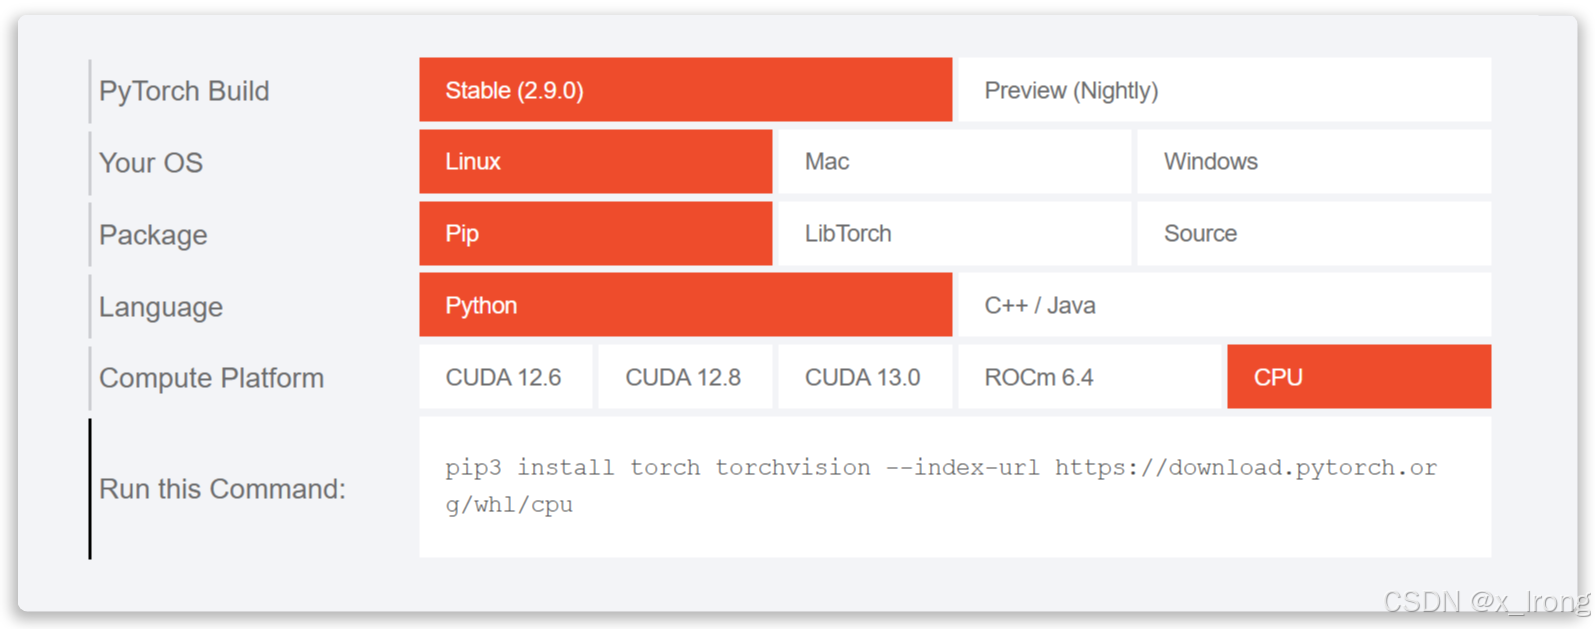
5、安装jupyter
bash
pip install jupyter6、验证
bash
python -c "import torch; print('PyTorch版本:', torch.__version__)"
bash
python -c "import sys; print(sys.prefix)"
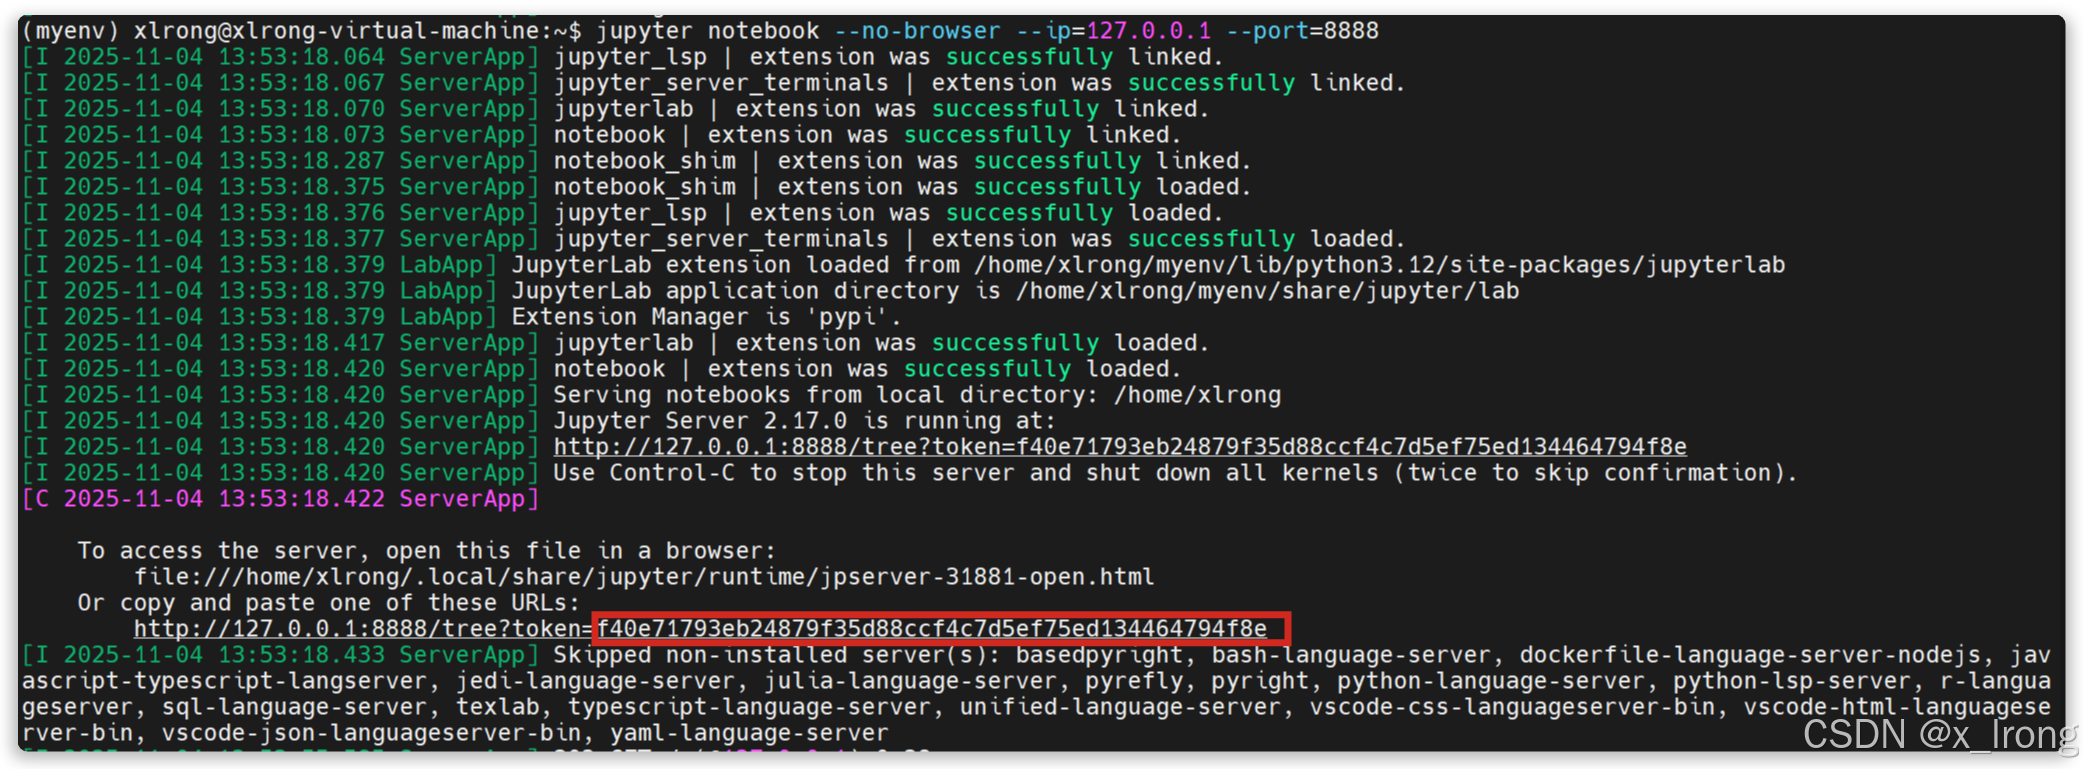
7、启动Jupyter(本地访问)
bash
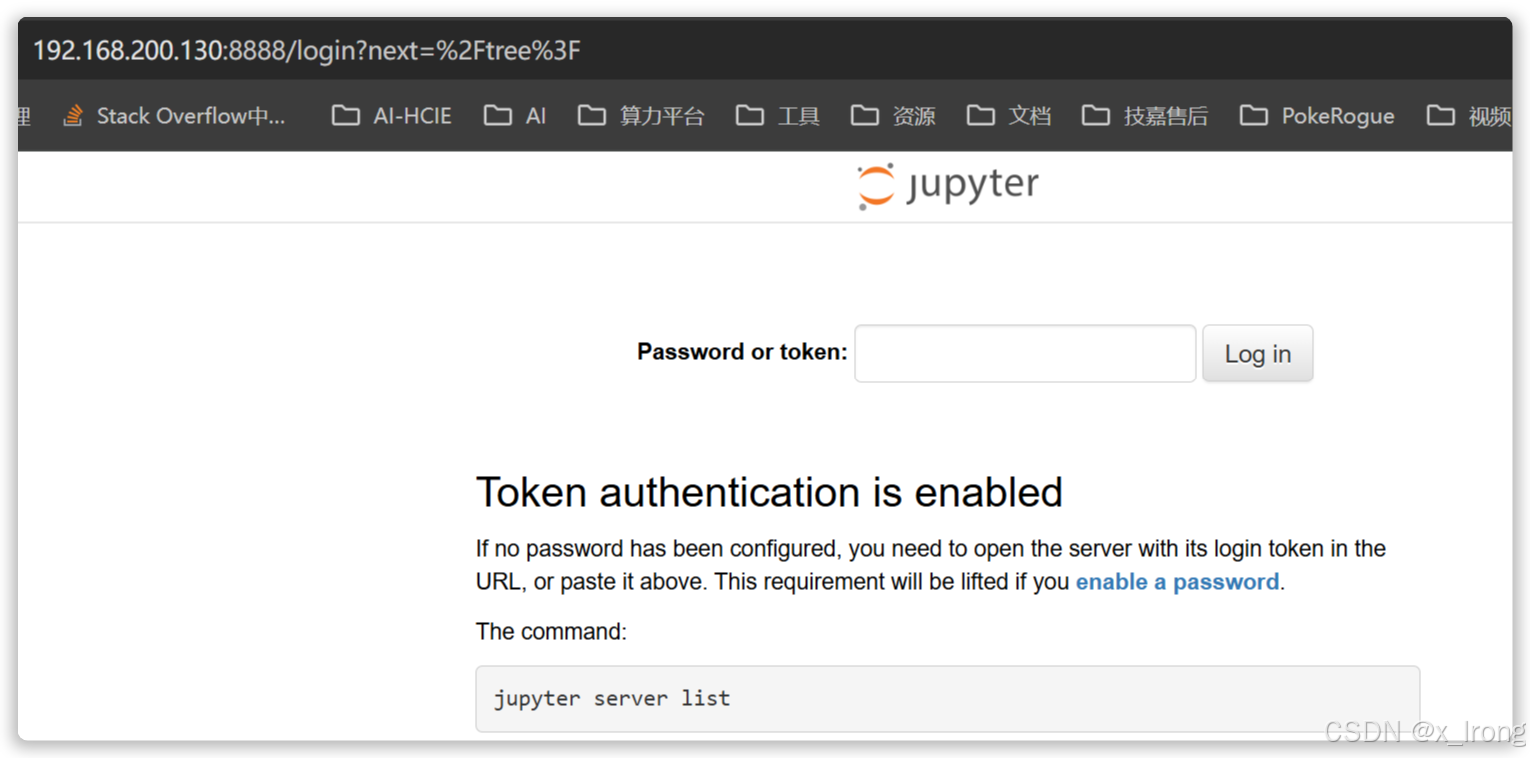
jupyter notebook --no-browser --ip=127.0.0.1 --port=8888记录回显中的token
浏览器输入localhost:8888进入jupyter环境
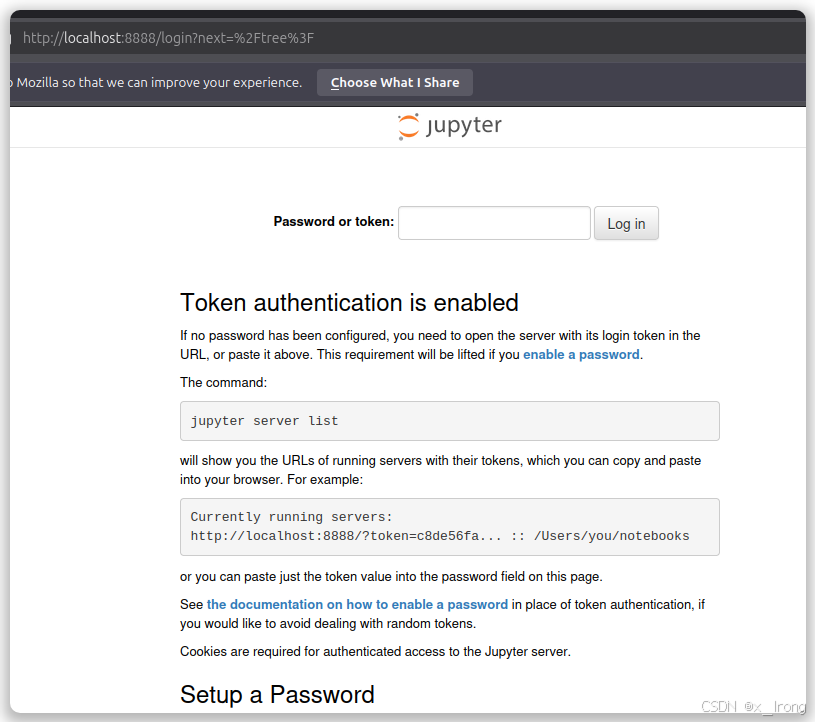
输入token后进入jupyter

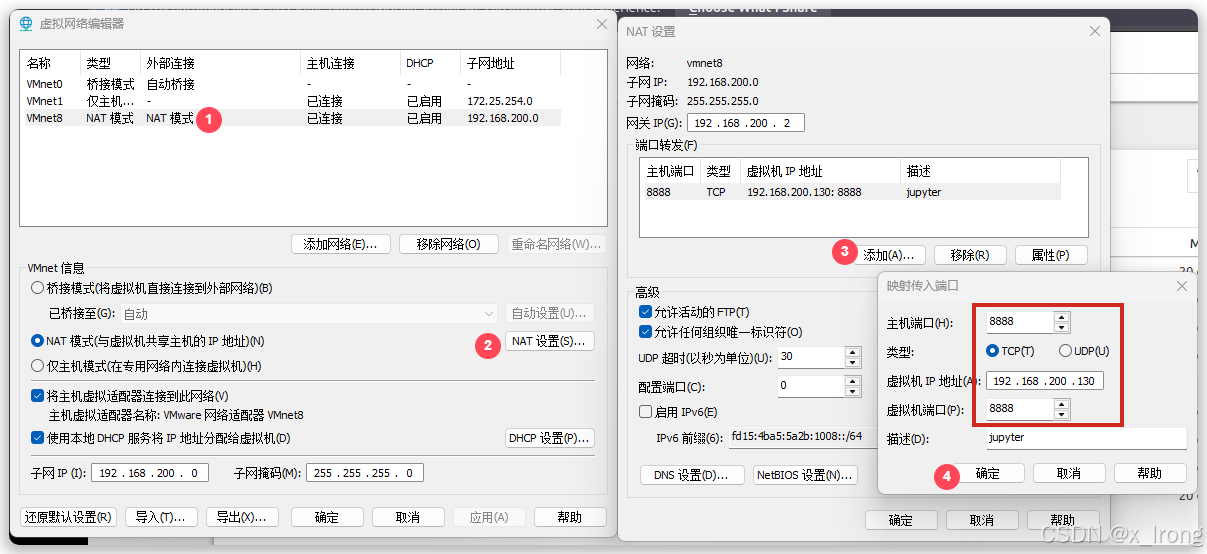
8、外部访问
vmware配置端口转发:
编辑 → 虚拟机网络适配器 → 更改设置 → WMnet8 → NAT模式 → NAT设置 → 端口转发
bash
jupyter notebook --no-browser --ip=0.0.0.0 --port=88880)]
bash
jupyter notebook --no-browser --ip=0.0.0.0 --port=8888宿主机浏览器输入:虚拟机IP:8888,其余和本地一样
附:
-
启用SSH
bashsudo apt install openssh-server -
配置PIP加速
bashpip config set global.index-url https://mirrors.aliyun.com/pypi/simple/验证:
bashpip config get global.index-url