文章目录
前言
UICollectionView是iOS中可以说最灵活,最强大的滚动视图组件之一(可自定义布局的多格子列表控件),其功能类似于之前学过的UITableview,UITableview只允许表格每行显示一个cell,而UICollectionView功能与作用比他更强大,更自由,我们在下面逐步写出
UICollectionView和UITableview一样,都是UIScrollView的子类,天然具备滚动等功能
基本使用
我们在使用UICollectionView时,主要会有三部分内容,分别是:
- UICollectionView 负责显示内容的主体
- UICollectionViewFlowLayout 布局类,负责定义 cell 的排列方式(方向、间距、大小等)
- DataSource & Delegate 这部分与之前的UITableView相类似,是数据源和代理,负责告诉 CollectionView 有多少个 cell、显示什么、怎么响应点击
这里有个与TableView相当不同且重要的东西就是UICollectionViewFlowLayout,这个类是我们手动设置CollectionView布局的一个关键,在这里基本使用这个类即可完成简单的布局,但是我们在后面要实现更加复杂的布局就要用到其父类UICollectionViewLayout
代码展示
objc
#import "ViewController.h"
@interface ViewController ()
@property(nonatomic, strong)UICollectionView *collectionView;
@end
@implementation ViewController
- (void)viewDidLoad {
[super viewDidLoad];
UICollectionViewFlowLayout *layout = [[UICollectionViewFlowLayout alloc] init];
//scrollDirection滚动方向,Vertical为上下,Horizontal为左右
layout.scrollDirection = UICollectionViewScrollDirectionVertical;
//每个cell的大小
layout.itemSize = CGSizeMake(90, 240);
//行间距
layout.minimumLineSpacing = 20;
//列间距
layout.minimumInteritemSpacing = 20;
//控制整个section的内边距,即cell距离边缘的空白距离,分别控制上左下右
layout.sectionInset = UIEdgeInsetsMake(0, 10, 10, 10);
self.collectionView = [[UICollectionView alloc] initWithFrame:self.view.frame collectionViewLayout: layout];
self.collectionView.delegate = self;
self.collectionView.dataSource = self;
//注册cell类型,开启复用机制
[self.collectionView registerClass: [UICollectionViewCell class] forCellWithReuseIdentifier: @"cell"];
[self.view addSubview: self.collectionView];
}
- (NSInteger)numberOfSectionsInCollectionView:(UICollectionView *)collectionView {
return 2;
}
- (NSInteger)collectionView:(UICollectionView *)collectionView numberOfItemsInSection:(NSInteger)section {
return 15;
}
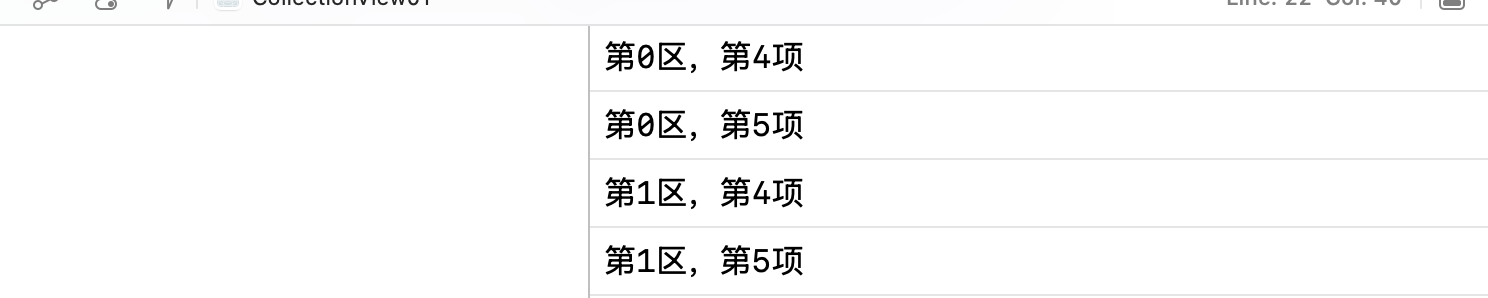
- (void)collectionView:(UICollectionView *)collectionView didSelectItemAtIndexPath:(NSIndexPath *)indexPath {
NSLog(@"第%ld区,第%ld项",indexPath.section, indexPath.row);
}
//__kindof关键字:返回(或接收)的对象是指定类或其子类,可使返回值或者参数类型更加灵活
- (__kindof UICollectionViewCell *)collectionView:(UICollectionView *)collectionView
cellForItemAtIndexPath:(NSIndexPath *)indexPath {
UICollectionViewCell *cell = [collectionView dequeueReusableCellWithReuseIdentifier: @"cell" forIndexPath: indexPath];
//arc4random()%255取0-254随机数,再除255.0取0-1浮点数从而随机设置单元格颜色
cell.backgroundColor = [UIColor colorWithRed: arc4random() % 255 / 255.0 green: arc4random() % 255 / 255.0 blue: arc4random() % 255 / 255.0 alpha: 1];
return cell;
}
@end运行结果
参差瀑布流
在我们常见的一些软件程序中,会经常见到这种参差的瀑布流布局,即分成两列,根据不同的高度进行显示布局,而我们就可以通过UICollectionView实现这种操作
整个瀑布流的实现其实跟前面的基本使用过程差不多,只不过我们设置了一个自定义类方便我们更加具体灵活的进行布局,在我们自定义的布局类中布局完成后其实其他方面没什么区别
在这里就要用到我们前面说的设置布局的类UICollectionViewLayout
实现步骤
首先,我们要声明一个布局的类MyLayout,令其继承于UICollectionViewLayout
objc
@interface MyLayout : UICollectionViewLayout
//一行的列数
@property(nonatomic, assign)CGFloat columnCount;
//没列之间的间距
@property(nonatomic, assign)CGFloat columnMargin;
//行间距
@property(nonatomic, assign)CGFloat rowMargin;
//整个section的内边距
@property(nonatomic, assign)UIEdgeInsets sectionInset;

//存储没列累计高度,布局时,每放一个item就更新高度,且找出最短列不断补出新的cell
@property(nonatomic, strong)NSMutableArray *columnHeights;
//保存每个cell的frame,大小信息,渲染collection,按这个数组放置cell
@property(nonatomic, strong)NSMutableArray *attributesArray;之后便要设置里面具体的排列了,核心可以用一句话来概括:动态维护每列高度,每次将新 item 放到最短列,实现参差不齐的瀑布流
objc
- (instancetype)init {
    if (self = [super init]) {
        self.columnCount = 2;
        self.columnMargin = 15;
        self.rowMargin = 15;
        self.sectionInset = UIEdgeInsetsMake(10, 10, 10, 10);
    }
    return self;
}
- (void)prepareLayout {
    [super prepareLayout];
    self.attributesArray = [NSMutableArray array];
    self.columnHeights = [NSMutableArray array];
    for (int i = 0; i < self.columnCount; i++) {
        [self.columnHeights addObject: @(self.sectionInset.top)];
    }
    NSInteger itemCount = [self.collectionView numberOfItemsInSection: 0];
    //遍历section里的所有item,每个都要计算frame
    for (NSInteger item = 0; item < itemCount; item++) {
        NSIndexPath *indexPath = [NSIndexPath indexPathForItem: item inSection: 0];
        //找到最短列的高度,用minColumnHeight保存,columnIndex保存其索引
        CGFloat minColumnHeight = [self.columnHeights[0] floatValue];
        NSInteger columnIndex = 0;
        for (NSInteger i = 1; i < self.columnCount; i++) {
            CGFloat columnHeight = [self.columnHeights[i] floatValue];
            if (columnHeight < minColumnHeight) {
                minColumnHeight = columnHeight;
                columnIndex = i;
            }
        }
        //根据整个collection总宽,内边距,列边距计算的每列宽度
        CGFloat itemWidth = (CGRectGetWidth(self.collectionView.bounds) - self.sectionInset.left - self.sectionInset.right - (self.columnCount - 1) * self.columnMargin) / self.columnCount;
        //随机生成每个item的高度,arc4random_uniform(120)即取出一个从0-119的一个随机数
        CGFloat itemHeight = arc4random_uniform(120) + 100;
        //计算每个item的横坐标,由左边距加上列宽与列间距累积得到的
        CGFloat itemX = self.sectionInset.left + columnIndex * (itemWidth + self.columnMargin);
        //计算每个item纵坐标,即当前较短列的高度
        CGFloat itemY = minColumnHeight;
        //动态计算每列高度并缓存frame
        UICollectionViewLayoutAttributes *attributes = [UICollectionViewLayoutAttributes layoutAttributesForCellWithIndexPath: indexPath];
        attributes.frame = CGRectMake(itemX, itemY, itemWidth, itemHeight);

        [self.attributesArray addObject: attributes];
        self.columnHeights[columnIndex] = @(CGRectGetMaxY(attributes.frame) + self.rowMargin);
    }
}
//找到整个滚动的内容区域大小,然后决定整个滚动范围
- (CGSize)collectionViewContentSize {
    CGFloat maxcolumnHeight = [self.columnHeights[0] floatValue];
    for (NSInteger i = 1; i < self.columnCount; i++) {
        maxcolumnHeight = MAX(maxcolumnHeight, [self.columnHeights[i] floatValue]);
    }
    return CGSizeMake(CGRectGetWidth(self.collectionView.bounds), maxcolumnHeight + self.sectionInset.bottom);
}
//返回当前可见区域所有cell的布局
- (NSArray<__kindof UICollectionViewLayoutAttributes *> *)layoutAttributesForElementsInRect:(CGRect)rect {
    return _attributesArray;
}
之后我们便要进行UICollectionView 与DataSource & Delegate的设置,因其与前面简单使用的类似,甚至更为简单,下面直接给出代码展示
objc
- (void)viewDidLoad {
    [super viewDidLoad];
    MyLayout *layout = [[MyLayout alloc] init];
    self.collectionView = [[UICollectionView alloc] initWithFrame:self.view.bounds collectionViewLayout:layout];
    self.collectionView.backgroundColor = [UIColor whiteColor];
    self.collectionView.delegate = self;
    self.collectionView.dataSource = self;
    [self.collectionView registerClass: [UICollectionViewCell class] forCellWithReuseIdentifier: @"cell"];
    [self.view addSubview: self.collectionView];
    // Do any additional setup after loading the view.
}
- (NSInteger)collectionView:(UICollectionView *)collectionView numberOfItemsInSection:(NSInteger)section {
    return 20;
}
- (__kindof UICollectionViewCell *)collectionView:(UICollectionView *)collectionView cellForItemAtIndexPath:(NSIndexPath *)indexPath {
    UICollectionViewCell *cell = [collectionView dequeueReusableCellWithReuseIdentifier: @"cell" forIndexPath: indexPath];

    cell.backgroundColor = [UIColor colorWithRed: arc4random() % 255 / 255.0 green: arc4random() % 255 / 255.0 blue: arc4random() % 255 / 255.0 alpha: 1];
    return cell;
}
运行结果
拓展
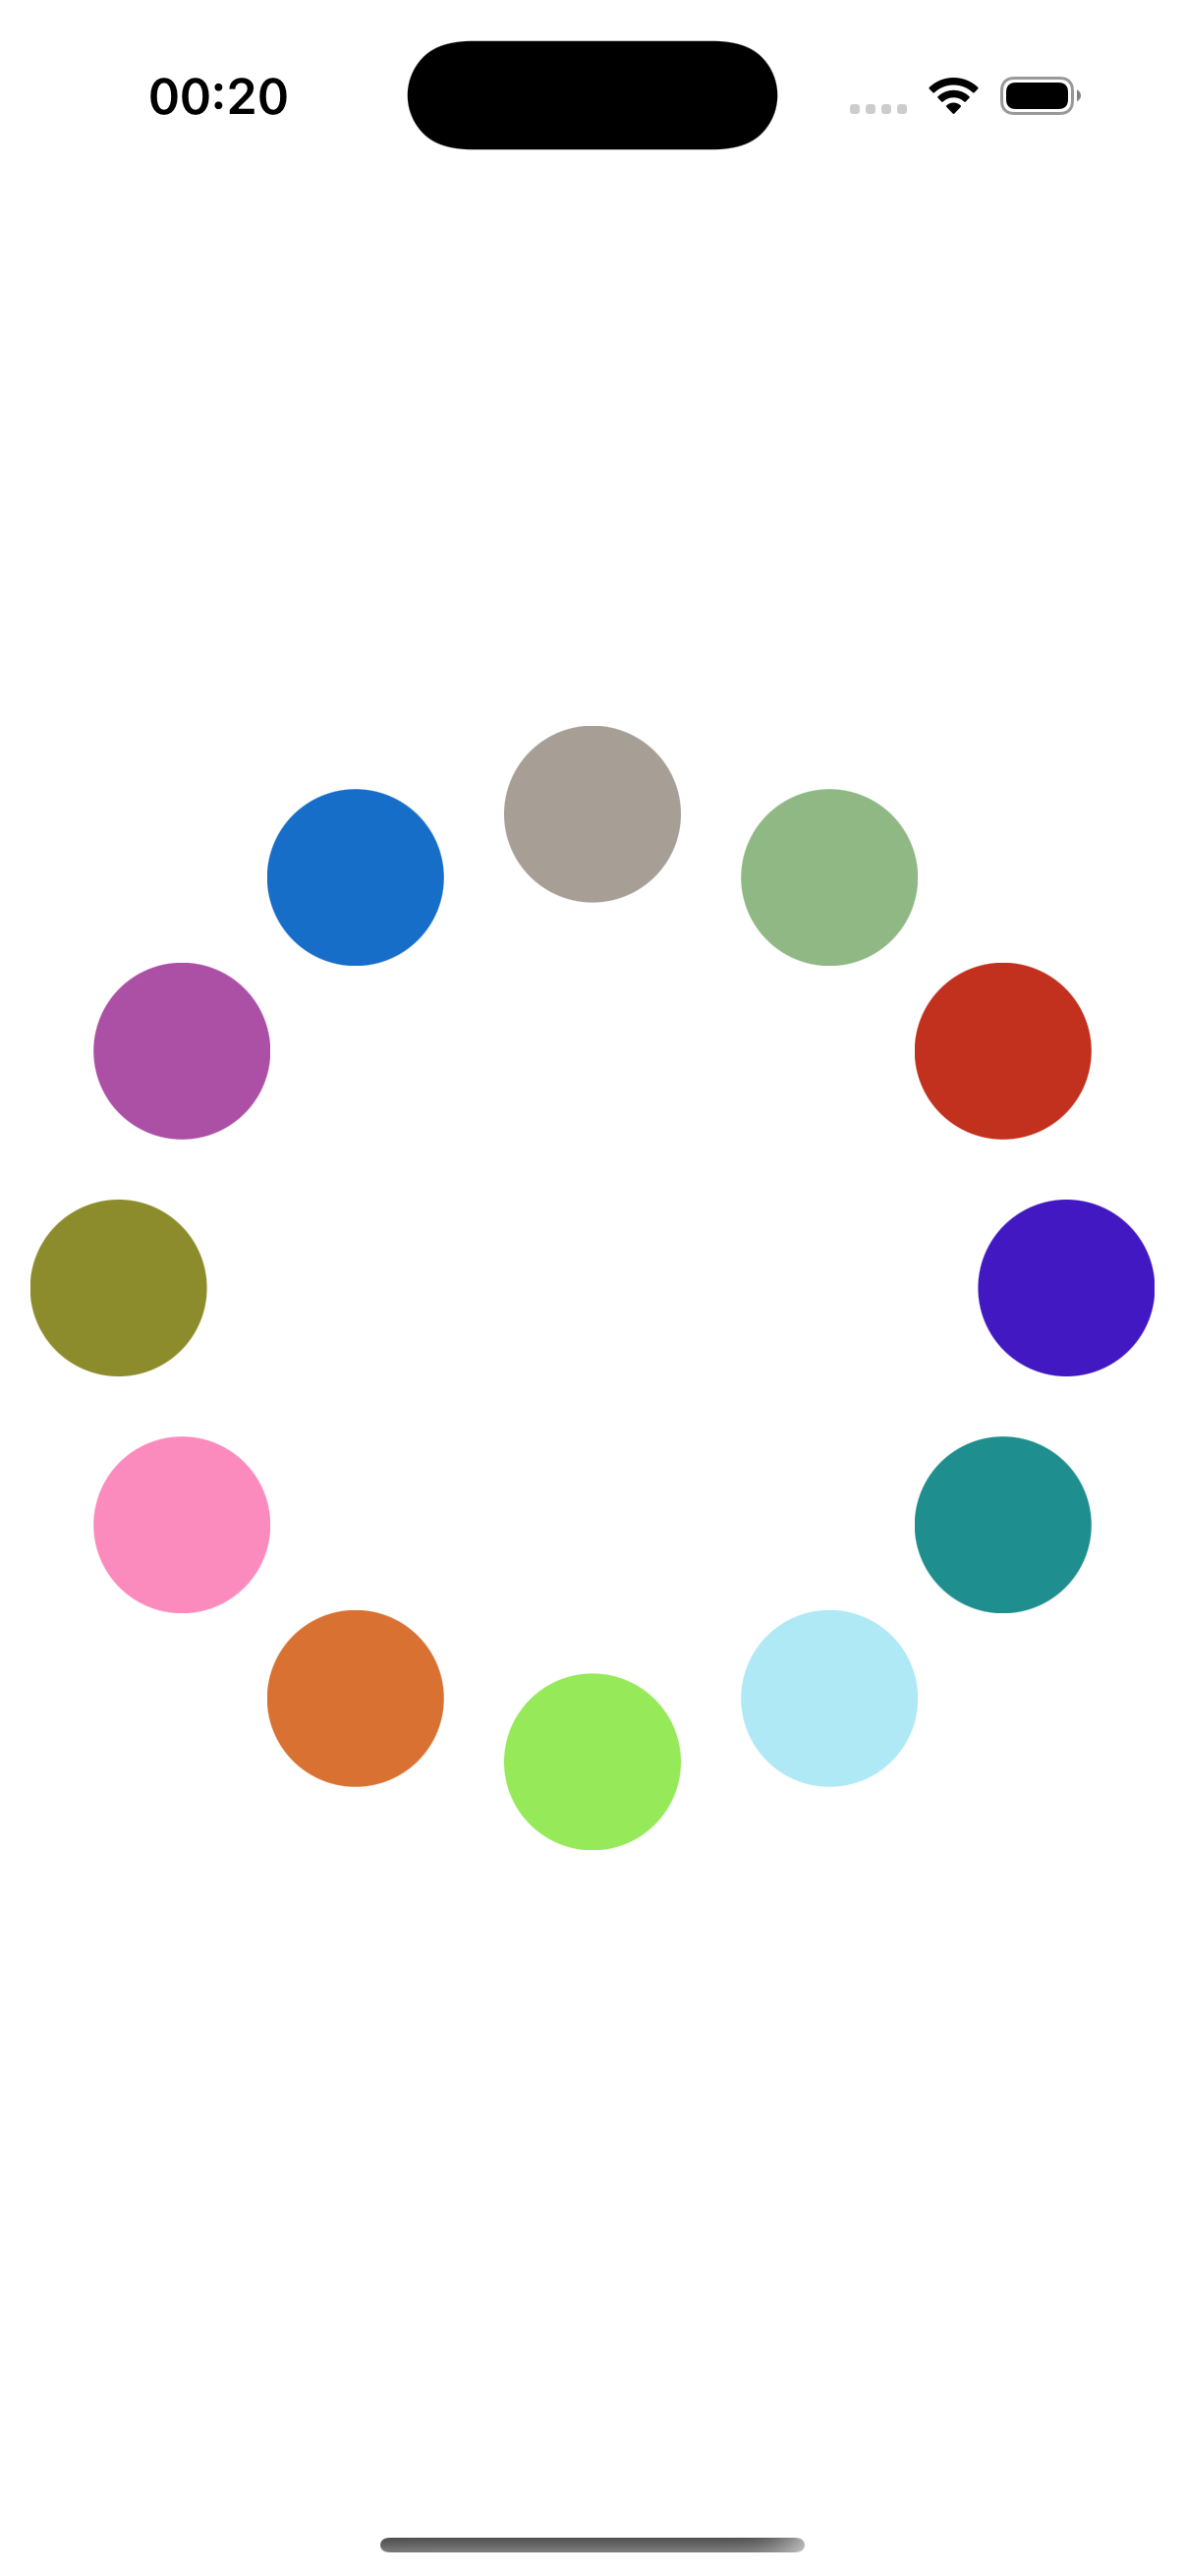
由上面我们知道,我们可以随意设置自己想要的布局,于是collectionView便被开发出了更多炫酷的使用效果,我们在这里简单介绍一个圆环布局的使用
代码展示
布局的主要代码:
objc
[super prepareLayout];
    self.itemCount = [self.collectionView numberOfItemsInSection: 0];
    _attributesArray = [NSMutableArray array];
    CGFloat viewWidth = self.collectionView.frame.size.width;
    CGFloat viewHeight = self.collectionView.frame.size.height;
    CGPoint center = CGPointMake(viewWidth / 2.0, viewHeight / 2.0);
    CGFloat radius = MIN(viewWidth, viewHeight) / 2.5;
    for (int i = 0; i < self.itemCount; i++) {
        NSIndexPath *indexPath = [NSIndexPath indexPathForItem: i inSection: 0];
        UICollectionViewLayoutAttributes *attributes = [UICollectionViewLayoutAttributes layoutAttributesForCellWithIndexPath: indexPath];
      //每个item的大小
        attributes.size = CGSizeMake(60, 60);
        //根据角度计算的坐标,即用圆周除以圆的个数,
        CGFloat angle = 2 * M_PI / self.itemCount * i;
        CGFloat x = center.x + cos(angle) * radius;
        CGFloat y = center.y + sin(angle) * radius;
        attributes.center = CGPointMake(x, y);
        [_attributesArray addObject: attributes];
    }
objc
- (void)viewDidLoad {
    [super viewDidLoad];
    self.view.backgroundColor = [UIColor whiteColor];
    CircleLayout *layout = [[CircleLayout alloc] init];
    self.collectionView = [[UICollectionView alloc] initWithFrame: self.view.bounds collectionViewLayout: layout];
    self.collectionView.backgroundColor = [UIColor whiteColor];
    self.collectionView.delegate = self;
    self.collectionView.dataSource = self;

    [self.collectionView registerClass: [UICollectionViewCell class] forCellWithReuseIdentifier: @"cell"];
    [self.view addSubview: self.collectionView];
    // Do any additional setup after loading the view.
}
- (NSInteger)collectionView:(UICollectionView *)collectionView numberOfItemsInSection:(NSInteger)section {
    return 12;
}

- (__kindof UICollectionViewCell *)collectionView:(UICollectionView *)collectionView cellForItemAtIndexPath:(NSIndexPath *)indexPath {
    UICollectionViewCell *cell = [collectionView dequeueReusableCellWithReuseIdentifier:@"cell" forIndexPath:indexPath];
    cell.backgroundColor = [UIColor colorWithRed:arc4random_uniform(255)/255.0
                                           green:arc4random_uniform(255)/255.0
                                            blue:arc4random_uniform(255)/255.0
                                           alpha:1.0];
    cell.layer.cornerRadius = 30;
    cell.layer.masksToBounds = YES;
    return cell;
}
运行结果
总结
通过本次学习,我掌握了 UICollectionView 的基本使用与原理,并学习了如何通过继承 UICollectionViewLayout 来实现特殊布局,感觉以后可以在许多地方结合应用