前言: 『OpenGL学习』 从零打造 Android 滤镜相机
上一篇:『OpenGL学习滤镜相机』- Day9: CameraX 基础集成
Github: OpenGLTest
📚 今日目标
- 理解 SurfaceTexture 的工作原理
- 掌握 OES 纹理(外部纹理)的使用
- 学习如何将相机数据传递给 OpenGL
- 实现使用 GLSurfaceView 渲染相机预览
- 为实时滤镜功能打下基础
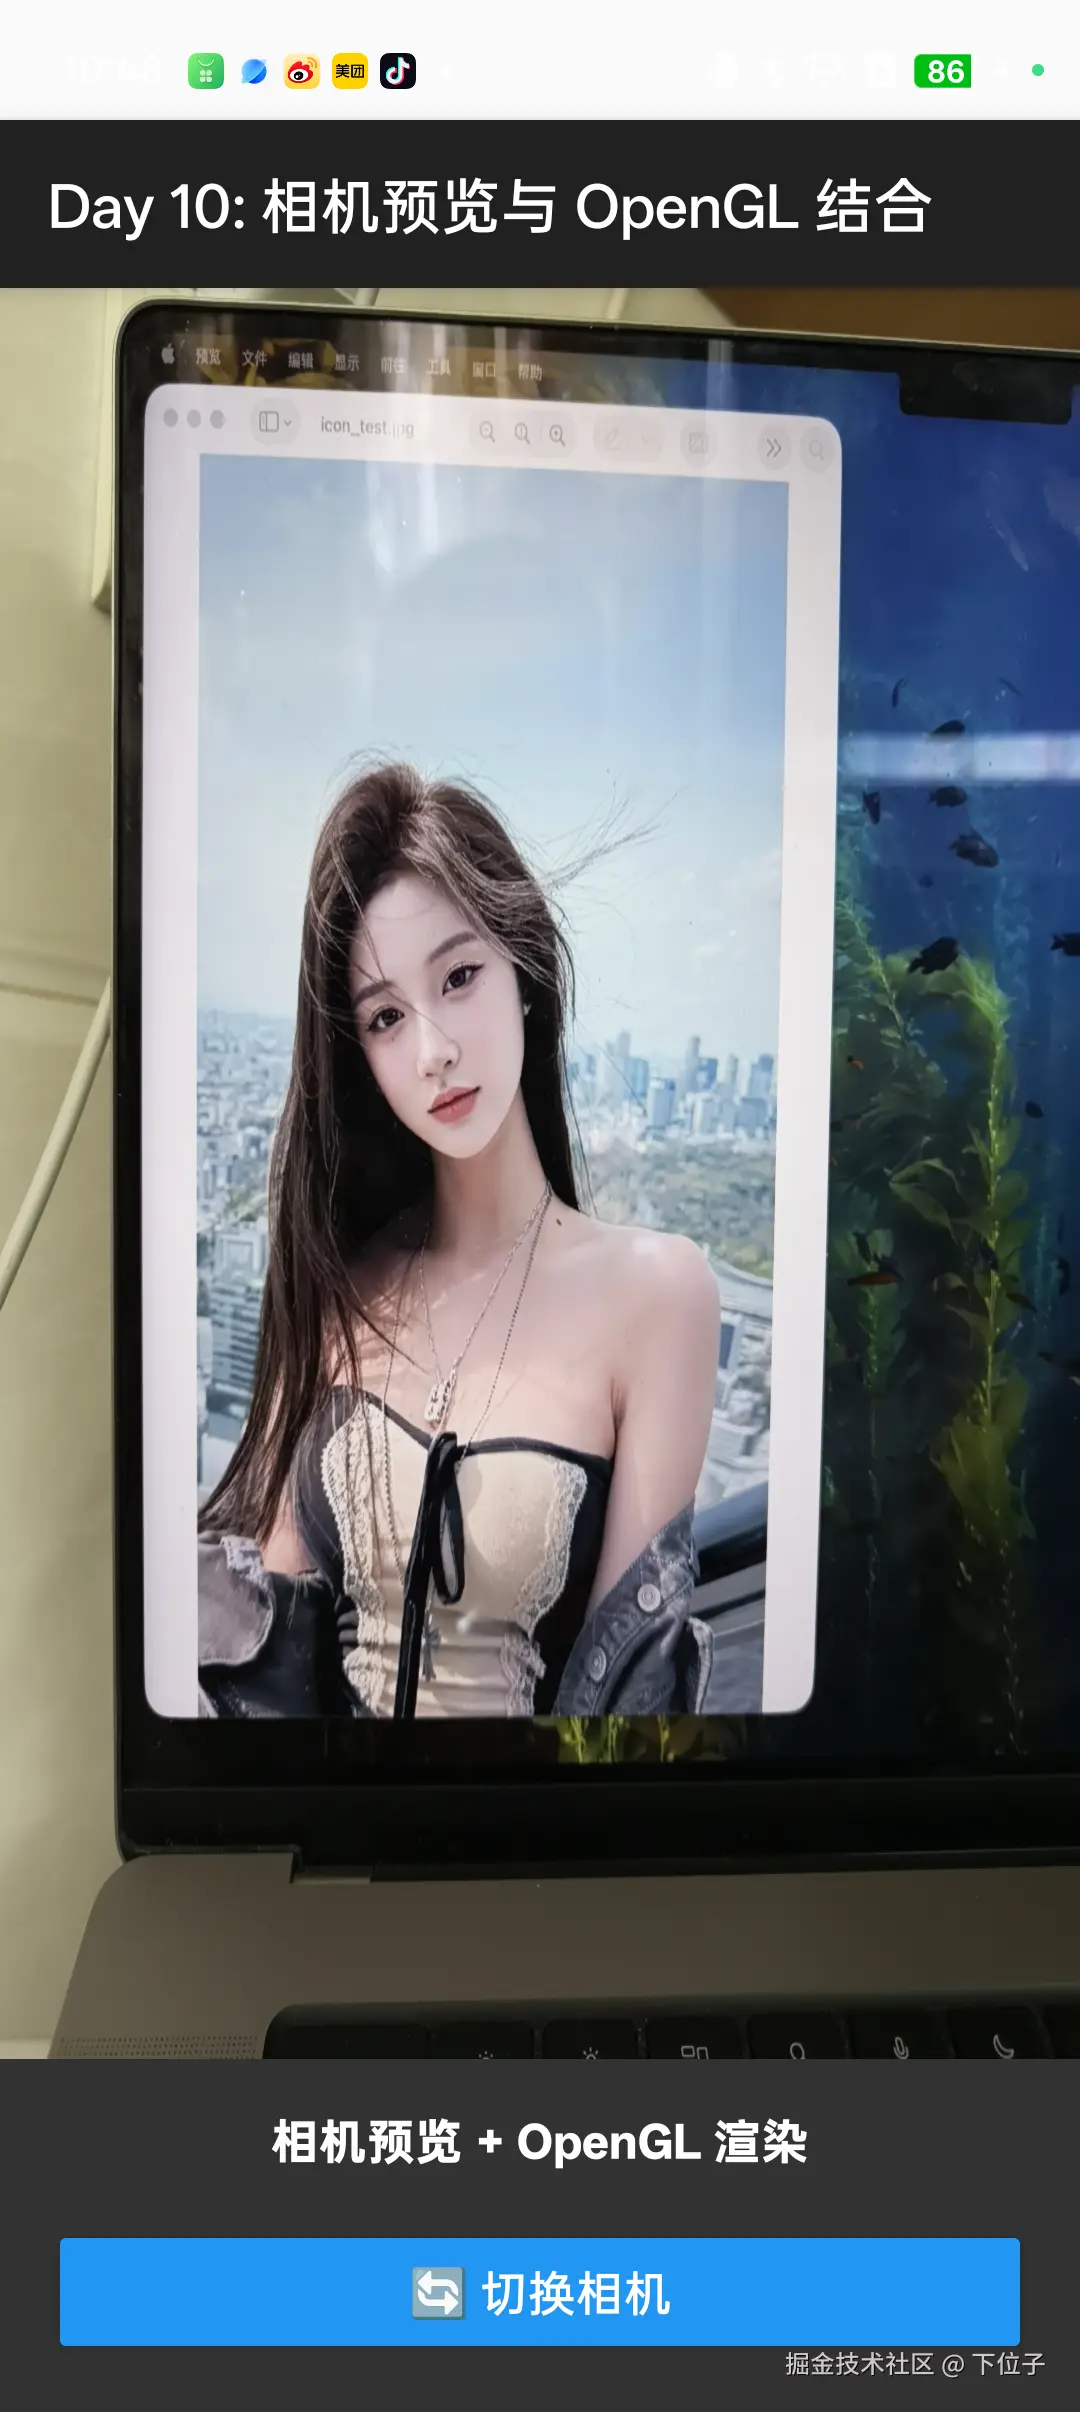
运行效果:
🎯 学习内容
1. SurfaceTexture 简介
SurfaceTexture 是 Android 中用于将图像流作为 OpenGL 纹理的关键类。
什么是 SurfaceTexture?
相机 → SurfaceTexture → OpenGL 纹理 → GLSurfaceView → 屏幕作用:
- 📹 接收相机、视频解码器等的图像流
- 🔄 将图像数据转换为 OpenGL ES 纹理
- 🎨 允许在 OpenGL 中对图像进行处理
SurfaceTexture vs PreviewView
| 特性 | PreviewView | SurfaceTexture + GLSurfaceView |
|---|---|---|
| 使用难度 | 简单 | 复杂 |
| 功能 | 仅预览 | 预览 + 实时处理 |
| 滤镜支持 | ❌ 不支持 | ✅ 支持 |
| 适用场景 | 普通相机预览 | 实时滤镜、美颜 |
2. OES 纹理(外部纹理)
什么是 OES 纹理?
OES 纹理(GL_TEXTURE_EXTERNAL_OES)是 OpenGL ES 的扩展,专门用于接收外部图像流。
与普通纹理的区别:
| 特性 | GL_TEXTURE_2D | GL_TEXTURE_EXTERNAL_OES |
|---|---|---|
| 数据来源 | 内存中的图像数据 | 相机、视频等外部流 |
| 纹理坐标 | (0,0) 到 (1,1) | 可能需要变换矩阵 |
| 采样器类型 | sampler2D |
samplerExternalOES |
| 纹理参数 | 全部支持 | 部分限制 |
| 性能 | 一般 | 更高(零拷贝) |
GLSL 中的 OES 纹理
glsl
#extension GL_OES_EGL_image_external : require

precision mediump float;

varying vec2 vTexCoord;
uniform samplerExternalOES uTexture;  // 注意:不是 sampler2D

void main() {
    gl_FragColor = texture2D(uTexture, vTexCoord);
}关键点:
- 必须声明扩展:
#extension GL_OES_EGL_image_external : require - 使用
samplerExternalOES而不是sampler2D - 采样方式仍然是
texture2D()
3. 实现流程
3.1 创建 OES 纹理
kotlin
private fun createOESTexture(): Int {
    val textures = IntArray(1)
    GLES20.glGenTextures(1, textures, 0)

    val textureId = textures[0]
    GLES20.glBindTexture(GLES11Ext.GL_TEXTURE_EXTERNAL_OES, textureId)

    // 设置纹理参数
    GLES20.glTexParameteri(
        GLES11Ext.GL_TEXTURE_EXTERNAL_OES,
        GLES20.GL_TEXTURE_MIN_FILTER,
        GLES20.GL_LINEAR
    )
    GLES20.glTexParameteri(
        GLES11Ext.GL_TEXTURE_EXTERNAL_OES,
        GLES20.GL_TEXTURE_MAG_FILTER,
        GLES20.GL_LINEAR
    )
    GLES20.glTexParameteri(
        GLES11Ext.GL_TEXTURE_EXTERNAL_OES,
        GLES20.GL_TEXTURE_WRAP_S,
        GLES20.GL_CLAMP_TO_EDGE
    )
    GLES20.glTexParameteri(
        GLES11Ext.GL_TEXTURE_EXTERNAL_OES,
        GLES20.GL_TEXTURE_WRAP_T,
        GLES20.GL_CLAMP_TO_EDGE
    )

    return textureId
}
3.2 创建 SurfaceTexture
kotlin
private lateinit var surfaceTexture: SurfaceTexture
private var oesTextureId: Int = 0

override fun onSurfaceCreated(gl: GL10?, config: EGLConfig?) {
    // 1. 创建 OES 纹理
    oesTextureId = createOESTexture()

    // 2. 创建 SurfaceTexture
    surfaceTexture = SurfaceTexture(oesTextureId)

    // 3. 设置监听器(当有新帧时回调)
    surfaceTexture.setOnFrameAvailableListener {
        // 请求重新渲染
        glSurfaceView.requestRender()
    }

    // 4. 启动相机(传递 SurfaceTexture)
    startCamera(surfaceTexture)
}
3.3 绑定相机到 SurfaceTexture
kotlin
private fun startCamera(surfaceTexture: SurfaceTexture) {
    val cameraProviderFuture = ProcessCameraProvider.getInstance(context)

    cameraProviderFuture.addListener({
        val cameraProvider = cameraProviderFuture.get()

        // 创建 Preview,但不使用 PreviewView
        val preview = Preview.Builder().build()

        // 将 SurfaceTexture 包装为 Surface
        val surface = Surface(surfaceTexture)

        // 创建 SurfaceProvider
        preview.setSurfaceProvider { request ->
            // 获取相机的分辨率
            val resolution = request.resolution
            surfaceTexture.setDefaultBufferSize(resolution.width, resolution.height)

            // 提供 Surface
            request.provideSurface(
                surface,
                ContextCompat.getMainExecutor(context)
            ) { }
        }

        val cameraSelector = CameraSelector.DEFAULT_BACK_CAMERA

        cameraProvider.unbindAll()
        cameraProvider.bindToLifecycle(
            this,
            cameraSelector,
            preview
        )

    }, ContextCompat.getMainExecutor(context))
}
3.4 在 onDrawFrame 中更新纹理
kotlin
override fun onDrawFrame(gl: GL10?) {
    // 1. 更新 SurfaceTexture(获取最新帧)
    surfaceTexture.updateTexImage()

    // 2. 获取纹理变换矩阵(处理旋转、镜像等)
    val transformMatrix = FloatArray(16)
    surfaceTexture.getTransformMatrix(transformMatrix)

    // 3. 清屏
    GLES20.glClear(GLES20.GL_COLOR_BUFFER_BIT)

    // 4. 使用着色器程序
    GLES20.glUseProgram(program)

    // 5. 绑定 OES 纹理
    GLES20.glActiveTexture(GLES20.GL_TEXTURE0)
    GLES20.glBindTexture(GLES11Ext.GL_TEXTURE_EXTERNAL_OES, oesTextureId)
    GLES20.glUniform1i(uTextureLocation, 0)

    // 6. 传递变换矩阵
    GLES20.glUniformMatrix4fv(uTransformMatrixLocation, 1, false, transformMatrix, 0)

    // 7. 绘制
    drawQuad()
}
4. 纹理变换矩阵
为什么需要变换矩阵?
相机输出的图像可能有:
- 🔄 旋转:相机传感器方向与屏幕不一致
- 🪞 镜像:前置相机通常是镜像的
- 📐 裁剪:分辨率不匹配
SurfaceTexture.getTransformMatrix() 提供的矩阵可以自动处理这些问题。
在着色器中应用变换矩阵
glsl
// 顶点着色器
attribute vec4 aPosition;
attribute vec4 aTexCoord;
uniform mat4 uTransformMatrix;  // 变换矩阵
varying vec2 vTexCoord;

void main() {
    // 应用变换矩阵到纹理坐标
    vec4 transformedCoord = uTransformMatrix * aTexCoord;
    vTexCoord = transformedCoord.xy;
    gl_Position = aPosition;
}注意:纹理坐标需要使用 4D 向量(vec4),第三个分量为 0,第四个为 1:
kotlin
val texCoords = floatArrayOf(
    0f, 0f, 0f, 1f,  // 左下
    1f, 0f, 0f, 1f,  // 右下
    0f, 1f, 0f, 1f,  // 左上
    1f, 1f, 0f, 1f   // 右上
)
5. GLSurfaceView 渲染模式
两种渲染模式
kotlin
// 1. 连续渲染(默认)
glSurfaceView.renderMode = GLSurfaceView.RENDERMODE_CONTINUOUSLY

// 2. 按需渲染(推荐用于相机)
glSurfaceView.renderMode = GLSurfaceView.RENDERMODE_WHEN_DIRTY推荐做法:
- 使用
RENDERMODE_WHEN_DIRTY - 在
SurfaceTexture.setOnFrameAvailableListener中调用requestRender() - 避免无谓的重绘,节省电量
kotlin
surfaceTexture.setOnFrameAvailableListener {
    glSurfaceView.requestRender()  // 有新帧时才渲染
}
6. 完整的 Renderer 实现
kotlin
class Day10Renderer(private val context: Context) : GLSurfaceView.Renderer {

    private var program: Int = 0
    private var oesTextureId: Int = 0
    private lateinit var surfaceTexture: SurfaceTexture

    private var uTextureLocation: Int = 0
    private var uTransformMatrixLocation: Int = 0

    private val transformMatrix = FloatArray(16)

    // OES 纹理的顶点着色器
    private val vertexShaderCode = """
        attribute vec4 aPosition;
        attribute vec4 aTexCoord;
        uniform mat4 uTransformMatrix;
        varying vec2 vTexCoord;

        void main() {
            vec4 transformedCoord = uTransformMatrix * aTexCoord;
            vTexCoord = transformedCoord.xy;
            gl_Position = aPosition;
        }
    """.trimIndent()

    // OES 纹理的片段着色器
    private val fragmentShaderCode = """
        #extension GL_OES_EGL_image_external : require
        precision mediump float;

        varying vec2 vTexCoord;
        uniform samplerExternalOES uTexture;

        void main() {
            gl_FragColor = texture2D(uTexture, vTexCoord);
        }
    """.trimIndent()

    override fun onSurfaceCreated(gl: GL10?, config: EGLConfig?) {
        GLES20.glClearColor(0f, 0f, 0f, 1f)

        // 编译着色器
        program = createProgram(vertexShaderCode, fragmentShaderCode)

        // 获取变量位置
        uTextureLocation = GLES20.glGetUniformLocation(program, "uTexture")
        uTransformMatrixLocation = GLES20.glGetUniformLocation(program, "uTransformMatrix")

        // 创建 OES 纹理
        oesTextureId = createOESTexture()

        // 创建 SurfaceTexture
        surfaceTexture = SurfaceTexture(oesTextureId)
        surfaceTexture.setOnFrameAvailableListener {
            // 请求重新渲染
        }

        // 启动相机
        startCamera()
    }

    override fun onDrawFrame(gl: GL10?) {
        // 更新纹理
        surfaceTexture.updateTexImage()
        surfaceTexture.getTransformMatrix(transformMatrix)

        // 清屏
        GLES20.glClear(GLES20.GL_COLOR_BUFFER_BIT)

        // 使用程序
        GLES20.glUseProgram(program)

        // 绑定纹理
        GLES20.glActiveTexture(GLES20.GL_TEXTURE0)
        GLES20.glBindTexture(GLES11Ext.GL_TEXTURE_EXTERNAL_OES, oesTextureId)
        GLES20.glUniform1i(uTextureLocation, 0)

        // 传递变换矩阵
        GLES20.glUniformMatrix4fv(uTransformMatrixLocation, 1, false, transformMatrix, 0)

        // 绘制
        drawQuad()
    }

    override fun onSurfaceChanged(gl: GL10?, width: Int, height: Int) {
        GLES20.glViewport(0, 0, width, height)
    }

    private fun createOESTexture(): Int {
        // OES 纹理创建代码
    }

    private fun startCamera() {
        // 相机启动代码
    }
}
7. 常见问题处理
7.1 图像方向问题
问题:相机预览可能旋转 90°、180° 或 270°。
解决方法:
- ✅ 使用
surfaceTexture.getTransformMatrix()自动处理 - ✅ 在顶点着色器中应用变换矩阵
- ❌ 不要手动旋转(会增加复杂度)
7.2 前置相机镜像问题
问题:前置相机预览是镜像的。
解决方法:
kotlin
// 如果需要取消镜像,可以在变换矩阵上再应用一个镜像变换
if (lensFacing == CameraSelector.LENS_FACING_FRONT) {
    // 水平翻转矩阵
    val flipMatrix = floatArrayOf(
        -1f, 0f, 0f, 0f,
        0f, 1f, 0f, 0f,
        0f, 0f, 1f, 0f,
        1f, 0f, 0f, 1f
    )
    Matrix.multiplyMM(finalMatrix, 0, flipMatrix, 0, transformMatrix, 0)
}
7.3 黑屏问题
可能原因:
- 未调用
surfaceTexture.updateTexImage() - OES 纹理创建失败
- 着色器中未声明
#extension - 相机未正确绑定到 SurfaceTexture
调试方法:
kotlin
// 检查纹理 ID
Log.d(TAG, "OES Texture ID: $oesTextureId")

// 检查是否有新帧
surfaceTexture.setOnFrameAvailableListener {
    Log.d(TAG, "New frame available")
    glSurfaceView.requestRender()
}

// 检查 OpenGL 错误
fun checkGLError(op: String) {
    var error: Int
    while (GLES20.glGetError().also { error = it } != GLES20.GL_NO_ERROR) {
        Log.e(TAG, "$op: glError $error")
    }
}
8. 性能优化
8.1 使用按需渲染
kotlin
glSurfaceView.renderMode = GLSurfaceView.RENDERMODE_WHEN_DIRTY

surfaceTexture.setOnFrameAvailableListener {
    glSurfaceView.requestRender()  // 只在有新帧时渲染
}
8.2 避免不必要的拷贝
OES 纹理的优势是零拷贝:
- 相机数据直接写入 GPU 纹理
- 无需 CPU 参与数据传输
- 性能更高,延迟更低
8.3 选择合适的分辨率
kotlin
val preview = Preview.Builder()
    .setTargetResolution(Size(1280, 720))  // 降低分辨率提高性能
    .build()
💻 代码实践
今日任务
实现相机预览与 OpenGL 结合:
- 创建 OES 纹理
- 使用 SurfaceTexture 接收相机数据
- 在 GLSurfaceView 中渲染相机预览
- 处理纹理变换矩阵
- 支持前后摄像头切换
实现效果
- 📹 使用 OpenGL 渲染相机实时预览
- 🔄 自动处理图像旋转和镜像
- 📱 支持前后摄像头切换
- ⚡ 高性能、低延迟
核心代码结构
kotlin
class Day10Renderer(context: Context, private val glSurfaceView: GLSurfaceView)
    : GLSurfaceView.Renderer {

    private var oesTextureId: Int = 0
    private lateinit var surfaceTexture: SurfaceTexture

    fun getSurfaceTexture(): SurfaceTexture = surfaceTexture

    override fun onSurfaceCreated(gl: GL10?, config: EGLConfig?) {
        // 创建 OES 纹理和 SurfaceTexture
    }

    override fun onDrawFrame(gl: GL10?) {
        // 更新纹理并渲染
    }
}

class Day10Activity : AppCompatActivity() {

    private lateinit var glSurfaceView: GLSurfaceView
    private lateinit var renderer: Day10Renderer

    override fun onCreate(savedInstanceState: Bundle?) {
        super.onCreate(savedInstanceState)

        glSurfaceView = GLSurfaceView(this)
        glSurfaceView.setEGLContextClientVersion(2)

        renderer = Day10Renderer(this, glSurfaceView)
        glSurfaceView.setRenderer(renderer)
        glSurfaceView.renderMode = GLSurfaceView.RENDERMODE_WHEN_DIRTY

        setContentView(glSurfaceView)

        // 启动相机
        startCamera(renderer.getSurfaceTexture())
    }
}
🧪 练习任务
基础任务
- ✅ 实现 OES 纹理创建
- ✅ 使用 SurfaceTexture 接收相机数据
- ✅ 在 OpenGL 中渲染相机预览
进阶任务
- 🎨 添加简单滤镜(灰度、反色)
- 📐 支持捏合缩放
- 🔦 添加闪光灯控制
- 📸 支持拍照功能(从 OpenGL 纹理保存)
挑战任务
- 🎬 实现录像功能(使用 MediaCodec)
- 🖼️ 实现双重曝光效果(两个相机混合)
- 🌈 实现实时美颜(磨皮、美白)
- 📊 显示 FPS 性能指标
📖 知识点总结
核心概念
| 概念 | 说明 |
|---|---|
| SurfaceTexture | 将图像流转换为 OpenGL 纹理 |
| OES 纹理 | 专用于外部图像流的纹理类型 |
| 变换矩阵 | 处理旋转、镜像、裁剪 |
| 按需渲染 | 仅在有新帧时渲染,节省电量 |
关键 API
kotlin
// 创建 OES 纹理
GLES20.glBindTexture(GLES11Ext.GL_TEXTURE_EXTERNAL_OES, textureId)

// 创建 SurfaceTexture
val surfaceTexture = SurfaceTexture(oesTextureId)

// 更新纹理
surfaceTexture.updateTexImage()

// 获取变换矩阵
surfaceTexture.getTransformMatrix(matrix)
最佳实践
- ✅ 使用按需渲染模式:节省电量
- ✅ 在 onFrameAvailable 中 requestRender():及时更新
- ✅ 使用变换矩阵:自动处理旋转和镜像
- ✅ 检查 OpenGL 错误:及时发现问题
- ✅ 选择合适的分辨率:平衡性能和质量
🔗 参考资料
官方文档
推荐阅读
- Grafika - Google 的 OpenGL 示例项目
- Android 相机架构
📝 今日总结
今天我们学习了相机预览与 OpenGL 的结合:
- ✅ 理解了 SurfaceTexture 的工作原理
- ✅ 掌握了 OES 纹理的创建和使用
- ✅ 学会了将相机数据传递给 OpenGL
- ✅ 实现了使用 GLSurfaceView 渲染相机预览
- ✅ 了解了纹理变换矩阵的应用
关键要点:
- SurfaceTexture 是连接相机和 OpenGL 的桥梁
- OES 纹理提供了高性能的零拷贝图像传输
- 变换矩阵自动处理旋转、镜像等问题
- 按需渲染模式能节省电量