文章目录
前言
本文记录Docker发布ASP.NET Core应用,并且借助阿里云的容器镜像服务仓库,实现本地镜像的上传和服务器镜像拉取。希望能帮助到有需要的小伙伴。
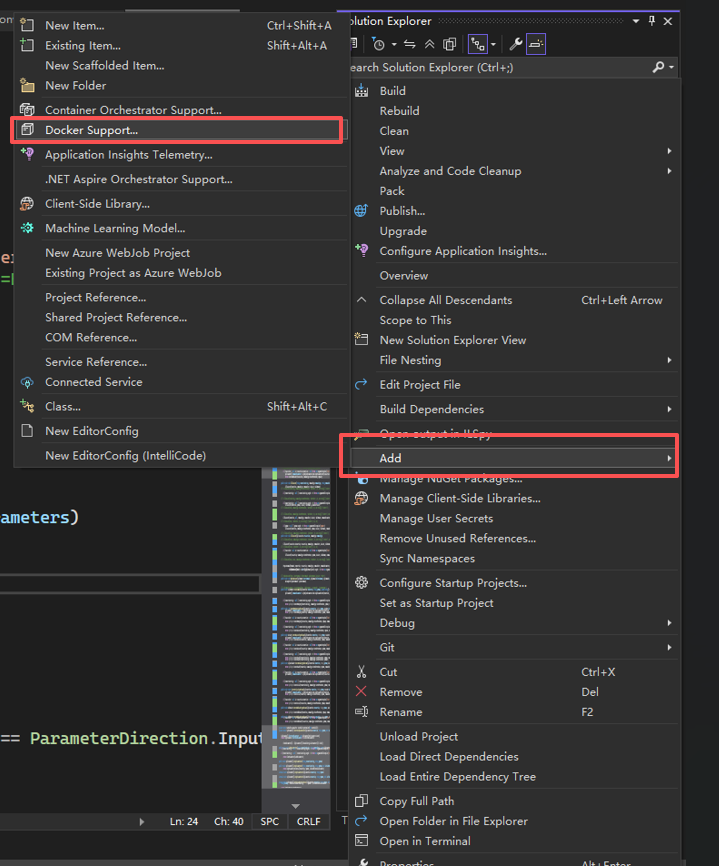
1.初始化Dockerfile
如果项目之前没有初始化Dockerfile的话,需要手动在主项目下面新建一个Docker Support。
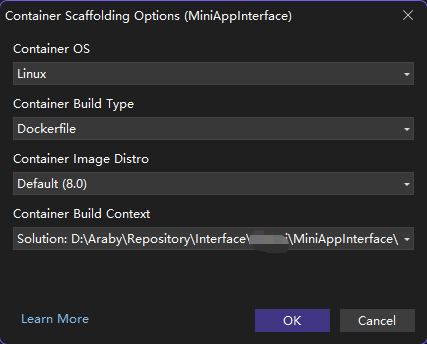
执行上述步骤后,visual studio会帮我们生成一个docker 编排文件。该编排文件主要执行四点内容。
- 定义运行时基础环境
- 编译应用代码
- 打包可部署的应用
- 生产环境运行镜像
vs生成的 docker 编排
bash
# See https://aka.ms/customizecontainer to learn how to customize your debug container and how Visual Studio uses this Dockerfile to build your images for faster debugging.

# This stage is used when running from VS in fast mode (Default for Debug configuration)
FROM mcr.microsoft.com/dotnet/aspnet:8.0 AS base
USER $APP_UID
WORKDIR /app
EXPOSE 8080
EXPOSE 8081


# This stage is used to build the service project
FROM mcr.microsoft.com/dotnet/sdk:8.0 AS build
ARG BUILD_CONFIGURATION=Release
WORKDIR /src
COPY ["MiniAppInterface/MiniAppInterface.csproj", "MiniAppInterface/"]
COPY ["MiniAppInterface.IdentityService/MiniAppInterface.IdentityService.csproj", "MiniAppInterface.IdentityService/"]
COPY ["MiniAppInterface.Models/MiniAppInterface.Models.csproj", "MiniAppInterface.Models/"]
RUN dotnet restore "./MiniAppInterface/MiniAppInterface.csproj"
COPY . .
WORKDIR "/src/MiniAppInterface"
RUN dotnet build "./MiniAppInterface.csproj" -c $BUILD_CONFIGURATION -o /app/build

# This stage is used to publish the service project to be copied to the final stage
FROM build AS publish
ARG BUILD_CONFIGURATION=Release
RUN dotnet publish "./MiniAppInterface.csproj" -c $BUILD_CONFIGURATION -o /app/publish /p:UseAppHost=false

# This stage is used in production or when running from VS in regular mode (Default when not using the Debug configuration)
FROM base AS final
WORKDIR /app
COPY --from=publish /app/publish .
ENTRYPOINT ["dotnet", "MiniAppInterface.dll"]
2.打包镜像
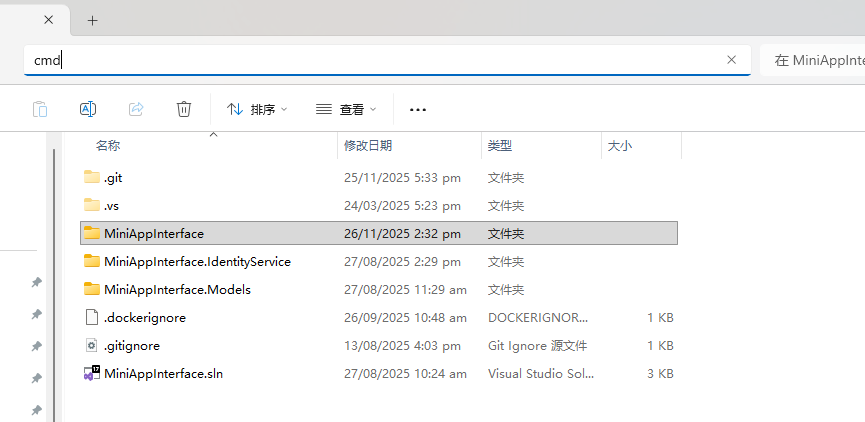
访问文件的根目录,执行cmd。然后准备打包指令。注意的是如果是分层架构项目一点要注意Dockerfile的相对路径位置。确认无误后执行docker build -t指令,后面第一个参数是打包后的镜像名称,指令最后便是执行打包命令
bash
docker build -t miniappinterface:prod --build-arg BUILD_CONFIGURATION=Release -f ./MiniAppInterface/Dockerfile .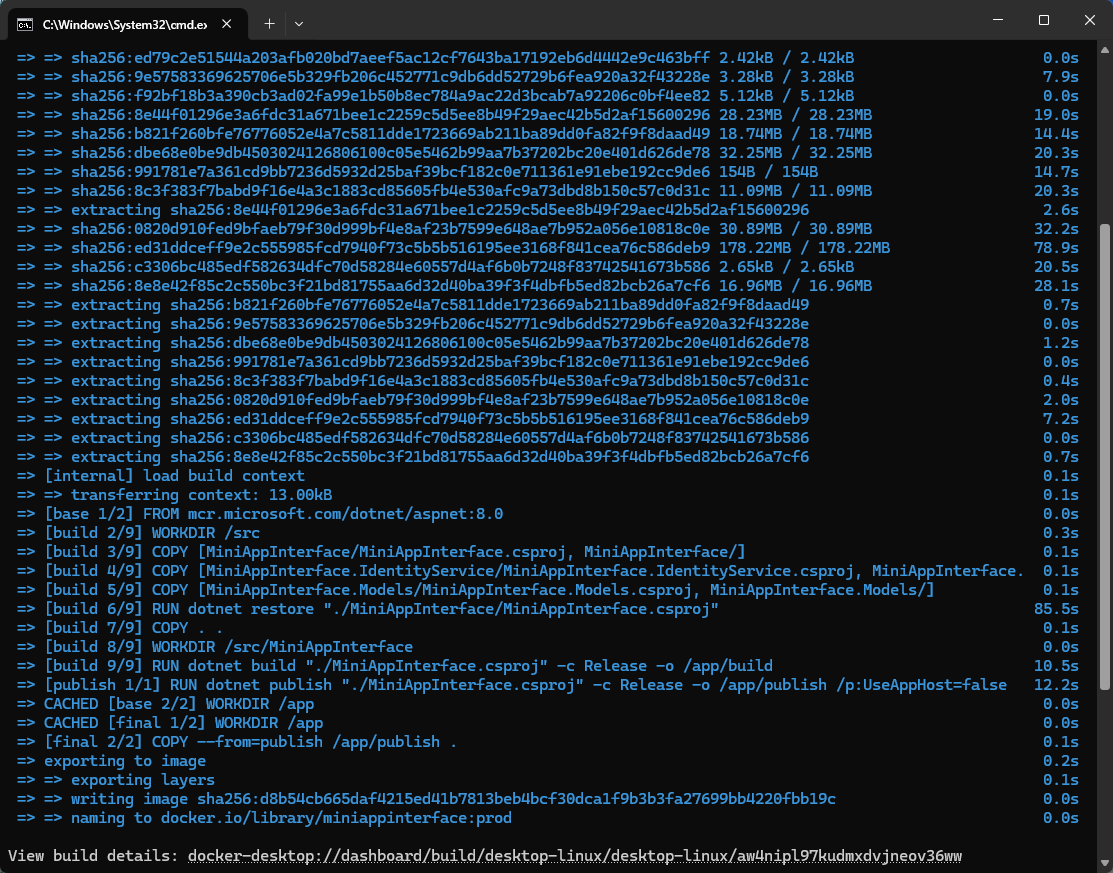
漫长的拉取镜像,编译文件,打包镜像后。控制台执行docker images我们就能看到打包好的镜像

3.阿里云容器镜像服务准备工作
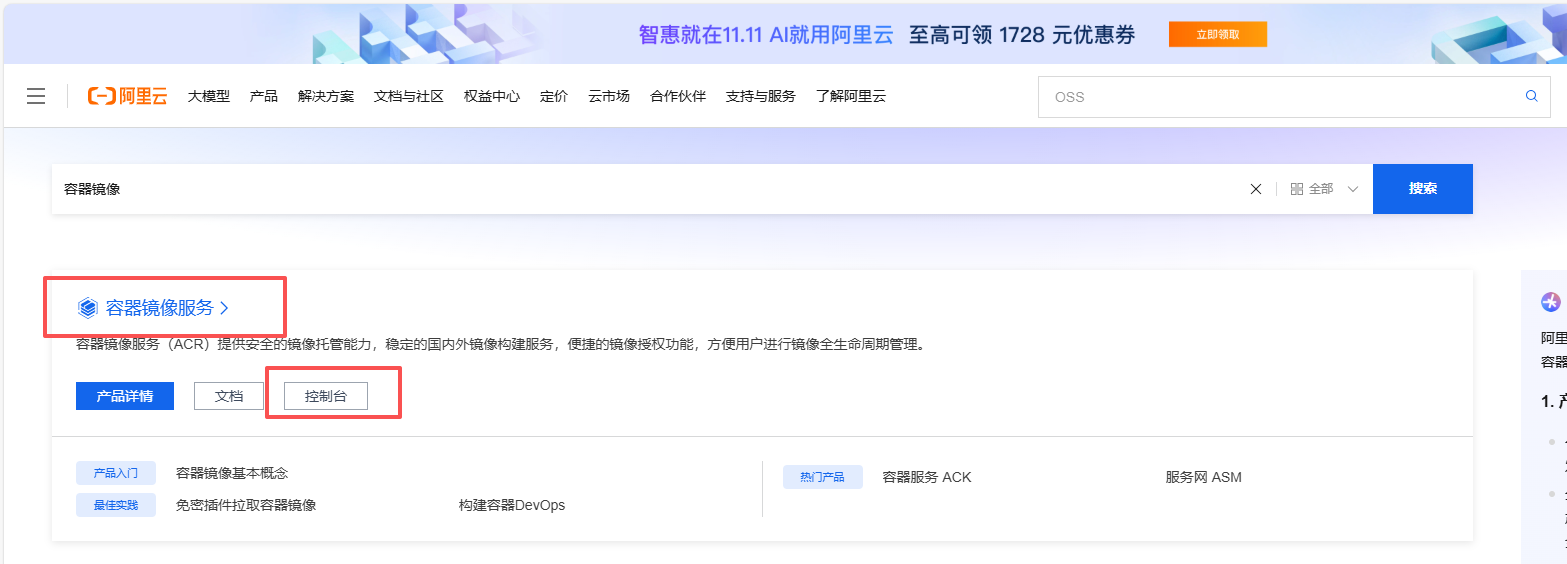
访问阿里云官网,找到容器镜像服务控制台
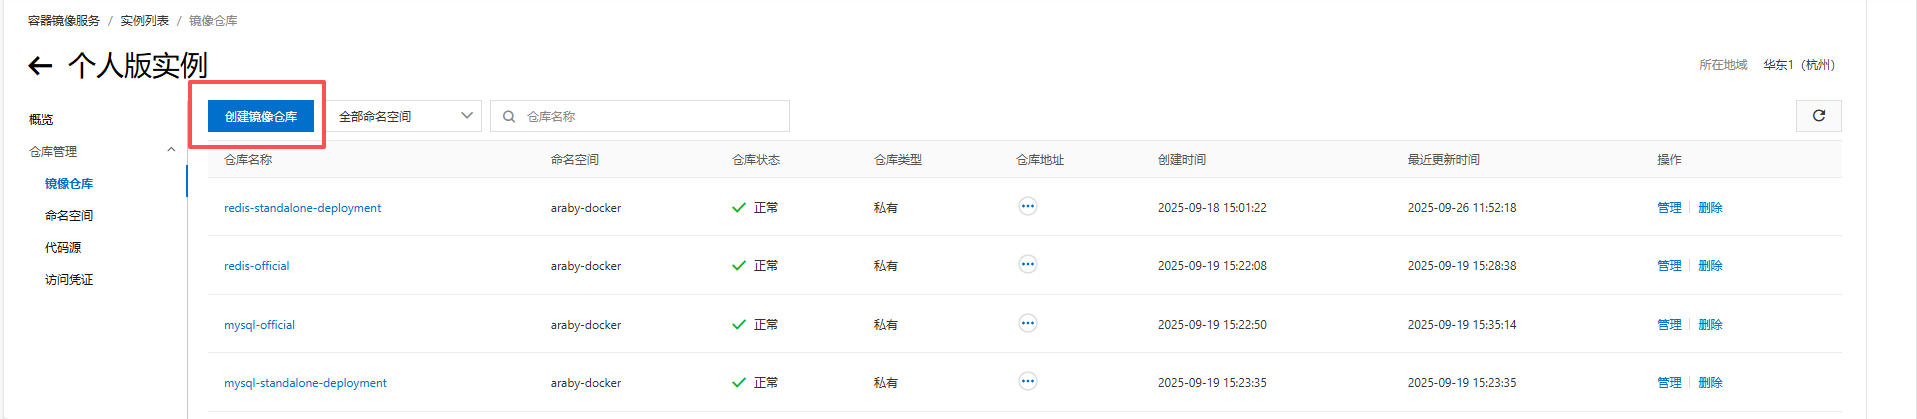
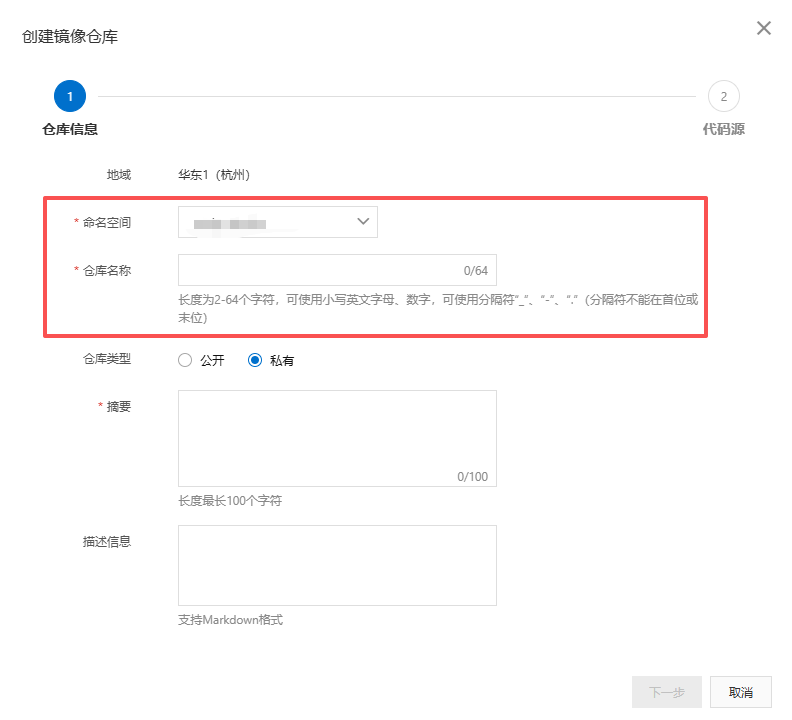
创建容器镜像仓库
这里填入的命名空间和仓库名称会形成访问镜像的url路径
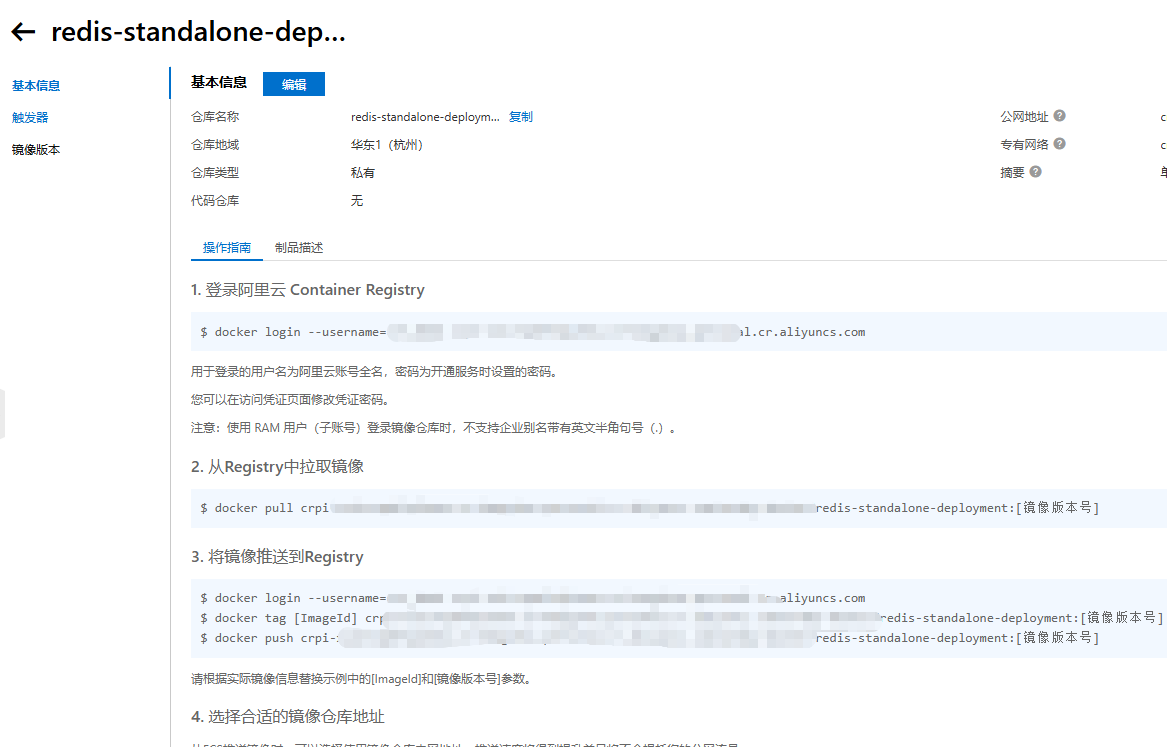
点击镜像仓库的管理,阿里云给我们提供了操作语句,包括上传和拉取镜像。
4.上传镜像到阿里云容器镜像
- 查找本地docker的镜像,找到刚刚我们打包好的镜像
bash
docker images
- 登录阿里云 Container Registry
以下指令在第三小节里有介绍
bash
$ docker login --username=[你的用户名] [你的阿里云url].aliyuncs.com- 将镜像推送到Registry
将本地镜像按照镜像库的格式打上tag
bash
$ docker tag [ImageId] [你的阿里云url].aliyuncs.com/araby-docker/[镜像名称]:[镜像版本号]开始推送
bash
$ docker push {你的阿里云url}.aliyuncs.com/araby-docker/{镜像名称}:[镜像版本号]5.服务器上拉取阿里云容器镜像
1 登录阿里云 Container Registry
以下指令在第三小节里有介绍
bash
$ docker login --username=[你的用户名] [你的阿里云url].aliyuncs.com- 将镜像推送到Registry
开始拉取
bash
$ docker pull {你的阿里云url}.aliyuncs.com/araby-docker/{镜像名称}:[镜像版本号]6.服务器上应用镜像
接下来就和正常应用镜像作为容器一样,启动镜像就可以将前面打包的ASP.NET Core服务启动起来了
这里我把之前的镜像8080端口映射宿主机的50005,并且纳入到之前定义的local-network容器网络里,然后将区域设定为亚洲/上海
bash
docker run -d -p 50005:8080 --name [容器别名] --network local-network --restart=always -e TZ=Asia/Shanghai [镜像名称]