以下为兼容MacOS和Linux的部署步骤:
1、准备Dockerfile
# syntax=docker/dockerfile:1
FROM python:3.11-slim-bookworm

ENV PIP_INDEX_URL=https://mirrors.aliyun.com/pypi/simple \
    PIP_NO_CACHE_DIR=1 \
    PIP_ROOT_USER_ACTION=ignore \
    PYTHONDONTWRITEBYTECODE=1 \
    PYTHONUNBUFFERED=1 \
    UV_SYSTEM_PYTHON=1

RUN apt-get update && apt-get install -y --no-install-recommends \
    libgl1 \
    libglib2.0-0 \
    poppler-utils \
    tesseract-ocr \
    tesseract-ocr-eng \
    tesseract-ocr-chi-sim \
    tesseract-ocr-chi-tra \
    curl \
    ca-certificates \
    && rm -rf /var/lib/apt/lists/*

# 安装 uv,并明确装到"系统 Python"里(非 venv)
RUN pip install -U uv && \
    uv pip install --system -U "mineru[core]"

RUN mkdir -p /data /models

EXPOSE 8000
ENTRYPOINT ["mineru-api"]
CMD ["--host", "0.0.0.0", "--port", "8000"]
2、准备compose.yaml
services:
  mineru-api:
    build:
      context: .
      dockerfile: Dockerfile
    container_name: mineru-api
    restart: unless-stopped
    ports:
      - "8000:8000"
    environment:
      OMP_NUM_THREADS: "6"
      NUMEXPR_MAX_THREADS: "6"
      MKL_NUM_THREADS: "6"
      # 可选:指定 CUDA 可见设备(若有多 GPU,按需配置)
      # CUDA_VISIBLE_DEVICES: "0"  # 只使用第 1 块 GPU(索引从 0 开始)
      # CUDA_VISIBLE_DEVICES: "0,1"  # 使用第 1、2 块 GPU
    volumes:
      - ./ms_models:/root/.cache/modelscope/hub/models
      - ./models:/models
      - ./data:/data
      - ./mineru.json:/root/mineru.json
    # 关键:添加 GPU 资源配置
    deploy:
      resources:
        reservations:
          devices:
            - driver: nvidia
              count: all  # 使用所有可用 GPU(推荐),也可指定数量(如 count: 1)
              capabilities: [gpu]  # 声明需要 GPU 能力
    healthcheck:
      test: ["CMD-SHELL", "curl -fsS http://localhost:8000/docs || exit 1"]
      interval: 30s
      timeout: 5s
      retries: 5
      start_period: 20s
MacOS 需要去掉GPU资源配置部分。
3、设置mineru.json
{
    "bucket_info": {
        "bucket-name-1": [
            "ak",
            "sk",
            "endpoint"
        ],
        "bucket-name-2": [
            "ak",
            "sk",
            "endpoint"
        ]
    },
    "latex-delimiter-config": {
        "display": {
            "left": "$$",
            "right": "$$"
        },
        "inline": {
            "left": "$",
            "right": "$"
        }
    },
    "llm-aided-config": {
        "title_aided": {
            "api_key": "your_api_key",
            "base_url": "https://dashscope.aliyuncs.com/compatible-mode/v1",
            "model": "qwen3-next-80b-a3b-instruct",
            "enable_thinking": false,
            "enable": false
        }
    },
    "models-dir": {
        "pipeline": "/root/.cache/modelscope/hub/models/OpenDataLab/PDF-Extract-Kit-1___0",
        "vlm": "/root/.cache/modelscope/hub/models/OpenDataLab/MinerU2___5-2509-1___2B"
    },
    "config_version": "1.3.1"
}
4、打包并启动
docker compose up -d启动完成后能成功访问 `http://localhost:8000/docs/\`
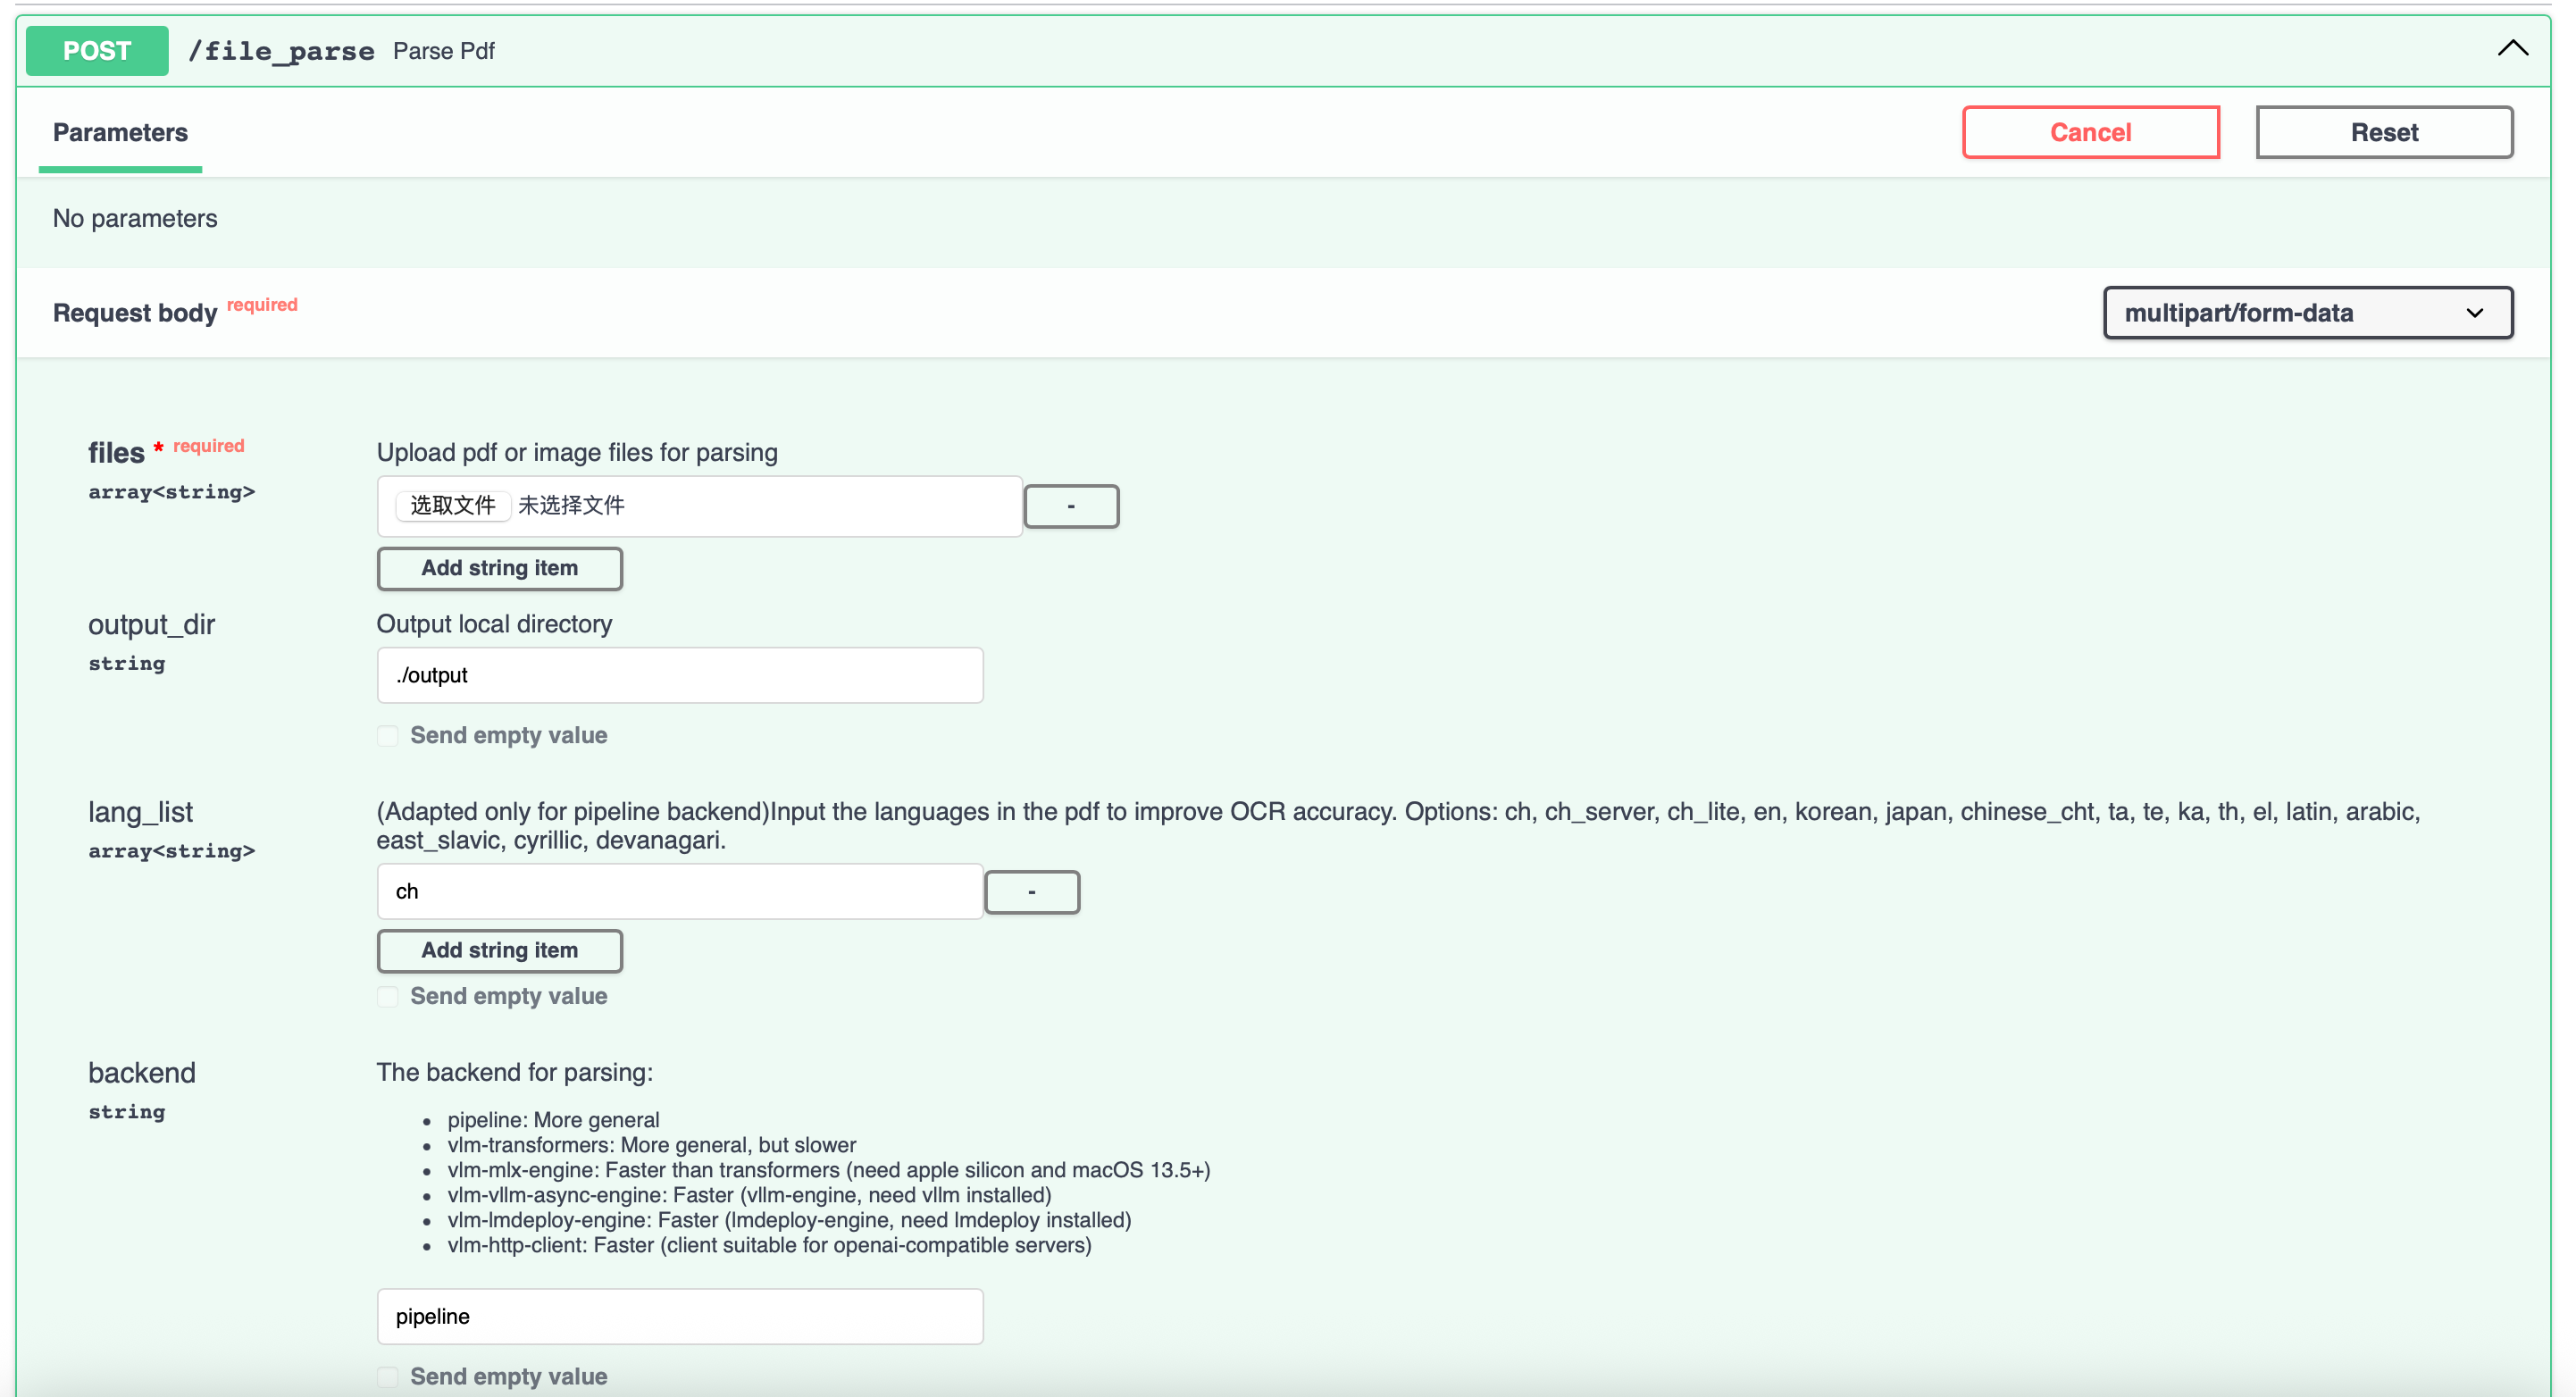
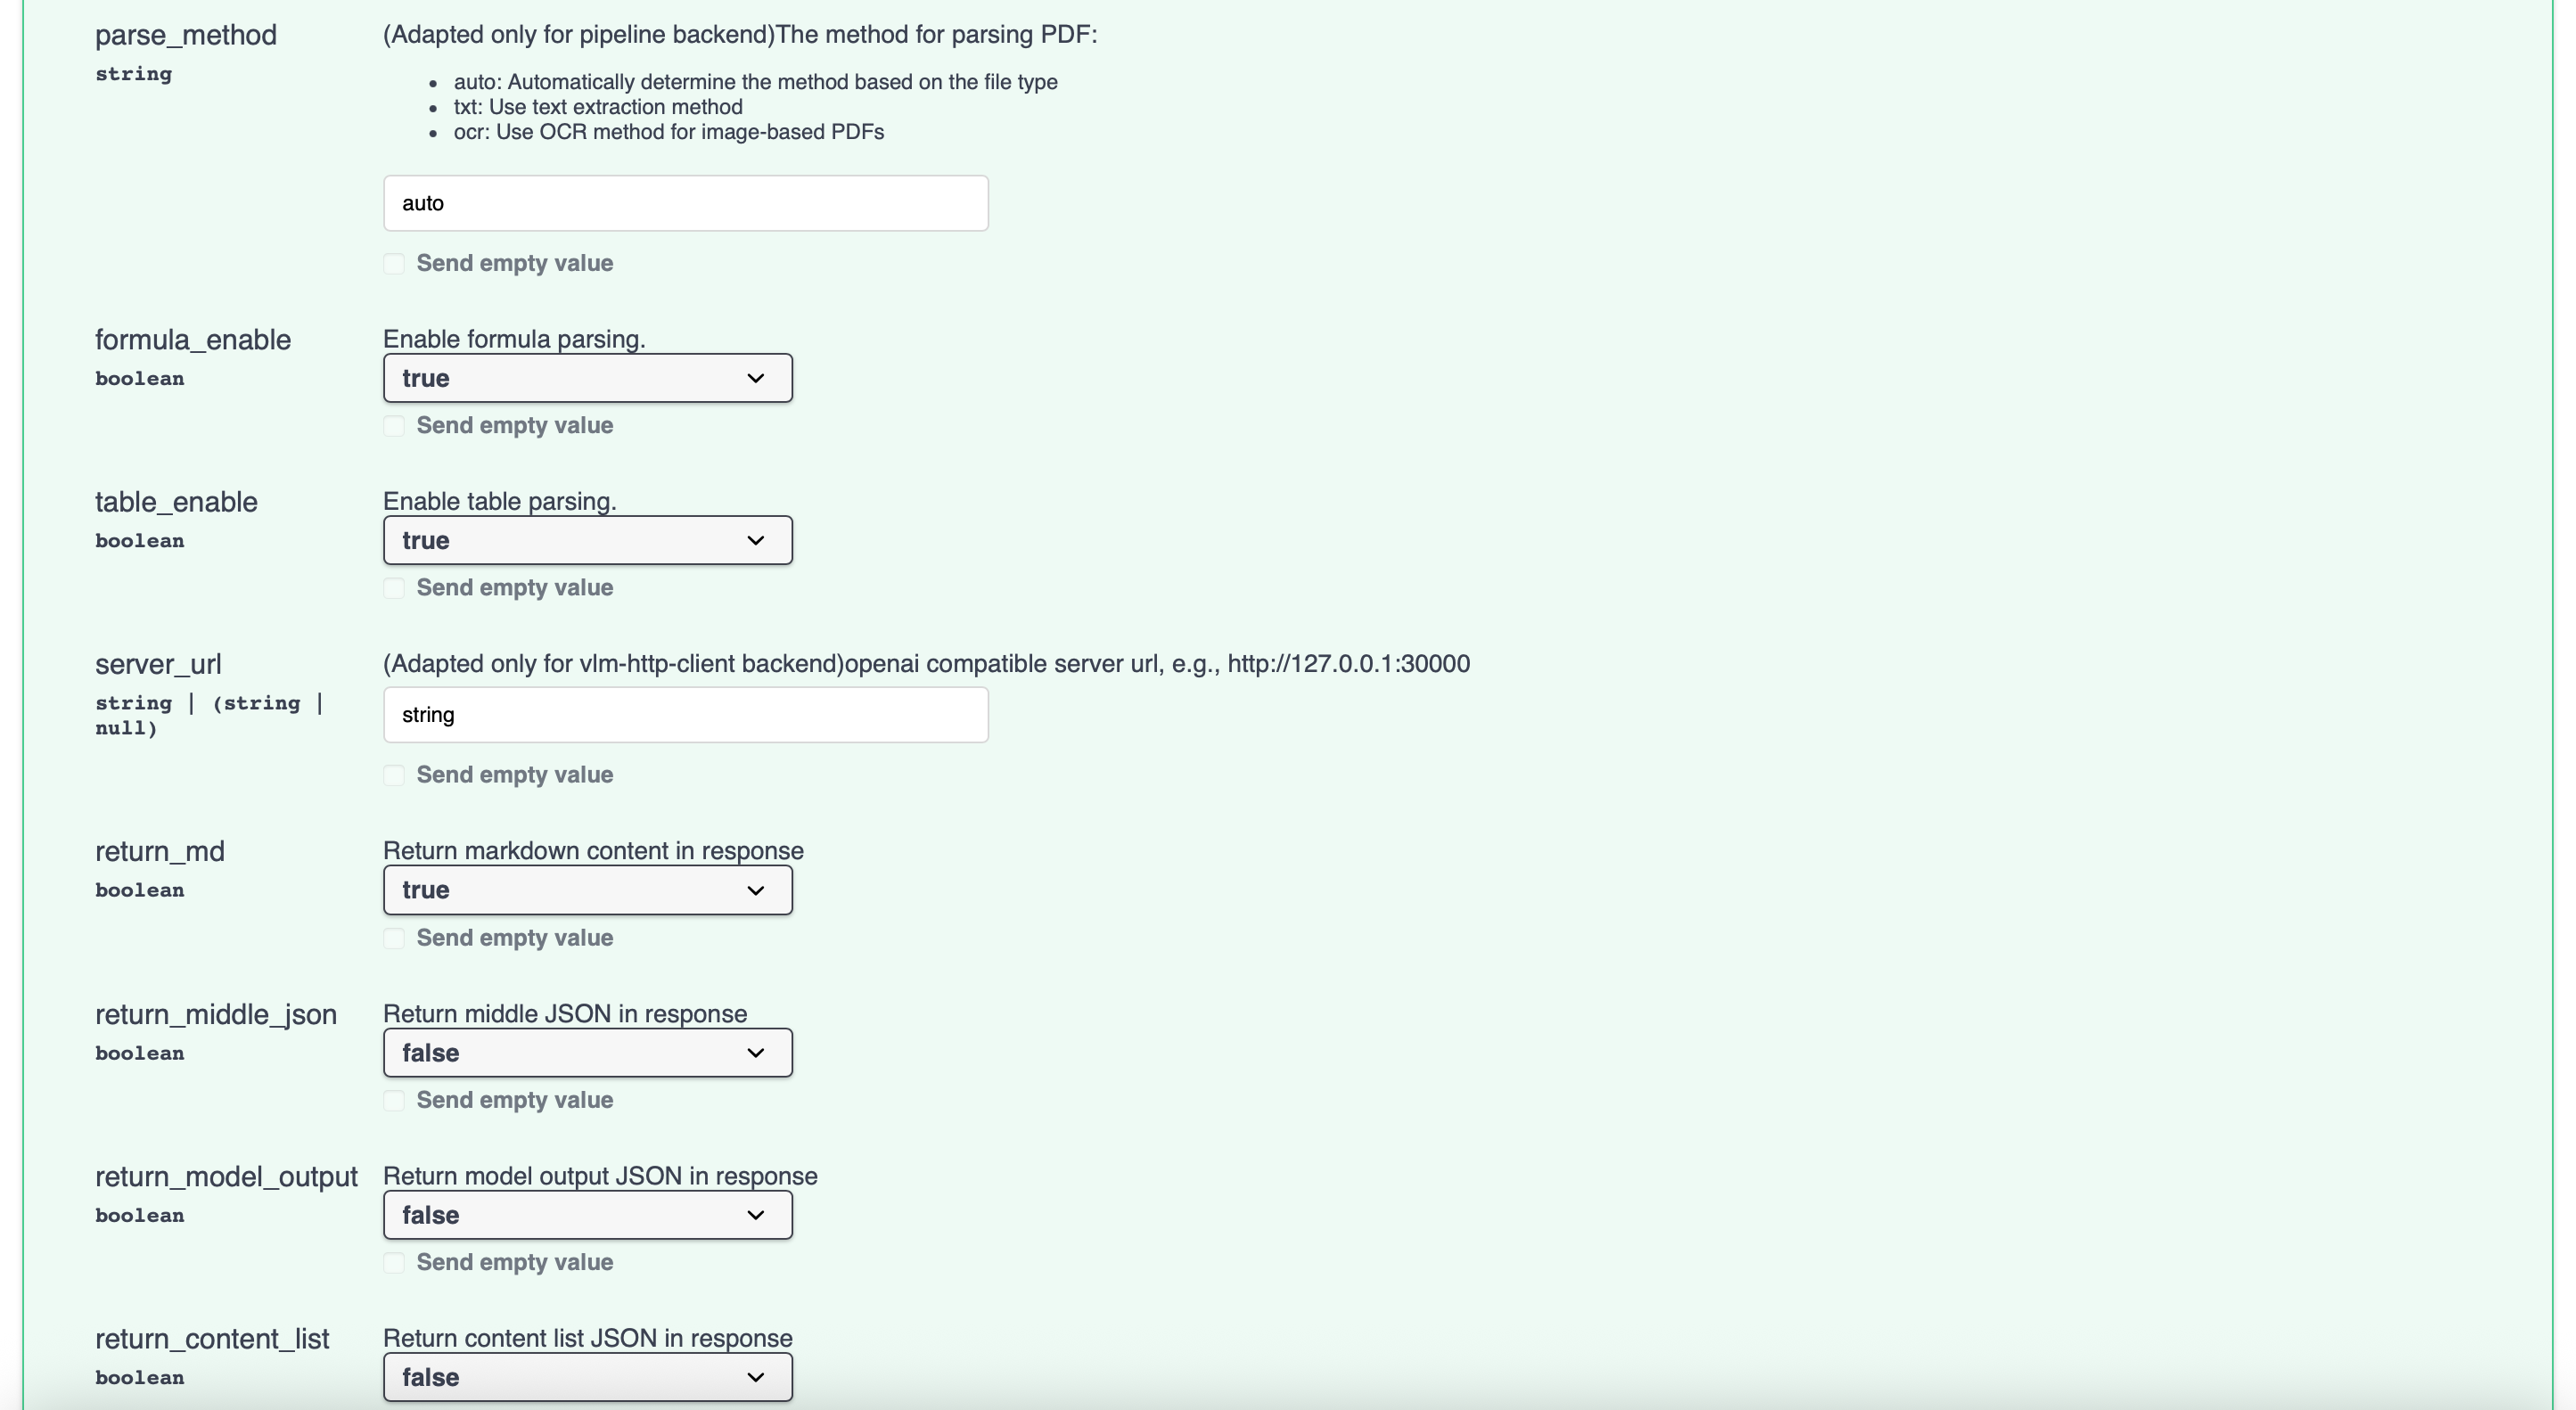
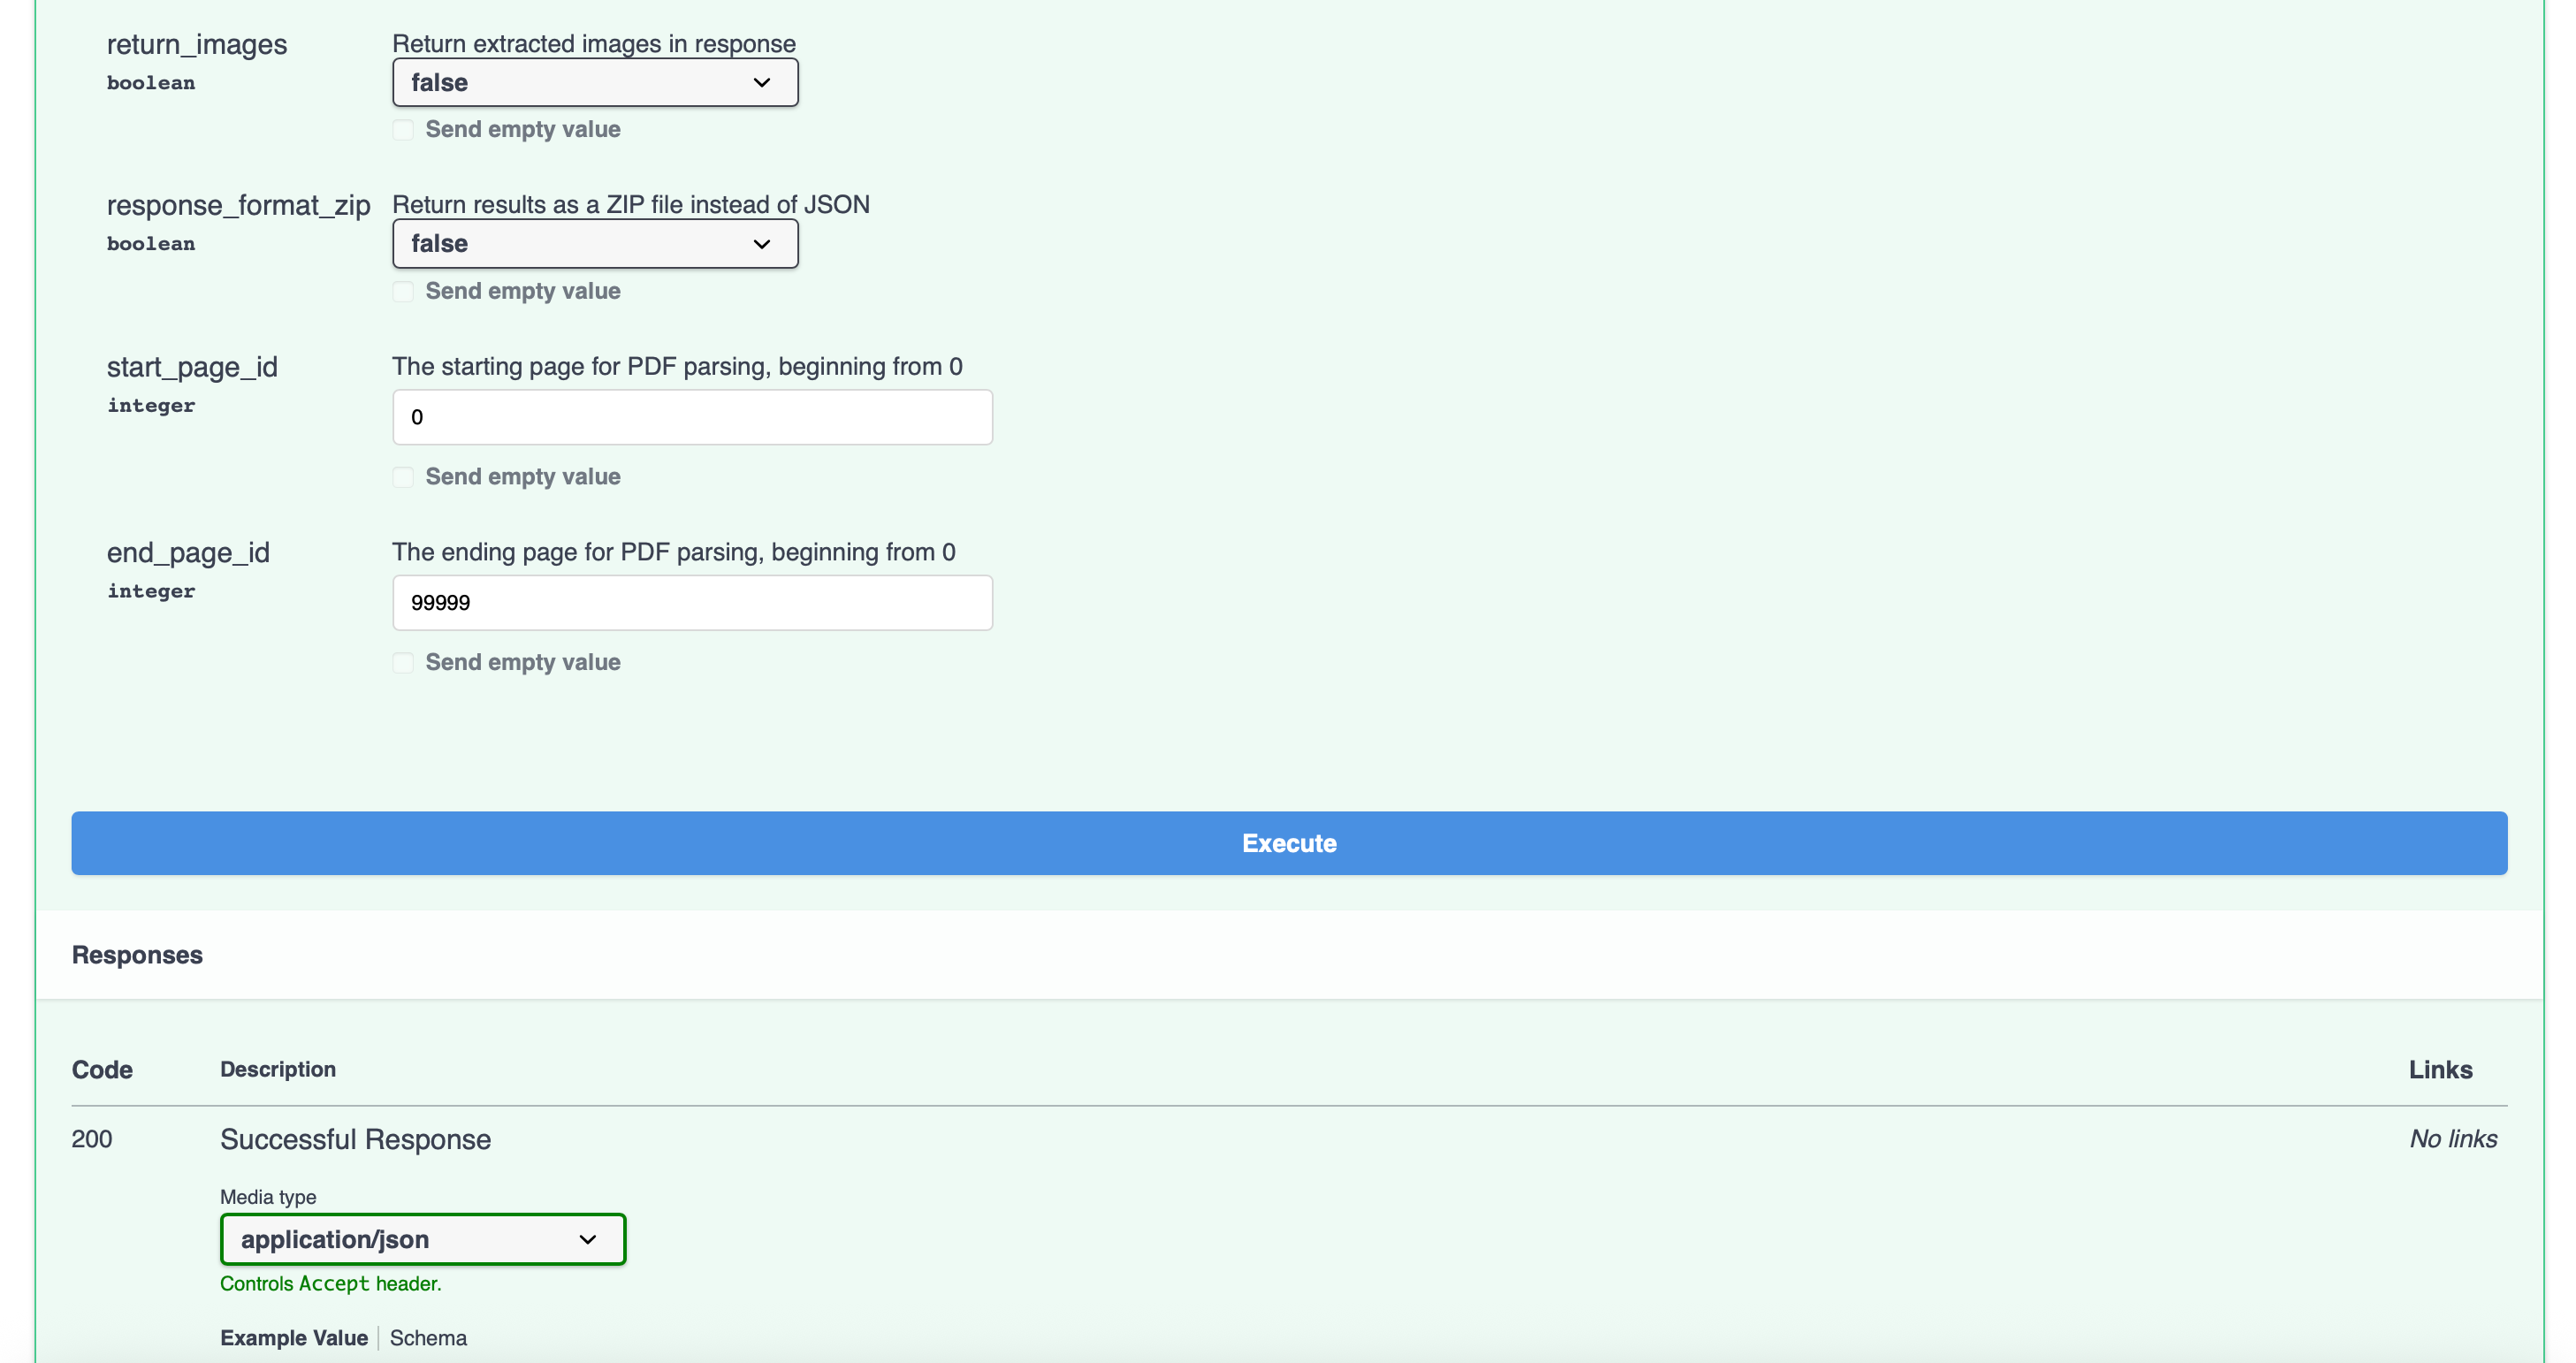
5、进入容器下载模型
mineru-models-download -s modelscope -m all6、测试接口(不要在界面直接使用接口,解析结果很长时,无法在界面返回内容)
curl -X 'POST' \
  'http://localhost:8000/file_parse' \
  -H 'accept: application/json' \
  -H 'Content-Type: multipart/form-data' \
  -F 'return_middle_json=false' \
  -F 'return_model_output=false' \
  -F 'return_md=true' \
  -F 'return_images=false' \
  -F 'end_page_id=99999' \
  -F 'parse_method=auto' \
  -F 'start_page_id=0' \
  -F 'lang_list=ch' \
  -F 'output_dir=./output' \
  -F 'server_url=string' \
  -F 'return_content_list=false' \
  -F 'backend=pipeline' \
  -F 'table_enable=true' \
  -F 'response_format_zip=false' \
  -F 'files=@your_pdf.pdf;type=application/pdf' \
  -F 'formula_enable=true'