描述
GitLab是由GitLabInc 开发,使用MIT许可证的基于网络的Git仓库管理工具,具有wiki和issue跟中功能。使用Git作为代码管理工具,并在此基础上搭建起来的web服务。和Gitee和Github一样,可以通过web网页来管理我们的项目代码,但不同是Gitee和Github是第三方提供,而GitLab可以放在我们自己的服务器,在安全性上有一定的保障。
GitLab只能安装在Linux环境下,支持以下几种发行版本

当然,也支持docker和k8s,所以想在Windows下使用GitLab,使用通过docker去安装,docker支持Windows系统。GitLab对服务器的内存要求比较高,官方推荐4GB,本文就以Centos7版本来安装GitLab。
安装包
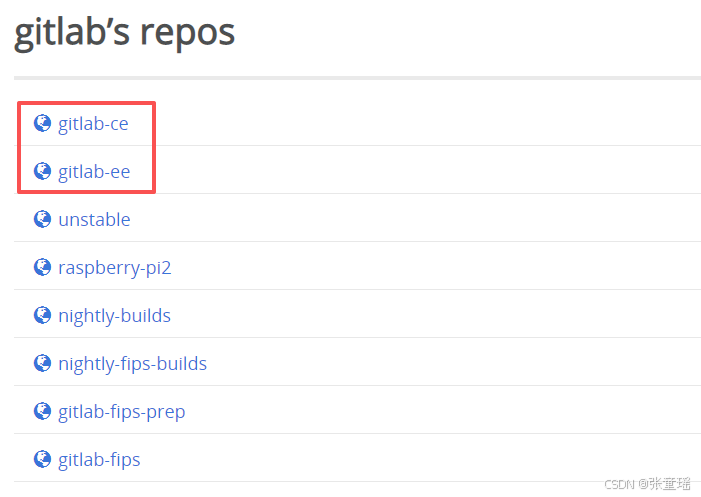
准备安装包。 GitLab分为社区版(CE)和企业版(EE),但是不管是社区版还是企业版,安装包都很大,如果在线安装,Linux下载起来会很慢,所以推荐将安装包先下载到本地,再上传到服务器进行离线安装。下载地址:https://packages.gitlab.com/gitlab。本文下载的是社区版(CE) gitlab-ce-14.6.4-ce.0.el7.x86_64.rpm 下载完成后上传到服务器上进行备用。
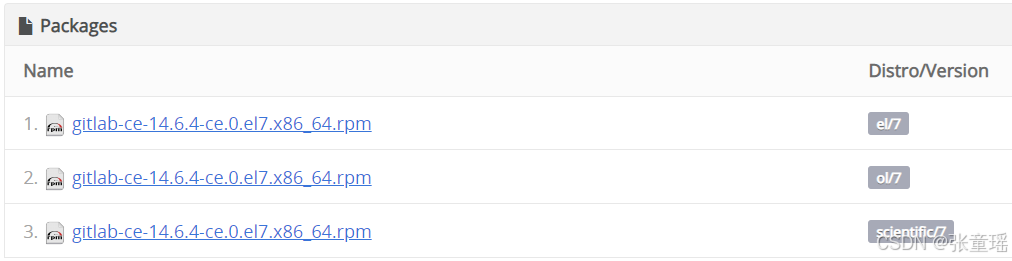
会有三个安装包,如下解释:
| 包对应的 Distro/Version | 适配的 Linux 系统 | 发行版厂商 | 核心说明 |
|---|---|---|---|
| el/7 | CentOS 7、RHEL 7(Red Hat Enterprise Linux 7)、Oracle Linux 7(兼容模式) | Red Hat/CentOS | el 是 Enterprise Linux 的缩写,是 RHEL/CentOS 系列的标准标识,适用范围最广 |
| ol/7 | Oracle Linux 7 | Oracle | 专门适配 Oracle 官方发行的 Linux 7 系统(Oracle Linux 基于 RHEL 源码构建) |
| scientific/7 | Scientific Linux 7 | 科研机构(CERN等) | 适配 Scientific Linux 7(同样基于 RHEL 7 源码,主要用于科研领域) |
默认下载第一个就可以,对标CentOS 7
安装
1、官方提供的安装脚本
shell
sudo yum install -y curl policycoreutils-python openssh-server perl
sudo systemctl enable sshd
sudo systemctl start sshd
sudo firewall-cmd --permanent --add-service=http
sudo firewall-cmd --permanent --add-service=https
sudo systemctl reload firewalld
sudo firewall-cmd --permanent --add-service=http
sudo firewall-cmd --permanent --add-service=https
sudo systemctl reload firewalld
sudo rpm -Uvh gitlab-ce-14.6.4-ce.0.el7.x86_64.rpm
2、初始化配置文件
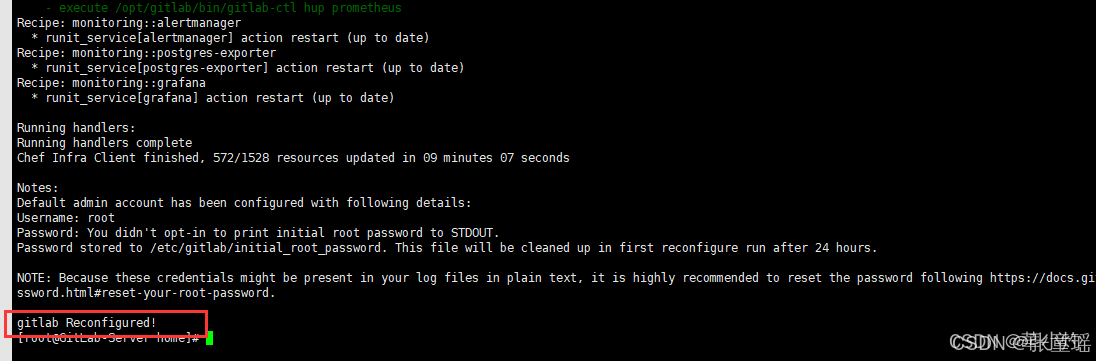
gitlab-ctl reconfigure当命令执行完成看到图示信息后,表示初始化成功。
3、启动等相关命令
# 更新配置,并启动gitlab服务(开头已经使用过了)
sudo gitlab-ctl reconfigure

# 启动 gitlab
sudo gitlab-ctl start

# 重启 GitLab
sudo gitlab-ctl restart

# 停止 gitlab
sudo gitlab-ctl stop

# 查看gitlab服务状态
sudo gitlab-ctl status

# 查看Gitlab日志
sudo gitlab-ctl tail
预览使用
GitLab服务启动后,可在浏览器中访问服务器IP,端口默认为80,账户为root,初始密码在 /etc/gitlab/initial_root_password 中,注意初始密码默认只保存24小时。
登录GitLab网页:http://localhost:80
查看初始密码:
shell
vi /etc/gitlab/initial_root_password
修改成中文
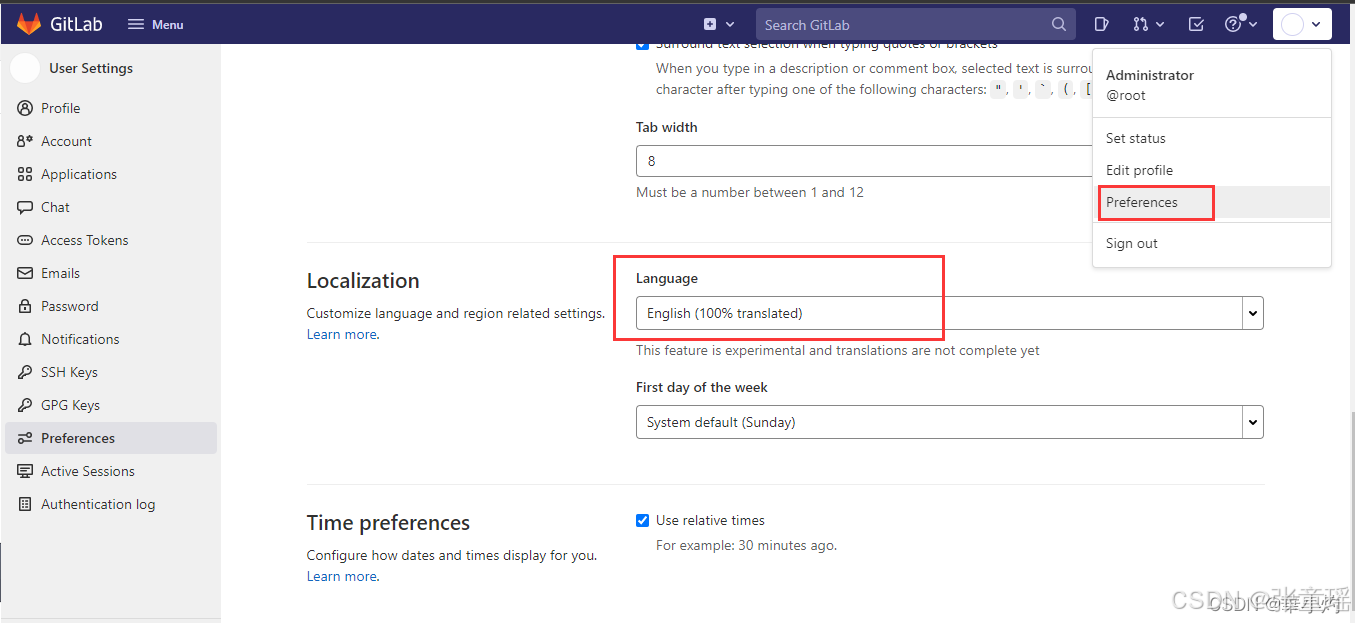
完成。
参考文章:https://blog.csdn.net/weixin_45481406/article/details/122831061,非常感谢作者提供帮助!