CBAM = 通道注意力(两种SENet--GAP+GMP的组合)+空间注意力
CBAM是深度学习里程碑式的产物,但代码非常简单,其实就是一个概念:给模型增加可训练可学习的参数矩阵。
有了SENet的经验,CBAM1个小时就搞定了,很丝滑,pytorch还有有一定优势的,代码写熟了以后可以快速复用。先上CBAM原论文图:
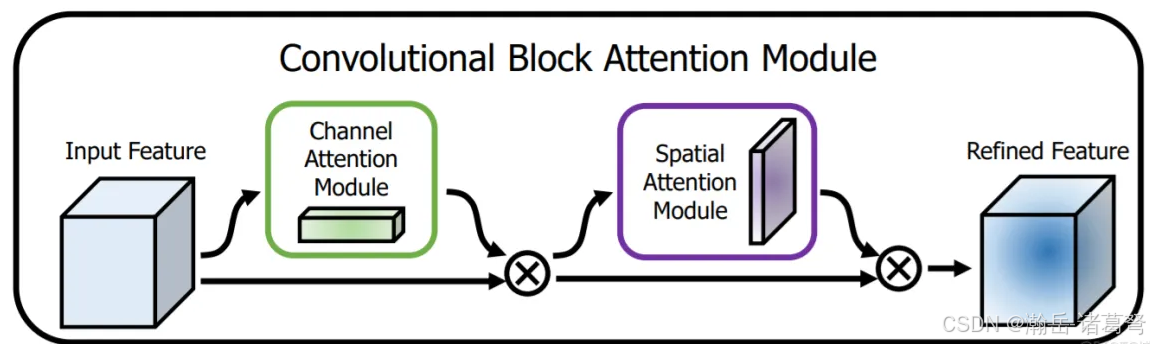
上图是总流程图,原文中做了一堆实验,一堆数据,不用管,记住结论就行:先通道注意,后空间注意,效果最好。其实也很好理解。对于隐层,先挑选出哪些隐层最值得关注(通道注意力);然后再对挑出的隐层内容进行重点内容挑选(空间注意力)。
一、通道注意力
从概念上理解后,就是两个注意力机制逐一实现的问题了。首先看通道注意力机制:
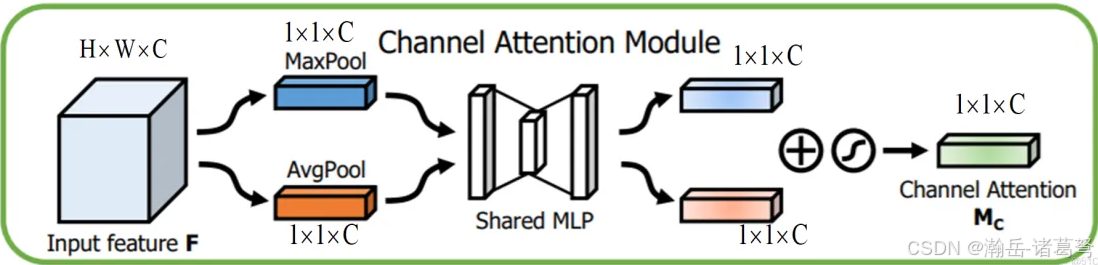
是不是特别熟悉?对比一下SENet的图:
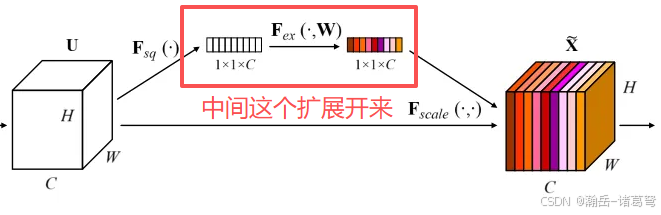
SENet的中间展开,就是Fex(., w)展开:
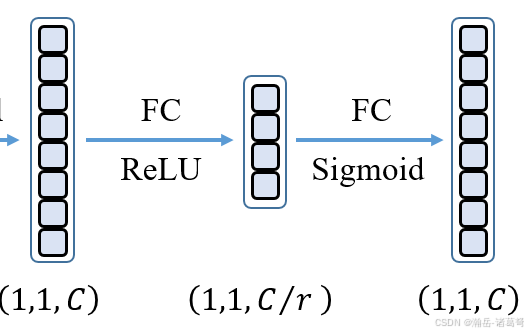
这玩儿意和CBAM的通道注意力中间的那块不能说是一模一样,简直毫无差别............
二、空间注意力
依然,线上原图:

思路和通道注意力一样,都是Max+Avg,然后通过sigmoid得到一个可以训练的加权的矩阵,然后这个加权的矩阵再和所有隐层做乘法就行。
三、填坑
写代码的时候,发现网上的参考代码居然有问题(不知道是不是我自己写的问题,但有的是明确有问题的),如下:
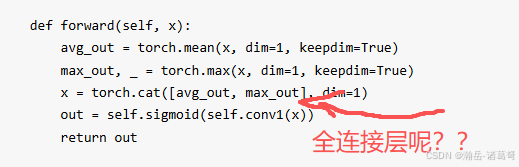
- 网上"空间注意力"的代码写错了,导致百度AI给出的代码也是错的,具体如下:
- 通道注意力机制,没有做尺度变化
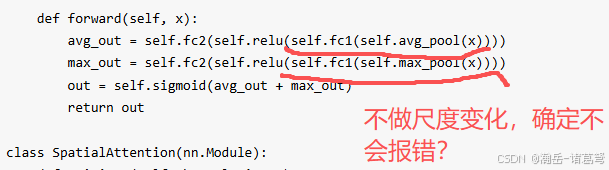
这个问题我不确定,反正按照SENet来写,一定要做尺度变化,不然我这会报错。没直接运行网上的代码,感觉有问题。
- 通道注意力机制默认的7*7卷积核确定比3*3要好么?

此处做了两个修改,一是将7*7的大卷积核改为了3*3,padding不用去算,默认是3,改为same即可。
因为后续技术发展已证明3*3的卷积核是主流,所以这里还是修改一下为好。
四:结果
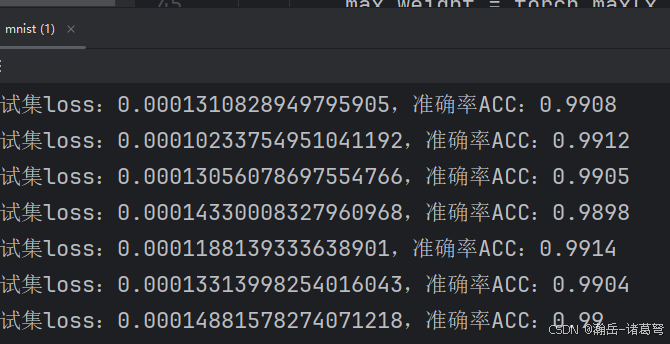
的确有点用处,大部分都能到99%,之前都是98.8x%上下,有一点点提升。
附上我修改,并且确定可用的CBAM代码,如下:
python
import torch
import torch.nn as nn
import torchsummary
class ChannelAttention(nn.Module):
def __init__(self, input_channels:int, ratio=4):
super().__init__()
self.gap = nn.AdaptiveAvgPool2d(1)
self.gmp = nn.AdaptiveMaxPool2d(1)
self.fc1 = nn.Linear(input_channels, input_channels // ratio)
self.fc2 = nn.Linear(input_channels // ratio, input_channels)
self.relu = nn.ReLU()
self.sigmoid = nn.Sigmoid()
def forward(self, x):
gap_weight = self.gap(x)
gap_weight = gap_weight.view(-1, x.shape[1])
gap_weight = self.fc1(gap_weight)
gap_weight = self.relu(gap_weight)
gap_weight = self.fc2(gap_weight)
gmp_weight = self.gmp(x)
gmp_weight = gmp_weight.view(-1, x.shape[1])
gmp_weight = self.fc1(gmp_weight)
gmp_weight = self.relu(gmp_weight)
gmp_weight = self.fc2(gmp_weight)
out_put = self.sigmoid(gap_weight + gmp_weight)
return out_put
class SpatialAttention(nn.Module):
def __init__(self):
super().__init__()
self.conv2d = nn.Conv2d(2,1,3,1,padding="same")
self.sigmoid = nn.Sigmoid()
def forward(self, x):
avg_weight = torch.mean(x, dim=1, keepdim=True)
# print(avg_weight.shape)
max_weight = torch.max(x, dim=1,keepdim=True)[0]
# print(avg_weight.shape)
out_put = torch.cat((avg_weight, max_weight), dim=1)
# print(out_put.shape)
out_put = self.conv2d(out_put)
# print(out_put.shape)
out_put = self.sigmoid(out_put)
return out_put
class CBAM(nn.Module):
def __init__(self, channels):
super().__init__()
self.ChannelAttention = ChannelAttention(channels)
self.SpatioAttention = SpatialAttention()
def forward(self, x):
out_put = self.ChannelAttention(x)
out_put = out_put.view(out_put.shape[0], out_put.shape[1], 1, 1)
out_put = out_put * x
out_put = self.SpatioAttention(out_put) * out_put
return out_put
# device = torch.device('cuda' if torch.cuda.is_available() else 'cpu')
# CBAM = CBAM(28).to(device)
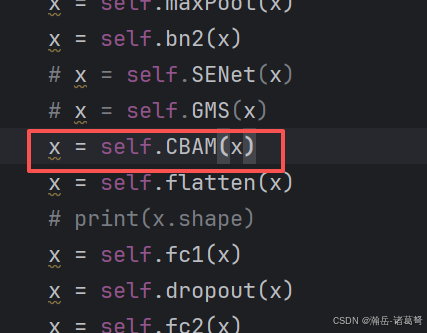
# torchsummary.summary(CBAM, input_size=(28,28,28))用起来就很简单了,任何一个隐层后面都可以直接加入: