感谢我们组的小组长尚同学!
一开始先用vscode配置环境:
配置环境:
(base) PS E:\Datawhale\Markdown202512> node --version
v25.0.0
(base) PS E:\Datawhale\Markdown202512> npm --version
11.6.2
(base) PS E:\Datawhale\Markdown202512> git --version
bash
python -m venv venv
bash
(base) PS E:\Datawhale\Markdown202512\vibe-coding-app\demo> # 列出当前目录文件/文件夹
>> ls
输出:
目录: E:\Datawhale\Markdown202512\vibe-coding-app\demo
Mode LastWriteTime Length Name
d----- 2025/12/15 22:12 app
d----- 2025/12/15 22:12 frontend
d----- 2025/12/15 22:13 venv
-a---- 2025/12/15 22:12 288 .env.example
-a---- 2025/12/15 22:12 38185 AGENTS.md
-a---- 2025/12/15 22:12 198 dev.sh
-a---- 2025/12/15 22:12 786 main.py
-a---- 2025/12/15 22:12 1439 requirements.txt
bash
# 安装依赖
pip install -r requirements.txt
输出:
Looking in indexes: https://mirrors.cernet.edu.cn/pypi/web/simple, https://pypi.org/simple/
Collecting annotated-types==0.7.0 (from -r requirements.txt (line 1))
Downloading annotated_types-0.7.0-py3-none-any.whl.metadata (15 kB)
Collecting anyio==4.9.0 (from -r requirements.txt (line 2))
Downloading anyio-4.9.0-py3-none-any.whl.metadata (4.7 kB)
Collecting black==24.1.1 (from -r requirements.txt (line 3))
Downloading black-24.1.1-cp312-cp312-win_amd64.whl.metadata (73 kB)
━━━━━━━━━━━━━━━━━━━━━━━━━━━━━━━━━━━━━━━━ 73.3/73.3 kB 7.3 kB/s eta 0:00:00
Collecting certifi==2025.7.9 (from -r requirements.txt (line 4))
Downloading certifi-2025.7.9-py3-none-any.whl.metadata (2.4 kB)
Collecting cfgv==3.4.0 (from -r requirements.txt (line 5))
Downloading cfgv-3.4.0-py2.py3-none-any.whl.metadata (8.5 kB)
ERROR: Could not find a version that satisfies the requirement charset-normalizer==3.4.3 (from versions: none)
ERROR: No matching distribution found for charset-normalizer==3.4.3
单独安装charset-normalizer(自动适配Python 3.12的版本)
bash
pip install charset-normalizer -i https://pypi.tuna.tsinghua.edu.cn/simple1. 克隆项目
git clone https://www.gitlink.org.cn/ai-shifu/vibe-coding-app.git
cd demo
2. 修改配置文件
将.env.example 文件复制为 .env
修改 .env 文件中的内容
LLM_BASE_URL="https://xxx"
LLM_API_KEY="xxx"
LLM_MODEL="xxx"
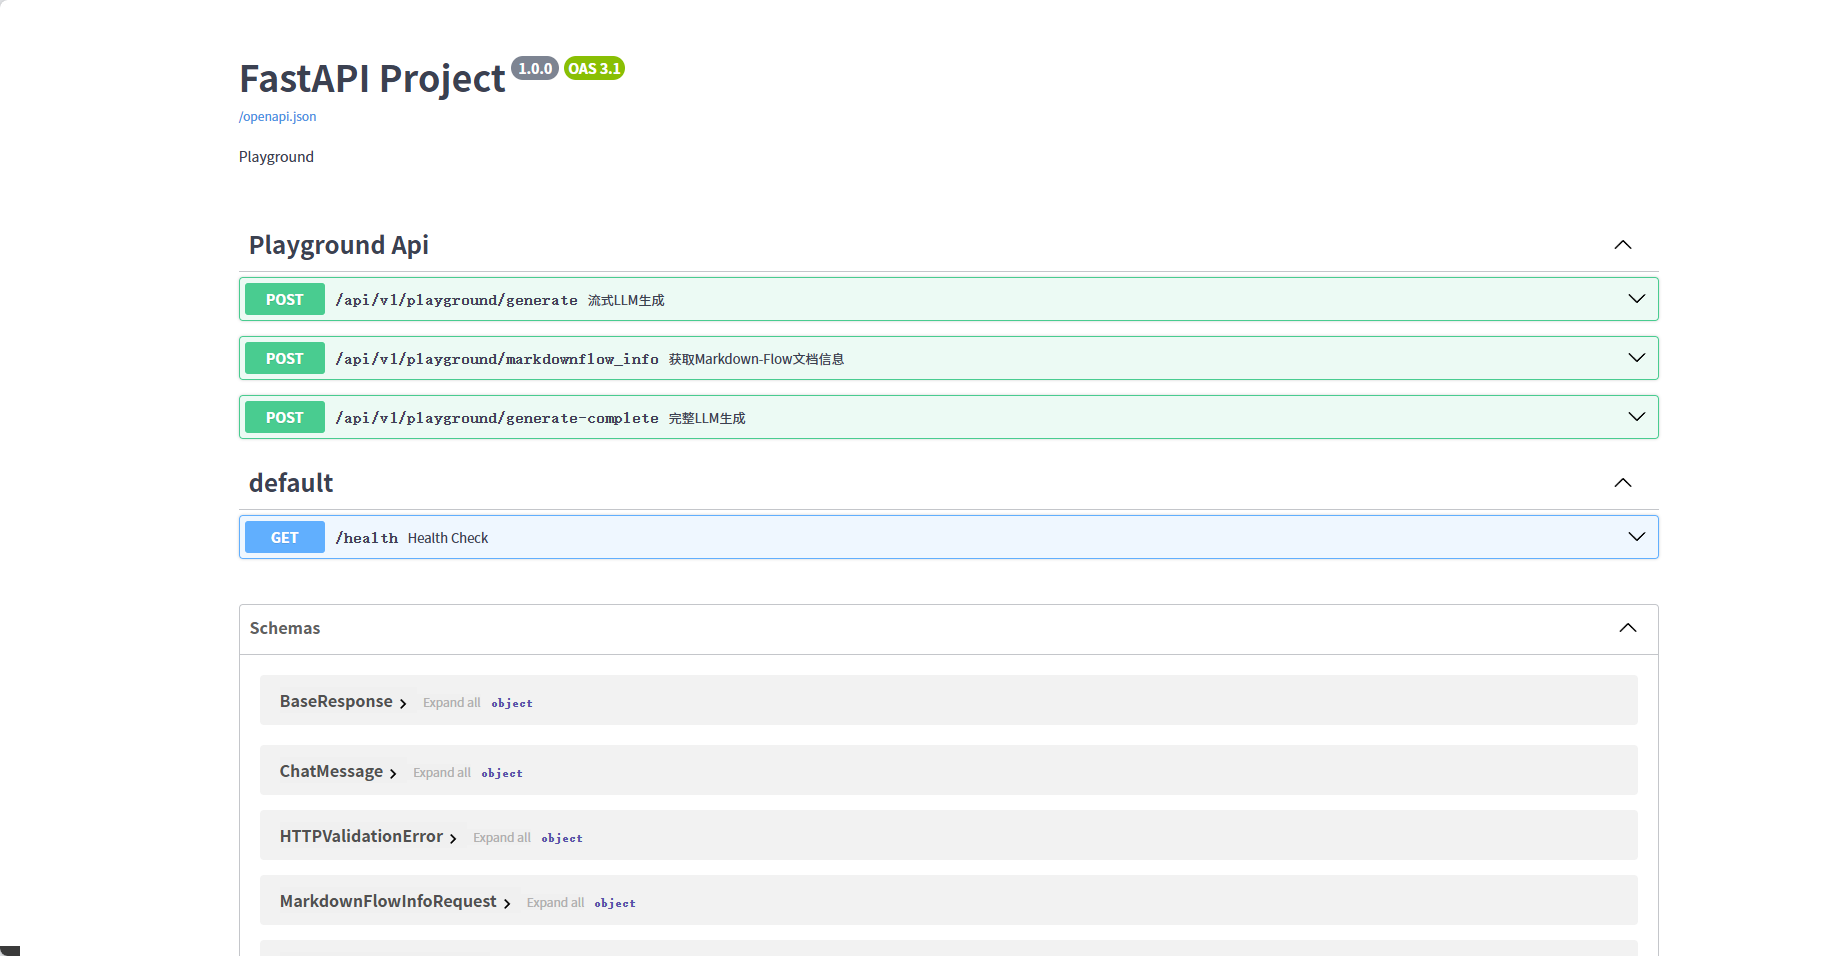
3. 启动后端
pip install -r requirements.txt
python main.py
4. 启动前端(新终端)
cd frontend
npm install
npm run dev
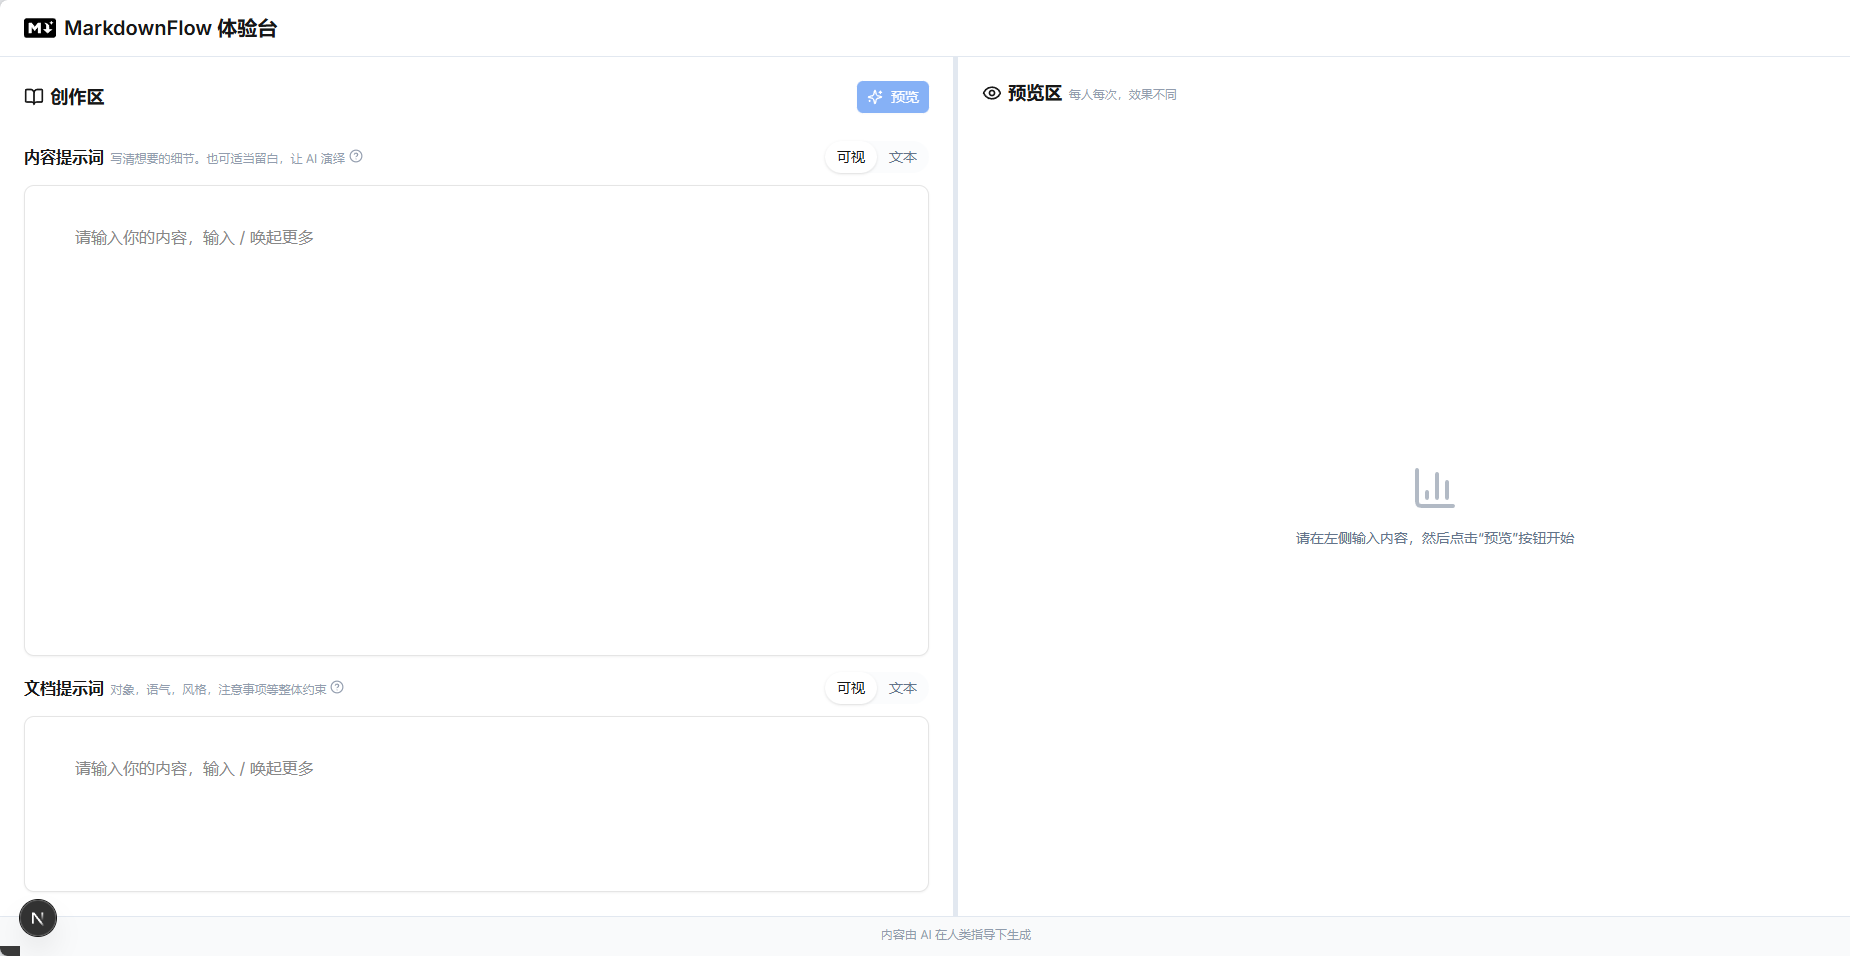
输出: