1.OpenFeign介绍
OpenFeign 是⼀个声明式的 Web Service 客⼾端. 它让微服务之间的调⽤变得更简单, 类似controller调⽤service, 只需要创建⼀个接⼝,然后添加注解即可使⽤OpenFeign.
Spring Cloud Feign 是 Spring 对 Feign 的封装, 将 Feign 项⽬集成到 Spring Cloud ⽣态系统中.
受 Feign 更名影响,Spring Cloud Feign 也有两个 starter
- spring-cloud-starter-feign
- spring-cloud-starter-openfeign
由于Feign的停更维护, 对应的, 我们使⽤的依赖是 spring-cloud-starter-openfeign
Spring Cloud Feign⽂档: Spring Cloud OpenFeign
2.如何使用
2.1引入依赖
xml
  <dependency>
            <groupId>org.springframework.cloud</groupId>
            <artifactId>spring-cloud-starter-openfeign</artifactId>
  </dependency>
2.2添加注解
在order-service的启动类添加注解 @EnableFeignClients , 开启OpenFeign的功能.
java
@EnableFeignClients
@SpringBootApplication
public class OrderServiceApplication {
    public static void main(String[] args) {
        SpringApplication.run(OrderServiceApplication.class,args);
    }
}
2.3编写OpenFeign客户端
java
@FeignClient(value = "product-service",path="/product")
public interface ProductApi {
    @RequestMapping("{productId}")
    ProductInfo getProductById(@PathVariable("productId") Integer productId);
}
- **value = "product-service":**指定要调用的目标微服务名称。
- path = "/product" :指定这个客户端下的方法调用时的统一前缀,也就是所有接口都基于
/product路径调用。
2.4修改远程调用
java
@Service
public class OrderService {

    @Autowired
    private OrderMapper orderMapper;

    @Autowired
    private RestTemplate restTemplate;

    @Autowired
    private ProductApi productApi;

    public OrderInfo selectOrderById(Integer orderId){
        OrderInfo orderInfo = orderMapper.selectOrderById(orderId);

        ProductInfo productInfo=productApi.getProductById(orderInfo.getProductId());
        orderInfo.setProductInfo(productInfo);
        return orderInfo;
    }
}
Feign 简化了与HTTP服务交互的过程, 把REST客⼾端的定义转换为Java接⼝, 并通过注解的⽅式来声明请求参数,请求⽅式等信息, 使远程调⽤更加⽅便和间接.
3.参数传递
3.1单个参数
(1)服务提供方product-service
java
@RequestMapping("/product")
@RestController
public class ProductController{
    @RequestMapping("/p1")
    public String p1(Integer id){
        return "product-service 接收到参数,id:"+id;
    }
}
(2)Feign客户端
java
@FeignClient(value = "product-service",path="/product")
public interface ProductApi{
    @RequestMapping("/p1")
    String p1(@RequestParam("id") Integer id);
}
@RequestParam 做参数绑定, 不能省略
(3)服务消费方order-service
java
@RequestMapping("/feign")
@RestController
     public class TestFeignController {
         @Autowired
         private ProductApi productApi;

         @RequestMapping("/o1")
         public String o1(Integer id){
         return productApi.p1(id);
     }
 }
3.2多个参数
(1)服务提供方product-service
java
 @RequestMapping("/p2")
    public String p2(Integer id,String name){
        return  "product-service 接收到参数,id:"+id+"name:"+name;
 }
(2)Feign客户端
java
@RequestMapping("/p2")
String p2(@RequestParam("id") Integer id,@RequestParam("name") String name);
(3)服务消费方order-service
java
@RequestMapping("/o2")
public String o2(@RequestParam("id")Integer id,@RequestParam("name")String name){
     return productApi.p2(id,name);
}
3.3传递对象
(1)服务提供方product-service
java
@RequestMapping("/p3")
public String p3(ProductInfo productInfo){
    return "product-service 接收到参数,productInfo:"+productInfo.toString();
 }
(2)Feign客户端
java
@RequestMapping("/p3")
String p3(@SpringQueryMap ProductInfo productInfo);
@SpringQueryMap :用于将一个对象转换成多个 Query 参数
(3)服务消费方order-service
java
@RequestMapping("/o3")
public String o3(ProductInfo productInfo){
     return productApi.p3(productInfo);
}
3.4传递JSON
(1)服务提供方product-service
java
 @RequestMapping("/p4")
public String p4(@RequestBody ProductInfo productInfo){
        return "product-service 接收到参数,productInfo:"+productInfo.toString();
 }
(2)Feign客户端
java
@RequestMapping("/p4")
String p4(@RequestBody ProductInfo productInfo);
(3)服务消费方order-service
java
@RequestMapping("/o4")
public String o4(@RequestBody ProductInfo productInfo){
    System.out.println(productInfo.toString());
    return productApi.p4(productInfo);
}
4.Feign继承方式
Feign ⽀持继承的⽅式, 我们可以把⼀些常⻅的操作封装到接⼝⾥.
我们可以定义好⼀个接⼝, 服务提供⽅实现这个接⼝, 服务消费⽅编写Feign 接⼝的时候, 直接继承这个接⼝
4.1创建一个Module
接⼝可以放在⼀个公共的Jar包⾥, 供服务提供⽅和服务消费⽅使⽤
4.2引入依赖
xml
<dependencies>
  <dependency>
    <groupId>org.springframework.boot</groupId>
    <artifactId>spring-boot-starter-web</artifactId>
  </dependency>

  <dependency>
    <groupId>org.springframework.cloud</groupId>
    <artifactId>spring-cloud-starter-openfeign</artifactId>
  </dependency>
</dependencies>
4.3编写接口
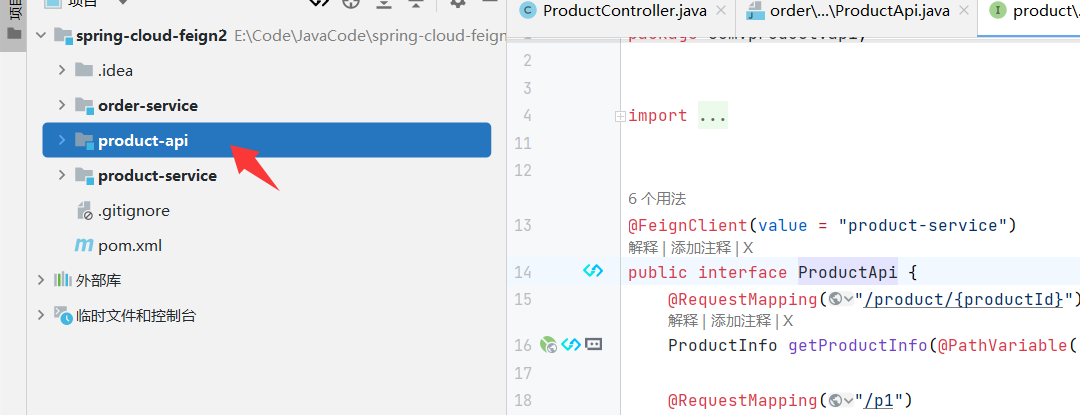
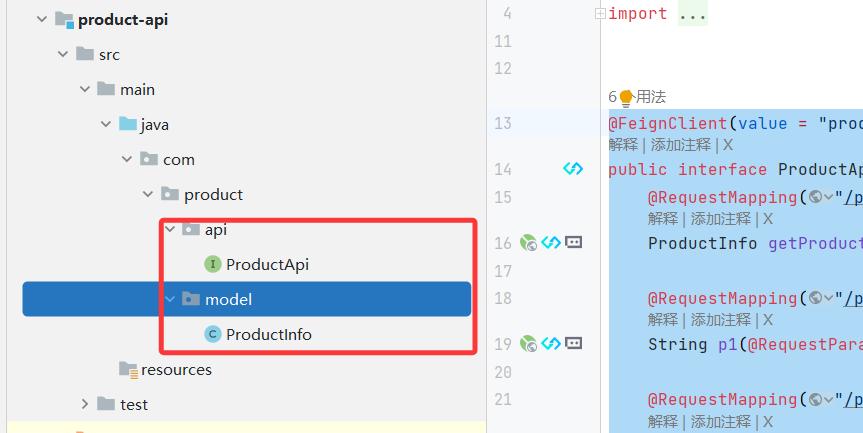
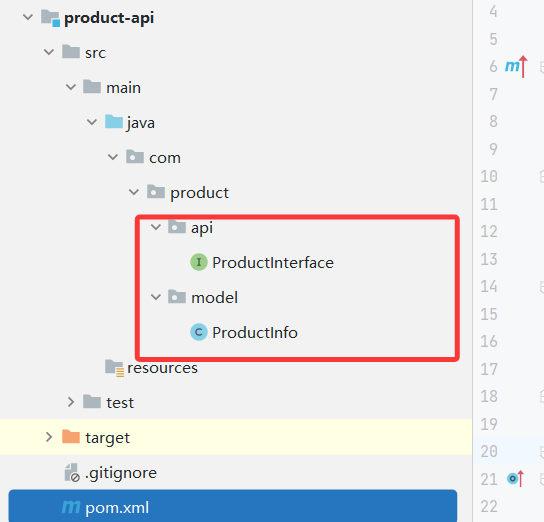
复制 ProductApi, ProductInfo 到product-api模块中
java
@FeignClient(value = "product-service")
public interface ProductInterface {
    @RequestMapping("/product/{productId}")
    ProductInfo getProductInfo(@PathVariable("productId") Integer productId);

    @RequestMapping("/p1")
    String p1(@RequestParam("id") Integer id);

    @RequestMapping("/p2")
    String p2(@RequestParam("id") Integer id,@RequestParam("name") String name);

    @RequestMapping("/p3")
    String p3(@SpringQueryMap ProductInfo productInfo);

    @RequestMapping("/p4")
    String p4(@RequestBody ProductInfo productInfo);
}
4.4打jar包
4.5服务提供方
服务提供方实现接口
java
@RequestMapping("/product")
@RestController
public class ProductController implements ProductApi {
    @Autowired
    private ProductService productService;

    @RequestMapping("/{productId}")
    public ProductInfo getProductById(@PathVariable("productId") Integer productId){
        return productService.selectProductById(productId);
    }

    @RequestMapping("/p1")
    public String p1(Integer id){
        return "product-service 接收到参数,id:"+id;
    }

    @RequestMapping("/p2")
    public String p2(Integer id,String name){
        return  "product-service 接收到参数,id:"+id+"name:"+name;
    }

    @RequestMapping("/p3")
    public String p3(ProductInfo productInfo){
        return "product-service 接收到参数,productInfo:"+productInfo.toString();
    }

    @RequestMapping("/p4")
    public String p4(@RequestBody ProductInfo productInfo){
        return "product-service 接收到参数,productInfo:"+productInfo.toString();
    }
}
4.6服务消费方
服务消费方继承ProductInterface
java
@FeignClient(value = "product-service", path = "/product")
public interface ProductApi extends ProductInterface {
}
5.Feign抽取方式
官⽅推荐Feign的使⽤⽅式为继承的⽅式, 但是企业开发中, 更多是把Feign接⼝抽取为⼀个独⽴的模块 (做法和继承相似, 但理念不同).
操作⽅法: 将Feign的Client抽取为⼀个独⽴的模块, 并把涉及到的实体类等都放在这个模块中, 打成⼀个Jar. 服务,消费⽅只需要依赖该Jar包即可. 这种⽅式在企业中⽐较常⻅, Jar包通常由服务提供⽅来实现.
5.1创建Module
5.2引入依赖
xml
<dependencies>
  <dependency>
    <groupId>org.springframework.boot</groupId>
    <artifactId>spring-boot-starter-web</artifactId>
  </dependency>

  <dependency>
    <groupId>org.springframework.cloud</groupId>
    <artifactId>spring-cloud-starter-openfeign</artifactId>
  </dependency>
</dependencies>
5.3编写Api
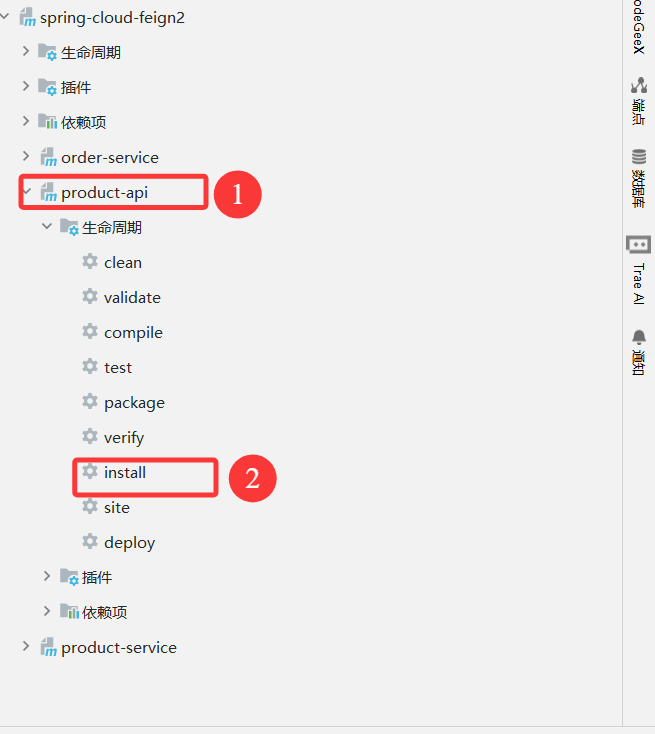
5.4打Jar包
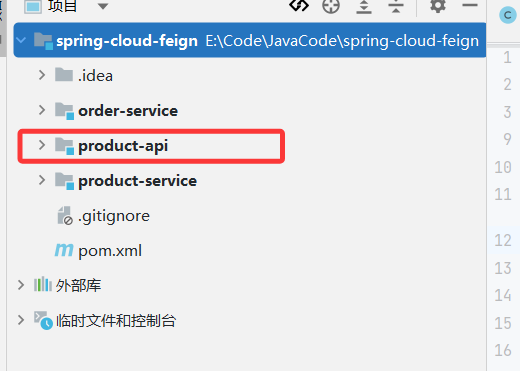
5.5服务消费方使用product-api
-
删除 ProductApi, ProductInfo
-
引⼊依赖
xml
<dependency>
  <groupId>org.example</groupId>
  <artifactId>product-api</artifactId>
  <version>1.0-SNAPSHOT</version>
</dependency>
修改项⽬中ProductApi, ProductInfo的路径为product-api中的路径
- 指定扫描类: ProductApi
java
@EnableFeignClients(basePackages = {"com.product.api"})
@SpringBootApplication
public class OrderServiceApplication {
    public static void main(String[] args) {
        SpringApplication.run(OrderServiceApplication.class,args);
    }
}
6.服务部署
(1)修改数据库, Nacos等相关配置
(2)对两个服务进⾏打包
Maven打包默认是从远程仓库下载的, product-api 这个包在本地, 有以下解决⽅案:
- 上传到Maven中央仓库(参考: 如何发布Jar包到Maven中央仓库, ⽐较⿇烦)不推荐
- 搭建Maven私服, 上传Jar包到私服企业推荐
- 从本地读取Jar包个⼈学习阶段推荐
修改pom文件
xml
<dependency>
  <groupId>org.example</groupId>
  <artifactId>product-api</artifactId>
  <version>1.0-SNAPSHOT</version>
  <!-- scope 为system. 此时必须提供systemPath即本地依赖路径. 表⽰maven不会去中央
  仓库查找依赖 不推荐使⽤-->
  <scope>system</scope>
  <systemPath>D:/Maven/.m2/repository/org/example/product-api/1.0-
    SNAPSHOT/product-api-1.0-SNAPSHOT.jar</systemPath>
</dependency>

<build>
  <plugins>
     <plugin>
         <groupId>org.springframework.boot</groupId>
         <artifactId>spring-boot-maven-plugin</artifactId>
         <configuration>
           <includeSystemScope>true</includeSystemScope>
         </configuration>
      </plugin>
  </plugins>
</build>
(3)上传jar到Linux服务器
(4)启动Nacos
启动前最好把data数据删除掉.
(5)启动服务
xml
#后台启动order-service, 并设置输出⽇志到logs/order.log
nohup java -jar order-service.jar >logs/order.log &

#后台启动product-service, 并设置输出⽇志到logs/order.log
nohup java -jar product-service.jar >logs/product-9090.log &

#启动实例, 指定端⼝号为9091
nohup java -jar product-service.jar --server.port=9091 >logs/product-9091.log &